
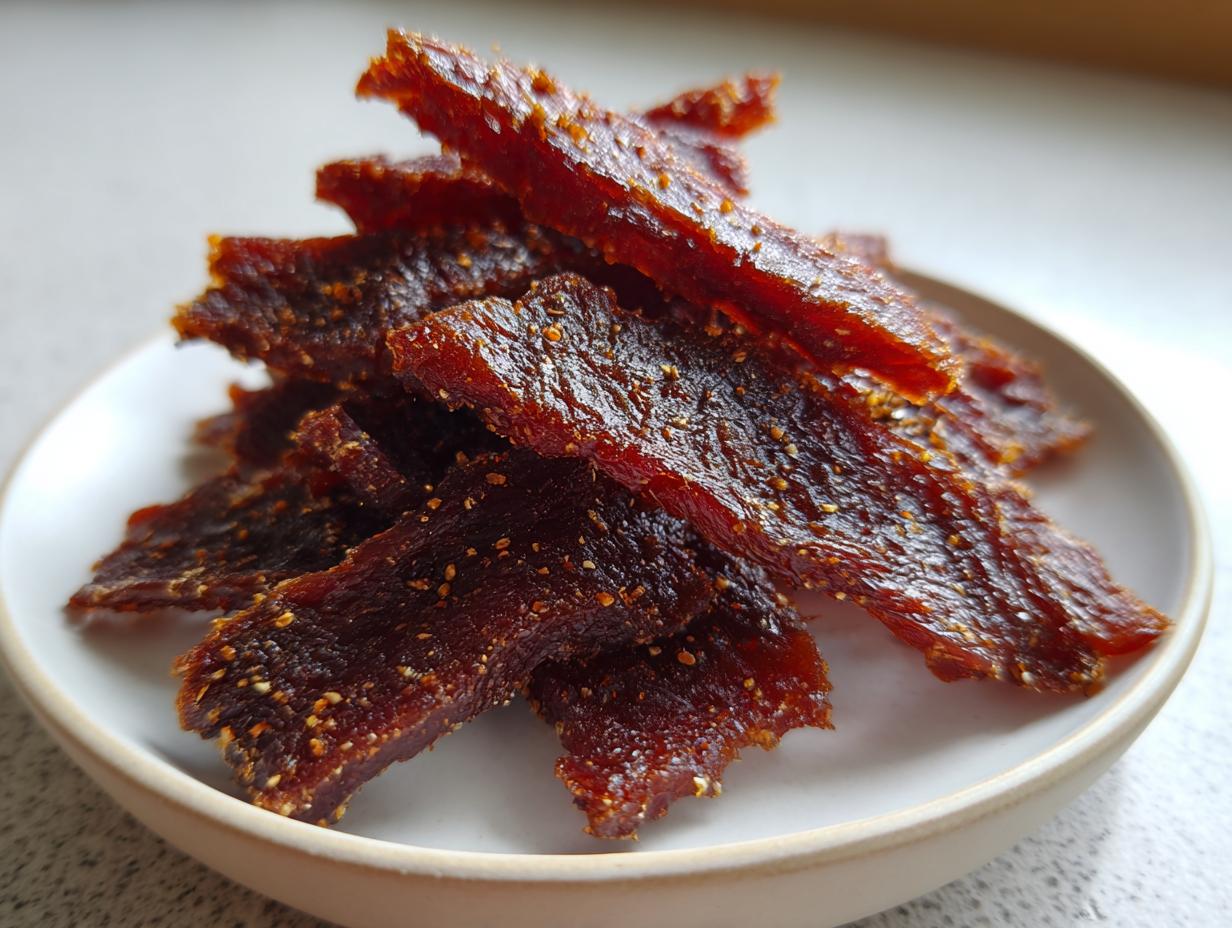
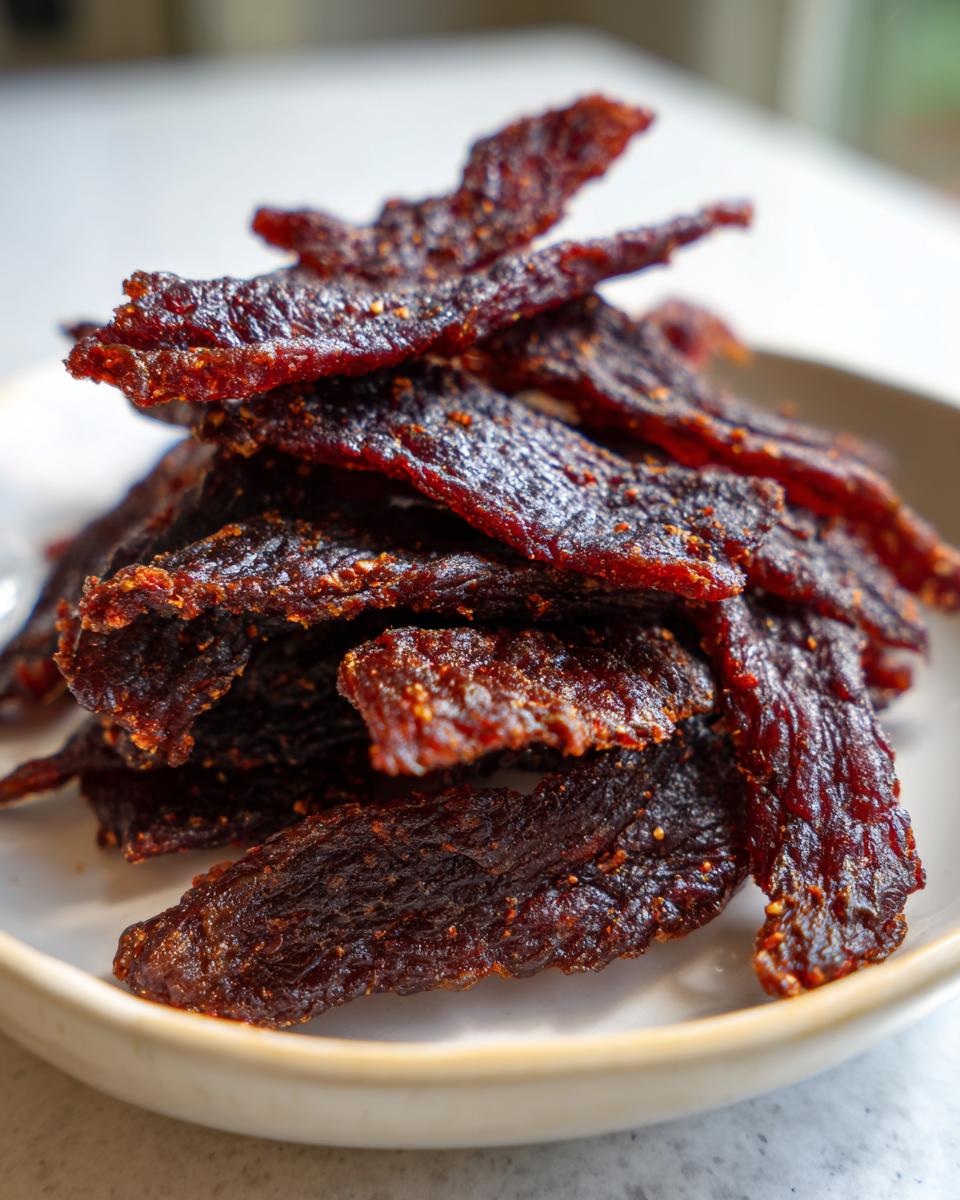
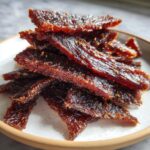
If you’re anything like me, getting outside—whether it’s a long hike or just a busy afternoon running errands—means you need fuel that keeps up. Stuffing your pack with high-fat, heavy snacks just doesn’t cut it when you need serious lean protein snacking capacity. That’s why I engineered this recipe for Teriyaki turkey jerky. It’s sweet, it’s savory, and frankly, it blows the store-bought stuff out of the water because you control everything that goes into it.
When I approach a recipe here at Dishicious, I treat it like optimizing a complex workflow—everything needs to be reliable and efficient. Founder Leo Grant believes in maximizing flavor while minimizing fuss, and this homemade jerky is the perfect example of that philosophy in action. Forget complicated rubs or expensive equipment; we’re turning lean turkey breast into superior, portable fuel using just an everyday oven. Trust me, once you master these simple steps, you’ll be making this for every trip. Just check out our guide to healthy lunch ideas for more on meal prepping!
- Why This Teriyaki Turkey Jerky is Your New Go-To Healthy Snack
- The Essential Components for Perfect Teriyaki Turkey Jerky
- Step-by-Step Instructions for Homemade Teriyaki Turkey Jerky
- Tips for Success When Making Teriyaki Turkey Jerky
- Ingredient Notes and Substitutions for Your Teriyaki Turkey Jerky
- Storage and Keeping Your Teriyaki Turkey Jerky Fresh
- Serving Suggestions for This Lean Protein Snack
- Frequently Asked Questions About Teriyaki Turkey Jerky
- Nutritional Estimates for Teriyaki Turkey Jerky
- Share Your Homemade Teriyaki Turkey Jerky Success
Why This Teriyaki Turkey Jerky is Your New Go-To Healthy Snack
After spending hours testing this formula, I genuinely believe this is the ultimate solution for on-the-go fuel. Why stick with beef jerky loaded with fat when you can have this incredible, guilt-free alternative? It’s about smart planning, which is my specialty!
- This recipe is truly a powerhouse of lean protein. Turkey breast is naturally low in fat, making it perfect for long excursions.
- It satisfies that craving for something flavorful—the sweet and savory teriyaki profile makes these healthy snacks irresistible.
- You are in complete control of the sodium, meaning you can customize it to avoid the overly salty versions found everywhere else.
- It’s durable! Packaged correctly, this turkey jerky is ideal for backpacks and road trips; it won’t weigh you down.
The Essential Components for Perfect Teriyaki Turkey Jerky
When it comes to making something like homemade jerky, the quality of the few ingredients you use really matters. Since we aren’t masking cheap flavor with heavy spices, every single item in this recipe plays a specific role in delivering that great flavor and texture we want for our healthy snacks. Remember, Leo Grant’s philosophy here is: use accessible ingredients, make sure they are good quality, and don’t overcomplicate the process. You won’t need any specialty spice shops for this!
What makes this marinade shine is the balance between salty soy sauce and sweet honey and brown sugar. But before we get to the flavor building, we have to talk about the meat prep—that’s the first critical step for texture. If you want that perfect bend instead of a brittle snap, slicing correctly is key. For more ideas on quick, flavorful food, check out my favorite appetizers and snacks!
Ingredients for the Teriyaki Turkey Jerky Marinade
Here is what you need to gather. Make sure you have your turkey breast ready to go—this recipe works best when you slice it thin against the grain so it dries evenly.
- 2 lbs turkey breast, sliced thinly against the grain
- 1/2 cup low-sodium soy sauce
- 1/4 cup water
- 3 tablespoons brown sugar
- 2 tablespoons honey
- 1 tablespoon Worcestershire sauce
- 1 teaspoon ground ginger
- 1 teaspoon garlic powder
- 1/2 teaspoon black pepper
Step-by-Step Instructions for Homemade Teriyaki Turkey Jerky
Okay, this is where the project management system really kicks in—we need an efficient process here to turn raw turkey into shelf-stable, delicious fuel. Don’t rush this part; timing is everything when curing meat, even when following a straightforward set of teriyaki recipes like this one. We’re going from liquid flavor bath to dry, chewy snack!
Preparing the Teriyaki Turkey Jerky Marinade
First step, always, is building that flavor base. Grab a bowl and combine your soy sauce, water, brown sugar, honey, Worcestershire, and all those lovely spices—ginger, garlic powder, and pepper. You have to whisk this until that brown sugar is totally dissolved. Seriously, you want zero grit at the bottom of the bowl. Here’s a little trick Leo swears by: dip a clean finger in and taste it before you add the meat. It should taste slightly salty and nicely sweet. If you plan on making quick easy dinners later this week, keep this flavor profile in mind!
Marinating and Prepping the Turkey Slices
Next comes the soaking. Toss those thin turkey slices right into the marinade inside a big resealable bag. Make sure every piece gets coated well. Now, here’s the minimum requirement: let it chill for at least six hours. But honestly? Overnight is where the magic happens. The longer that turkey jerky sits, the deeper the flavor penetrates. When you pull it out after marinating, this is critical: every slice needs to be patted aggressively dry with paper towels. Any excess moisture on the surface slows down the drying process tremendously.
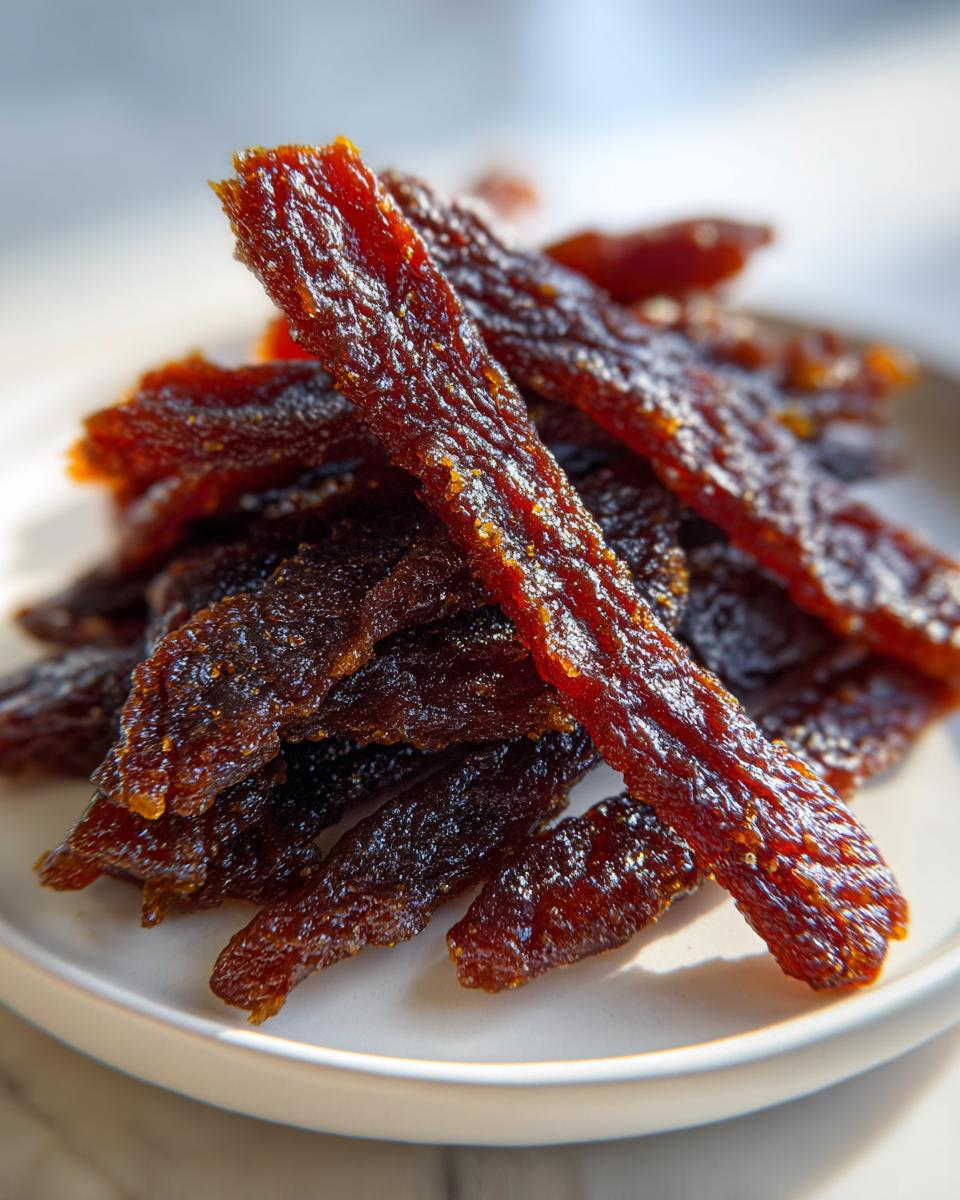
Drying Your Teriyaki Turkey Jerky in the Oven
We’re using the oven as a low-and-slow dehydrator. Set your oven to the absolute lowest temperature it can go—aim for somewhere between 160°F and 175°F. Line your sheets with racks or parchment paper, lay the slices out flat without any overlap—air needs to circulate! Then, wait. It takes anywhere from three to five hours. Set a timer to check on it hourly. How do you know it’s done? It should bend when you gently try to break it. If it snaps cleanly, you’ve gone too long, and you’ve got brittle meat instead of perfect teriyaki turkey jerky. Before you pull it out, turn the oven off and prop the door open slightly with a wooden spoon. Let it cool completely inside for about half an hour to finish that final dry-down. That final cooling stage builds structure!
Tips for Success When Making Teriyaki Turkey Jerky
Look, making jerky is less about complex cooking and more about process management, right? You nail the initial prep and the final drying stage, and you’re golden. I’ve learned a few things over the years testing different batches that really make the difference between good jerky and truly *great* homemade jerky.
First and foremost, let’s talk about slicing. If you want that ideal chewy texture that works so well as a lean protein boost, you have to slice the turkey breast against the grain. If you slice *with* the grain, the muscle fibers stay long and intact, leading to tough, stringy strips that are hard to chew. My trick? I partially freeze the turkey breast for about 45 minutes—it firms up just enough so the knife glides through cleanly, giving you those perfect, uniform thin slices.
Second, if you happen to own a dehydrator, please use it! While the oven works totally fine if you follow my temperature guide, a dehydrator gives you much more consistent results because it’s specifically designed for low, even airflow. If you do use it, adjust your marinating time slightly longer because the moisture removal might be faster than in a standard oven environment. Either way, the goal remains the same: transforming that turkey into the best healthy snacks you’ve ever made!
Ingredient Notes and Substitutions for Your Teriyaki Turkey Jerky
I know some of you might be looking at that ingredient list and thinking, “What if I don’t have brown sugar?” or maybe you’re trying to cut down on carbs even more. That’s fine! My whole philosophy here is about making this recipe reliable for *your* life. The key, however, is keeping the integrity of that lean protein base.
We use brown sugar because the molasses adds depth that white sugar just can’t replicate in this teriyaki recipes blend. But if you must swap, using honey exclusively is okay, though you might need to slightly reduce the honey amount overall because it’s sweeter. Just don’t swap out the low-sodium soy sauce; that’s the foundation of the salt structure here in this turkey jerky.
Worcestershire sauce adds a fantastic savory depth—some people call it umami. If you’re worried about fat, don’t be; the amount used is negligible, and it’s much better than trying to use beef-based marinades which carry more fat. If you absolutely can’t find Worcestershire, a tiny splash of balsamic vinegar combined with a pinch of salt can work in a pinch, but it changes the flavor profile slightly.
The spices—ginger and garlic powder—are really flexible. If you have fresh ginger, use about a tablespoon, finely minced, instead of the teaspoon of powder. Just remember, whatever you change, keep the focus narrow. We want this to remain a fantastic, low-fat, travel-friendly option for your next batch of homemade jerky!
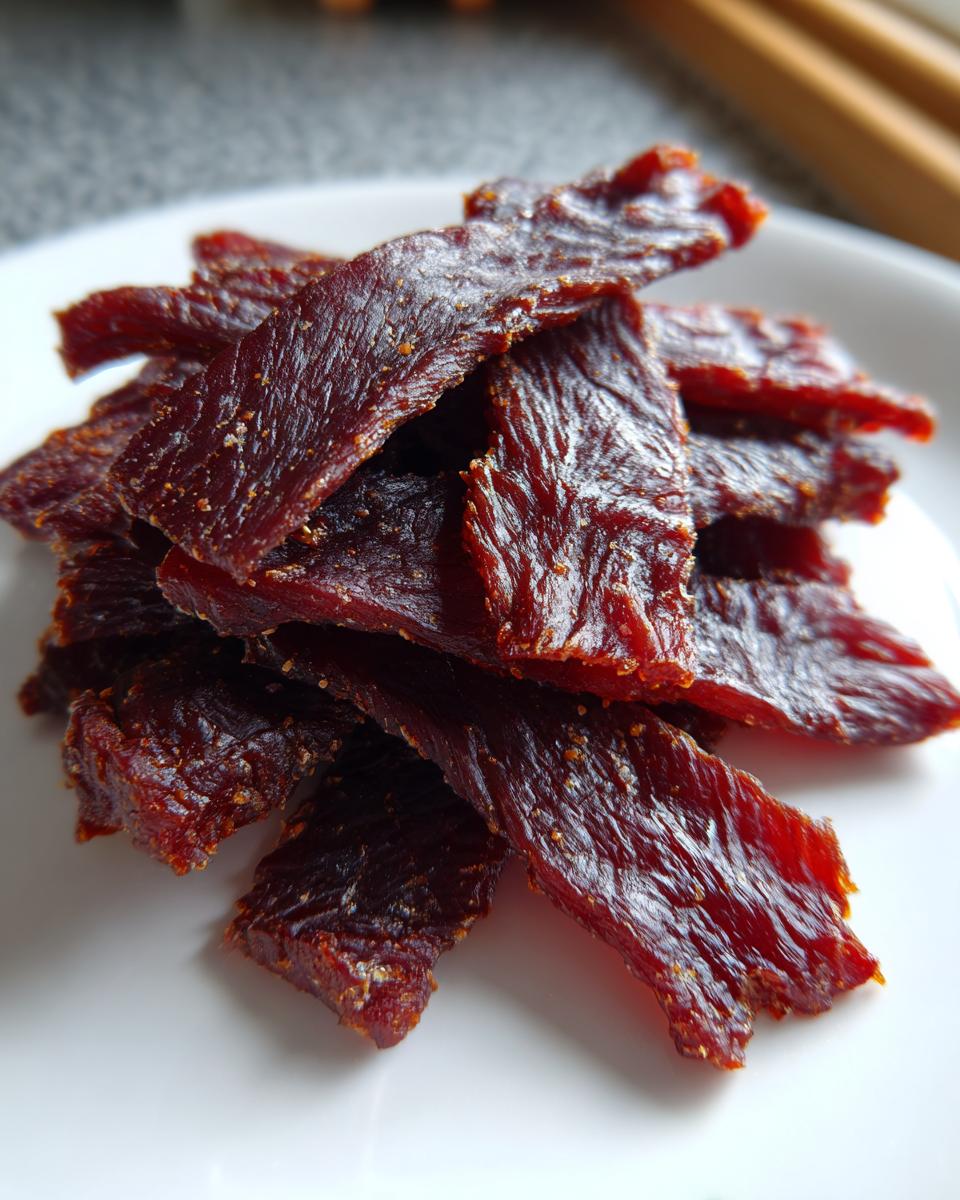
Storage and Keeping Your Teriyaki Turkey Jerky Fresh
Okay, this last step is probably the most important part of the entire project, especially since we’re turning raw meat into something meant to last: proper storage ensures you stay safe and your turkey jerky stays delicious. You can’t just toss it in an open bag on the counter, right?
For room temperature storage—which is perfect if you’re taking it hiking tomorrow or need a quick snack supply for the week—you need an airtight container. Mason jars or heavy-duty freezer bags work perfectly. If you’ve dried your teriyaki turkey jerky out properly (remember, it needs to bend, not snap!), it should be fine stored at cool room temperature for up to two weeks.
But if you made a huge batch, or if your kitchen is warmer than usual, you absolutely should pop it into the fridge. Refrigeration extends the life significantly—I’ve kept mine safe and tasty for up to a month that way. Just make sure you pull it out about 15 minutes before you grab a piece. Letting it come closer to room temperature really wakes up that sweet and savory teriyaki flavor again. This reliability in storage is exactly what makes this recipe such a dependable choice for healthy snacks!
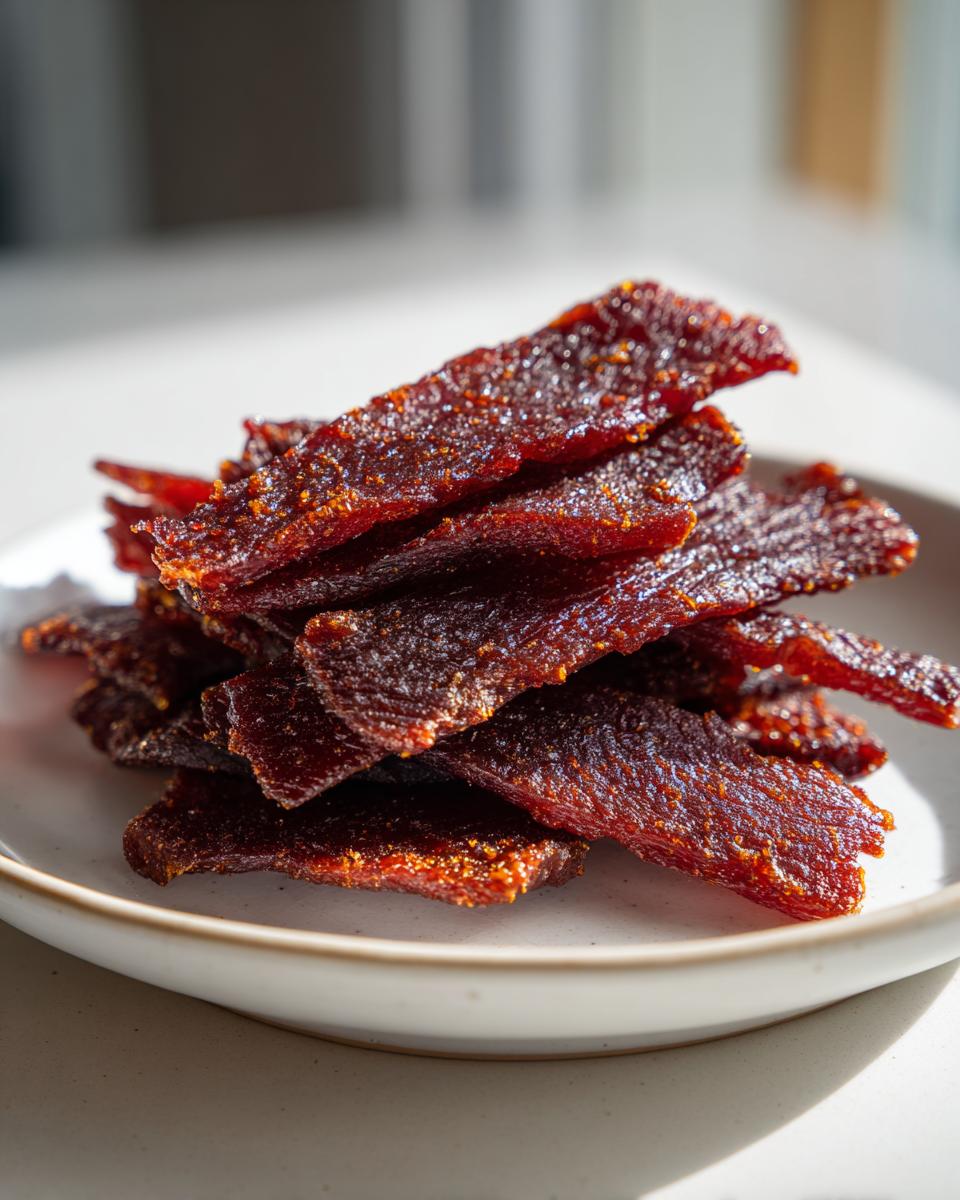
Serving Suggestions for This Lean Protein Snack
Now that you’ve successfully engineered the perfect bag of teriyaki turkey jerky, we have to talk about how to deploy this amazing lean protein source! Since this stuff is amazing fuel for any adventure, I like planning what I pair it with. It’s all about creating balanced provisions for the trail, right?
The sweet and savory character of this jerky pairs so well with things that offer a bit of crunch or a tangy counterpoint. When I’m packing this for a serious hike, I always toss in some crunchy nuts—walnuts or almonds are perfect choices—and maybe some dried cranberries for an extra burst of tart sweetness. This combination gives you fat, carbs, and your fantastic protein boost all in one go.
It’s also great for non-hiking situations! Because it’s not overly greasy, I sometimes chop up a few pieces of the turkey jerky and toss them onto a salad instead of bacon bits. Talk about leveling up your lunch! Or, if you’re just looking for simple, immediate satisfaction, keep a small pouch of this incredible homemade jerky handy alongside some fresh fruit like an apple or some grapes. It’s proof that healthy snacks don’t have to be boring. For more quick pairing ideas, be sure to check out my favorite appetizers and snacks collections!
Frequently Asked Questions About Teriyaki Turkey Jerky
I get asked all the time about tweaks and comparisons when people first try making their own jerky. It’s smart! You want to make sure this foundational recipe holds up to your specific needs, especially when relying on it for consistent lean protein.
Can I substitute chicken breast for turkey in this recipe?
Yes, you absolutely can use chicken breast! Chicken is also a fantastic, super-lean protein source, just like turkey. The main thing you need to watch is the slicing. Chicken tends to be a bit softer than turkey breast, so I highly recommend using that partial freeze trick—pop the chicken breast in the freezer for 45 minutes until it’s firm but not rock-solid. This ensures you get those thin, uniform slices needed for your turkey jerky process to work smoothly.
How do I adjust this recipe if I want it spicier?
If you’re looking for a little heat instead of just sweet and savory, that’s easy to incorporate into the initial marinade! Instead of just sticking to the black pepper, try adding about half a teaspoon of cayenne pepper right into the mixing bowl with the other spices. If you want a smokier heat, a dash of chipotle powder works wonders with the teriyaki base. You are building the perfect customized batch of homemade jerky, so play around until you hit your heat tolerance!
How does this turkey jerky compare nutritionally to standard beef jerky?
This is one of my favorite points! Generally, good quality turkey jerky made with lean breast like this is lower in total fat than typical beef jerky, especially if you usually buy brands that don’t strip the fat as rigorously as we do here. Because we use low-sodium soy sauce, you often get lower sodium too. Overall, this is a major win in the lean protein category. It’s simply a smarter fuel for hiking, proving that being efficient doesn’t mean sacrificing nutrition.
My jerky seems really tough—what went wrong?
That usually points to one of two things, and we need to troubleshoot it for your next batch. Nine times out of ten, it means the strips were either too thin, or you left them in the oven too long. Remember, we want it to bend without breaking. If it snaps like a cracker, it’s dehydrated past the point of flexibility. Also, check your oven temperature! If your oven runs hot, 175°F might actually be cooking closer to 200°F, which dries it out instantly. Next time, I suggest aiming for the lower end of that temp range, or maybe try checking it an hour earlier. For future reference on meal prep, you might also look at some of my easy breakfast and brunch scheduling techniques!
Nutritional Estimates for Teriyaki Turkey Jerky
Look, because I’m such a stickler for process and efficiency, I always run the numbers once a recipe is finalized. When you’re planning your provisions for a hike, knowing exactly what you’re packing is crucial. You want maximum impact for minimum weight, right? That’s why this teriyaki turkey jerky is such a winner for lean protein snacking.
Keep in mind, these numbers below are estimates based on the standard ingredient amounts listed in the recipe above, assuming you followed the steps exactly and yielded about one pound of finished product. Your actual figures might shift a little depending on how much moisture evaporates off or the exact brand of soy sauce you grabbed. But these give you a fantastic ballpark reference for this super healthy snack.
- Serving Size: 1 oz
- Calories: 85
- Protein: 15g (That’s the good stuff!)
- Fat: 1g (See? Super low fat.)
- Carbohydrates: 4g
- Sodium: About 250mg (This is why we insist on low-sodium soy sauce!)
When you compare that to a typical serving of beef jerky, you’ll see how much better this turkey jerky stacks up if you’re focused on a low-fat intake. It’s the perfect balance of flavor and functional nutrition we aim for at Dishicious. Knowing this data helps you build the most optimized trail mix possible!
Share Your Homemade Teriyaki Turkey Jerky Success
Honestly, seeing you all succeed in the kitchen is the whole point of this site. When you get that process down, and you’ve successfully transformed simple turkey breast into portable, amazing teriyaki turkey jerky, I want to hear about it! Leo Grant loves feedback because it helps me refine the workflow for everyone else coming after you.
Did this recipe work perfectly in your oven, or did you have to adjust the temperature ever so slightly? Don’t keep those valuable project notes to yourself! Please take a second to drop a comment below. Telling me how long you marinated it or whether you added a little extra ginger helps future cooks nail this on the first try. Every time you rate the recipe, it sends a signal that this is a reliable plan!
And please, share photos on social media! Tag us so we can see your finished product. Are you packing this lean protein for a mountain climb? Are you tossing it in your briefcase for a busy workday? Show us how you’re incorporating this amazing homemade jerky into your life. If you ever have a big question about substitutions or need to reach out directly for tech support on oven settings, you can always find me over at the contact page. Happy snacking!
PrintSimple Teriyaki Turkey Jerky for Lean Protein Snacking
Make your own lean protein turkey jerky with a sweet and savory teriyaki flavor. This recipe is perfect for healthy snacks on your next outdoor activity.
- Prep Time: 20 min
- Cook Time: 5 hours
- Total Time: 5 hours 20 min
- Yield: About 1 pound 1x
- Category: Snack
- Method: Dehydrating/Baking
- Cuisine: American
- Diet: Low Fat
Ingredients
- 2 lbs turkey breast, sliced thinly against the grain
- 1/2 cup low-sodium soy sauce
- 1/4 cup water
- 3 tablespoons brown sugar
- 2 tablespoons honey
- 1 tablespoon Worcestershire sauce
- 1 teaspoon ground ginger
- 1 teaspoon garlic powder
- 1/2 teaspoon black pepper
Instructions
- Combine soy sauce, water, brown sugar, honey, Worcestershire sauce, ginger, garlic powder, and black pepper in a bowl. Whisk until the sugar dissolves. This is your teriyaki marinade.
- Place the thinly sliced turkey into a large, resealable plastic bag or a non-reactive container.
- Pour the teriyaki marinade over the turkey slices, making sure all pieces are coated.
- Refrigerate for at least 6 hours, or preferably overnight, to allow the turkey to absorb the flavor.
- Preheat your oven to its lowest setting, typically between 160°F and 175°F (71°C and 80°C). Line baking sheets with parchment paper or cooling racks set over the sheets.
- Remove the turkey from the marinade and pat the slices dry with paper towels. Excess moisture slows drying time.
- Arrange the turkey slices in a single layer on the prepared baking sheets, ensuring they do not overlap.
- Bake for 3 to 5 hours, checking every hour. The time depends on your oven’s actual temperature and the thickness of your slices.
- The jerky is done when it is dry, firm, and bends without breaking. If it snaps easily, it is overcooked.
- Turn off the oven and prop the door open slightly. Let the jerky cool completely inside the oven for about 30 minutes to finish drying.
- Store your homemade jerky in an airtight container at room temperature for up to two weeks, or refrigerate for longer storage.
Notes
- For a chewier texture, slice the turkey when it is partially frozen.
- If you have a dehydrator, use it instead of the oven for more consistent results.
- Use low-sodium soy sauce to control the salt content in your healthy snacks.
Nutrition
- Serving Size: 1 oz
- Calories: 85
- Sugar: 4
- Sodium: 250
- Fat: 1
- Saturated Fat: 0.3
- Unsaturated Fat: 0.7
- Trans Fat: 0
- Carbohydrates: 4
- Fiber: 0
- Protein: 15
- Cholesterol: 35