

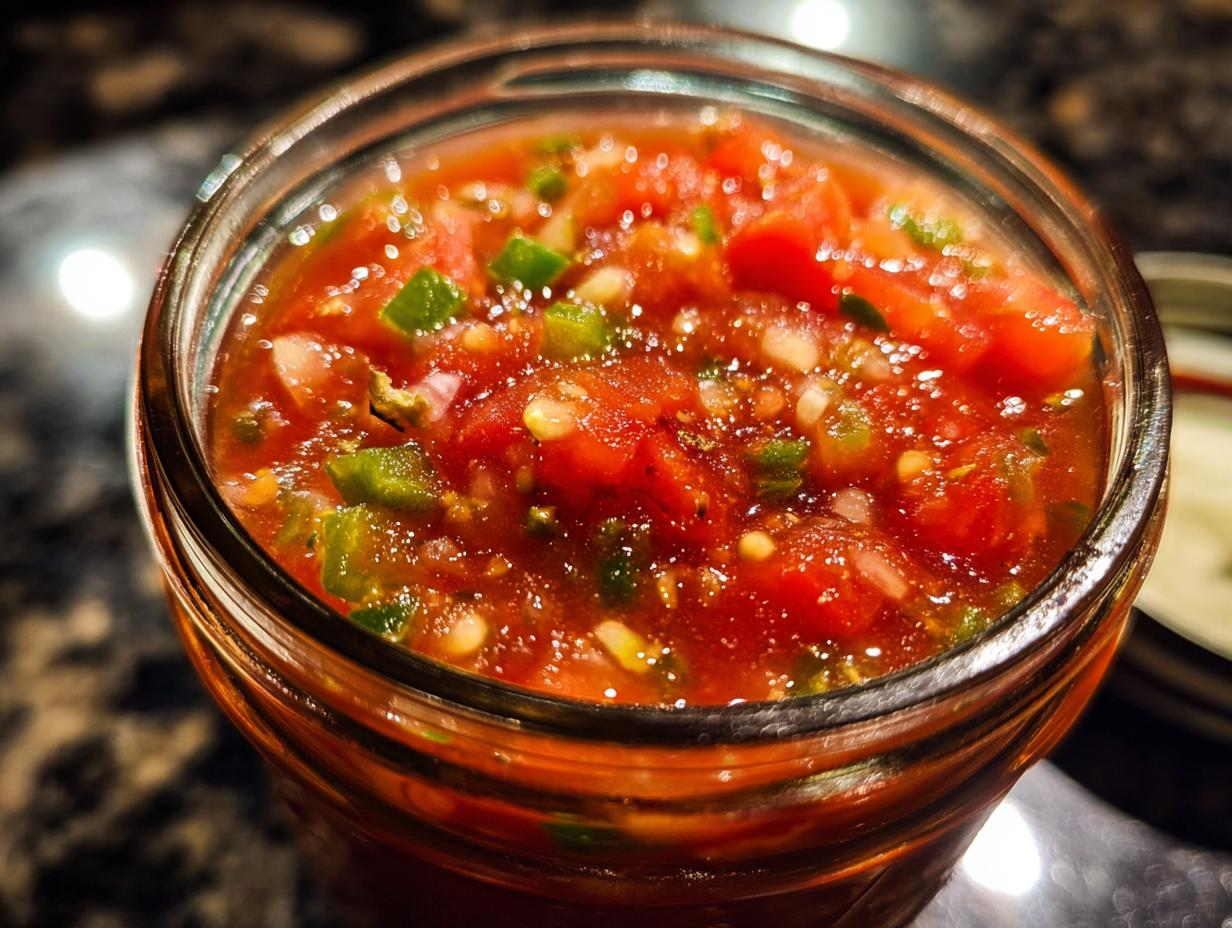
Oh, summer! When those tomato plants are just bursting with flavor and you’ve got more ripe, juicy tomatoes than you know what to do with, right? It’s the best kind of problem to have! I love those farmers’ market hauls and garden harvests, but they don’t last forever. That’s exactly why I’m so excited to share my foolproof method for making fresh tomato canned salsa. Seriously, it’s a game-changer for preserving that peak-season taste all year long. We’re talking about a super safe, tested water bath canning recipe that gives you delicious, chunky homemade salsa without any fuss. It’s the perfect way to keep your garden bounty going strong, just like Leo Grant’s ‘project manager’ approach to cooking here at Dishicious – all about efficiency and getting delicious, reliable results. You can read more about our story and how we approach recipes like a project manager!
- Why You'll Love This Fresh Tomato Canned Salsa Recipe
- Ingredients for Your Fresh Tomato Canned Salsa
- Essential Equipment for Canning Fresh Tomato Salsa
- How to Safely Can Fresh Tomato Salsa: Step-by-Step
- Tips for Perfect Preserving Fresh Tomatoes
- Ingredient Notes and Substitutions for Salsa Canning
- Storing Your Fresh Tomato Canned Salsa
- Frequently Asked Questions About Canning Salsa
- Estimated Nutritional Information
- Share Your Garden Tomato Recipes
Why You’ll Love This Fresh Tomato Canned Salsa Recipe
Seriously, making your own canned salsa is such a rewarding project! Here’s why you’ll absolutely love this recipe:
- Taste of Summer, Anytime: Capture that super fresh, vibrant tomato flavor and enjoy it way beyond August.
- So Easy, Trust Me: We broke it down with a clear, step-by-step approach, just like Leo would plan a project. No crazy techniques!
- Shelf-Stable Deliciousness: Feel that satisfaction of filling your pantry with homemade goodness, ready whenever taco night strikes.
- Control the Heat!: Easily tweak the jalapeños to make it as mild or as fiery as you like.
- It’s Just Better: Honestly, homemade always trumps store-bought, especially when it’s this good and made with love from your own harvest.
Ingredients for Your Fresh Tomato Canned Salsa
Alright, let’s talk about what you’ll need to make this amazing salsa! Gathering these ingredients is like prepping for any good project – you want everything ready to go so the actual work flows smoothly. Remember, using good quality, fresh ingredients is honestly half the battle for the best flavor!
Here’s the lineup:
- Ripe Tomatoes: You’ll need about 6 cups of peeled, cored, and chopped ripe tomatoes. Those are roughly 3 pounds of tomatoes. I always go for firm, ripe ones for the best texture and flavor.
- Onions: 1 cup chopped onions, which is usually about 1 medium onion. Yellow or white work great here.
- Green Bell Peppers: 1 cup chopped green bell peppers – think about 1 medium pepper. They add that nice fresh, slightly earthy flavor.
- Jalapeño Peppers: About 1/2 cup chopped jalapeño peppers. This is usually 2-3 peppers. If you’re sensitive to heat, definitely remove those seeds and membranes! You can always add more if you like it spicy.
- Garlic: 4 cloves of garlic, minced really fine. Fresh garlic makes a huge difference, trust me!
- Salt: 1 teaspoon of salt. It really brings out all the flavors.
- Cumin: 1/2 teaspoon of ground cumin. This is one of my favorite spices for that classic salsa smell and taste.
- Cayenne Pepper (Optional): A pinch, about 1/4 teaspoon, if you want an extra kick!
- Bottled Lemon Juice: You’ll need 1/2 cup of bottled lemon juice. This is super important for safety in canning because it has a consistent acidity level.
Essential Equipment for Canning Fresh Tomato Salsa
Alright, before you dive into the goodness, let’s get you prepped with the right gear! Canning is all about being organized, kind of like tackling any big project Leo plans out. Having these items ready means you can just focus on making this delicious fresh tomato canned salsa without any interruptions. It really makes the whole process smoother, and when you’re working with hot jars and boiling water, smoother is definitely better!
- Water Bath Canner: A big pot with a rack in the bottom. It needs to be deep enough so your jars are submerged in water.
- Canning Jars: Pint-sized jars are perfect for salsa! Make sure they’re clean and sterilized.
- Lids and Bands: You need new lids for each batch to ensure a good seal. Bands can usually be reused if they’re in good shape.
- Jar Lifter: This is a total lifesaver for moving those hot jars safely in and out of the canner.
- Canning Funnel: Makes filling your jars so much cleaner and easier.
- Non-Metallic Spatula or Bubble Remover: For getting rid of air bubbles without damaging the jar rim.
- Ladle: A good ladle for spooning your hot salsa into the jars.
- Large Pot: For cooking up the salsa mixture itself.
How to Safely Can Fresh Tomato Salsa: Step-by-Step
Alright, let’s get this salsa canned up! This is where all your prep work really pays off. Remember, when we’re talking about canning, especially with something like this amazing fresh tomato canned salsa, safety and following the steps exactly are super important. It’s like following a detailed project plan – makes sure everything turns out perfectly and safely. We’re aiming for that delicious, shelf-stable goodness!
Preparing Your Canning Station and Ingredients
First things first, get your canning station ready to go. You want everything to be clean and within easy reach. Start by getting your water bath canner filled with enough water to cover your jars by at least an inch, and set it to heating. While that’s warming up, it’s time to get your jars ready. Wash them thoroughly and then sterilize them. I usually keep mine in a pot simmering on the stove, or you can run them through a hot dishwasher cycle. Don’t forget your lids and bands – keep them hot according to the manufacturer’s instructions. And of course, make sure all your chopped veggies and spices are prepped and waiting!
Cooking the Fresh Tomato Salsa Mixture
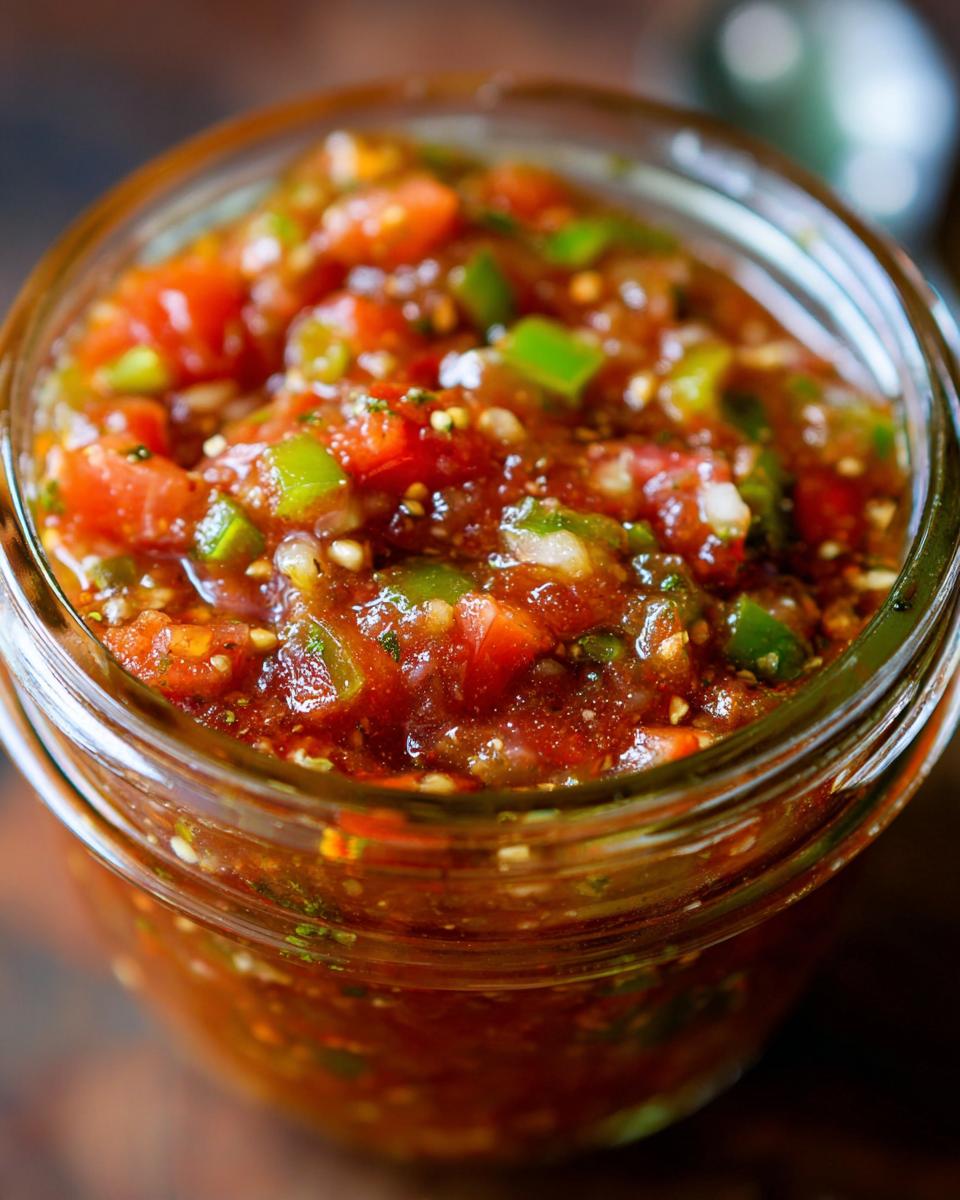
Now for the fun part – making the salsa itself! In a big, non-reactive pot (important so it doesn’t mess with the flavor or color), toss in your chopped tomatoes, onions, bell peppers, jalapeños, and minced garlic. Add your salt, cumin, and that optional cayenne pepper if you’re feeling brave! Give it all a good stir to combine. Now, pour in that bottled lemon juice – this is key for safe canning. Bring the whole glorious mix to a boil over medium-high heat, stirring occasionally. Once it’s boiling, reduce the heat and let it simmer for about 10 minutes, stirring pretty often so nothing sticks. You want it all to meld together beautifully.
Filling and Sealing Jars for Preservation
Okay, time to get this deliciousness into jars and preserve it! Grab your hot, sterilized jars. Using a ladle and that handy canning funnel, carefully spoon the hot salsa into each jar, making sure to leave about a 1/2 inch of headspace at the top. This little bit of space is important for creating a proper vacuum seal. Now, run a non-metallic spatula or a thin wooden chopstick around the inside edge of each jar to get rid of any sneaky air bubbles. Wipe the rims of the jars super clean with a damp cloth – any salsa residue on the rim can prevent a good seal. Finally, center a hot lid on each jar and screw on the bands until they’re just fingertip tight. You don’t want to crank them down super hard!
Water Bath Canning Process and Processing Time
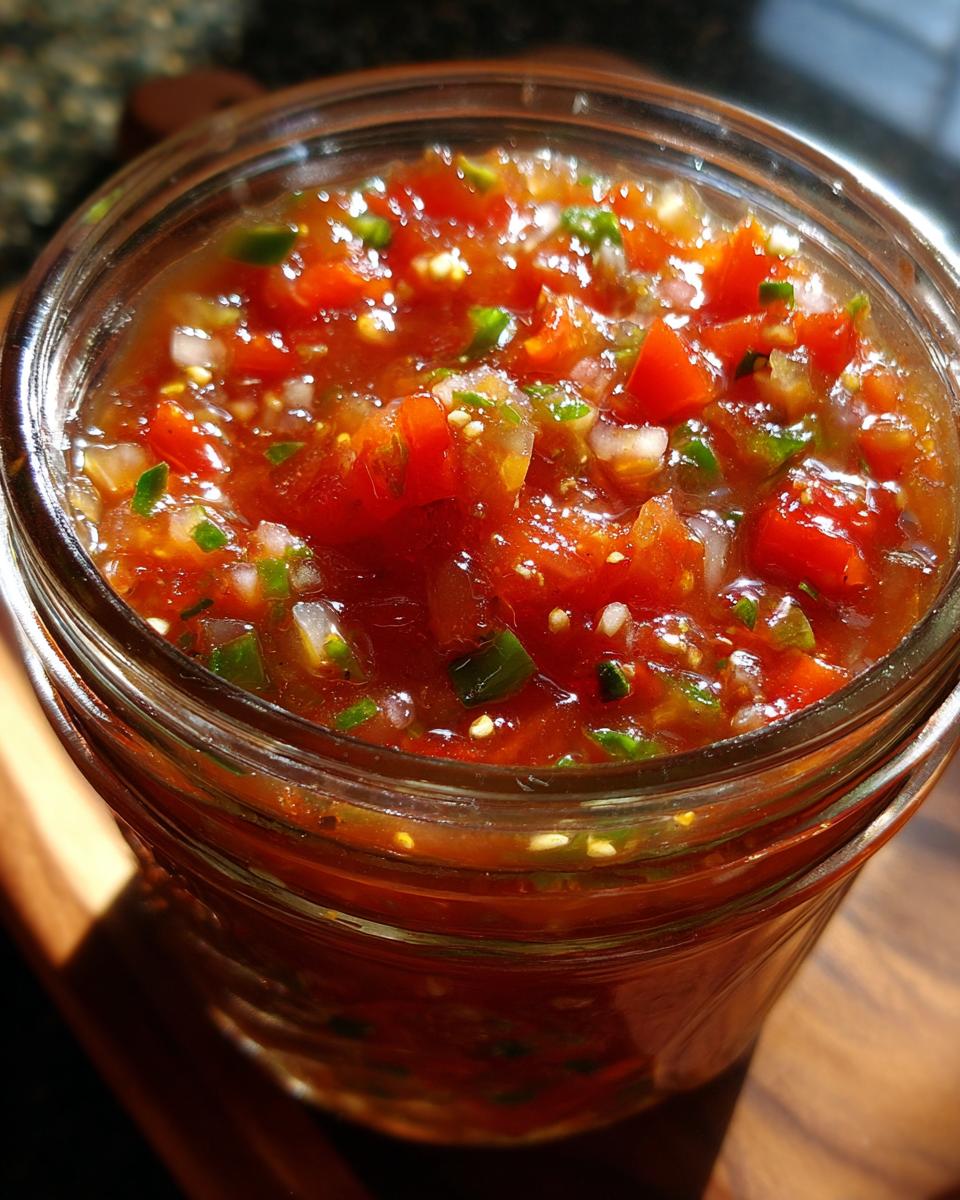
With the jars filled and sealed, it’s time for the main event: the water bath canning! Carefully place your filled jars onto the rack in your canner using your jar lifter. Make sure the jars aren’t touching each other. Once all your jars are in, add more hot water if needed to ensure they’re covered by at least an inch or two of water. Put the lid on your canner and bring the water to a full, rolling boil over high heat. Once it’s boiling hard, start your timer! For pint jars of salsa, you’ll process them for 15 minutes. Remember, if you live at a higher altitude, you’ll need to adjust that processing time – check reliable canning charts for your specific altitude.
Cooling and Checking Seals for Your Homemade Canning Salsa
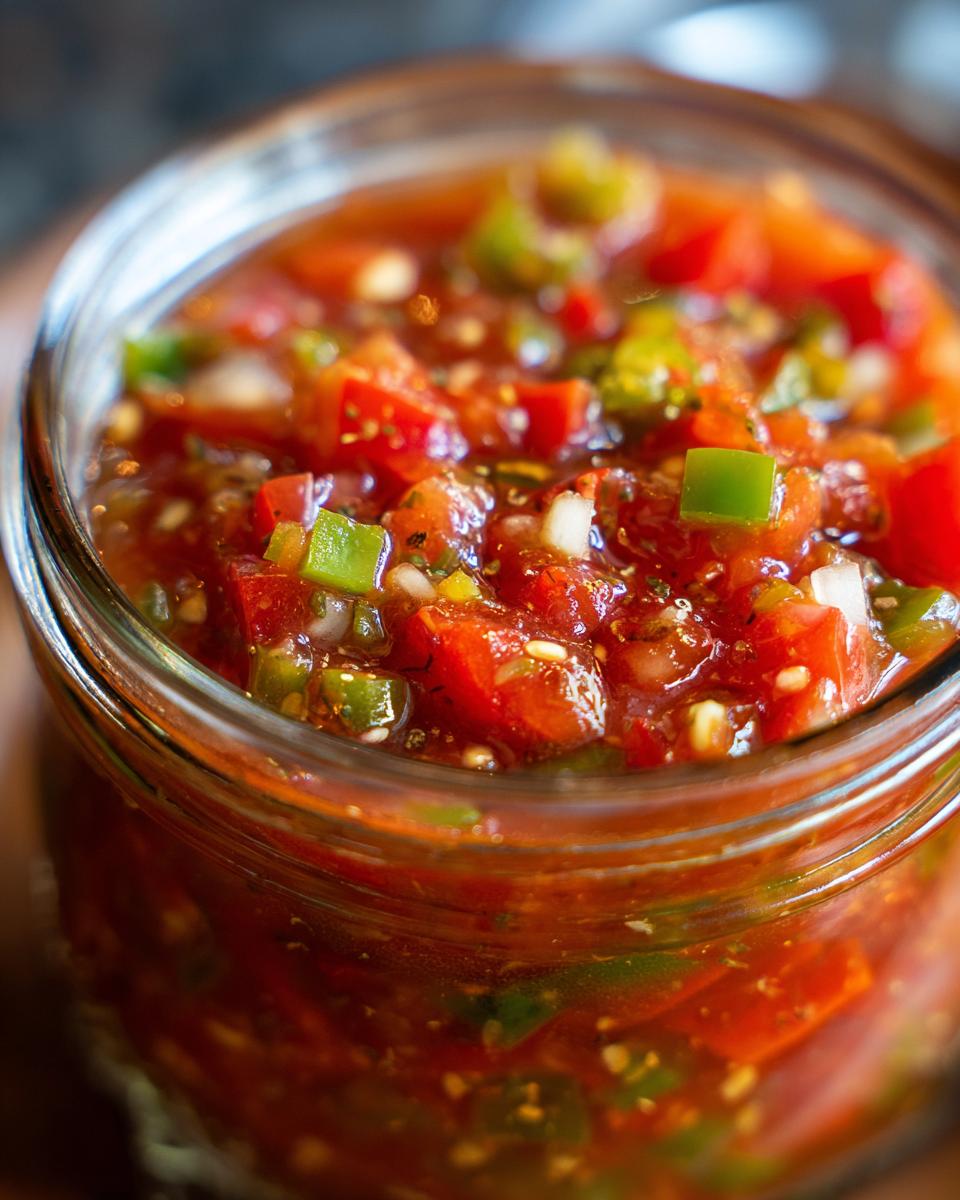
Once the processing time is up, turn off the heat, but leave the canner lid on for another 5 minutes. This little resting period helps prevent thermal shock, which can sometimes cause jars to break. After those 5 minutes, carefully remove the jars from the canner using your jar lifter, being super cautious with those hot jars! Place them upright on a towel-lined counter or a cooling rack, leaving plenty of space between them so air can circulate. Let them cool completely undisturbed for 12 to 24 hours. You’ll likely hear little ‘ping’ sounds as the lids seal – that’s the best sound! After they’ve cooled, gently check the seals by pressing on the center of each lid. If a lid is firm and doesn’t flex up and down, it’s sealed! If a lid is loose or doesn’t seal, just pop that jar in the fridge and enjoy your delicious homemade salsa soon.
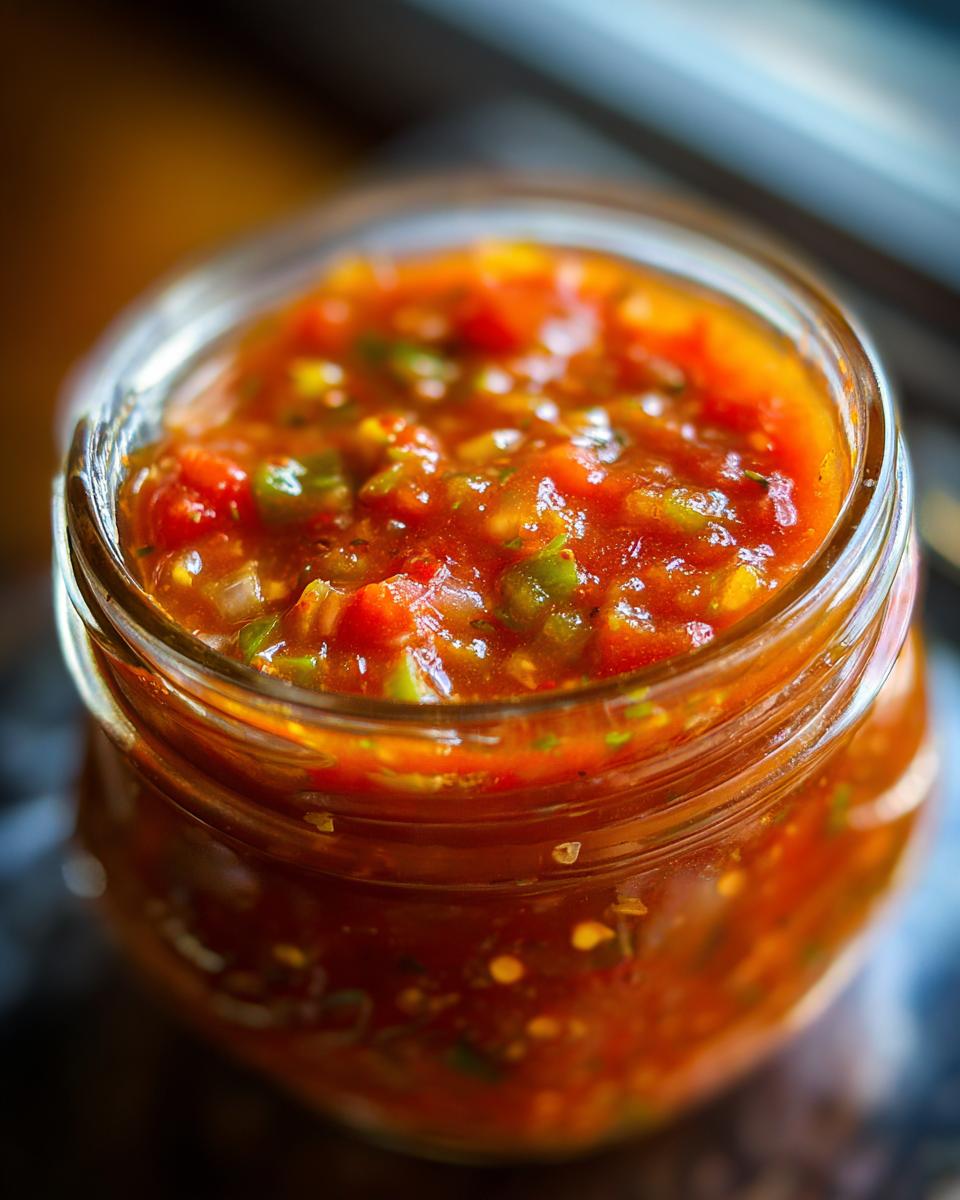
Tips for Perfect Preserving Fresh Tomatoes
Okay, so you’ve got your beautiful tomatoes, and you’re ready to turn them into amazing fresh tomato canned salsa. Trust me, a few little tricks can make all the difference between “good” salsa and “OMG, I need more!” salsa. It’s all about paying attention to the details when you’re preserving, kind of like how Leo plans out Dishicious recipes to be super reliable. So, here are my go-to tips to make sure your canning project is a smashing success!
- Pick the Right Tomatoes: Seriously, this is HUGE! Use firm, ripe tomatoes that are packed with flavor. Roma or paste tomatoes are usually fantastic for canning because they’re less watery, but any good ripe tomato will work. Avoid any that are bruised or mushy; those are better for a fresh salsa you’ll eat right away.
- Don’t Skimp on the Acid: That bottled lemon juice isn’t just for flavor; it’s crucial for safety! It raises the acidity of the salsa, which is vital for preventing the growth of harmful bacteria in a water bath. Stick to the tested amount (1/2 cup for this recipe).
- Chop Evenly: When you’re chopping your veggies, try to keep the pieces roughly the same size. This helps them cook and process evenly, so you don’t end up with some super mushy bits and some crunchy ones in your canned salsa.
- Cleanliness is Key: I know it sounds obvious, but I can’t stress enough how important clean jars, lids, and equipment are. Sterilize everything properly. A clean workspace and clean hands are your first line of defense against spoilage.
- Check Those Seals: That ‘ping’ sound is music to my ears! But always, always double-check those seals after 12-24 hours. A loose lid means that jar needs to go in the fridge and be used up quickly, so you don’t waste all your hard work.
Ingredient Notes and Substitutions for Salsa Canning
Alright, let’s chat about these ingredients for your fresh tomato canned salsa. Sometimes you might be tempted to swap things out, and while I totally get it, when it comes to canning, especially for safety, sticking to what works is super important. Think of it like Leo’s approach at Dishicious – efficiency and reliability are key! But, there are definitely a few things we can talk about:
Tomatoes: Roma or paste tomatoes are my absolute favorites for canning salsa because they’re nice and meaty with less juice. But hey, if you’ve got a ton of beautiful beefsteak or Early Girl tomatoes from the garden, they’ll work too! Just know they might make your salsa a little more liquidy, which isn’t a big deal, but you might want to simmer it down a smidge longer to get that perfect chunky texture.
Peppers: Oh, the heat! You’ve got options here. I listed jalapeños, but if you want it milder, go for a poblano or even just use more green bell peppers. If you’re a fire-breather, you could absolutely add a serrano or two, but remember, once it’s canned, that heat really settles in! Always remove seeds and membranes for less spice.
Lemon Juice Substitute?: This is where we gotta be careful. Bottled lemon juice has a consistent, high acidity that’s tested and approved for safe water bath canning. Fresh lemon juice is wonderful for everyday cooking, but its acidity can vary wildly, and that can affect the safety of your salsa. So, for this recipe, I really, really recommend sticking with bottled lemon juice. It’s just not worth the risk to swap it out when dealing with shelf-stable preservation!
Storing Your Fresh Tomato Canned Salsa
Alright, you’ve done it! You’ve got beautiful jars of homemade fresh tomato canned salsa ready to go. Now, let’s talk about keeping them perfect. Storing them correctly is just as important as the canning process itself, kind of like making sure that project is properly filed away for future reference!
The best spot for your canned salsa is a cool, dark place. Think pantry, cellar, or a cupboard that doesn’t get too warm or see too much light. Aim for a consistent temperature, ideally between 50-70°F (10-21°C). This helps maintain the quality and flavor over time. And remember those jars that didn’t seal? Pop those in the fridge! They’re totally delicious, but they need to be eaten within a few weeks.
Frequently Asked Questions About Canning Salsa
Got questions about whipping up this fabulous fresh tomato canned salsa? You’re not alone! Canning can seem a bit daunting at first, but that’s why we break it all down. Here are some of the most common things folks ask so you can feel totally confident in your preserving skills!
Is this a safe salsa canning recipe?
Absolutely! This recipe follows tested water bath canning guidelines, which are super important for making sure your salsa is safe to store on the shelf. Using tested recipes is key because they’re designed to create the right acidity in your food, which prevents harmful bacteria from growing. So yes, you can trust this recipe to give you safe, delicious homemade salsa!
Can I use fresh lemon juice instead of bottled?
This is a really important one for safety! While fresh lemon juice is zesty and delicious in everyday cooking, bottled lemon juice has a consistent, proven acidity level that’s necessary for safe water bath canning. The acidity in fresh lemon juice can vary a lot, and using it might not make your salsa acidic enough for proper preservation. For peace of mind and shelf stability, it’s best to stick with the bottled kind for this recipe.
How long will this canned salsa last?
When canned properly, this delicious homemade salsa should last for at least a year, possibly even longer! The flavor is usually best within the first 12 months, though. Just make sure those jars are sealed tight and stored in a cool, dark place like your pantry. Remember, if a jar didn’t seal correctly, it needs to live in the fridge and be enjoyed within a few weeks! Happy canning!
Estimated Nutritional Information
Before you dive into that amazing homemade salsa, let’s chat a little about what’s inside. Keep in mind that these numbers are just estimates, okay? They can really change depending on the exact tomatoes and peppers you use, or even the brand of your bottled lemon juice. But it gives you a good idea! For a standard serving size of about 1/2 cup, you’re looking at:
- Calories: Around 50
- Sugar: About 8g
- Sodium: Around 400mg (this can vary a lot based on your added salt!)
- Fat: Just a little bit, around 0.5g total.
- Carbohydrates: Roughly 10g
- Fiber: About 2g
- Protein: Around 2g
So, pretty much a flavor-packed, low-calorie way to enjoy your garden bounty!
Share Your Garden Tomato Recipes
Alright, now that you’ve got your amazing fresh tomato canned salsa ready to rock, I’m dying to hear all about it! Did you end up making it super spicy, or did you go for a milder version? I’d love to see pictures of your beautiful jars lined up, or even better, hear how you’re enjoying them! Are you scooping it onto tacos, dipping chips in it every chance you get, or maybe even adding it to your favorite chili?
Seriously, sharing your experiences and any fun twists you tried helps everyone out and makes this whole Dishicious community even better. Don’t be shy – drop a comment below, tell us your stories, or maybe even share your favorite way to use up that homemade goodness! You can also reach out anytime via our contact page if you have super specific questions or want to share something special. Happy salsa making!
PrintFresh Tomato Canning Salsa
Preserve your garden’s fresh tomato harvest with this safe and tested water bath canning recipe for chunky salsa. Enjoy homemade salsa year-round.
- Prep Time: 30 min
- Cook Time: 25 min
- Total Time: 55 min
- Yield: 4 pints 1x
- Category: Preserves
- Method: Water Bath Canning
- Cuisine: American
- Diet: Vegetarian
Ingredients
- 6 cups peeled, cored, and chopped ripe tomatoes (about 3 lbs)
- 1 cup chopped onions (about 1 medium)
- 1 cup chopped green bell peppers (about 1 medium)
- 1/2 cup chopped jalapeño peppers (about 2-3, seeds removed for less heat)
- 4 cloves garlic, minced
- 1 teaspoon salt
- 1/2 teaspoon ground cumin
- 1/4 teaspoon cayenne pepper (optional)
- 1/2 cup bottled lemon juice
Instructions
- Prepare your water bath canner, jars, lids, and bands. Sterilize jars and bands in boiling water. Keep lids hot according to manufacturer’s instructions.
- In a large non-reactive pot, combine chopped tomatoes, onions, green bell peppers, jalapeño peppers, and minced garlic.
- Add salt, cumin, and cayenne pepper (if using). Stir well.
- Add bottled lemon juice to the pot.
- Bring the mixture to a boil over medium-high heat, stirring occasionally.
- Reduce heat and simmer for 10 minutes, stirring often.
- Ladle the hot salsa into hot jars, leaving 1/2 inch headspace.
- Remove air bubbles by running a non-metallic spatula around the inside of the jar.
- Wipe jar rims clean with a damp cloth.
- Center lids on jars and screw on bands until fingertip tight.
- Place jars in the prepared water bath canner, ensuring they are covered by at least 1 inch of water.
- Bring water to a rolling boil, then start the processing time. Process for 15 minutes for pints (adjust for altitude if necessary).
- Turn off heat, remove canner lid, and let jars sit in the canner for 5 minutes.
- Carefully remove jars from the canner and place them on a towel-lined counter to cool completely. Do not retighten bands.
- Check seals after 12-24 hours. If a lid does not seal, refrigerate the salsa and consume within a few weeks.
Notes
- For best results, use firm, ripe tomatoes.
- Adjust the amount of jalapeño peppers to control the heat level.
- Always follow tested canning guidelines for safety.
- Ensure your jars are properly sealed for shelf stability.
Nutrition
- Serving Size: 1/2 cup
- Calories: 50
- Sugar: 8g
- Sodium: 400mg
- Fat: 0.5g
- Saturated Fat: 0g
- Unsaturated Fat: 0.5g
- Trans Fat: 0g
- Carbohydrates: 10g
- Fiber: 2g
- Protein: 2g
- Cholesterol: 0mg