
Hey there, fellow dessert lovers! Are you, like me, always on the hunt for that perfect sweet treat that doesn’t pile on the sugar or send you into a guilt trip later? It’s a culinary quest, right? Well, I’ve got something that’s totally changed my dessert game: a ridiculously easy, 4-ingredient protein ice cream made right in your blender. Seriously, it’s a complete game-changer for anyone trying to eat well and still satisfy that sweet tooth. It’s part of how I learned to approach my kitchen like a project – always looking for the smartest, most flavor-packed way to get things done, just like our founder Leo Grant likes to say over on our About page. This protein ice cream recipe is a prime example of that methodical approach to making delicious food simple.

- Why You'll Love This Protein Ice Cream Recipe
- The Magic Behind Cottage Cheese Ice Cream
- Essential Ingredients for Your Protein Ice Cream
- How to Make Perfect Protein Ice Cream
- Flavor Variations for Your Protein Ice Cream
- Tips for the Best Blender Ice Cream Texture
- Serving and Storing Your Protein Ice Cream
- Frequently Asked Questions About Protein Ice Cream
- Approximate Nutritional Information
- Share Your High-Protein Dessert Creations!
Why You’ll Love This Protein Ice Cream Recipe
Seriously, this protein ice cream is a winner for so many reasons:
- Crazy Easy: Just toss everything in the blender! No fancy equipment needed, just your trusty blender.
- Minimal Ingredients: We’re talking just 4 simple things you probably already have.
- Protein Powerhouse: Get a solid 20g of protein per serving to keep you full and satisfied.
- Deliciously Creamy: Forget gritty or icy textures; this is pure, smooth ice cream bliss.
- Healthy Indulgence: It’s the perfect guilt-free way to satisfy those dessert cravings.
The Magic Behind Cottage Cheese Ice Cream
Okay, so cottage cheese for ice cream? I know, it sounds a little out there, right? But trust me on this one! When you blend it up super smooth, cottage cheese turns into this incredibly creamy base that’s just begging for some sweetness and flavor. The best part? It’s practically a protein bomb! This is why it’s such a fantastic base for our protein ice cream – it packs a serious protein punch (like, 20 grams per cup!) without adding a ton of fat or sugar, and it blends up silky smooth. It’s a super smart ingredient swap that totally transforms your idea of what a healthy dessert can be.
Essential Ingredients for Your Protein Ice Cream
Alright, let’s talk ingredients! For this amazing protein ice cream, we’re keeping it super simple, just like Leo suggests when we’re streamlining recipes. You only need four things, seriously!
First up, you’ll need 16 ounces of good old cottage cheese. I like to use full-fat for the creamiest texture, but you can totally use low-fat if that’s your jam. Just make sure it’s blended really well later! Then, we’ve got 1/4 cup of milk. Any kind works – dairy, almond, oat, whatever you have in your fridge. Next is your sweetener, so grab about 1/4 cup of your favorite. I usually go for maple syrup or honey for that natural sweetness, but honestly, a sugar-free alternative like erythritol or monk fruit blend is perfect if you’re watching sugar intake. And the grand finale? Just 1 teaspoon of vanilla extract to make everything smell and taste amazing. That’s it! Four simple things for pure dessert magic.
How to Make Perfect Protein Ice Cream
So, you’ve got your ingredients, you’re ready to go, and you’re thinking, “How hard can this be?” Well, get ready, because making this protein ice cream is ridiculously simple! It’s all about putting the right things in the blender and letting it do the work. Honestly, it’s such a straightforward process, even my most recipe-adverse friends can nail it. This method makes sure you get that super smooth, creamy texture every single time, no fuss required.
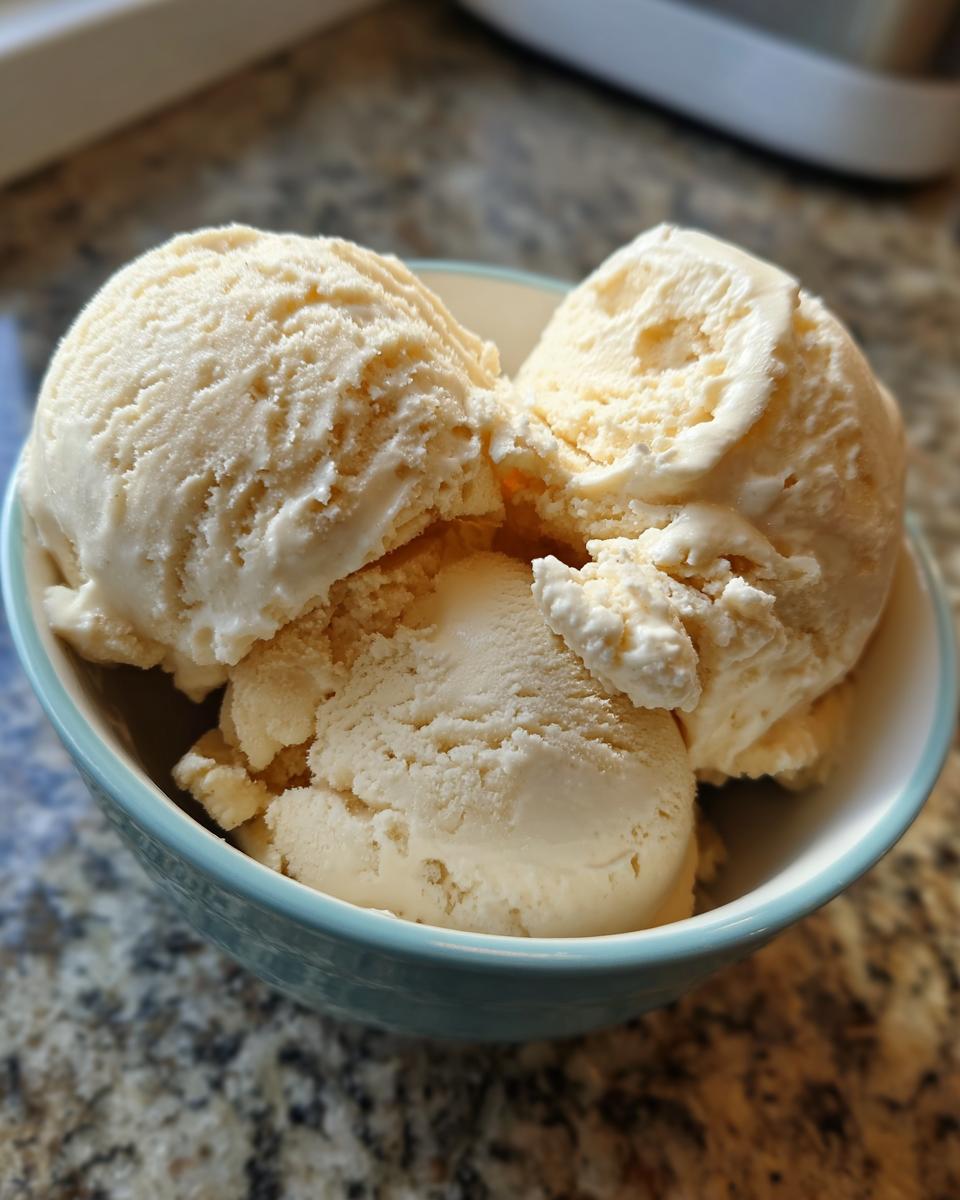
Blending for Ultimate Creaminess
Alright, the star of the show – blending! You want to get everything – that cottage cheese, milk, sweetener, and vanilla – into your blender. Now, don’t be shy! Hit that high speed and let it whirl. You’re going to want to blend until it’s *completely* smooth and creamy. Seriously, no lumps allowed! If you’ve got a less powerful blender, no sweat. Just give it a bit more time, maybe pause to scrape down the sides a couple of times to make sure everything gets incorporated. What you’re looking for is a texture that’s almost like a thick milkshake, but without any of that grainy cottage cheese feel. That’s your sign it’s ready for the freezer!

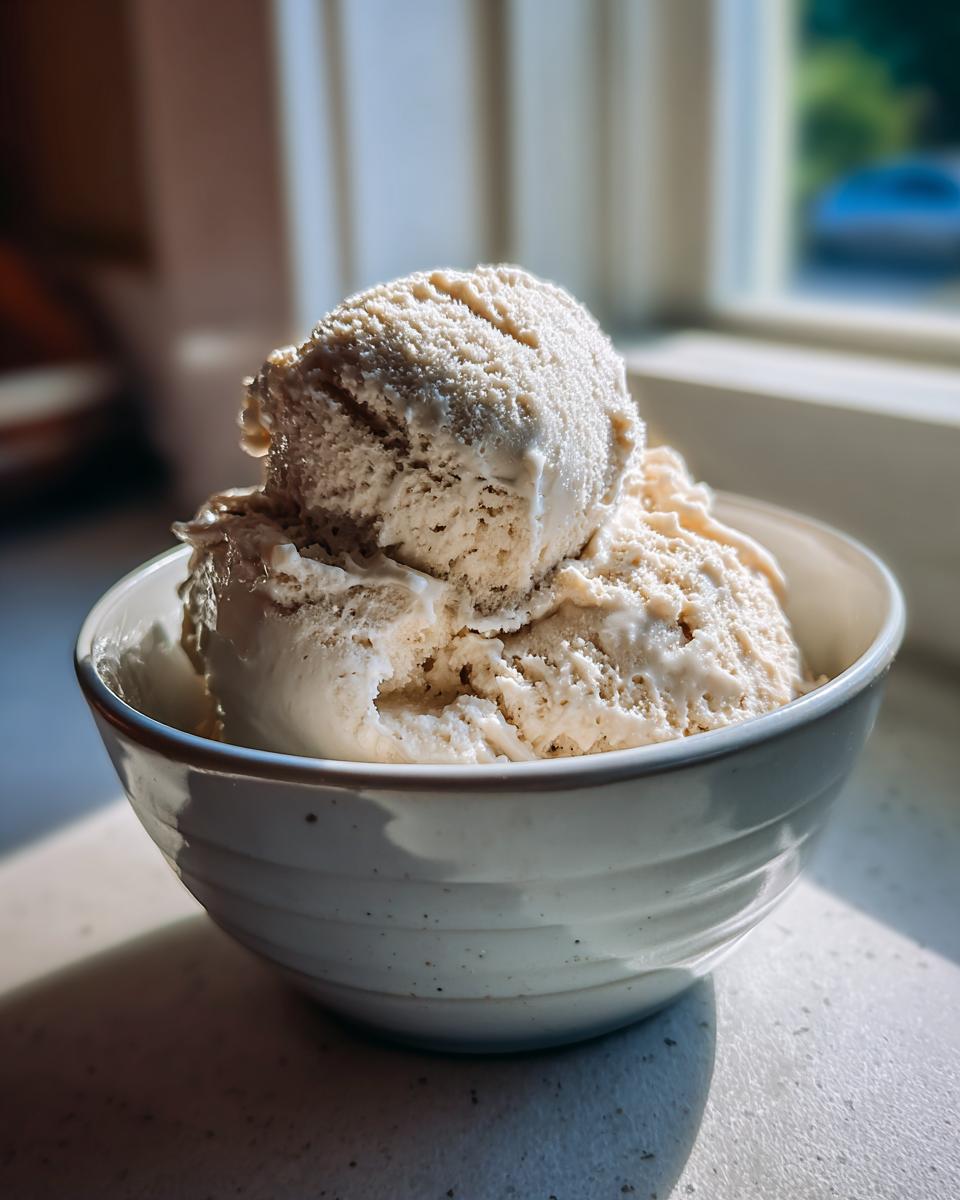
Freezing Your High-Protein Dessert
Once your blender has worked its magic and you’ve got that perfectly smooth mixture, it’s time for the chill-out phase! Pour all that creamy goodness into a freezer-safe container. A loaf pan works great, or any container with a lid. Now, patience is key here! You’ll want to let it freeze for at least 4 to 6 hours. I usually tuck it in before bed and wake up to amazing protein ice cream dreams! If you’re peeking early, give it a little poke – it should feel nice and firm, not icy or slushy. That’s when you know it’s perfectly set and ready to scoop!
Flavor Variations for Your Protein Ice Cream
Okay, so the basic recipe is amazing, but what if you want to jazz things up a bit? That’s totally the fun part! You can play around with different flavors to make this protein ice cream totally your own. Think of it like a blank canvas! From different extracts to adding in bits and bobs, the possibilities are practically endless. It’s all about making that perfect high-protein dessert just for you!
Sweetener Choices for Low Sugar Ice Cream
Sweetener is where you have a lot of freedom! Using maple syrup or honey gives a really nice natural sweetness and a slightly richer flavor. But if you’re aiming for a truly low sugar ice cream, then sugar-free sweeteners like erythritol, monk fruit blends, or stevia are your best friends. They work like a charm to sweeten things up without any of the sugar. Just remember, some sugar-free sweeteners can have a slightly different taste profile, so experiment a little to find your favorite!
Delicious Mix-Ins for Your Viral Protein Treat
Now for the really fun stuff – mix-ins! Once you’ve got your ice cream base all blended and smooth, and *before* it goes into the freezer, that’s your cue. Stir in your favorites! A handful of mini chocolate chips is always a classic, or maybe some fresh berries like raspberries or blueberries for a little tartness. Chopped nuts add a great crunch, or even some crumbled low-sugar cookies for a decadent touch. Just fold them in gently, and then freeze. It adds texture and flavor bursts that make every spoonful exciting!
Tips for the Best Blender Ice Cream Texture
Getting that perfectly smooth, creamy ice cream texture without an ice cream maker is all about a few key tricks! Seriously, it makes all the difference. I’ve tested this a bunch, and these little pointers really help ensure you don’t end up with something icy. It’s all part of that smart cooking approach we love here at Dishicious – making sure a simple recipe turns out amazing every single time.
First off, using full-fat cottage cheese really does help with creaminess. If you go low-fat, you might get a slightly icier result, so keep that in mind! Also, don’t skimp on the blending time. You really want it *super* smooth before it hits the freezer. If your blender is struggling, try adding just a *tiny* splash more milk—like, just a teaspoon—to help it get going, but be careful not to add too much or you’ll end up with a soupy mess!
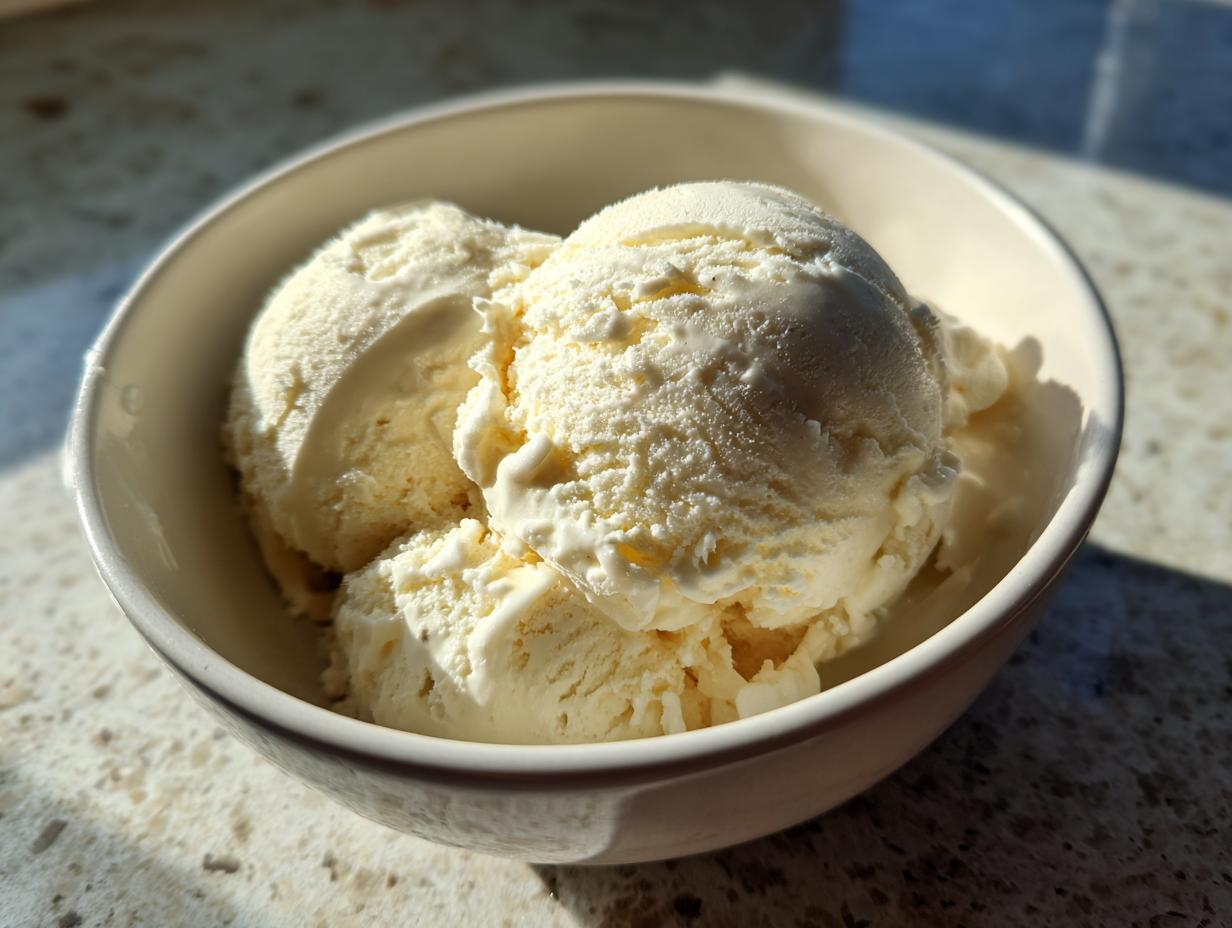
Serving and Storing Your Protein Ice Cream
Once your protein ice cream is perfectly firm, it’s ready to scoop and devour! I love serving it straight from the container. If it’s a little too hard to scoop, just let it sit on the counter for about 5-10 minutes to soften up just right. If you have any leftovers (which might be rare!), pop the lid back on tight and store it in the freezer. It’ll keep well for about a week, though the texture can get a bit harder the longer it sits, so it might need a few minutes to soften before your next craving hits!
Frequently Asked Questions About Protein Ice Cream
Got questions about this awesome protein ice cream? Totally understandable! It’s a bit of a new trick, but it’s one of my absolute favorites. Here are some things people often ask:
Can I use Greek yogurt instead of cottage cheese?
You can definitely try Greek yogurt! It’s also packed with protein, which is great. However, Greek yogurt can sometimes make the ice cream a little tangier than cottage cheese. You might need to adjust your sweetener a bit. Also, the creaminess can vary depending on the fat content of the yogurt you use. It’s worth a shot if cottage cheese isn’t your thing, but cottage cheese really gives it that unique, smooth texture!
What if my blender isn’t super powerful?
No super-blitzer? No problem! For this protein ice cream, you might just need to give it a little more love. Make sure you blend in smaller batches if your blender can handle it. Stop and scrape down the sides often to help everything along. You might also need to blend for a bit longer than you think. The goal is to get it as smooth as possible before it goes into the freezer. It might take a few extra minutes, but the creamy result is totally worth it!
How much protein is really in one serving?
This is one of the best parts of this healthy ice cream hack! Based on the recipe, you’re looking at a solid 20 grams of protein per serving. That’s pretty amazing for a dessert, right? It uses the cottage cheese as the protein powerhouse, so you can feel good about digging into this delicious treat any time you need a protein boost.
Approximate Nutritional Information
Just so you know, the nutritional info for this protein ice cream can tweak a bit depending on exactly what you toss in there – like the type of milk or sweetener you pick. But, as a general idea, one serving (that’s about 1/4 of the recipe) usually lands you around 150 calories, 20 grams of protein, and just about 10 grams of sugar. Pretty sweet deal for a dessert you can feel good about!
Share Your High-Protein Dessert Creations!
Okay, now it’s YOUR turn! I really want to see what amazing protein ice cream you whip up. Did you try a totally wild flavor combo? Did you add in something unexpected? Drop a comment below to tell me all about it, or even rate the recipe if you loved it! You can also reach out via our contact page if you’ve got questions or want to share your pics. Happy blending!
PrintHigh-Protein Cottage Cheese Ice Cream

A simple, creamy, and high-protein ice cream made with cottage cheese in your blender. This recipe yields a delicious dessert with minimal ingredients and maximum protein.
- Prep Time: 5 min
- Cook Time: 0 min
- Total Time: 4-6 hours (freezing time)
- Yield: 4 servings 1x
- Category: Dessert
- Method: Blender
- Cuisine: American
- Diet: Low Fat
Ingredients
- 16 oz cottage cheese
- 1/4 cup milk (any kind)
- 1/4 cup sweetener (maple syrup, honey, or sugar-free alternative)
- 1 tsp vanilla extract
Instructions
- Combine cottage cheese, milk, sweetener, and vanilla extract in a blender.
- Blend on high speed until completely smooth and creamy, scraping down the sides as needed.
- Pour the mixture into a freezer-safe container.
- Freeze for at least 4-6 hours, or until firm.
- Scoop and enjoy your high-protein ice cream.
Notes
- For a thicker texture, you can reduce the milk slightly.
- Add mix-ins like chocolate chips, fruit, or nuts after blending and before freezing.
- Experiment with different flavor extracts like almond or peppermint.
- If you don’t have a high-powered blender, you may need to blend in batches or for a longer time to achieve a smooth consistency.
Nutrition
- Serving Size: 1/4 of recipe
- Calories: 150
- Sugar: 10g
- Sodium: 300mg
- Fat: 5g
- Saturated Fat: 2g
- Unsaturated Fat: 3g
- Trans Fat: 0g
- Carbohydrates: 15g
- Fiber: 0g
- Protein: 20g
- Cholesterol: 20mg