
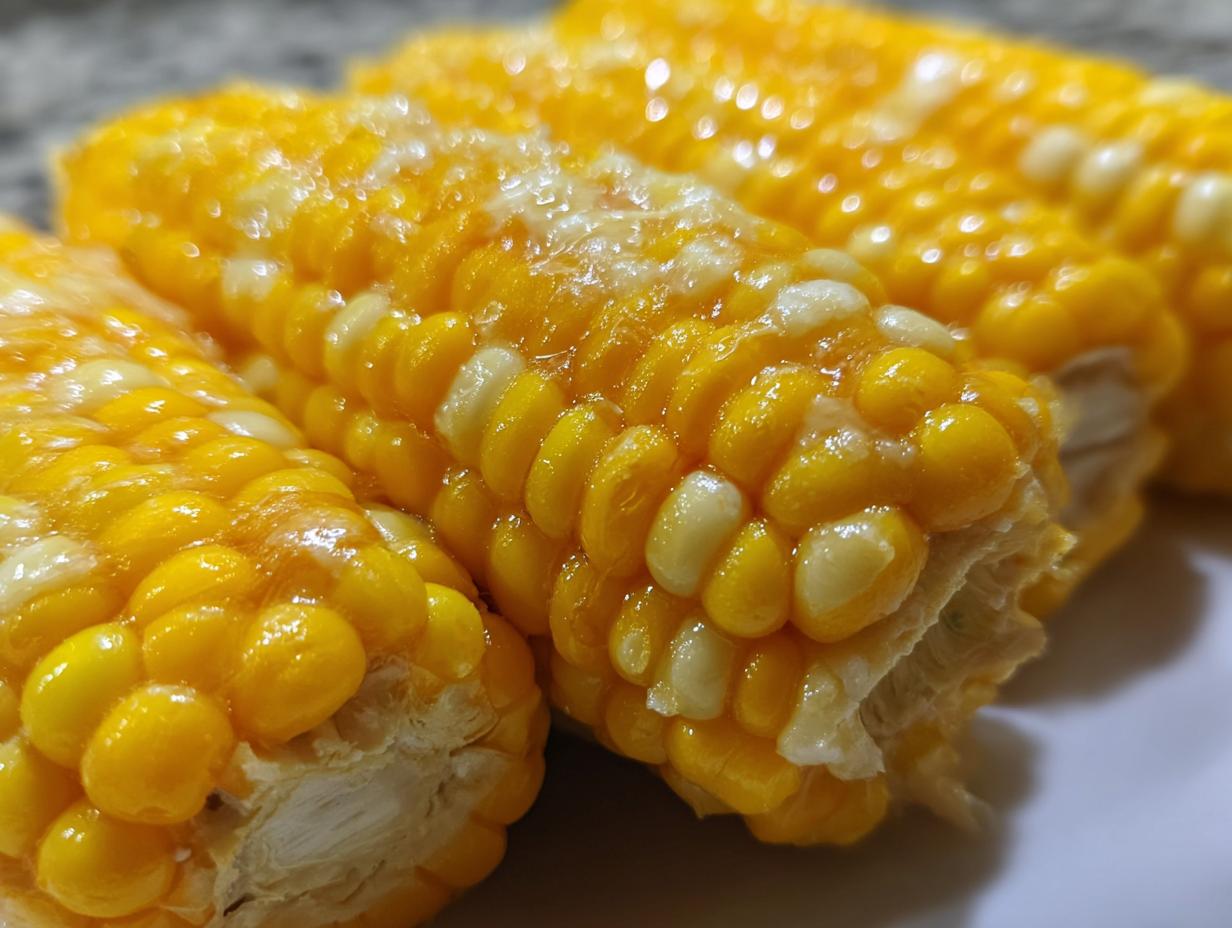
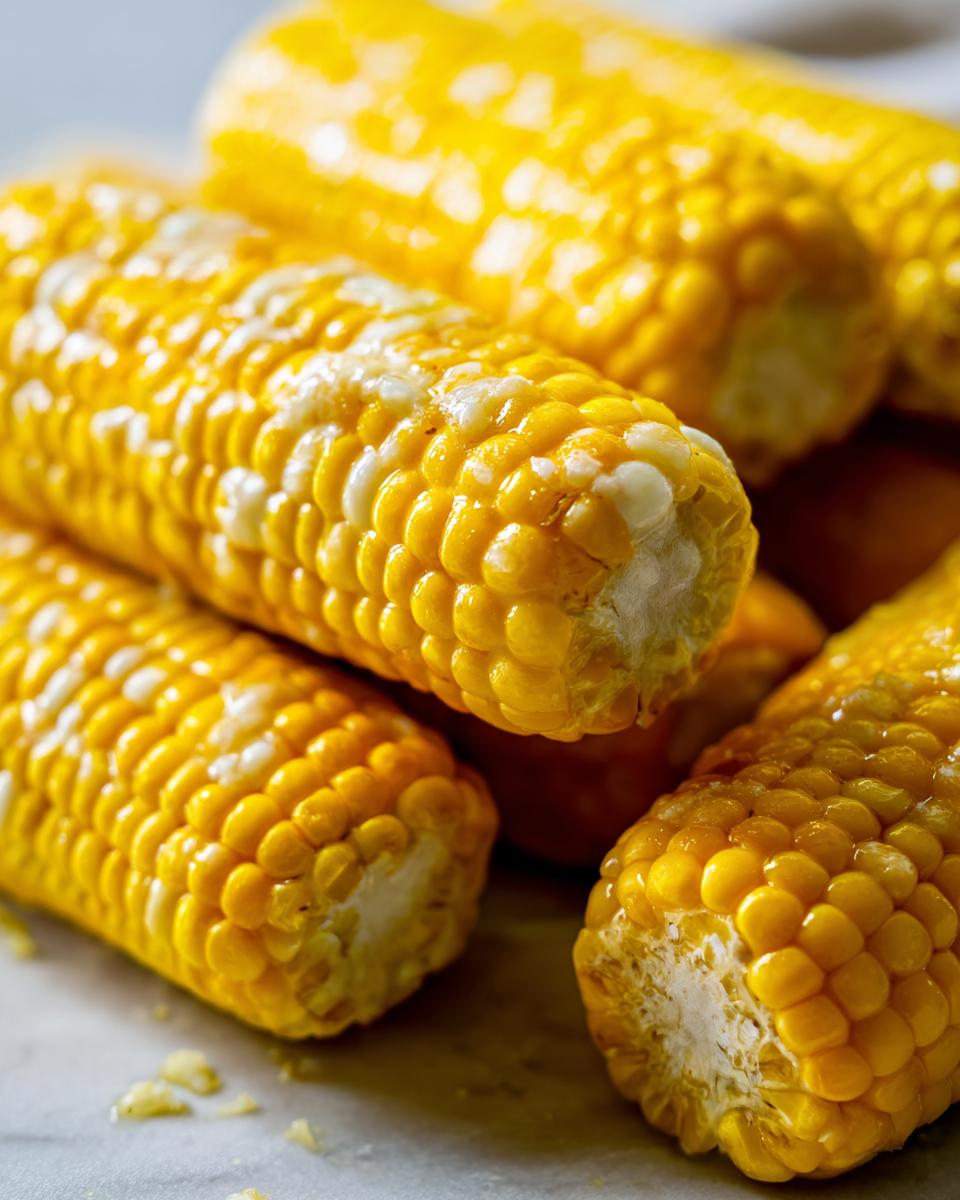
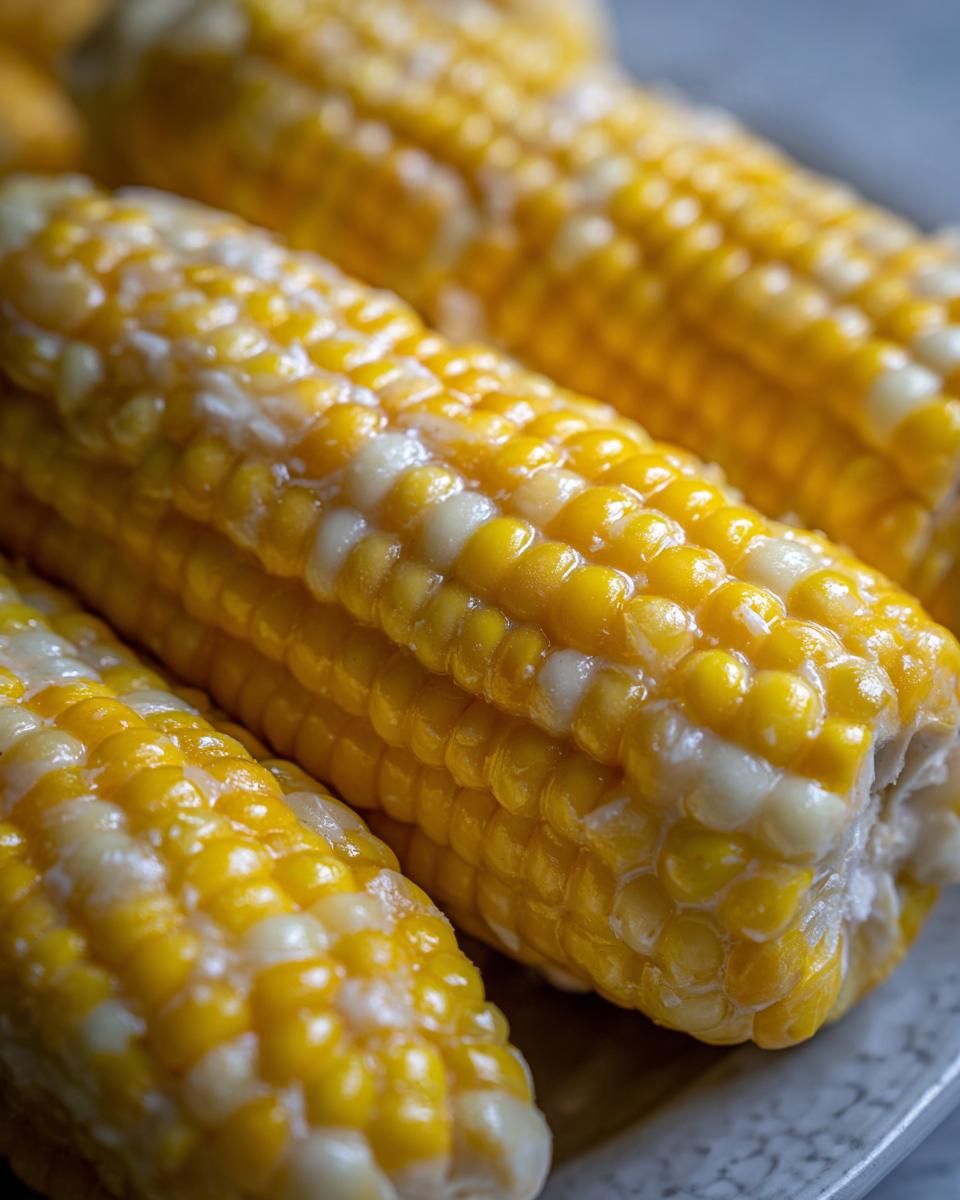
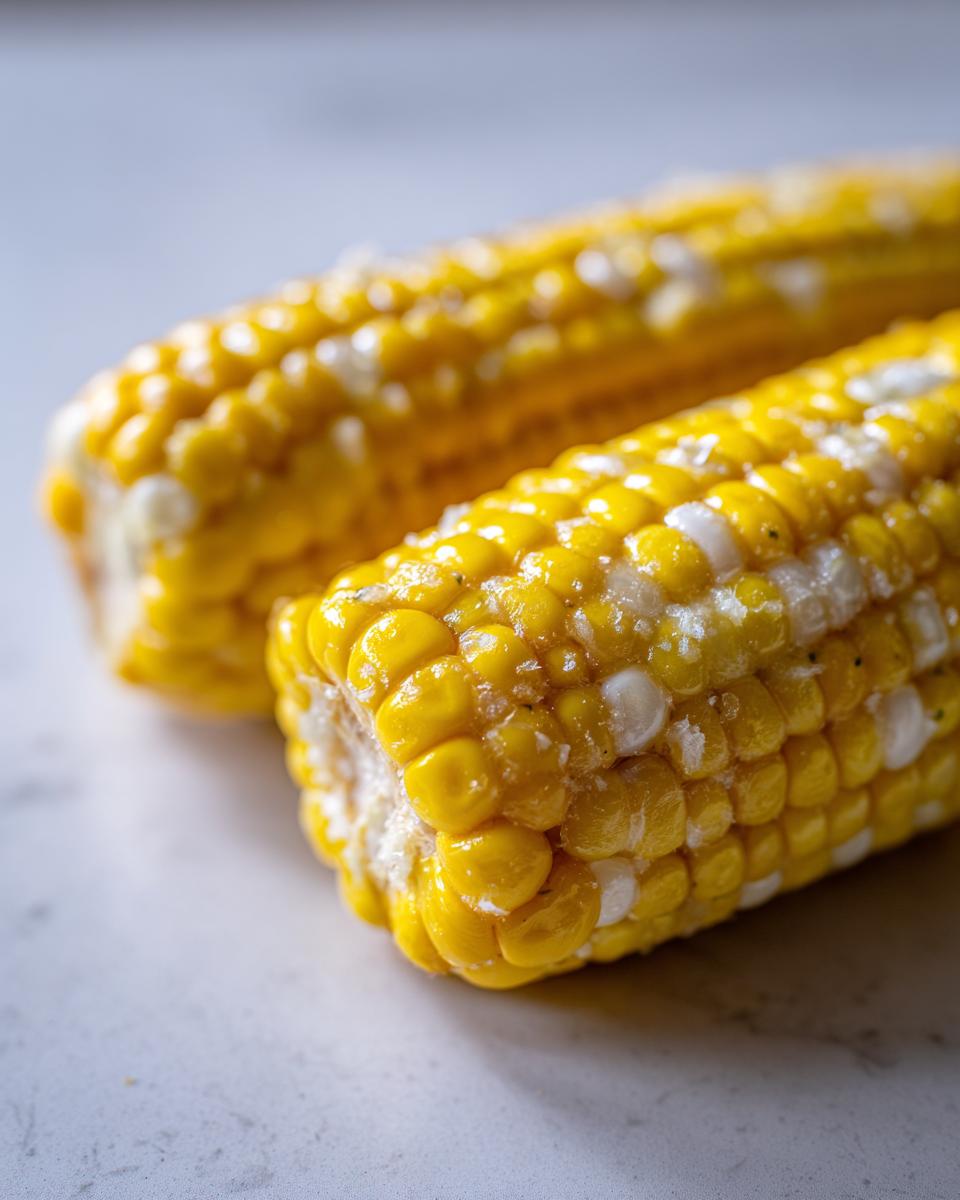
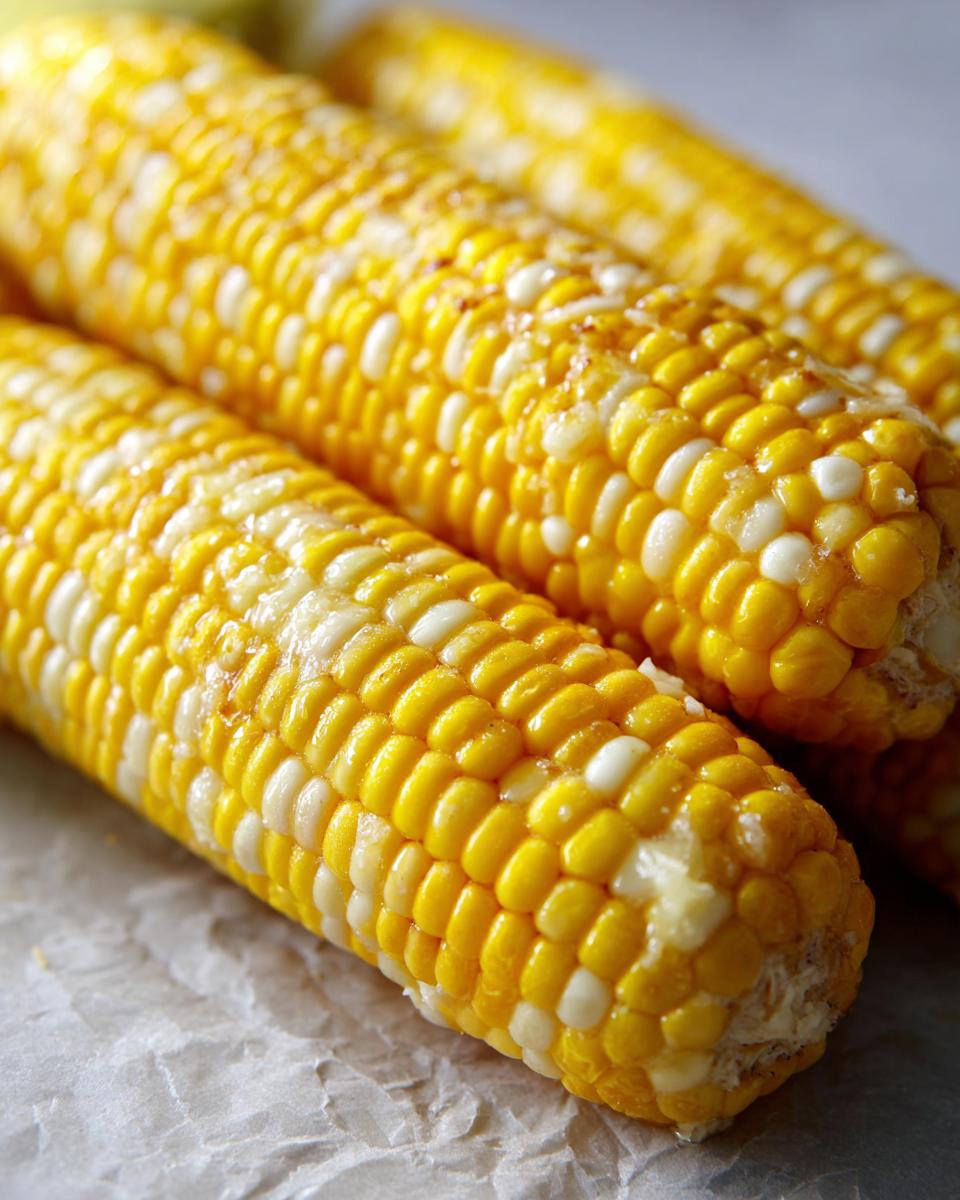
Okay, let’s talk about hands-down the best side dish you can make this summer, or honestly, anytime you need something ridiculously delicious and super easy: Cheesy garlic butter corn on the cob! Seriously, this is the stuff backyard BBQs and cookouts dream of. It’s so versatile, you can throw it on the grill, wrap it up in foil for the oven, or even whip it up on the stovetop in a flash. It’s all about getting that amazing buttery, garlicky flavor with a melty cheese finish. At Dishicious, we’re all about that smarter, simple cooking approach Leo Grant learned as a project manager – getting maximum flavor with minimum fuss. This recipe is a perfect example of our philosophy: straightforward, reliable, and bursting with taste, so you can actually enjoy your time when you’re not in the kitchen!
- Why You'll Love This Cheesy Garlic Butter Corn on the Cob
- Gather Your Ingredients for Cheesy Garlic Butter Corn on the Cob
- Simple Steps to Perfect Cheesy Garlic Butter Corn on the Cob
- Tips for the Best Cheesy Garlic Butter Corn on the Cob
- Frequently Asked Questions about Garlic Butter Corn
- Serving Suggestions for Your Cheesy Corn Recipe
- Nutritional Information for Cheesy Garlic Butter Corn on the Cob
- Share Your Cheesy Garlic Butter Corn Creation!
Why You’ll Love This Cheesy Garlic Butter Corn on the Cob
Seriously, this corn is a game-changer! You’re going to love it because:
- It’s unbelievably fast – think weeknight dinner fast!
- The flavor combo is outta this world: rich garlic butter meets gooey, melted cheese.
- So easy to make, perfect for any cook, even if you’re just starting out.
- It’s a total crowd-pleaser for any BBQ or cookout. Everyone asks for seconds!
Gather Your Ingredients for Cheesy Garlic Butter Corn on the Cob
Alright, let’s get our goodies together! For this ridiculously yummy Cheesy Garlic Butter Corn on the Cob, you’ll need:
- 4 ears of corn, husked (get the freshest you can find!)
- 1/2 cup unsalted butter, all softened up
- 4 cloves of garlic, minced super fine
- 1/4 cup grated Parmesan cheese (shoutout to Parmesan corn on the cob!)
- 1/4 cup shredded cheddar cheese (or your favorite melty cheese – Monterey Jack is great too!)
- Salt, to taste
- Black pepper, to taste
- Optional toppings: chopped fresh parsley, lime wedges for squeezing!
Simple Steps to Perfect Cheesy Garlic Butter Corn on the Cob
Alright, let’s get this corn party started! It’s super easy, trust me. We’ll mix up a quick flavor bomb, then choose your adventure: grilling, oven, or stovetop. Leo’s approach is all about getting the most delicious result with the least amount of fuss, and this recipe totally nails it. It’s almost as satisfying as a jar of homemade garlic aioli!
Preparing the Garlic Butter Mixture
First things first, grab a little bowl. We’re going to combine that softened butter with the minced garlic. Just stir it all together until it’s nice and evenly mixed. Make sure that butter is soft enough to spread – no one wants hard butter lumps on their corn!
Grilling Your Cheesy Garlic Butter Corn on the Cob
If you’re taking this to the grill (my faves!), slather that garlic butter goodness all over each ear of corn. Don’t be shy! Then, sprinkle on those cheesy bits. Wrap each ear up real snug in aluminum foil. Pop ’em on a medium-heat grill for about 15 to 20 minutes, flipping them now and then so they cook evenly. You’ll know they’re ready when the corn is tender and the cheese is all melty. Perfect for that smoky BBQ chicken!
Oven-Roasted Cheesy Garlic Butter Corn on the Cob
No grill? No problem! Preheat your oven to a good 400°F (200°C). Just like with the grill, spread that garlic butter onto each ear, then pile on the cheese. Wrap them up tight in foil, pop them on a baking sheet, and let them bake for about 20 to 25 minutes. Oh, and if you love roasted corn flavor, you might want to check out our oven-roasted corn recipe!
Stovetop Method for Buttery Corn Recipe
For a stovetop version, you’ll need a big skillet. Melt about half of your garlic butter mixture (that’s 1/4 cup) over medium heat. Toss in your corn and let it get a little golden brown, turning it every so often, for about 10 minutes. Then, add the rest of the garlic butter and sprinkle on the cheese. Cover it up and let it do its melty thing for another 5 to 7 minutes, giving it a stir now and then. It’s almost as easy as our 3-ingredient stovetop mac and cheese!
Finishing Touches and Seasoning
Once your corn is perfectly cooked, carefully unwrap it (watch out for steam!). Give it a sprinkle of salt and pepper to your liking. And for that extra pop? A little fresh parsley and a squeeze of lime juice really take it to the next level. It’s these little touches that make dishes feel extra special, like our crispy garlic skillet potatoes!
Tips for the Best Cheesy Garlic Butter Corn on the Cob
Okay, so you’ve got the basic idea, but let me share a few tricks that really make this Cheesy Garlic Butter Corn on the Cob sing! First off, **fresh corn is king**. Grab the freshest ears you can find; they’ll be sweeter and juicier. If you can, try to cook it the same day you buy it. For the garlic, make sure you mince it nice and fine, or even mash it into a paste with a little salt. This helps it distribute evenly and prevents little burnt bits from ruining your buttery goodness. And speaking of butter, really soft butter is key for spreading it easily. You can even use salted butter if that’s what you have, just adjust the extra salt later. For more ideas on using Parmesan, check out my Parmesan corn on the cob recipe!
Don’t want to use foil? No sweat! You can totally do the husk-on method – just pull back the husks, remove the silk, slather that garlic butter directly onto the kernels, sprinkle with cheese, then wrap the husks back up before foil. It gives it a slightly different flavor profile, kind of smoky and sweet. And for the cheese, while cheddar and Parmesan are my go-to, feel free to experiment! A sharp white cheddar, Monterey Jack, or even a sprinkle of pepper jack for a little kick would be amazing. Just remember, if you’re grilling or broiling at the end, keep an eye on it so your cheese doesn’t turn into burnt bits on the grill. These little tips help elevate it from just good corn to *the* best side dish!
Frequently Asked Questions about Garlic Butter Corn
Got questions about this awesome Cheesy Garlic Butter Corn on the Cob? I’ve got answers!
Can I make the garlic butter mixture ahead of time?
Absolutely! You can totally whip up that garlic butter mixture a day or two in advance and store it in the fridge. Just let it soften up a bit at room temperature before you’re ready to spread it on the corn. It’s one less thing to worry about when you’re busy prepping for your BBQ!
What kind of corn is best for this cheesy corn recipe?
Honestly, the fresher the corn, the better! Look for ears that feel firm and have bright green husks. If you can buy it locally and it’s in season, that’s usually your best bet. Any type of sweet corn works great, though. Avoid ears that look dry or have browned silks!
How do I cook corn on the cob without foil?
Great question! You can definitely cook corn without foil. For grilling, you can shuck the corn, brush it with the garlic butter and cheese, and grill it directly on the grates, turning frequently until tender. Or, if you’re using the oven, you can toss the buttered and cheesed corn with a little oil onto a baking sheet and roast at 400°F (200°C), turning halfway through, until tender and lightly charred in spots. Stovetop is also a fantastic foil-free option, as we detailed in the instructions!
Can I use frozen corn?
You can! If you’re using frozen corn on the cob, you’ll want to thaw it first. Then, you can follow the stovetop method, basically treating it like fresh corn. For grilling or oven methods, it might get a little mushier once it thaws and cooks, so the stovetop is probably your best bet if you’re starting with frozen.
Serving Suggestions for Your Cheesy Corn Recipe
This amazing Cheesy Garlic Butter Corn on the Cob is such a versatile side, it goes with *everything*! Picture this: it’s the perfect partner for any backyard BBQ staple, like those juicy turkey burger sliders or some grilled chicken. It’s not just for cookouts, though! It’s a fantastic addition to any weeknight meal when you want something a little special but still super easy. Honestly, it makes even a simple grilled steak feel like a feast. For more awesome ideas, check out our full list of summer cookout sides!
Nutritional Information for Cheesy Garlic Butter Corn on the Cob
Just a heads-up, all these numbers are estimates, okay? The exact amounts can change depending on the specific ingredients you use and how much of those optional garnishes you add. But generally, one ear of this amazing Cheesy Garlic Butter Corn on the Cob is around 350 calories, with about 25g of fat (15g of that is saturated), 25g of carbohydrates, and 8g of protein. It’s a treat that’s totally worth it!
Share Your Cheesy Garlic Butter Corn Creation!
Alright, now it’s your turn to make some magic! I’d absolutely *love* to hear how your Cheesy Garlic Butter Corn on the Cob turned out. Did you grill it, bake it, or pan-fry it? Let me know in the comments below! And hey, if you snapped some pics, tag us on social media – I can’t wait to see your delicious creations!
PrintCheesy Garlic Butter Corn on the Cob

A crowd-pleasing BBQ side dish featuring corn on the cob coated in garlic butter and melted cheese. You can prepare this recipe on the grill, in the oven using foil, or on the stovetop.
- Prep Time: 10 min
- Cook Time: 20 min
- Total Time: 30 min
- Yield: 4 servings 1x
- Category: Side Dish
- Method: Grilling/Baking/Stovetop
- Cuisine: American
- Diet: Vegetarian
Ingredients
- 4 ears of corn, husked
- 1/2 cup unsalted butter, softened
- 4 cloves garlic, minced
- 1/4 cup grated Parmesan cheese
- 1/4 cup shredded cheddar cheese (or your favorite melting cheese)
- Salt, to taste
- Black pepper, to taste
- Optional garnishes: chopped fresh parsley, lime wedges
Instructions
- In a small bowl, combine the softened butter and minced garlic. Mix well.
- If grilling: Spread the garlic butter mixture evenly over each ear of corn. Sprinkle with Parmesan and cheddar cheese. Wrap each ear tightly in aluminum foil. Grill over medium heat for 15-20 minutes, turning occasionally, until the corn is tender.
- If using the oven: Preheat your oven to 400°F (200°C). Spread the garlic butter mixture evenly over each ear of corn. Sprinkle with Parmesan and cheddar cheese. Wrap each ear tightly in aluminum foil. Place on a baking sheet and bake for 20-25 minutes, or until the corn is tender.
- If using the stovetop: Melt 1/4 cup of the garlic butter mixture in a large skillet over medium heat. Add the corn and cook, turning frequently, for about 10 minutes until lightly browned. Add the remaining garlic butter mixture and the cheeses. Cover and cook for another 5-7 minutes, stirring occasionally, until the cheese is melted and bubbly.
- Once cooked, carefully unwrap the corn. Season with salt and pepper to your preference.
- Garnish with fresh parsley and serve with lime wedges, if desired.
Notes
- For husk-on preparation, remove the silks, spread the garlic butter and cheese directly onto the corn kernels, and wrap in foil. Grill or bake as directed.
- You can substitute other cheeses like Monterey Jack or a Mexican blend.
- For extra flavor, add a pinch of red pepper flakes to the garlic butter mixture.
Nutrition
- Serving Size: 1 ear
- Calories: 350
- Sugar: 6g
- Sodium: 300mg
- Fat: 25g
- Saturated Fat: 15g
- Unsaturated Fat: 10g
- Trans Fat: 0g
- Carbohydrates: 25g
- Fiber: 3g
- Protein: 8g
- Cholesterol: 60mg