
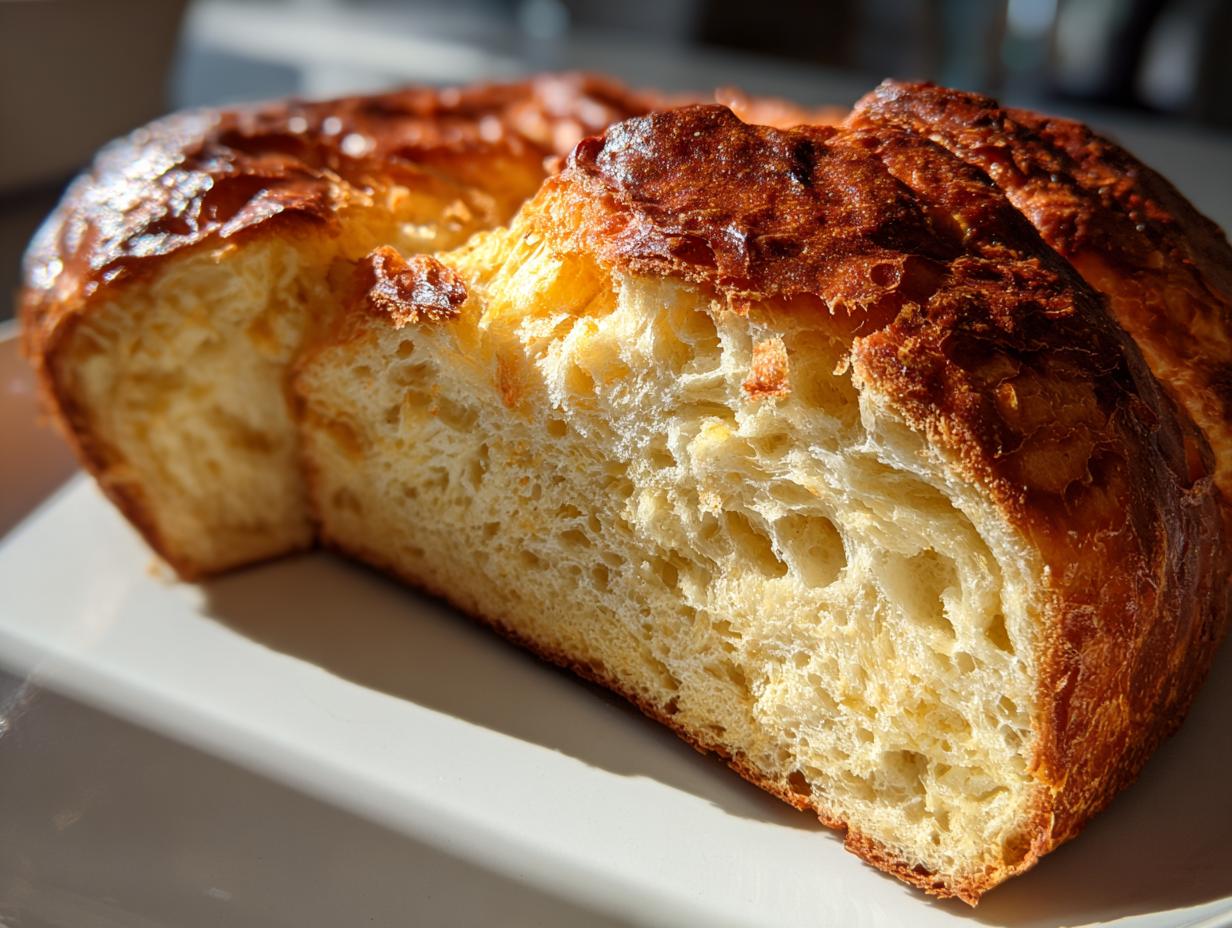
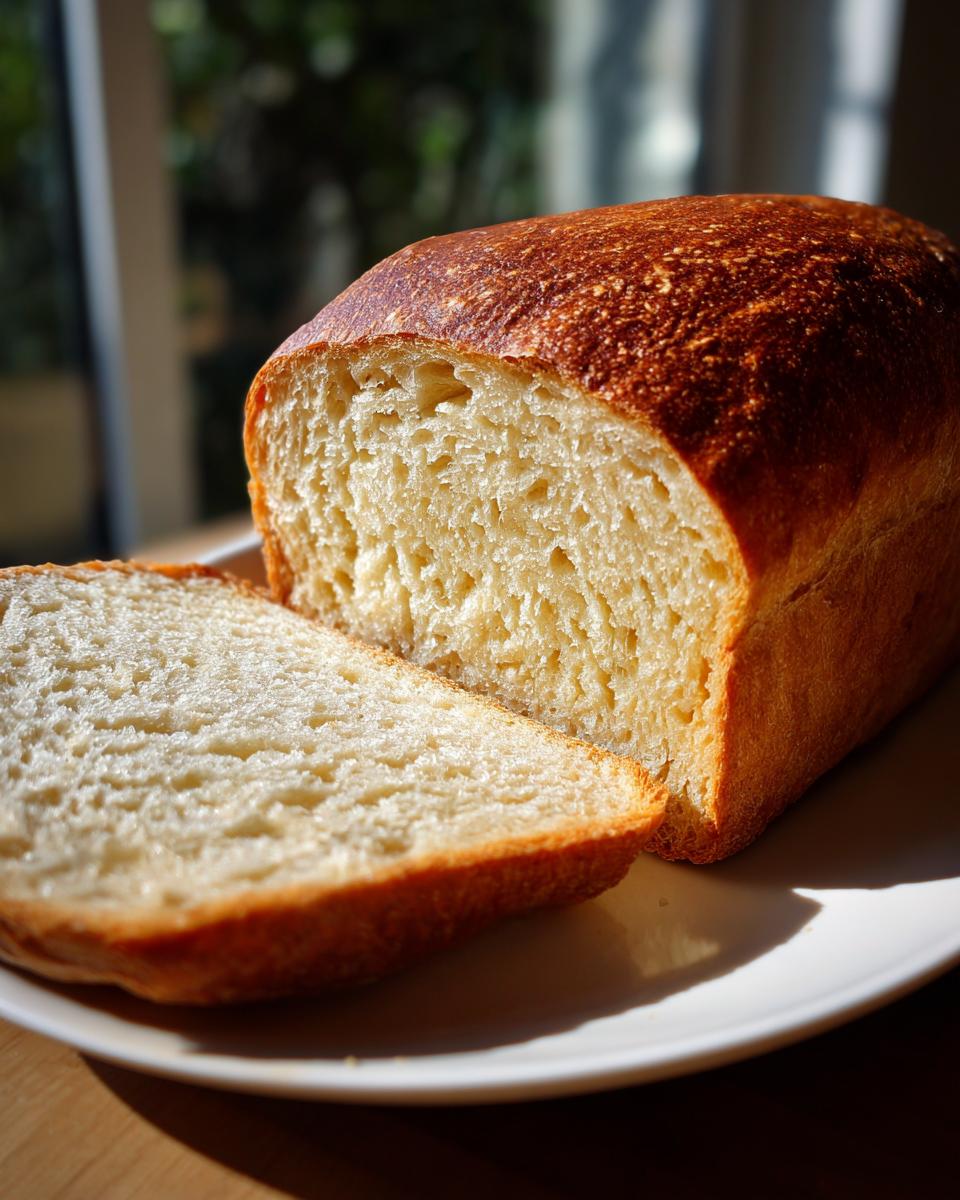
There is genuinely nothing quite like the smell of fresh, homemade **yeast bread** baking in the oven. It just fills the whole house with that cozy, familiar warmth, doesn’t it? If you’ve been sitting on the sidelines thinking bread making was too hard or too time-consuming, trust me—I get it! That’s why we engineered this recipe. This isn’t some fussy artisan loaf requiring hours of attention; this is the absolute easiest, most reliable **yeast bread** you will ever make, perfect even if this is your very first time working with yeast. It’s straightforward, fast, and totally foolproof thanks to the methodical way we break down the steps. Seriously, anyone can nail this simple homemade baking project. Have a look at our philosophy over at our story to see how we approach making cooking simple!
- Why This is the Easiest Homemade Yeast Bread Recipe Ever
- Ingredients for Your Simple Homemade Yeast Bread Loaf
- How To Make Yeast Bread: Step-by-Step Instructions
- Tips for Perfect Artisan Bread Homemade Results
- Variations on This Classic White Bread Recipe
- Serving Suggestions for Your Dinner Bread Recipe
- Storage and Reheating Instructions for Yeast Bread
- Frequently Asked Questions About Making Yeast Bread
- Estimated Nutritional Data for This Yeast Bread Loaf
Why This is the Easiest Homemade Yeast Bread Recipe Ever
We designed this recipe specifically to conquer that feeling of overwhelm that comes with learning to bake bread from scratch. This isn’t about needing fancy equipment; it’s about providing a truly **easy bread recipe** that delivers consistent results. Because we approach baking like a project manager—streamlining every unnecessary step—we ended up with what I honestly call a **foolproof bread tutorial**. It uses basic pantry staples, like flour, water, and yeast, but gets you that spectacular, bakery-worthy texture every time.
Plus, you don’t need hours! If you need something quick—maybe an impromptu side for tonight’s dinner—this fits the bill better than almost anything else. Check out some of our other speedy meal solutions over at our site!
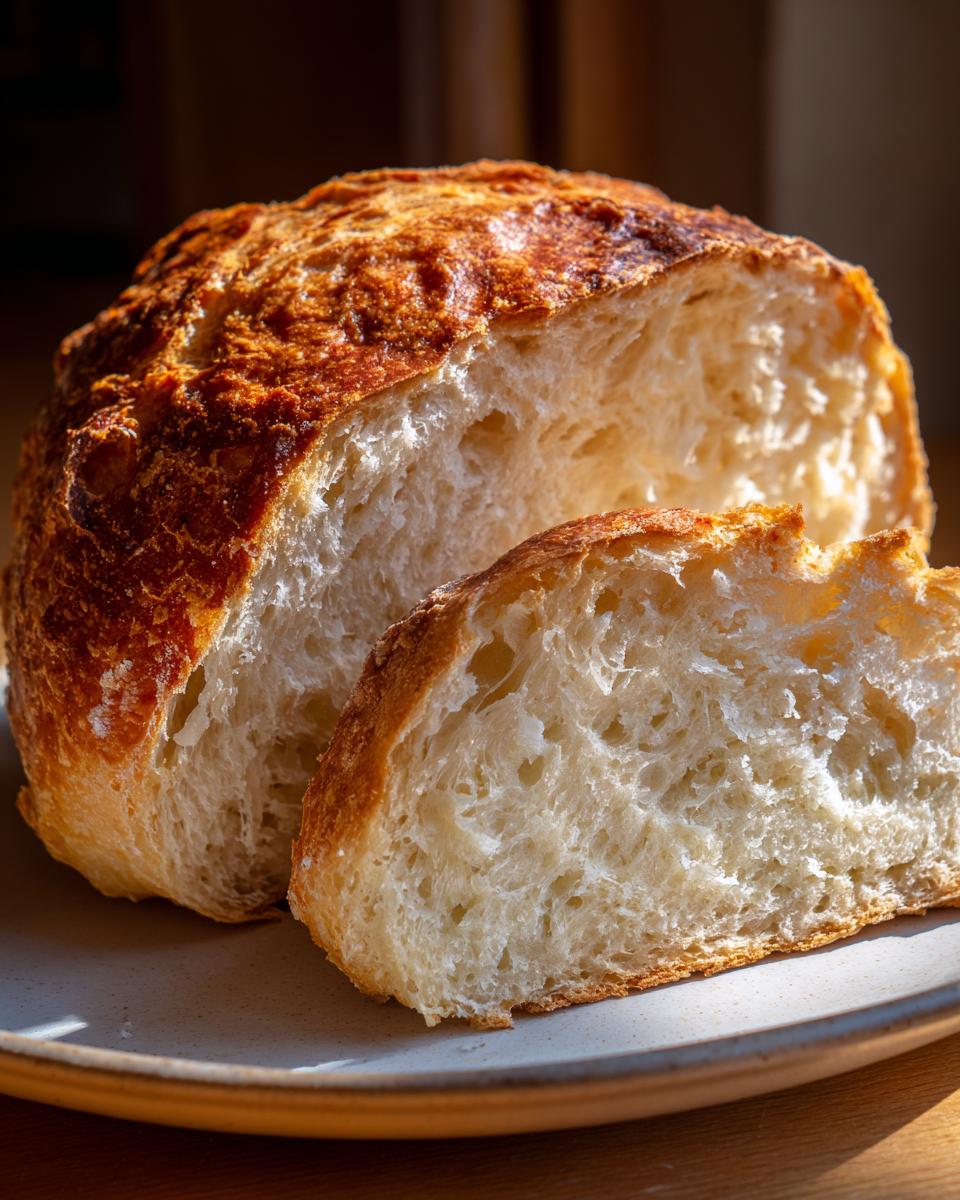
Achieving Soft and Fluffy Bread Texture
Texture is everything with a good loaf, right? The secret to that soft, fluffy bread feel is twofold. First, make sure your water is warm—not hot! If it kills the yeast, your bread won’t rise. Second, we keep the kneading really short. Just 5 to 7 minutes is all you need to build just enough gluten structure so the crumb stays light and airy, not tough or chewy. It’s that simple!
Quick Yeast Bread Timeline Breakdown
You’ll be surprised at how fast this comes together! The prep time is only about 20 minutes, and that includes the time it takes to proof the yeast. Even with both rises factored in, the total time clocks in just over two hours. While it isn’t strictly a **one hour bread**, this minimal time commitment makes it feel incredibly fast for something made completely **from scratch baking**!
Ingredients for Your Simple Homemade Yeast Bread Loaf
This is where the simplicity of this recipe really shines. Most of these items are hiding in your pantry right now, which is why I love calling this my go-to **pantry staple bread** recipe. No need to run to the specialty store for obscure flours or flavorings!
You’ll need to collect a few measuring cups and get everything ready before you start mixing. Remember, timing is important when dealing with live yeast, so measure precisely!
- It starts with 1 packet (that’s 2 1/4 teaspoons) of active dry yeast. Don’t use instant yeast here, stick to the active dry for this particular method.
- You absolutely must have 1 cup of warm water. And I mean warm—think slightly warmer than bath water, around 105-115°F. This is crucial for waking up the yeast!
- Just 1 tablespoon of regular granulated sugar. This is food for the yeast, it doesn’t make the final bread sweet, so don’t skip it!
- 2 tablespoons of unsalted butter that you’ve melted down. Melted butter adds tenderness that oil just can’t match.
- 1 teaspoon of salt. This controls the yeast speed and gives your bread flavor, so don’t mistake it for an optional ingredient.
- And finally, 3 cups of all-purpose flour, plus however much extra you need for dusting the counter later.
See? Nothing scary in there! Just good, honest ingredients that build the foundation for your perfect **homemade yeast bread loaf**.
How To Make Yeast Bread: Step-by-Step Instructions
Okay, getting your dough right is honestly the most critical part of making any **yeast bread** successfully, but I promise this process is simple! I’ve broken down the recipe steps into three small, manageable chunks. Follow these exactly, and you’ll have your dough ready fast.
Activating the Yeast and Mixing the Dough for Yeast Bread
First things first: wake up the yeast! In your large mixing bowl, combine the warm water, sugar, and that full packet of yeast. If you’re using a thermometer, aim for that 105°-115°F sweet spot. Now, just walk away for about five minutes. You must see foam on top—that means your yeast is happy and ready to work its magic. If nothing happens, toss it and start over with fresh yeast, okay?
Once it’s foamy, stir in the melted butter and the salt right away. Then, start adding the flour slowly, one cup at a time. Don’t try to mix it all vigorously at once! You’re aiming for what we call a ‘shaggy dough’—it will look messy and won’t quite come together yet. That’s exactly what should happen.
Kneading and First Rise for Your Yeast Bread
Time to get your hands dirty! Turn that shaggy mound out onto a lightly floured counter. Now we knead. You only need to work this dough for about 5 to 7 minutes. Don’t panic or start adding heaps of extra flour; you want it tacky, not stiff. When it feels smooth, springs back when you poke it gently, and holds its shape, you’re done. That’s the elasticity we need for a great crumb!
Lightly oil a clean bowl. Plop your dough in there and turn it over once so it’s coated. Cover that bowl up tight—a plastic wrap works great, or just a clean kitchen towel. Now, find a warm spot for it. If your kitchen is chilly, definitely slide it into the oven with just the light on. It needs about 1 to 1.5 hours to double in size. Don’t rush this part!
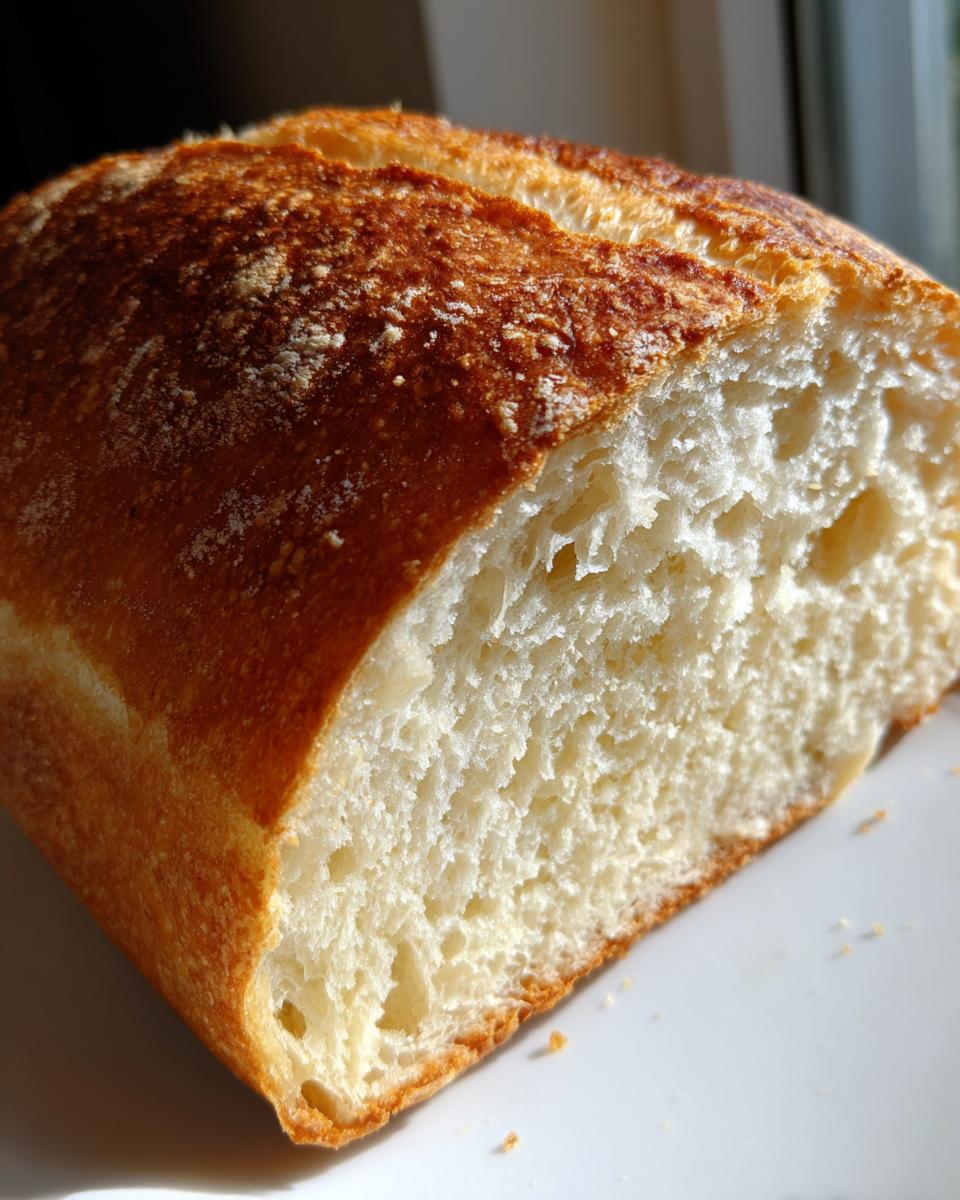
Shaping and Baking Your Crusty Loaf Recipe
Once your dough has doubled, gently punch the air out—that satisfying puff is gone. Shape it into a neat log and tuck it snugly into your greased 9×5 inch loaf pan. Cover it loosely again and let it have its second rest for 30 to 45 minutes. You are looking for the dough to crest just over the top edge of the pan—that’s the visual cue for the perfect final rise!
While it’s on its second rise, get that oven going to 375°F (190°C). You want that heat ready! Bake it for 30 to 35 minutes until the top is a beautiful, deep golden brown. Here’s an insider tip for that professional touch: use an instant-read thermometer. If the center hits 200°F, it is done. Pull that loaf out immediately and let it cool on a wire rack. If you leave it in the hot pan, the residual steam will make the bottom soggy. You earned this perfect **crusty loaf recipe** result!
If you’re looking for other ways to use up yeast dough, check out this fun old-fashioned bread pudding idea!
Tips for Perfect Artisan Bread Homemade Results
Even though this is the easiest recipe ever, sometimes things just need a tiny nudge in the right direction, especially when you’re aiming for that beautiful **Artisan Bread Homemade** quality. Don’t sweat it if your dough seems sluggish! We want you to feel totally confident making the **best homemade bread loaf** repeatedly. The main thing to remember is the yeast needs warmth and time; it can’t be rushed if it’s being stubborn.
Troubleshooting Your Yeast Bread Rise
If your dough hasn’t doubled after the first rise, nine times out of ten, it’s the temperature, not the recipe! Your water was probably too cold when you started, or your “warm spot” wasn’t warm enough. If the dough is just barely awake after 90 minutes, you can try gently moving it to a warmer spot—maybe near a warm appliance. Also, check the date on your yeast packet! Old yeast is totally dormant and won’t do anything. But if you followed the initial activation step correctly, your dough *will* rise. Give it a little more time before you worry; patience is truly the secret ingredient here. For good measure, you can check out this guide for other speedy tips, too!
Variations on This Classic White Bread Recipe
This loaf is wonderful exactly as written, but once you master this **easy bread recipe**, you get to start playing around! Since we kept the foundational dough so simple and reliable, it’s the perfect canvas for adding things. If you want to lean into that **comfort food baking** feeling, try adding one teaspoon of dried rosemary and a pinch of garlic powder right when you add the flour. That makes an amazing dinner bread!
For a slightly heartier taste that still stays truly easy, you can swap out up to one cup of the all-purpose flour for whole wheat flour. Just go easy, okay? Too much whole wheat can make it dense. If you do swap, you might need just a tiny splash more water, maybe a teaspoon, to keep the dough soft. Or, if you want sweetness without the sugar in the recipe, stir in a half cup of shredded cheese when you shape the loaf. For some other comforting takes on classic dishes, have a peek at my Amish Casserole recipe!
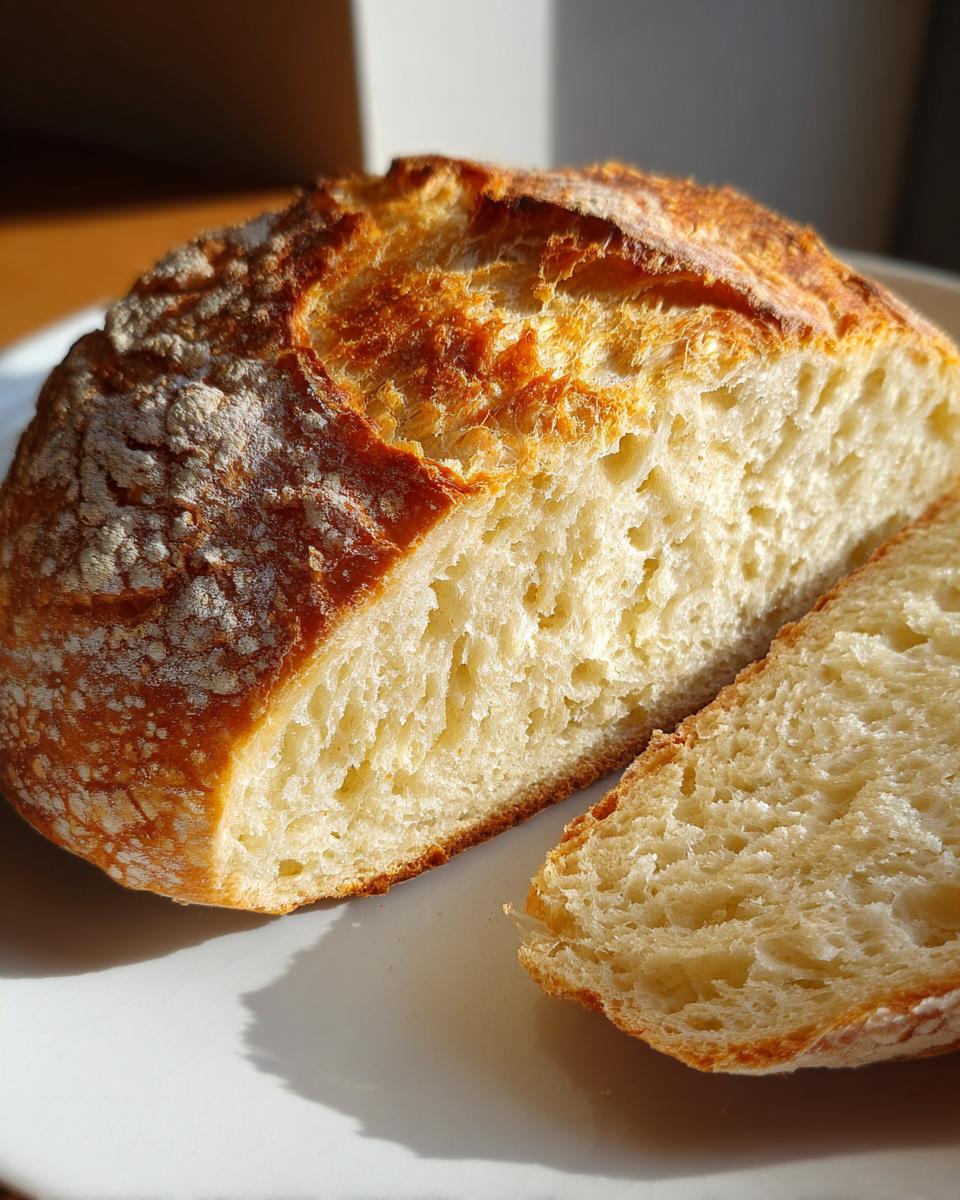
Serving Suggestions for Your Dinner Bread Recipe
Honestly, now that you’ve baked this gorgeous loaf, half the battle is deciding how to eat it first! The very best thing you can do is slice it while it’s still slightly warm—don’t wait till it’s totally cold, okay? A pat of good quality salted butter melting into those soft, fluffy air pockets is pure magic. This makes an unbeatable **dinner bread recipe** when paired with something comforting.
This loaf is sturdy enough to stand up to anything, but it’s soft enough to sop up all the goodness. It’s absolutely perfect next to a big bowl of my favorite creamy tomato soup. Seriously, dipping this bread into a rich tomato soup is the definition of comfort food. You won’t need anything else for dinner, I promise!
Storage and Reheating Instructions for Yeast Bread
You just pulled out a golden loaf that smells incredible, and you want it to taste that good tomorrow, right? Here’s the deal on keeping your **homemade yeast bread** fresh. Resist the urge to put it in the refrigerator—I know it seems like a good idea, but the cold air actually makes bread go stale faster! Trust me, refrigeration is the enemy of soft bread.
The best way to store it is right on the counter. You want to make sure it’s completely cool first. Once cool, wrap it tightly in a clean kitchen towel and then tuck that into a plastic bag. That towel keeps the crust from getting rubbery while the bag traps enough moisture to keep the inside nice and soft. This simple setup will keep your **easy bread recipe** tasting great for about three days.
Now, when it’s time to enjoy that second slice, we bring back that freshly baked magic! You can bring it back to life easily. If you just want one slice, pop it in the toaster—you get that great crispy edge that way. But if you want the whole loaf to feel like it just came out of the oven, wrap the loaf (or just the remaining portion) tightly in foil. Pop that foil-wrapped bread into a 300°F oven for about 10 minutes. When you unwrap it, the outside will be slightly crisp and the inside will be warm, soft, and fluffy again. It’s the absolute best trick for reviving **from scratch baking**!
Frequently Asked Questions About Making Yeast Bread
I know that even with the clearest instructions, sometimes you just have one little question bubbling up before you commit to baking! As someone who loves streamlining processes, I’ve already answered a ton of these questions in my head while developing this recipe. Here are the last few things you might be wondering about this **yeast bread** that you can keep nearby just in case! If you need to reach out directly with anything else, you can always find the contact form right here.
Can I skip kneading entirely in this Beginner Yeast Bread recipe?
This is a fair question when you’re looking for the absolute easiest way to bake! The answer is a very gentle ‘no’—but don’t let that scare you off! We only ask for 5 to 7 minutes of kneading. If you skip it entirely, the yeast will activate, but the dough won’t develop any structure. When you bake it, you’ll end up with something more like a dense, flat brick instead of a beautiful, airy loaf. Those 5 minutes are totally vital for a great rise and excellent texture in this **beginner yeast bread**!
What is the best substitute for active dry yeast?
Since this recipe relies specifically on blooming the yeast first, active dry yeast is what we call for. If you only have instant yeast on hand, you can usually use it as a direct substitute in a 1:1 ratio, but skip the blooming step! Just stir the instant yeast right in with the flour instead of proofing it in the warm water. If you aren’t sure how old your yeast is, please ditch it and buy a new packet. Nothing ruins a baking day faster than dead yeast, and fresh yeast is cheap insurance for your **from scratch baking**!
How can I make this into soft Yeast Roll Recipe Soft?
Oh, I love making rolls! They bake up so much faster, too. If you want to turn this loaf recipe into a batch of **soft yeast roll recipe soft**, it’s very simple. Instead of shaping the risen dough into a log for the loaf pan, divide it into 12 equal pieces. Gently round each piece into a ball and place them close together in a greased 9×9 inch square baking dish. Because they are smaller, they won’t need as long for the second rise (maybe 25 minutes is enough), and they typically bake for only 18 to 20 minutes at 375°F. They come out wonderfully soft and buttery!
Estimated Nutritional Data for This Yeast Bread Loaf
Okay, now for the reality check! We bake because it tastes amazing and brings comfort, but it’s smart to know what’s on the dining table. Here are the estimated nutrition figures for one slice of this **homemade yeast bread loaf** based on the ingredients used. Remember, this is estimated data, the kind of general guidance you’d expect from a simple recipe card. How much jam you put on later totally changes things, am I right?
If you’re counting macros or watching ingredients, keep in mind that things like the brand of flour or how much butter you brush on the top can shift these numbers slightly. Use this as a solid baseline for your **classic white bread recipe**!
- Serving Size: 1 slice
- Calories: About 140 (Not too bad for comfort food!)
- Total Fat: Just 2 grams
- Saturated Fat: 1 gram
- Unsaturated Fat: 1 gram
- Cholesterol: 2 milligrams
- Sodium: 210 milligrams
- Total Carbohydrates: 27 grams
- Dietary Fiber: 1 gram
- Sugars: 2 grams
- Protein: 4 grams
We’re aiming for a simple, satisfying bread here, not a health food powerhouse, but these numbers show it’s a perfectly reasonable addition to your weekly rotation. Enjoy that beautiful loaf without guilt!
PrintThe Easiest Homemade Yeast Bread Loaf
A simple, reliable yeast bread recipe perfect for beginners, yielding a soft and fluffy loaf with minimal effort.
- Prep Time: 20 min
- Cook Time: 35 min
- Total Time: 2 hours 5 minutes
- Yield: 1 loaf 1x
- Category: Baking
- Method: Baking
- Cuisine: American
- Diet: Vegetarian
Ingredients
- 1 packet (2 1/4 teaspoons) active dry yeast
- 1 cup warm water (about 105-115°F)
- 1 tablespoon granulated sugar
- 2 tablespoons unsalted butter, melted
- 1 teaspoon salt
- 3 cups all-purpose flour, plus more for dusting
Instructions
- In a large bowl, dissolve the yeast and sugar in the warm water. Let it stand for 5 minutes until foamy.
- Stir in the melted butter and salt into the yeast mixture.
- Gradually add the flour, one cup at a time, mixing until a shaggy dough forms.
- Turn the dough out onto a lightly floured surface. Knead for 5 to 7 minutes until the dough is smooth and elastic. This is the only kneading required for this simple recipe.
- Place the dough in a lightly oiled bowl, turning to coat. Cover the bowl with plastic wrap or a clean towel. Let the dough rise in a warm place for 1 to 1.5 hours, or until doubled in size.
- Gently punch down the risen dough. Shape it into a loaf and place it in a greased 9×5 inch loaf pan.
- Cover the pan loosely and let the dough rise again in a warm place for 30 to 45 minutes, or until the dough has crested about 1 inch over the rim of the pan.
- Preheat your oven to 375°F (190°C).
- Bake for 30 to 35 minutes, or until the top is golden brown and the internal temperature reaches 200°F (93°C).
- Remove the loaf from the pan immediately and let it cool completely on a wire rack before slicing.
Notes
- For a softer crust, brush the top of the loaf with melted butter immediately after removing it from the oven.
- If your kitchen is cold, place the rising dough in an oven that is turned off but has the light on to create a warm environment.
- This recipe uses pantry staple ingredients, making it a great option for quick baking.
Nutrition
- Serving Size: 1 slice
- Calories: 140
- Sugar: 2
- Sodium: 210
- Fat: 2
- Saturated Fat: 1
- Unsaturated Fat: 1
- Trans Fat: 0
- Carbohydrates: 27
- Fiber: 1
- Protein: 4
- Cholesterol: 2