
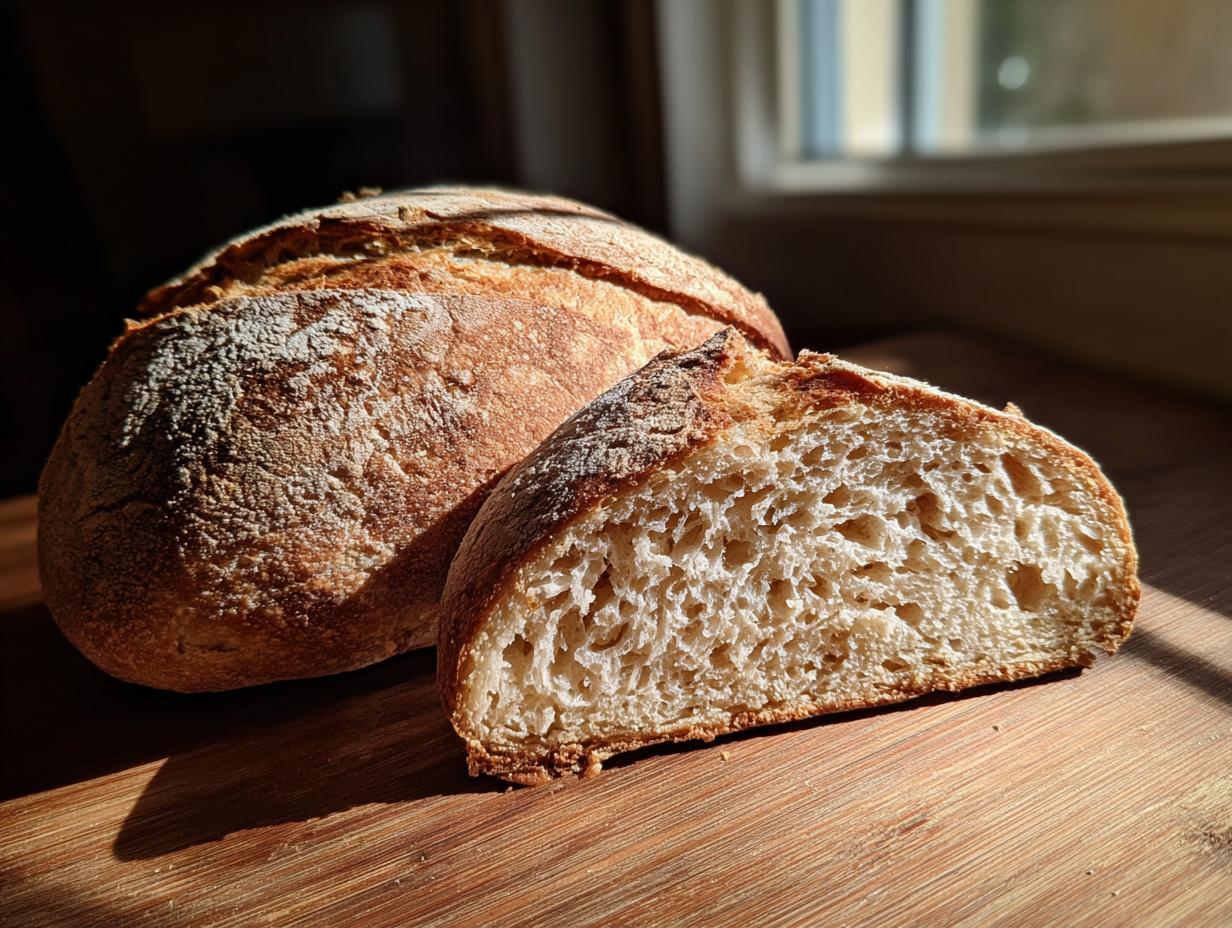
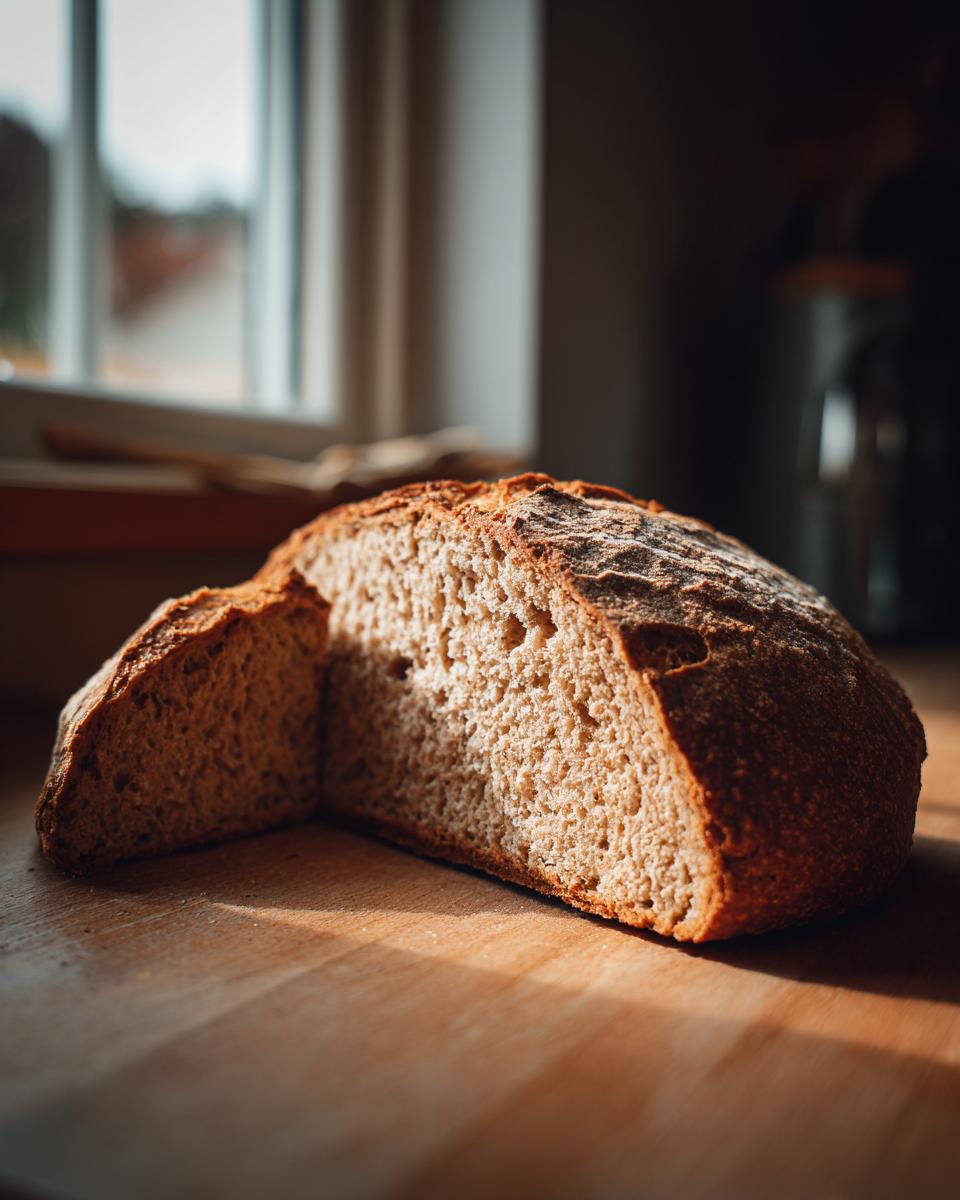
If you’re anything like me, complicated recipes that require hours of waiting for yeast to bloom just aren’t going to cut it on a busy weeknight. That’s why I’m so excited to share what is truly my favorite easy bread recipe: the Easy Authentic Irish Soda Bread. This is comfort baking engineered for simplicity; it’s rustic, comes together in minutes, and you get that irresistible crusty exterior surrounding a wonderfully soft, tender crumb. We approach baking here at Dishicious like a project manager—we cut out unnecessary steps to get the best result, and skipping yeast entirely for this classic soda bread gets you a delicious loaf faster than anything else. It’s all about efficiency.
- Why This Easy Soda Bread Recipe Works Every Time
- Ingredients for Authentic Irish Soda Bread
- Step-by-Step Instructions for Your Soda Bread Loaf
- Tips for Achieving a Tender Crumb Soda Bread
- Variations: Making Savory Quick Bread Soda Bread
- Serving Suggestions for Your Rustic Quick Bread
- Storage and Reheating Instructions for Soda Bread
- Frequently Asked Questions About Soda Bread
- Estimated Nutritional Data for This Soda Bread
- Estimated Nutritional Data for This Soda Bread
Why This Easy Soda Bread Recipe Works Every Time
Honestly, the best thing about this bread—besides the incredible flavor—is that it’s a fantastic no yeast bread. We don’t have to dedicate half our evening to waiting for dough to rise! This whole loaf, from start to finish, is ready in under an hour. That’s the magic of baking the Irish way. It’s what makes this such a stellar easy bread recipe for busy people. If you want to see more quick baked goods designed for efficiency, check out my guide on other simple baking projects that skip the proofing time.
The Science Behind Quick Homemade Bread
When you skip yeast, you’re relying on chemistry, which is way more predictable! The lift comes entirely from the reaction between the baking soda and the buttermilk. When those two meet, they create carbon dioxide bubbles right in the dough. This acid-base reaction gives us that perfect, rustic rise immediately. Since there is zero waiting around, you end up with a true fast bread recipe. It’s simple, reliable, and completely foolproof once you see it in action.
Ingredients for Authentic Irish Soda Bread
When it comes to traditional Irish bread, we keep things lean. That’s what makes this recipe so brilliant—it only needs four core ingredients. Seriously, that’s it! You want to make sure you measure the flour accurately, but once you have these basics ready, you’re halfway to home-baked goodness. The star here is the buttermilk; it’s vital for that slight tang and the chemical reaction we rely on for lift.
- 4 cups all-purpose flour
- 1 teaspoon baking soda
- 1 teaspoon salt
- 1 1/2 cups buttermilk
Buttermilk Substitute for Perfect Soda Bread
Now, if you only have regular milk in the fridge, don’t panic! This is an easy fix. Just take 1 1/2 cups of regular milk and whisk in 1 1/2 tablespoons of white vinegar or fresh lemon juice. Let that mixture sit on the counter for about five minutes until it starts to curdle slightly. That’s your replacement, go ahead and use it in place of the proper buttermilk bread base!
Step-by-Step Instructions for Your Soda Bread Loaf
This is where the magic happens, and trust me, speed is your friend when making this soda bread. First thing: get that oven preheated to 400°F (200°C) right now. Lightly dust a baking sheet with flour—we need a comfortable landing spot for our loaf. Remember that golden rule of quick breads: the second the liquid hits the dry ingredients, the reaction starts, so don’t dawdle! If you love fast baking, you can check out other great no yeast bread recipes while this one bakes.
Mixing the Soda Bread Dough: Work Quickly
In a big bowl, whisk your dry bits—flour, soda, salt—together really well. Now, make a well in the middle. Pour that buttermilk in all at once. Grab your wooden spoon, or better yet, your hands, and mix it fast. You are only mixing until everything just holds together. I mean it—stop when it looks messy! We want a soft, shaggy dough, not a tough bagel.
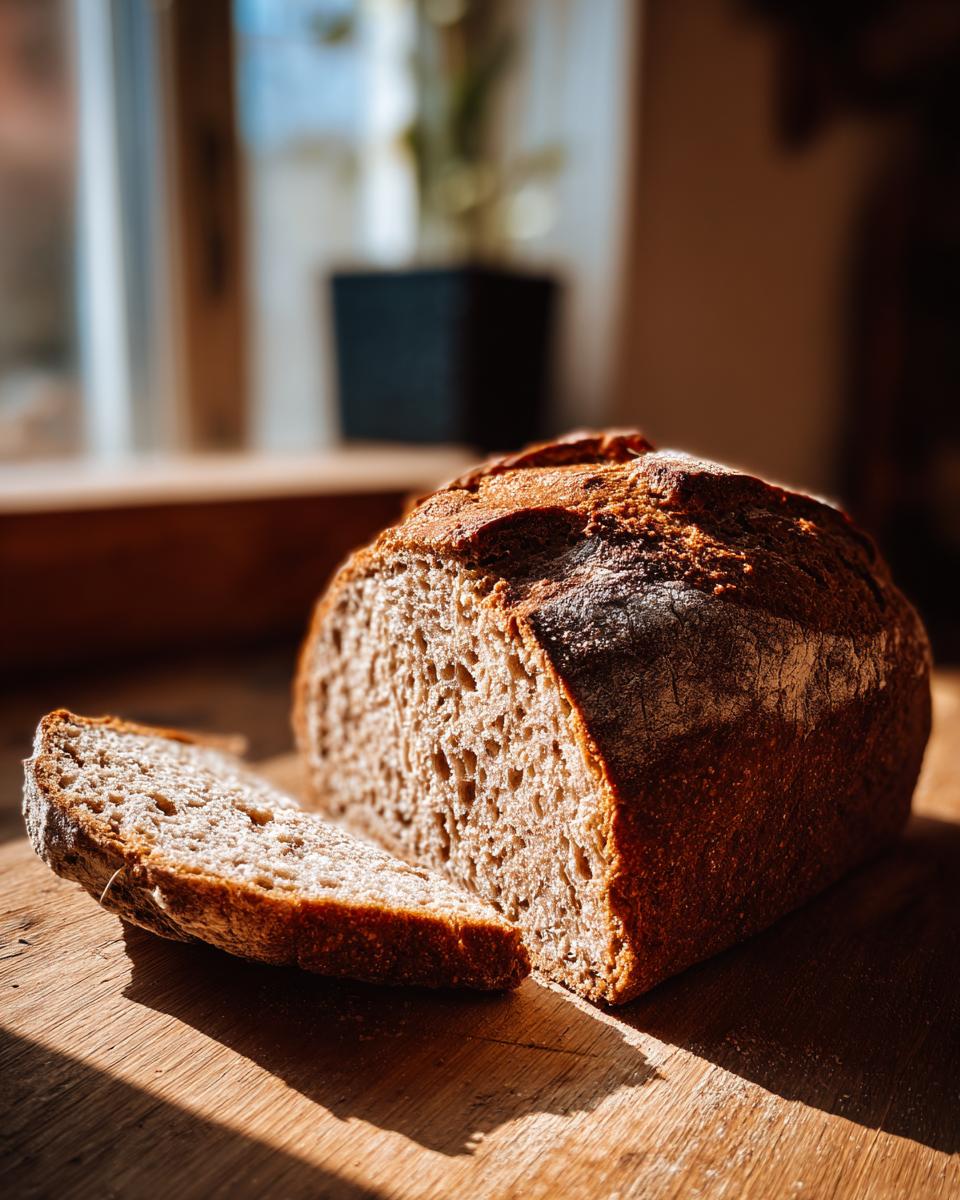
Shaping and Scoring the Crusty Homemade Loaf
Turn that shaggy mess onto your floured surface. Gently pat it into a round shape, maybe an inch and a half thick. Don’t fuss with it too much; we aren’t kneading bread; we’re just coaxing it into shape. Place it on your prepared sheet. Now for the classic look: take a sharp knife and cut a deep cross right into the top, cutting halfway down. This helps the heat penetrate that crusty homemade loaf and honors the traditional Irish soda bread style.
Tips for Achieving a Tender Crumb Soda Bread
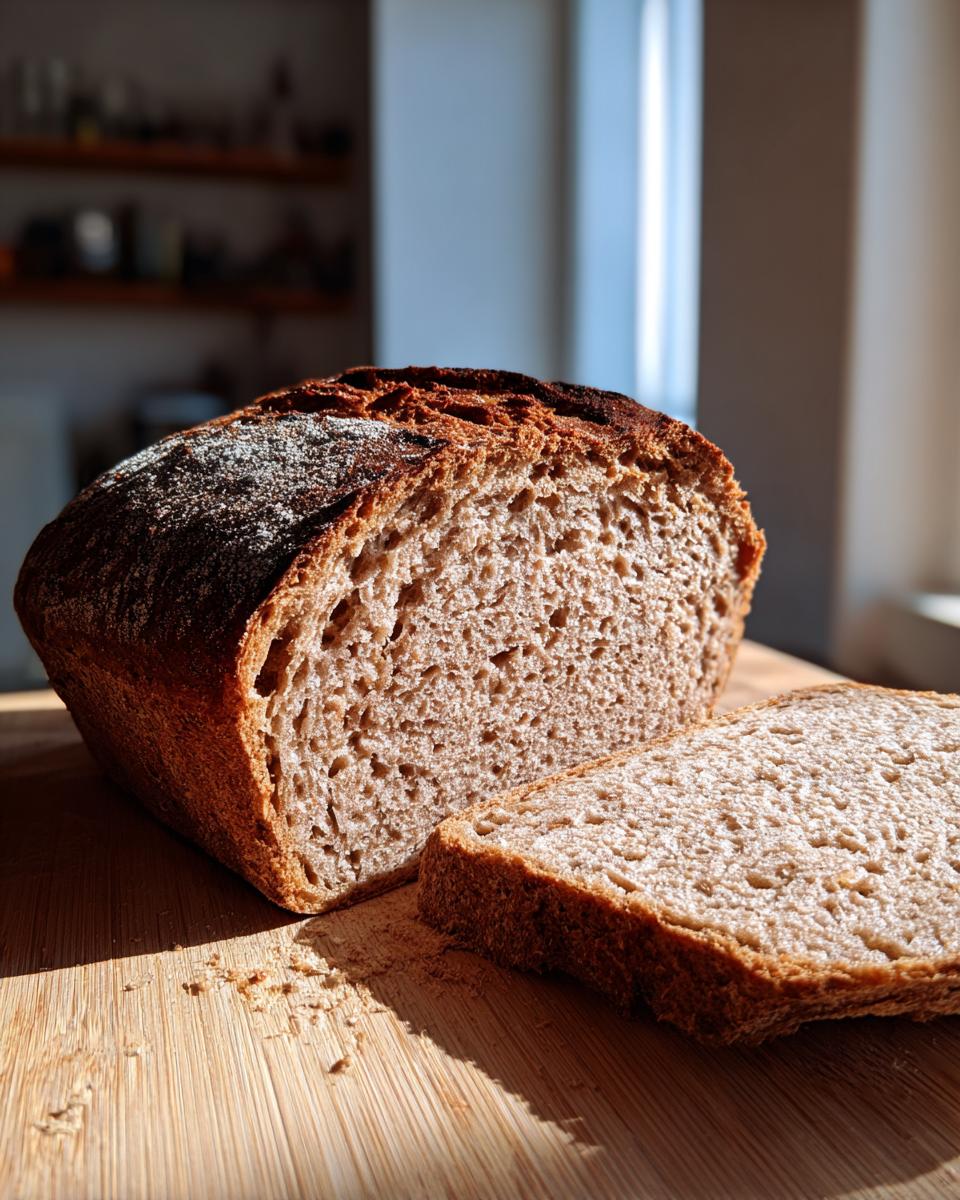
So you want that perfect bite, right? Not heavy, not dry—just a beautifully soft and tender crumb bread. It’s actually less about what you add and more about what you don’t do! The main villain here is overmixing. Remember how I said to stop mixing when it looks shaggy back in the instructions? If you keep working that dough, you develop gluten, and suddenly your soft loaf turns into something you could use to patch drywall. Leo, our founder, learned this the hard way trying to make a giant loaf, thinking bigger was better. Nope! Keep it gentle.
Another huge factor is the heat. You need a hot oven—400°F—to get that initial blast of heat to activate the leavening agents and help it spring up quickly. Don’t peek too early! Once it’s baking, leave it alone until the 30-minute mark. The ultimate test for a true Irish soda bread is the bottom tap test. Pick it up carefully (use a thick oven mitt!) and tap the bottom center. If it sounds genuinely hollow, like knocking on a barn door, it’s done. If it sounds dull, give it five more minutes. This ensures you get that perfect crust without drying out the inside. If you’re looking for other simple baking strategies, you might enjoy my tips on making no-fuss cookies which uses similar quick mixing principles.
Variations: Making Savory Quick Bread Soda Bread
While the traditional plain loaf is heaven with a thick layer of salty butter, this soda bread base is absolutely perfect for turning into a savory quick bread! If you want to elevate your loaf for dinner, trust me and add some sharp cheddar and fresh herbs. This is the kind of bread that disappears instantly when served alongside soup—it’s the ultimate comfort food baking sidekick.
The key is when you fold those extras in. Because we are working so fast once the buttermilk is in, you need your mix-ins ready to go. I always suggest adding about a cup and a half of shredded sharp cheddar and maybe a tablespoon or two of chopped chives or parsley right after you add the buttermilk, but *before* the final turn-out. Mix just until you see the cheese distributed.
You want to make sure those additions don’t overwork the dough here either. Gentle folding is the name of the game. If you’re looking for cheesy inspiration, you absolutely have to check out how those folks make their Cheesy Cheddar Soda Bread—it’s amazing what a little cheese does!
And speaking of savory, this bread is unbelievably good dipped into creamy sauces, like this easy creamy garlic sauce I whip up sometimes instead of making a whole vegetable side dish. It handles a robust flavor profile perfectly.
Serving Suggestions for Your Rustic Quick Bread
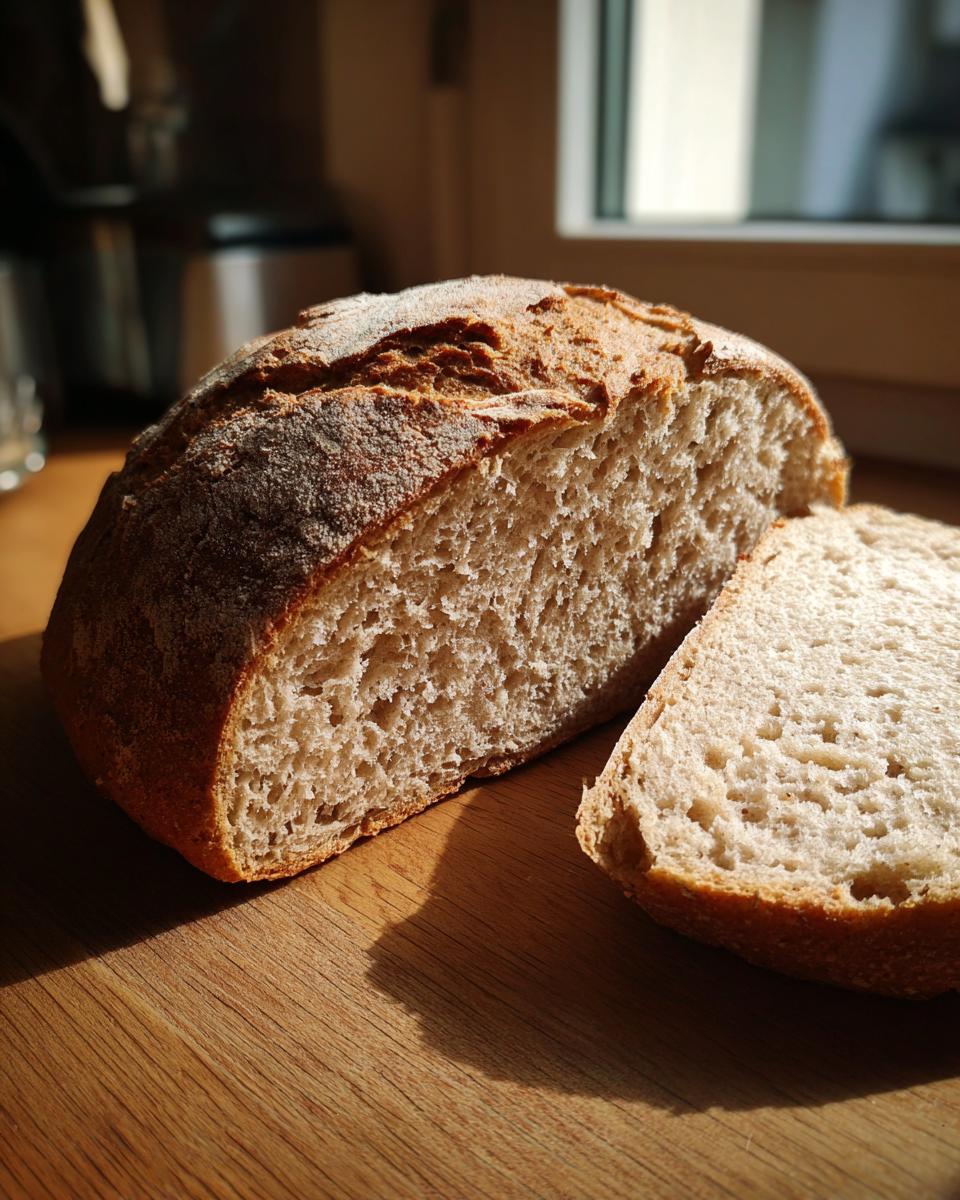
Once your soda bread loaf cools down—and trust me, waiting for it is the hardest part!—you need to know the best way to enjoy this slice of Ireland. The absolute classic move, and my personal favorite for a quick treat, is warm with a ridiculously thick swipe of good salted butter. That salt cutting through the slight tang of the buttermilk? Perfection.
But this rustic quick bread really shines as the ultimate soup side bread. It’s sturdy enough to soak up broth without just disintegrating into mush. If you are making a hearty bowl of chili or maybe a thick lentil stew, this is the dunking vehicle you need. It’s the definition of comfort food baking right there on your dinner plate. This bread would be amazing alongside a big bowl of Cowboy Soup!
Storage and Reheating Instructions for Soda Bread
Because this is a no yeast bread, it doesn’t have the longevity of a long-fermented loaf, so you do need to plan for storage. I find that homemade bread tends to go a little stale faster than the store-bought stuff, which is fine because it means we eat it fast! Store any leftovers wrapped tightly in aluminum foil or plastic wrap at room temperature—never the fridge, as that actually speeds up staling.
If you have a few slices left the next day, you have to reheat it to get that glorious crust back! Pop the slices in a toaster oven or regular oven at about 325°F for five minutes until they are piping hot. If you have half a loaf left, just wrap it in foil and give it 10 minutes in the same moderate oven. That crust crackles again, I promise!
Frequently Asked Questions About Soda Bread
Why is my soda bread tough instead of tender?
Oh, I know that disappointment well! If your loaf turned out tough, nineteen times out of twenty, it means you mixed the dough for too long after you added the buttermilk. Once those wet and dry ingredients combine, the chemical reaction starts immediately, and you’ve got maybe thirty seconds before the gluten starts activating. You want to mix *just* until no dry flour streaks are visible. Stop immediately! It should look messy when you turn it out onto the counter. That’s the secret to a soft, tender crumb bread.
Can I use regular milk instead of buttermilk in this soda bread recipe?
You totally can, but you must treat it exactly like buttermilk, as mentioned in the notes! If you just use plain milk, the baking soda won’t activate properly, and your bread will be flat and hard as a rock. You have to create the acid needed for the reaction. So, yes, use regular milk, but remember to add that splash of vinegar or lemon juice and let it sit for five minutes before pouring it into your flour mix. It’s essential for this soda bread method.
Is this the same as the bread served for St. Patrick’s Day?
Yes, it absolutely is! This is that authentic, rustic loaf you see everywhere around St. Patrick’s Day. Because it’s so fast and requires no specialty ingredients like yeast, it became a staple. While some people might bake a sweeter, fruitier version for feasts, this basic, four-ingredient loaf is the classic version that everyone associates with Irish soda bread. It’s perfect for any celebration, really!
How should I store leftovers to keep them fresh?
Since there are no preservatives, this bread is best eaten the day it’s baked, but storing it right makes a difference! Wrap it tightly in foil or plastic wrap and keep it on the counter away from sunlight. Don’t refrigerate it unless you plan on keeping it for more than three days, as the cold temperatures actually make it taste stale faster. If you do have leftovers, re-crisping is the way to go. Pop it in a 350°F oven for about 5–7 minutes.
If you have any other tricky baking questions, please don’t hesitate to ask us over at the contact page!
Estimated Nutritional Data for This Soda Bread
Keeping track of what goes into your food is part of smart cooking—that’s why we always try to list the basics here for you. Remember, since ingredients can vary slightly (especially depending on the brand of flour or milk you choose), these are just good estimates based on the recipe we developed.
- Serving Size: 1 slice
- Calories: 220
- Fat: 1g
- Carbohydrates: 47g
- Protein: 7g
Easy Authentic Irish Soda Bread (No Yeast)
Make a traditional, rustic Irish soda bread loaf quickly without yeast. This recipe yields a tender crumb and a crusty exterior, perfect for serving with soup or butter.
- Prep Time: 10 min
- Cook Time: 35 min
- Total Time: 45 min
- Yield: 8 servings 1x
- Category: Baking
- Method: Baking
- Cuisine: Irish
- Diet: Vegetarian
Ingredients
- 4 cups all-purpose flour
- 1 teaspoon baking soda
- 1 teaspoon salt
- 1 1/2 cups buttermilk
Instructions
- Preheat your oven to 400°F (200°C). Lightly flour a baking sheet.
- In a large bowl, whisk together the flour, baking soda, and salt.
- Make a well in the center of the dry ingredients. Pour in the buttermilk all at once.
- Mix the ingredients quickly with a wooden spoon or your hands until just combined into a soft, shaggy dough. Do not overmix.
- Turn the dough out onto a lightly floured surface. Gently shape it into a round loaf, about 1 1/2 inches thick.
- Place the loaf on the prepared baking sheet. Use a sharp knife to cut a deep cross into the top of the loaf, cutting about halfway through.
- Bake for 30 to 35 minutes, or until the loaf sounds hollow when tapped on the bottom.
- Transfer the bread to a wire rack to cool completely before slicing.
Notes
- For a traditional look, brush the top of the loaf lightly with buttermilk before baking.
- If you do not have buttermilk, mix 1 1/2 cups of regular milk with 1 1/2 tablespoons of white vinegar or lemon juice and let it sit for 5 minutes before using.
- This is a fast bread recipe, so work quickly once the buttermilk is added to prevent the dough from becoming tough.
Nutrition
- Serving Size: 1 slice
- Calories: 220
- Sugar: 1
- Sodium: 350
- Fat: 1
- Saturated Fat: 0.5
- Unsaturated Fat: 0.5
- Trans Fat: 0
- Carbohydrates: 47
- Fiber: 2
- Protein: 7
- Cholesterol: 5