
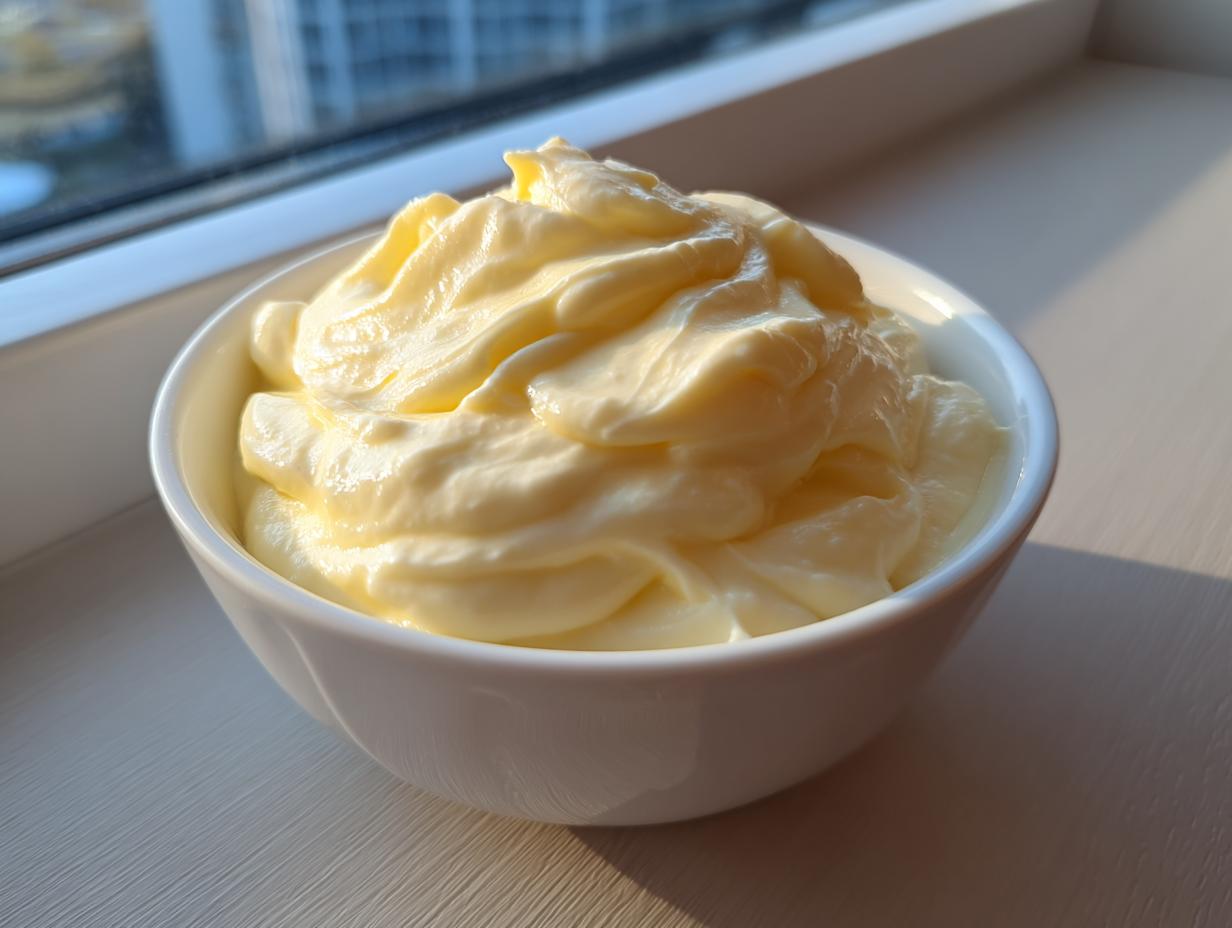
I don’t know about you, but once you taste real, freshly made mayonnaise, the jarred stuff just tastes… sad. It’s like comparing tap water to a perfectly chilled sparkling bottle! That’s why learning to make **homemade mayonnaise** quickly is one of those kitchen skills that immediately elevates everything you eat. Forget all those complicated whisking techniques you see online. Leo [the founder of Dishicious] approaches cooking like a streamlined project, and this recipe is the perfect sprint: five ingredients, about five minutes total, and you get a thick, beautiful condiment every single time. Trust me, this foolproof blender method is exactly how we make fresh kitchen staples here.
- Why This Is The Best Homemade Mayonnaise Recipe For Beginners
- Essential Ingredients for Perfect Homemade Mayonnaise
- Step-by-Step Instructions: How To Make Mayo At Home Using A Blender
- Troubleshooting Common Homemade Mayonnaise Issues
- Flavorful Mayo Variations: Customizing Your Homemade Mayonnaise
- Serving Suggestions for Your Fresh Homemade Mayonnaise
- Storage and Shelf Life of Homemade Mayonnaise
- Frequently Asked Questions About Homemade Mayonnaise
- Your Next Step in Sauce Making Mastery
- Your Next Step in Sauce Making Mastery
Why This Is The Best Homemade Mayonnaise Recipe For Beginners
Look, I know the word ’emulsion’ sounds scary, but that’s why we’re using a blender for this quick blender mayo! It’s designed to be unbelievably fast—seriously, you’re looking at maybe five minutes total work. This is my go-to no fail mayonnaise because the machine does all the heavy lifting, making sure that oil gets mixed in exactly right. Forget about messy homemade sauce recipes or whisking anxiety; we ditch that completely! If you want proof that homemade mayonnaise tastes way better, this is where you start.
Achieving Creamy Mayo From Scratch Every Time
The reason this blender method is so brilliant for making creamy mayo from scratch is the speed, honestly. When you blend the initial ingredients and slowly drizzle the oil, the blade creates a super-fast, tiny vortex. This forces the oil and egg mixture to bond consistently, which is *exactly* what the traditional slow-drizzle whisking method attempts, only we do it perfectly in seconds. You get that lush, thick texture without breaking your arm or worrying about splitting.
Essential Ingredients for Perfect Homemade Mayonnaise
This is the beauty of smart cooking, right? We only need five things to create this miracle condiment, making these truly fresh kitchen staples. You’ll need one large egg, a teaspoon each of Dijon mustard and lemon juice (or vinegar), a quarter teaspoon of salt, and one full cup of oil. Now, pay close attention to the egg: it *has* to be room temperature before you put anything else in that blender cup. Cold ingredients are the fastest way to cause trouble, and we want zero drama in this process.
Ingredient Notes and Oil Selection for Homemade Mayonnaise
When picking your oil, stick to something neutral like canola or grapeseed oil. Neutral means flavorless, which lets that fresh egg and bright lemon shine through! If you use something strong, like regular extra virgin olive oil, your finished mayo will taste aggressively like olives. It’s totally doable, but it changes the profile entirely. Remember that room temperature rule? It’s important because cold oil and cold egg whites fight each other when trying to combine. Warm ingredients cooperate beautifully, giving you the rich texture we want for creamy egg salad recipe later on!
Step-by-Step Instructions: How To Make Mayo At Home Using A Blender
Okay, this is the fun part where we transform liquid into gorgeous, thick sauce in under a minute! I find the immersion blender makes this even easier than a standard blender, but either works great for this method. First, get your egg, mustard, lemon, and salt into the cup or jar. If you’re using the immersion stick, push the head *all the way* to the bottom, completely covering the yolk.
Start blending on low speed. Now, here’s the trick for success: slowly drizzle in that cup of oil in the thinnest stream you can manage. Don’t rush it! Keep that blender head down for the first 15-20 seconds, letting the magic happen right at the bottom. Your mixture will go from runny yellow to pale white and start thickening up significantly. If you’re using a standard, upright blender, you’ll need to pour that oil in such a slow, steady stream—like a tiny thread—while it runs on medium speed. It takes more concentration, but the result is the same fantastic velvety soup texture we are aiming for!
The Critical Emulsification Phase in Homemade Mayonnaise
That moment when it gets thick is the payoff! You’ll see the blade start to spin slower because it’s fighting through the creamy white mass. That’s your cue! If you’re using the immersion blender, you can now slowly lift the head up and down to incorporate the rest of the oil floating on top. If it becomes too thick too fast, stop drizzling oil for just a moment. You’re looking for a consistency that holds its shape—it shouldn’t look watery or runny anymore. That means the emulsion is locked in, and you’ve just made homemade mayonnaise that beats anything from the store. Check out the full process details from folks who love making mayo at home too!
Troubleshooting Common Homemade Mayonnaise Issues
If your beautiful creation decides to split and look kinda oily and watery, don’t panic! This is called ‘breaking,’ and it happens to the best of us, especially when we first learn this mayonnaise recipe for beginners. Please, do not just throw it away! We have a brilliant fix that makes you look like a total pro. Just grab a clean bowl; you can either add one tiny teaspoon of water or one fresh egg yolk to that clean bowl, depending on what you have handy.
Start mixing that teaspoon of water or that fresh yolk while you slowly, slowly drizzle in the broken mayo mixture a spoonful at a time, just like you did at the start. Watch it! It will re-emulsify right before your eyes, becoming thick and creamy again. See? Totally foolproof once you know the secret move!
Flavorful Mayo Variations: Customizing Your Homemade Mayonnaise
Now that you have mastered the base—the backbone of all great creamy dips—it’s time to play! The best part about making your own homemade mayonnaise is the sheer ease of creating amazing flavorful mayo variations. Remember those notes I mentioned? You absolutely need to try adding one small, peeled clove of garlic right in with the initial egg mixture. That makes a fantastic garlic aioli instantly!
But don’t stop there! Since this mayo is so fresh, it takes on flavors beautifully. Try whisking in a teaspoon of smoked paprika and a pinch of cayenne for a smoky kick that’s amazing on burgers. Or, if you’re feeling herbaceous, some finely chopped fresh dill and chives make for a wonderful sandwich spread. It’s so satisfying to take this simple base and turn it into something gourmet. Check out how other folks are experimenting with easy homemade mayonnaise recipes!
Serving Suggestions for Your Fresh Homemade Mayonnaise
Seriously, don’t just hoard this beautiful stuff in the fridge! Once you have this thick, rich base, the possibilities for gourmet sandwich spreads explode. This mayonnaise is totally transformative. My absolute favorite, non-negotiable use is slathering it on a warm burger; it just melts a little and locks in incredible flavor.
It’s fantastic as a base for ridiculously good fish tacos—just add a squeeze of lime and a dash of hot sauce to make an instant tangy homemade dip. And please, don’t even *think* about using the bottled stuff on your fries or homemade potato salad ever again. This fresh version makes everything taste like it came from a fancy bistro. If you love good dips, you’ll probably adore how versatile this is for making things like my creamy peanut sauce base too!
Storage and Shelf Life of Homemade Mayonnaise
This is where we get serious for a second, because this gorgeous jar of homemade mayonnaise is full of fresh egg, which means we have to treat it right! You absolutely need to transfer your creation into a spotless, airtight container immediately after you cool it down. Because we skipped all those stabilizers the big companies use, it won’t last forever like the stuff on the shelf. I usually find that mine stays fantastic for about a week in the fridge.
That’s plenty of time to use it up on sandwiches and burgers, but definitely don’t plan on keeping it past seven or eight days. That freshness is what makes these fresh egg condiments taste so incredible, but it means we eat them while they’re at their peak!
Frequently Asked Questions About Homemade Mayonnaise
So, you’ve whipped up the smoothest, creamiest batch of homemade mayonnaise possible and now you have a few little questions buzzing around! That’s totally fine; making things from scratch always brings up smart questions about technique and fresh ingredients. We want you to feel 100% confident in this process, especially since this is a foundation for so many of my favorite creamy dishes.
Is it safe to use raw eggs for homemade mayonnaise?
That’s the number one question people have, and it’s super smart to ask! Because we are skipping the cooking step—this is a quick assembly job—we are using a raw egg. If you’re worried about that, especially since this is a fresh kitchen staple, you can absolutely use pasteurized eggs. Those are eggs where the embryos have been gently heated while still in the shell to kill potential bacteria. They work perfectly well in this recipe! If you use regular store-bought eggs, just make sure they are highly fresh and clean. That little bit of extra consideration builds that trust we talked about.
Can I make this homemade mayonnaise recipe without an immersion blender?
You totally can! I mean, I love my immersion blender for this because I can essentially just drop it in and walk away for 30 seconds, but a standard blender or even a food processor will totally get the job done. If you’re using a standard blender, you just need to be hyper-vigilant during the oil addition. You can’t just dump it in, even if you’re on high speed.
You have to pour that oil in a ridiculously thin, slow stream—think thinner than a pencil line, maybe even thinner! If you pour too fast, the emulsion breaks, and you end up with oily soup instead of that glorious, thick stuff. Go slow, and you’ll nail that creamy mayo from scratch texture!
What is the best neutral oil for the best homemade mayo technique?
For the absolute best results, especially when aiming for that clean, classic flavor profile that lets the lemon and Dijon shine, you need a neutral oil. I always reach for canola oil or grapeseed oil; they are flavorless and have a great texture when emulsified. You might see some folks recommending using extra virgin olive oil because it sounds healthier, but trust me, EVOO has such a strong peppery, grassy flavor that it tends to completely overpower your homemade mayonnaise.
If you want that standard, bright, tangy flavor that works on everything, stick neutral! Save the fancy olive oil for drizzling on salads later. You can learn more about different approaches to making mayo at home everywhere, but for this foolproof method, neutral is key.
Your Next Step in Sauce Making Mastery
See? That wasn’t hard at all! You just unlocked one of the easiest and most rewarding skills in the kitchen. Now you know how to create your own from scratch dressings and sauces! Let me know in the comments below how your batch turned out—did you go for the plain version or something spicy? And tell me, what other easy condiments do you want me to simplify next?
Your Next Step in Sauce Making Mastery
See? That wasn’t hard at all! You just unlocked one of the easiest and most rewarding skills in the kitchen. Now you know how to create your own kitchen creamy creations and amazing sauces! Let me know in the comments below how your batch turned out—did you go for the plain version or something spicy? And tell me, what other easy condiments do you want me to simplify next?
PrintEasy 5-Ingredient Homemade Mayonnaise (Blender Method)

Make creamy, thick homemade mayonnaise quickly using only five basic ingredients. This foolproof blender method ensures a perfect emulsion every time for a fresh condiment superior to store-bought options.
- Prep Time: 5 min
- Cook Time: 0 min
- Total Time: 5 min
- Yield: About 1 cup 1x
- Category: Condiment
- Method: Blending
- Cuisine: American
- Diet: Gluten Free
Ingredients
- 1 large egg, room temperature
- 1 teaspoon Dijon mustard
- 1 teaspoon fresh lemon juice or white vinegar
- 1/4 teaspoon salt
- 1 cup neutral oil (like canola, grapeseed, or light olive oil)
Instructions
- Place the egg, Dijon mustard, lemon juice or vinegar, and salt into the container of an immersion blender or a standard blender jar.
- If using an immersion blender, place the head of the blender directly onto the bottom of the container, covering the egg yolk.
- Begin blending on low speed. Slowly drizzle the oil in a very thin, steady stream over the top of the egg mixture. Do not stop blending.
- Continue blending and slowly adding oil until the mixture begins to thicken and emulsify. This usually takes about 30 seconds.
- Once the mixture thickens, you can increase the speed slightly and continue adding the remaining oil until all the oil is incorporated and the mayonnaise is thick and creamy.
- If using a standard blender, you must pour the oil in a very slow, thin stream while the blender is running on medium speed. Stop when the mixture is thick.
- Taste and adjust salt or add a small squeeze more lemon juice if desired. Transfer to an airtight container.
Notes
- Use room temperature ingredients; cold ingredients increase the chance of the emulsion breaking.
- If the mayonnaise separates (breaks), place one teaspoon of water or one fresh egg yolk in a clean bowl and slowly whisk in the broken mixture until it re-emulsifies.
- For garlic mayonnaise, add 1 small clove of peeled garlic with the initial ingredients.
Nutrition
- Serving Size: 1 tablespoon
- Calories: 90
- Sugar: 0
- Sodium: 60
- Fat: 10
- Saturated Fat: 1.5
- Unsaturated Fat: 8.5
- Trans Fat: 0
- Carbohydrates: 0
- Fiber: 0
- Protein: 0.5
- Cholesterol: 20