
When the summer heat hits and you need immediate, cool relief, complicated desserts just won’t cut it. That’s why I engineered this recipe: the absolute best Blueberry swirl ice cream you can make without ever touching an ice cream maker. Seriously, no churning required! This is pure, creamy bliss packed with those gorgeous, deep purple ribbons that look like an absolute showstopper sitting on your counter. It perfectly aligns with the Dishicious philosophy Leo Grant started—efficient, reliable cooking that maximizes flavor without wasting your entire evening. If you’re looking for genuinely impressive but simple summer treats, this is your go-to. If you love quick, satisfying desserts, you’ll want to check out our whole collection of dessert recipes.
- Why You Will Make This Blueberry Swirl Ice Cream All Summer
- Gathering Ingredients for Homemade Ice Cream
- Step-by-Step Instructions for Blueberry Swirl Ice Cream
- Tips for Success Making Blueberry Swirl Ice Cream
- Ingredient Notes and Substitutions for Homemade Ice Cream
- Serving Suggestions for Your Blueberry Swirl Ice Cream
- Storage and Reheating for Blueberry Swirl Ice Cream
- Frequently Asked Questions About No Churn Ice Cream
- Share Your Homemade Ice Cream Experience
Why You Will Make This Blueberry Swirl Ice Cream All Summer
When I designed this recipe, I was focused exactly on what you need when it’s scorching outside: zero fuss and maximum reward. Trust me, once you see how easy this comes together, you’ll shelve any recipe that requires you to actually crank an old machine. We’re keeping things simple here.
- The No-Churn Advantage for Easy Summer Treats
This is the real deal. You don’t need a fancy machine taking up space in your garage just to enjoy amazing homemade ice cream. We’re relying on the magic combination of super-cold heavy cream and sweetened condensed milk. It whisks up perfectly every single time, giving you that cool, creamy texture that screams instant satisfaction, no ice cream maker required. It’s the definition of efficient cooking!
- Achieving Perfect Blueberry Swirl Ice Cream Aesthetics
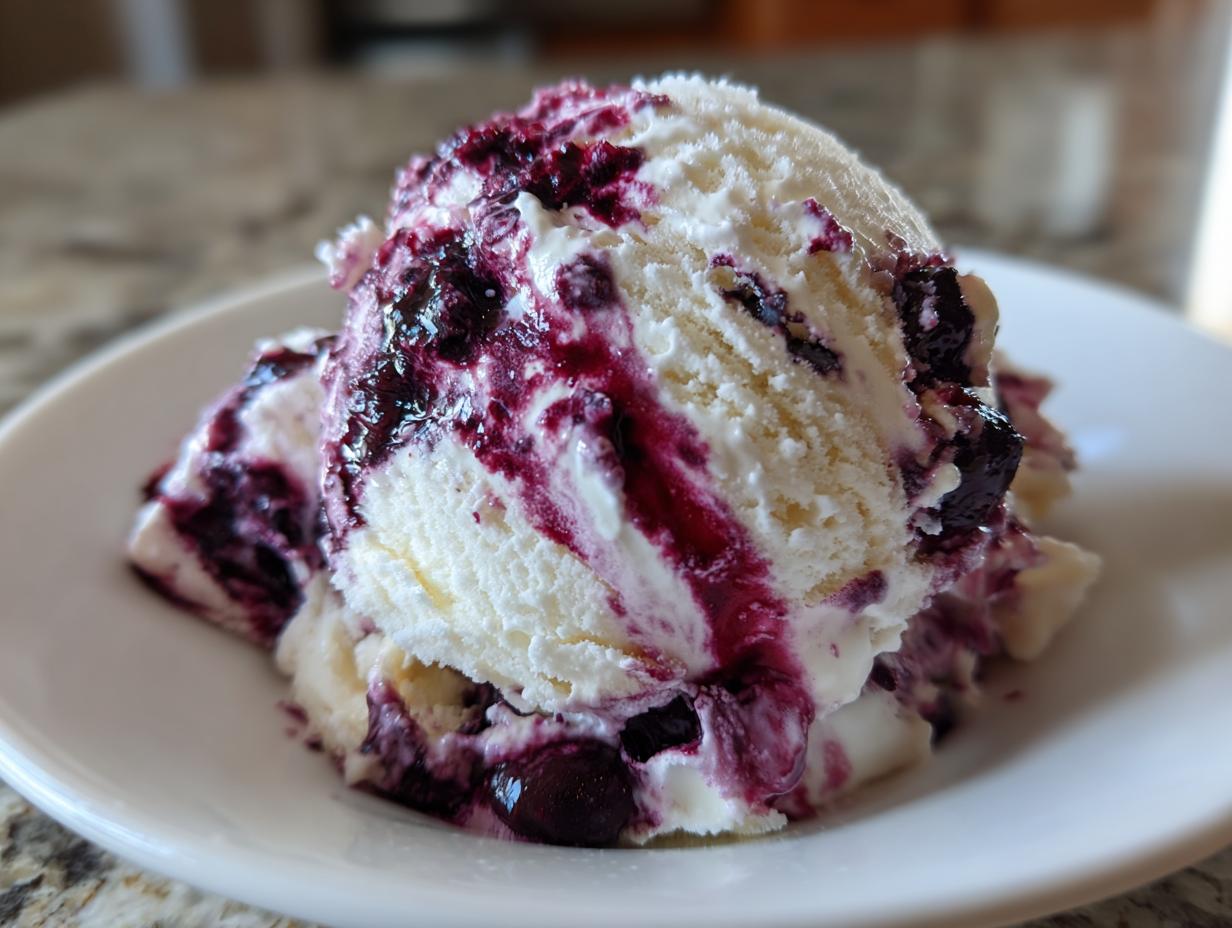
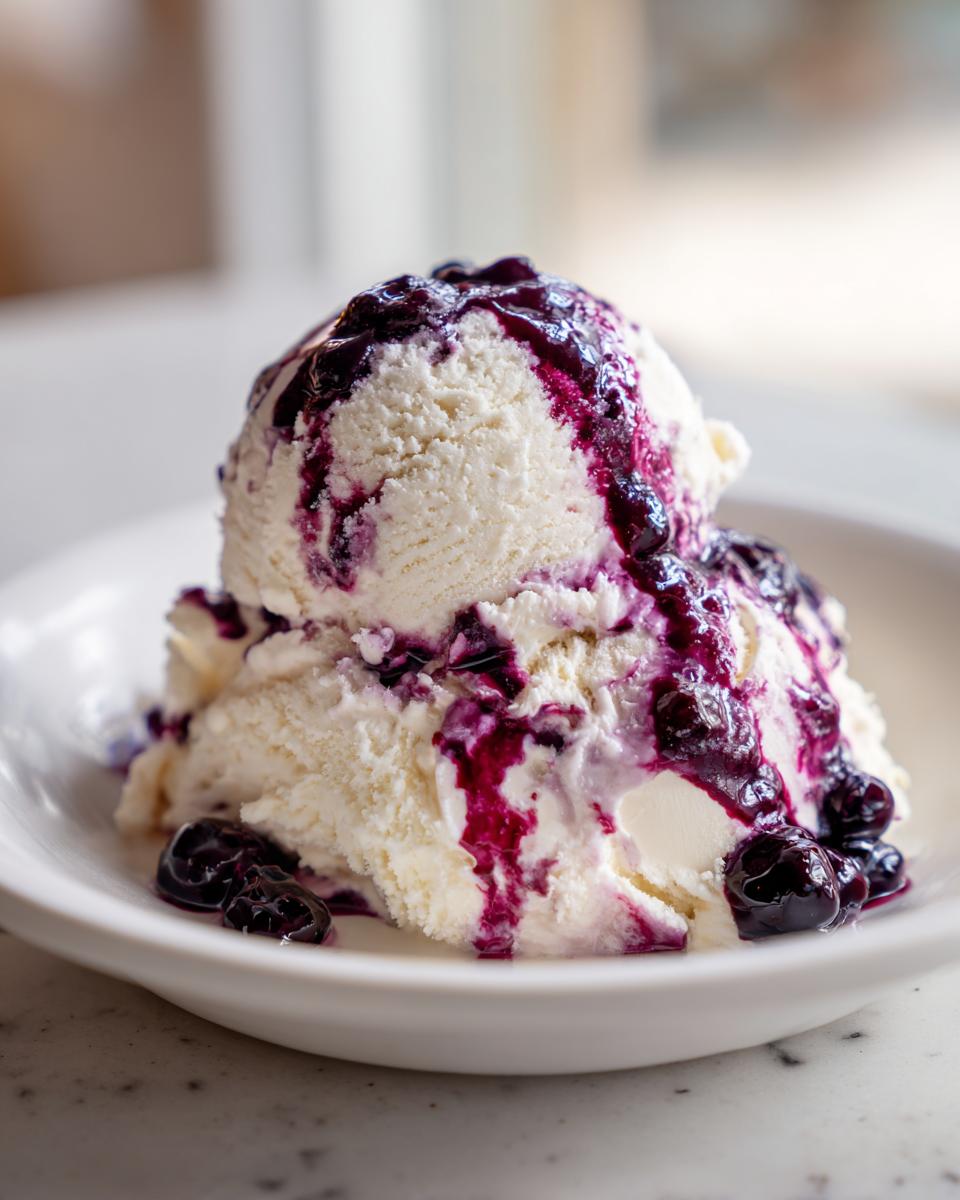
Let’s be honest: presentation matters, especially when it comes to summer desserts. This isn’t just some bland white block. The deep, almost jewel-toned sauce we cook down creates dramatic ribbons throughout the creamy base. When you slice into a frozen block of Blueberry swirl ice cream, it looks professionally done. It’s stunning, and the best part is that the swirling is completely forgiving—you can’t mess it up!
Gathering Ingredients for Homemade Ice Cream
As a project manager in the kitchen, I’ve learned that the right materials make or break the end result. For this Blueberry swirl ice cream, we aren’t dealing with complicated steps, but we do need high-quality components prepared correctly. We have two main groupings of ingredients: the bright, tart sauce and the rich, creamy base. Make sure everything for the base is chilled; that’s half the battle won when we whip that cream later.
If you’re looking for other ways to use up those berries, you absolutely have to check out my super simple blueberry jam recipe—it’s equally efficient!
Blueberry Swirl Components
This is where we build that gorgeous streak of color and flavor. Don’t sweat the berries too much; you can use fresh ones if you have them, or grab a bag of frozen ones straight from the freezer. Both work perfectly here.
- 1 cup fresh or frozen blueberries
- 2 tablespoons granulated sugar
- 1 tablespoon lemon juice (This is crucial! It brightens the flavor so it doesn’t taste flat.)
Ice Cream Base Components
This section is all about temperature. If your cream isn’t cold, you won’t get the stiff peaks we absolutely need for a proper no-churn structure. Seriously, stick this stuff in the freezer for 10 minutes before you start whipping if your kitchen is warm!
- 2 cups heavy whipping cream, cold
- 1 (14 ounce) can sweetened condensed milk, cold
- 1 teaspoon vanilla extract
Step-by-Step Instructions for Blueberry Swirl Ice Cream
Alright, let’s get down to the assembly phase. This entire process, once you have your ingredients ready, moves fast, which is why I love it for busy evenings. We’ll handle the flavor development first, then the texture building, and finally, the layering that makes this Blueberry swirl ice cream so pretty.
Preparing the Flavorful Blueberry Swirl Sauce
We start by building that deep color and tart spot against the sweet cream. Get your blueberries, sugar, and lemon juice into a small saucepan. Heat this over medium heat. You’re looking for about 8 to 10 minutes of cooking time. Don’t rush it—you want those berries to fully break down into a thick, syrupy sauce. Once it’s done, pull it off the heat immediately and put it somewhere completely cool. This is non-negotiable: if that sauce is warm when it hits the cream base, you’re going to melt all the air out! If you want more ideas on using those lovely fruits, check out my guide to the best blueberry recipes.
Creating the Creamy No Churn Ice Cream Base
This is the high-impact mixing phase. Grab your bowl of super-cold heavy cream. You’re going to beat this with your electric mixer until you hit stiff peaks. I time this roughly for 3 to 5 minutes, but you’re looking for visual confirmation—when you lift the beaters, the peaks should stand straight up without flopping over. Once that happens, take your cold condensed milk and vanilla and gently fold them in. I mean gently. This is where you need to slow down; folding preserves those air bubbles we just created. If you overmix here, your final product will be dense, not fluffy.
Layering and Creating the Visual Swirl
Time to make it look amazing! Grab a freezer-safe loaf pan—about 9×5 inches is perfect for this yield. Pour in about half of your beautiful, airy ice cream base. Next, drizzle half of that cooled blueberry sauce right on top. Grab a knife or a chopstick and gently drag it through the mix just a couple of times. Don’t stir it like soup! We want defined ribbons of purple here. Repeat the process: remaining base, remaining sauce, and a final, very light swirl on the surface.
Freezing Your Blueberry Swirl Ice Cream
To lock in all that work and prevent those dreaded ice crystals (which ruin any good homemade ice cream project), you need to cover it tightly. Get a piece of plastic wrap and press it directly down onto the surface of the ice cream before you put the lid on the pan. Freeze this for a solid 6 hours, but honestly, overnight is always best. When you pull it out, give it about 10 minutes on the counter before you try to scoop; it keeps that wonderful texture we worked so hard for.
Tips for Success Making Blueberry Swirl Ice Cream
I’ve iterated on this project so many times, and I’ve figured out the exact friction points that can stop a perfect batch of Blueberry swirl ice cream from coming together right. If your kitchen is running hot, or if you’re tempted to rush a step, read these quick notes first. This is about maximizing your payoff for minimal effort—the whole Dishicious ethos!
Temperature Control for the Best Swirl
I can’t stress this enough: the blueberry sauce must be absolutely, completely cooled down before you even think about touching the ice cream base. If you fold in warm sauce, you’re basically putting your whipped cream back into liquid form! You lose all those beautiful air pockets you generated when whipping the heavy cream. I usually make the sauce first, then leave it on the counter while I whip the base, and maybe even stick it in the fridge for 15 minutes if I’m worried. This ensures those vibrant purple lines stay distinct and don’t just bleed into a pale lavender-gray mess.
Handling Frozen Berries in Blueberry Recipes
Sometimes, the grocery store is out of fresh blueberries, or maybe you just have a frozen bag taking up prime freezer real estate. Great news for efficiency: for the sauce, you don’t need to thaw them! You can toss those rock-hard frozen berries right into the saucepan with the sugar and lemon juice. They’ll thaw quickly as the pan heats up. It just might take an extra minute or two for the whole mixture to really come to a simmer, but it saves you a step, which I’m always looking for. This flexibility is great for batch cooking other summer treats too.
Ingredient Notes and Substitutions for Homemade Ice Cream
When you are cutting out machinery like an ice cream maker, you are relying heavily on the chemical reaction between your two main components: the whipped cream and the sweetened condensed milk. Get these wrong, and your texture suffers, even though we are aiming for super simple homemade ice cream. This part of the process is about understanding *why* we use these specific things.
The sweetened condensed milk? That’s doing double duty. It provides the necessary sugar for sweetness—and that sugar helps keep the final product scoopable instead of rock-hard. But even more important, it adds non-fat milk solids, which is the bulk of what gives the ice cream its body and dense creaminess once frozen. You can’t substitute heavy cream for it because cream’s high fat content prevents it from dissolving correctly to create that classic no-churn structure.
If you’re looking at making other baked goods, like my simple easy blueberry protein muffins recipe, you might be tempted to swap sugars, but in ice cream, stick to the recipe. Molasses in brown sugar, for instance, would completely mess up the clean vanilla backdrop we need here. Keep it clean, keep it cold, and it works like a charm!
Serving Suggestions for Your Blueberry Swirl Ice Cream
When this gorgeous homemade ice cream comes out of the freezer, it’s already a star, but sometimes you just want to dress it up a little bit for company or a truly decadent weekend treat. Since we kept the base flavors clean and focused on the bright blueberry, we have a lot of room to play with toppings that complement those sweet, tart notes. This is about adding texture and a little contrast to your cool summer treats.
My personal favorite, especially when serving the kids, is a simple textural add-on. A sprinkle of crushed vanilla wafers or even some toasted, slivered almonds gives just the right amount of crunch without overpowering how smooth the ice cream is. It’s all about that contrast: cold, creamy, and crunchy!
If you’re serving this after a rich meal, a little sauce on top is always nice. Since we already have blueberry, try adding a drizzle of good quality, slightly tart lemon curd. It doubles down on that brightness we added with the lemon juice in the swirl, and it tastes incredibly sophisticated, even though it took zero effort on your part. For another great dipping option, check out my simple fruit dip recipe—it works surprisingly well alongside a scoop!
Alternatively, if you’re feeling particularly ambitious (which you shouldn’t be, this is easy!), you could serve a small scoop alongside a slice of plain, homemade pound cake. The density of the cake holds up well against the melting ice cream, creating a perfect bite every single time.
Storage and Reheating for Blueberry Swirl Ice Cream
So you’ve managed to make it through the week, and you still have some majestic Blueberry swirl ice cream left? Excellent project management! Proper storage is crucial for any homemade ice cream, especially the no-churn variety, because we skipped the industrial stabilizers. The goal here is keeping the air in and the freezer burn out. The biggest enemy is air exposure getting to that beautiful surface.
When you are done scooping what you want right away, you need to seal that container tightly. I always use a wide, shallow loaf pan—it freezes faster and makes scooping much easier later on. Here is my non-negotiable step: take a piece of plastic wrap and physically press it down onto the surface of the ice cream. Don’t just drape it over the container; press it right onto the top layer. This physical barrier stops any moisture from escaping or turning into those rough ice crystals.
Pop the lid on, and that’s it. It’ll keep beautifully in the back of your freezer for up to two weeks. If you’re planning way ahead, you can move it to a more airtight Tupperware, but the plastic wrap barrier goes first! When you pull it out to serve, remember it’s denser than churned ice cream, so don’t dig in immediately. Let it sit on the counter for 5 to 10 minutes. That small wait time allows the structure to soften just enough so you get perfect scoops every time. Enjoy your saved summer treats!
Frequently Asked Questions About No Churn Ice Cream
I get a ton of questions, usually via email, about tweaking these no-churn recipes. I know that when you successfully manage the technique for great homemade ice cream, you want to try it everywhere! Because I developed this method for maximum efficiency, most substitutions are easy, but you have to know what you’re aiming for in terms of stability.
Can I use other berries instead of blueberries in this recipe?
Absolutely! This is an excellent variation for trying out different blueberry recipes—or rather, *berry* recipes. If you swap out blueberries for, say, strawberries or raspberries, the process for the sauce is exactly the same. Just be aware that strawberries tend to be higher in water content, so your sauce might break down a little faster and be slightly runnier. You might need to cook it for an extra minute or two until it coats the back of a spoon. Raspberries yield a gorgeous, vibrant pink swirl, so that’s always a fun change!
How do I get the creamiest texture in my no churn ice cream?
Creaminess in a no-churn recipe hinges entirely on two things, and they both relate to air and temperature. First, you must achieve truly stiff peaks when whipping the heavy cream. If you stop too early, you’ll end up with a semi-frozen, soupy base. Second, everything that goes into that whipped cream—the condensed milk, the vanilla, and especially your blueberry sauce—needs to be perfectly cold. If the base components warm up the whipped cream, you deflate the air, which results in a rock-solid texture instead of a scoopable summer treat. Don’t skip the chilling time!
What makes this recipe a great summer treat?
This recipe is tailor-made for beating the summer heat because it’s engineered for speed and zero reliance on specialized gadgets. The total active time is around 25 minutes combined for the sauce and the base mixing. You want something sweet and cold *now*, not something that requires you to run an appliance for 45 minutes. Because this is so fast to assemble and requires no monitoring while freezing, it cuts down on kitchen time, meaning you get to enjoy the relief of the cool dessert faster. If you’re looking for other life hacks for quick meals, I’ve put together some ways to simplify weeknight cooking over on my guide to quick, easy dinners.
Share Your Homemade Ice Cream Experience
Well, that’s it! We’ve taken raw ingredients and, through a couple of simple steps, engineered some truly spectacular homemade ice cream without any fancy machinery. That’s the Dishicious promise—maximum flavor, minimal project complexity. Now that you’ve enjoyed some of the best summer treats you can whip up this season, I really want to hear about it.
Did you try varying the swirl? Maybe you added a bit of cardamom to your blueberry sauce, or perhaps you used a deeper pan and noticed the swirl looked different? Don’t keep those efficiency wins to yourself! Head down to the comments below and let me know how your Blueberry swirl ice cream turned out. Did it set fast? Were the swirls dramatic enough?
Every time someone successfully executes one of these streamlined recipes, it proves that cooking great food doesn’t require hours of overtime in the kitchen. If this recipe brought some much-needed cool relief to your busy week, please give it a rating up top! I’m always refining these methods, and your feedback helps me build out our library of simple, reliable cooking projects. If you want more recipes built on this philosophy of efficiency and delicious outcomes, make sure you bookmark our main page here: Dishicious. Happy scooping!
PrintNo-Churn Blueberry Swirl Ice Cream

Make visually stunning, homemade blueberry swirl ice cream without an ice cream maker. This no-churn recipe delivers cool, creamy summer treats with deep purple swirls.
- Prep Time: 15 min
- Cook Time: 10 min
- Total Time: 6 hours 25 min
- Yield: About 1.5 quarts 1x
- Category: Dessert
- Method: No-Churn Freezing
- Cuisine: American
- Diet: Vegetarian
Ingredients
- 2 cups heavy whipping cream, cold
- 1 (14 ounce) can sweetened condensed milk, cold
- 1 teaspoon vanilla extract
- 1 cup fresh or frozen blueberries
- 2 tablespoons granulated sugar
- 1 tablespoon lemon juice
Instructions
- Prepare the blueberry swirl: Combine blueberries, 2 tablespoons sugar, and lemon juice in a small saucepan. Cook over medium heat for 8 to 10 minutes, stirring occasionally, until the berries break down and the mixture thickens into a sauce. Remove from heat and let it cool completely.
- Whip the cream: In a large bowl, use an electric mixer to beat the cold heavy whipping cream until stiff peaks form. This takes about 3 to 5 minutes.
- Fold in milk and vanilla: Gently fold the cold sweetened condensed milk and vanilla extract into the whipped cream until just combined. Do not overmix.
- Create the swirl: Pour half of the ice cream base into a freezer-safe loaf pan (about 9×5 inches). Drizzle half of the cooled blueberry sauce over the top. Gently swirl the sauce into the base using a knife or skewer—do not mix completely.
- Layer and swirl again: Top with the remaining ice cream base, then drizzle with the remaining blueberry sauce. Create a final, light swirl pattern.
- Freeze: Cover the pan tightly with plastic wrap, pressing the wrap directly onto the surface of the ice cream to prevent ice crystals. Freeze for at least 6 hours, or preferably overnight, until firm.
- Serve: Scoop and enjoy your homemade ice cream.
Notes
- For the best swirl effect, make sure your blueberry sauce is completely cool before layering it into the base.
- If you use frozen blueberries, you do not need to thaw them before cooking the sauce.
- This recipe is a great example of simple, efficient summer treats.
Nutrition
- Serving Size: 1/2 cup
- Calories: 310
- Sugar: 35
- Sodium: 65
- Fat: 16
- Saturated Fat: 10
- Unsaturated Fat: 6
- Trans Fat: 0
- Carbohydrates: 38
- Fiber: 1
- Protein: 5
- Cholesterol: 60