
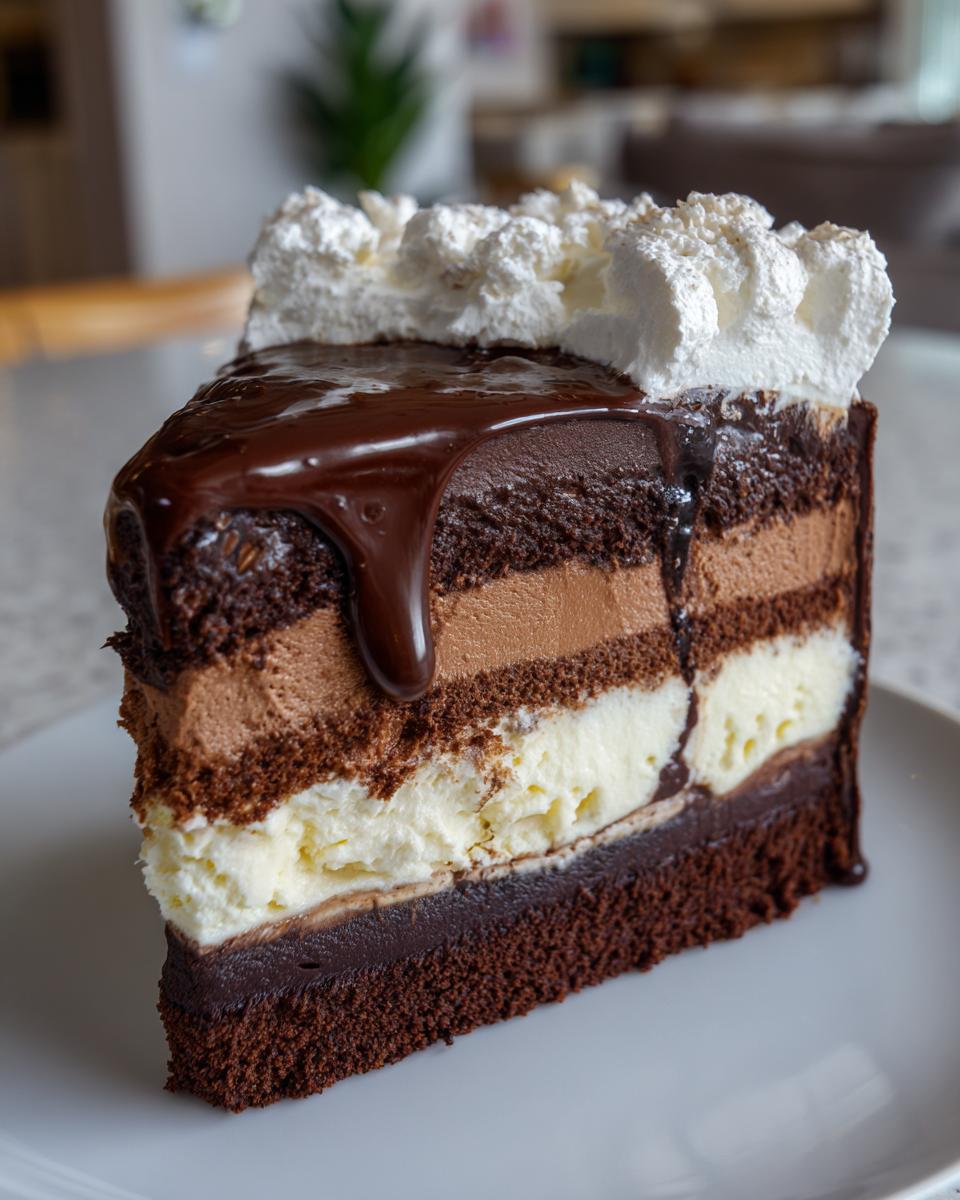
We all crave that show-stopping centerpiece dessert when a big event rolls around—a graduation, a milestone birthday, or just when you need a serious summer party win. The problem is, most professional-looking desserts look like they require hours of specialized labor. Not here. I engineered this plan, pulling from my project management background, to streamline complexity into something simple and delicious. We’re building a truly decadent, professionally layered Chocolate ice cream cake using totally manageable steps. Forget the stress; we’re focusing on efficient structuring so you get maximum ‘wow’ factor with minimal last-minute panic.
- Why This Layered Chocolate ice cream cake Is Your Next Celebration Finale
- Essential Components for Your Chocolate ice cream cake
- Step-by-Step Assembly of the Chocolate ice cream cake
- Expert Tips for a Flawless Chocolate ice cream cake
- Ingredient Notes and Substitutions for Your Layered Dessert
- Serving Suggestions for Your Chocolate ice cream cake
- Storage and Make-Ahead Strategy for the Chocolate ice cream cake
- Frequently Asked Questions About Making an ice cream cake
- Share Your Success with This Chocolate ice cream cake
Why This Layered Chocolate ice cream cake Is Your Next Celebration Finale
When you need a dessert that feels huge and special without requiring you to fuss all day, this is the structure to use. It delivers that celebratory scale perfectly.
- Impressive Presentation, Simple Execution: We rely on the springform pan to handle the heavy lifting. It locks everything in place, giving you those sharp, clean layers that look like they took professional skills. That’s the Dishicious efficiency principle at work right there.
- Perfect for Any Big Birthday Cake Moment: Whether it’s a big graduation celebration or just a killer summer party, this layered dessert always gets rave reviews. It’s rich, cold, and exactly what everyone wants when the weather heats up.
Impressive Presentation, Simple Execution
The secret to this dessert looking high-end is the springform pan, honestly. It acts like a mold. You assemble the whole thing, freeze it hard, and then when you release the ring, bam—perfectly defined layers of cake and ice cream staring back at you. No tricky frosting involved to hide mistakes!
Perfect for Any Big Birthday Cake Moment
This isn’t just dessert; it’s the grand finale. It holds up beautifully on a buffet table, and since it’s frozen, you aren’t racing the clock the moment you pull it out. It’s the ultimate crowd-pleaser that solves the entire celebration dessert problem.
Essential Components for Your Chocolate ice cream cake
We’re keeping this tight. When you’re building an impressive Chocolate ice cream cake, ingredient precision is everything. Follow these exact measurements, and your structure will hold up beautifully through the freezing process. Here’s what you need on hand for this layered chocolate dessert.
For the Cake Base
- 1 box (18.25 oz) chocolate cake mix
- Ingredients required for cake mix (eggs, oil, water)
Quick note: We are only using HALF of the batter this mix makes for our thin base layer. That’s important for the final thickness!
For the Ice Cream Layers
- 1.5 quarts chocolate ice cream, softened slightly
- 1.5 quarts vanilla ice cream, softened slightly
The term “slightly softened” means it’s scoopable but still holds its shape—think 10-15 minutes on the counter, no more.
For the Decadent Topping
- 1 cup chocolate fudge sauce, slightly warmed
- 1 cup whipped topping (store-bought or homemade)
- 1/2 cup chocolate sprinkles for decoration
Step-by-Step Assembly of the Chocolate ice cream cake
Okay, this is where the project management mindset really pays off. We’re treating this like phases. If you rush the cooling or the freezing steps, the whole structure collapses. We need defined pauses to ensure this Chocolate ice cream cake sets up perfectly.
Project Phase 1: Baking and Preparing the Cake Layer
First, mix your cake ingredients, but remember—only use half the batter! Pour that half into your 9-inch springform pan. Bake it as directed for a thin layer. Once it’s done, you absolutely must let it cool completely, and I mean completely, on a wire rack. If it’s even slightly warm, it’s going to melt your first ice cream layer instantly. Once cool, pull the cake out of the ring and place it onto your final serving plate.
Project Phase 2: Layering the Ice Cream
Put the springform ring back around the cake layer on the plate—this will hold everything together while it freezes. Next, that slightly softened chocolate ice cream goes evenly over the cake. Pop that into the freezer for one hour until it’s firm to the touch. Then, spread the vanilla ice cream right on top and put the whole thing back in to freeze solid. We need at least four hours here, maybe even overnight if you’re planning ahead.
Project Phase 3: Final Decoration and Serving
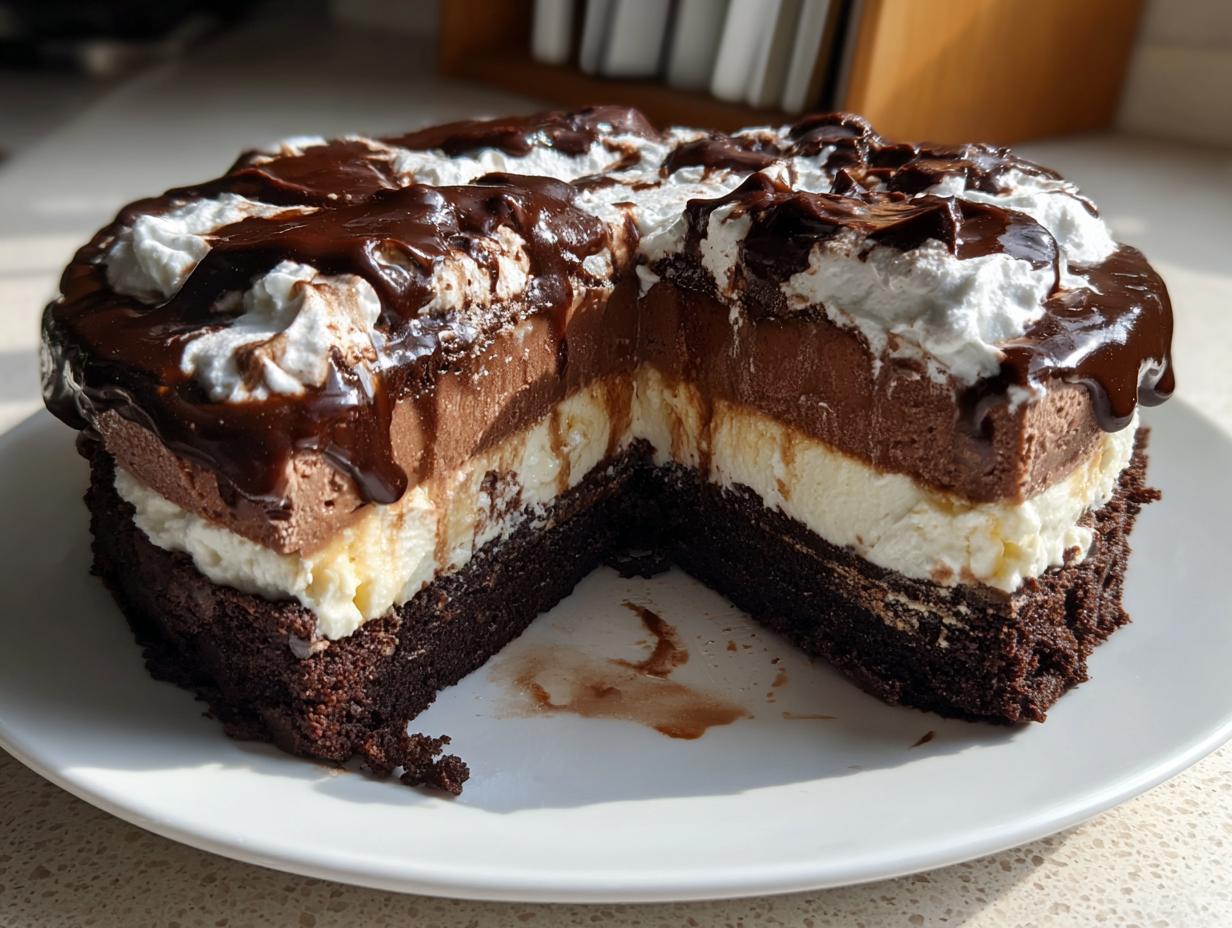
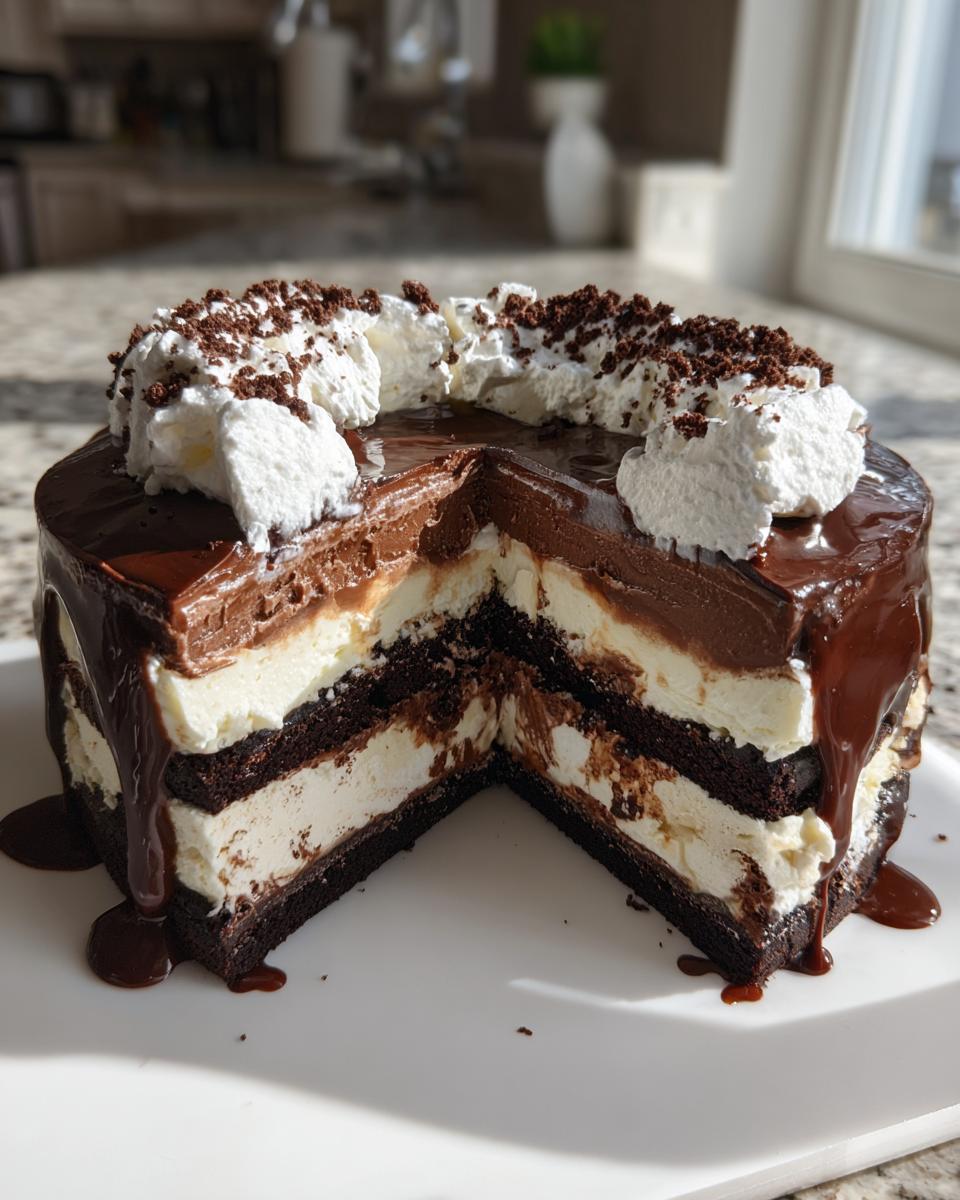
When the party starts or you’re ready for that big birthday reveal, pull it out. Remove the springform ring—it should pop right off now! Drizzle that slightly warmed fudge sauce over the top. I like to let it drip down the sides just a little before spreading the whipped topping. Finish it off by pressing those chocolate sprinkles onto the sides for that classic look. Slice it right away!
Expert Tips for a Flawless Chocolate ice cream cake
Even with a solid plan, sometimes small details make the difference between a good Chocolate ice cream cake and an absolute showstopper. Since we’re aiming for that impressive, celebratory look, I’ve got a few refined techniques that I always deploy when building these big layered desserts.
Achieving Professional Slices on Your Chocolate ice cream cake
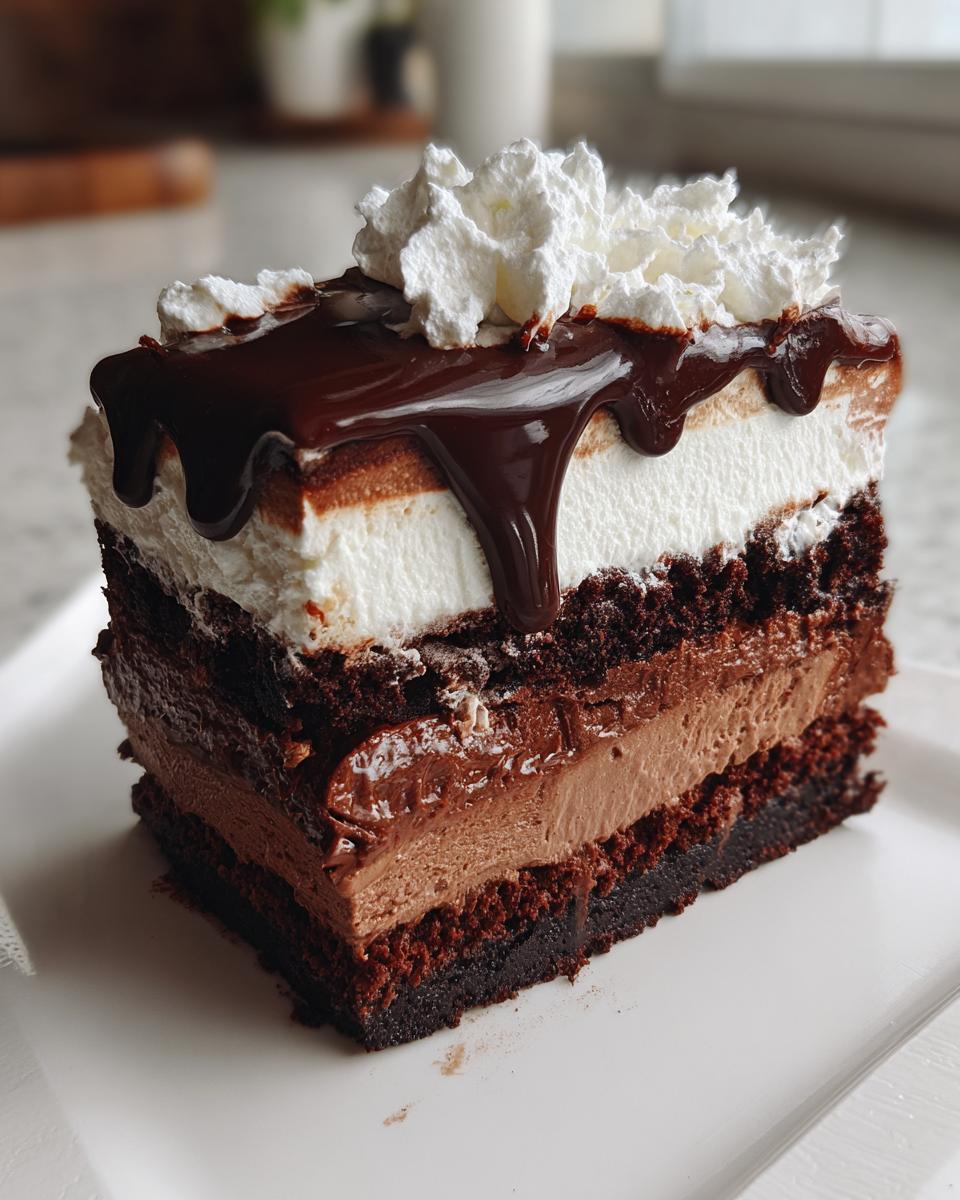
This is the secret weapon for serving, especially when everything is rock solid! You can’t just hack at it with a regular knife, or you’ll shave off the edges and ruin the clean lines we worked so hard for. You need to dip your knife—a long, thin one works best—into a tall glass of very hot water. Wipe the blade totally dry immediately, and then slice. The hot knife glides through the frozen layers perfectly, leaving a pristine slice. Wipe and dip between every single cut, trust me on this one.
Adjusting Cake Thickness
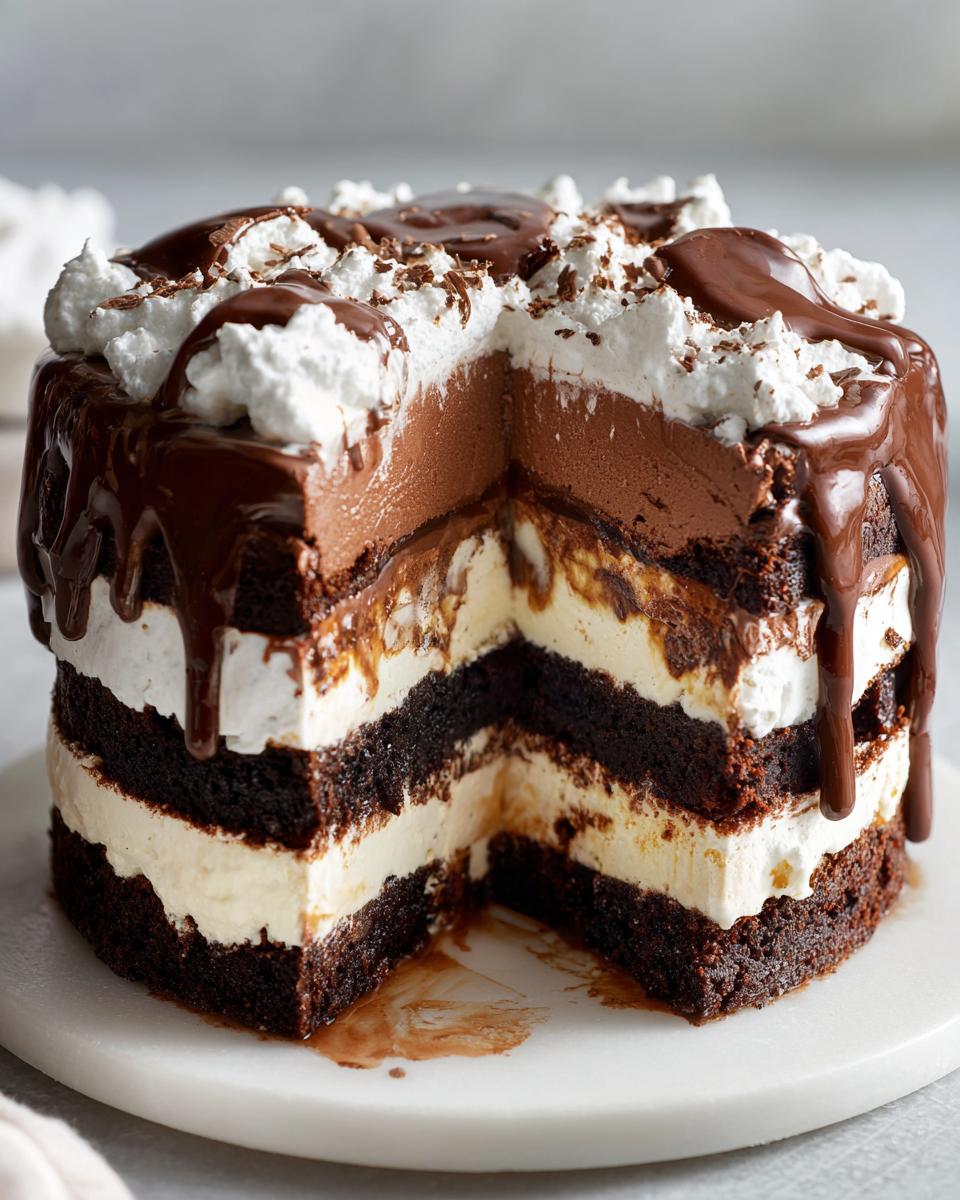
The basic recipe gives you a wonderfully balanced, thinner cake layer, which is great for a towering ice cream-to-cake ratio. But maybe you want a bigger cake presence. If you prefer a chunkier base for your ice cream cake, go ahead and use two 8-inch round cake layers instead of that single thin layer. Just bake those two layers normally based on the box directions, let them cool, and you can stack one on the serving plate, then the chocolate ice cream, and then the second cake layer before you move onto the vanilla. It just adds a bit more substance!
Ingredient Notes and Substitutions for Your Layered Dessert
We’re using a mix for efficiency, which is perfectly fine for this kind of assembly project. But I know some of you purists out there will prefer sticking to tradition. If you want to bake your own base for this chocolate dessert, go right ahead! Just use your favorite rich, dark chocolate cake recipe, but remember the goal is still that thin layer. If your recipe yields a standard two-layer cake, you’ll only use one of those layers for the base and freeze the other one for another time.
Ice Cream Softening Technique
This is a make-or-break point for getting a smooth surface. You cannot pour rock-hard ice cream, and you definitely can’t pour soup. The key is patience when softening: take both quarts of ice cream out, put them into separate bowls, and let them sit on the counter—not in direct sunlight or near the stove—for about 10 to 15 minutes. You want the edges just starting to look glossy, but the center should still feel firm if you press it lightly. That perfect stage lets you spread it into a smooth, even layer without stirring too much air back into it.
Fudge Sauce Consistency
When it comes to that gorgeous fudge drizzle on top, temperature management is everything. You need the sauce slightly warmed so it flows nicely over the very cold dessert, creating those beautiful streaks. However, and this is crucial, do not make it hot! If the fudge is too warm, it will immediately carve a warm trench right through your vanilla ice cream layer the second it touches down. Warm it just enough so it pours slowly, but not enough to steam.
Serving Suggestions for Your Chocolate ice cream cake
Once you’ve managed the logistics of building this incredible layered dessert, the final step is pairing it correctly. Because this chocolate ice cream cake is so rich and decadent, you don’t want overpowering flavors fighting against it. We want simple contrasts that clean the palate between those massive bites.
Beverage Pairings for This Layered Dessert
Keep the drinks easy because you’ve already done the hard technical work on the cake itself! For the kids, or anyone who just loves nostalgia, nothing beats a tall glass of really cold milk alongside a rich, frozen treat. It’s classic for a reason. For the adults, I always serve this with strong, black coffee. The slight bitterness and the heat from the coffee cut right through the intense sweetness and the cold fat of the ice cream layers perfectly. Honestly, it balances the whole heavy chocolate profile beautifully. Skip the overly sugary sodas; they just load up the sweetness.
Storage and Make-Ahead Strategy for the Chocolate ice cream cake
When you’re planning a big event, timing is everything—that’s where the project manager in me steps in! This Chocolate ice cream cake is actually your best friend because it’s designed to be made ahead of time. You can get most of the heavy lifting done days before you need to serve it, which takes the pressure off the day of the party.
The key is knowing when to stop assembling versus when to wait to decorate. You *must* wait until the very last minute to add the fudge, whipped topping, and sprinkles. The structure itself, however, is good to go as soon as it’s rock solid.
Freezer Management for Optimal Freshness
Once you’ve completed Step 5 (the vanilla ice cream is spread and it’s frozen solid for those four hours), the cake is structurally sound. Cover it *very* tightly. I mean, wrap it like it’s a winter treasure. Use a double layer of plastic wrap directly against the ice cream surfaces, then follow that up with a layer of heavy-duty foil. The goal here is to stop any air from getting to it, which fights off freezer burn and those weird fridge odors.
If you’re leaving it for a day or two, this wrapping system works perfectly. You can keep the cake frozen like this until the day of your big party. Just pull it out about 30 minutes before you plan to remove the springform ring—that gives the edges just a tiny bit of give so the ring releases without cracking the frozen layers.
Frequently Asked Questions About Making an ice cream cake
When you’re executing a complex project like this magnificent ice cream cake, questions always pop up right before you hit the freezer. That’s normal! We need clear answers so we don’t cause any project delays. Here are the common structural and timing questions I get about building this ultimate birthday cake.
Can I use a different flavor of cake mix for this Chocolate ice cream cake?
You totally can! I mean, this is your creation. But if you want that super rich, decadent look that makes the chocolate ice cream pop, I really recommend sticking with chocolate cake or maybe even a dark devil’s food mix. A vanilla base layer works, but honestly, it dilutes that powerful chocolate flavor we’re aiming for in this amazing chocolate dessert.
How far in advance can I assemble this layered dessert?
This is the beauty of planning ahead. You can assemble everything right up until the very last topping layer. That means Steps 1 through 5—getting that vanilla ice cream layer fully frozen solid—can be finished up to three days out! Just wrap it tightly, like we talked about. You only need to add the warm fudge drizzle, the whipped topping, and the sprinkles right before you’re ready to slice and serve everyone.
What if I don’t have a springform pan?
No pan, no problem. If you don’t have that specialty pan, just grab a regular 9-inch round cake pan you have sitting around. The trick is the liner. You need to line that pan *thoroughly* with plastic wrap, making sure you leave plenty of overhang that drapes over the sides above the rim. Once the whole thing is frozen solid, you can use those cool plastic overhangs like handles to lift the entire cake out and onto your final serving platter.
Share Your Success with This Chocolate ice cream cake
Look, once you’ve managed the logistics and pulled off this incredible, layered Chocolate ice cream cake centerpiece, I genuinely want to hear about it. My whole philosophy here at Dishicious is about proving that everyone can create impressive food without wasting their entire evening managing complexity.
Did this make your graduation party memorable? Did the layering hold up perfectly for your big birthday bash? Let me know how it went!
Drop a rating down below and tell me the occasion you built this amazing dessert for. Even better, if you took a picture of that flawless slice, share it with us! It inspires the next round of efficient recipes we design here. I love seeing the Dishicious method bring joy to your celebrations.
If you want to learn more about how I apply these streamlined project ideas to other recipes, check out my About page. Happy serving!
PrintLayered Chocolate Ice Cream Cake
Construct an impressive, decadent chocolate ice cream cake perfect for celebrations like birthdays or graduations using simple layering techniques.
- Prep Time: 30 min
- Cook Time: 30 min
- Total Time: 5 hours 0 minutes
- Yield: 10 servings 1x
- Category: Dessert
- Method: Freezing
- Cuisine: American
- Diet: Vegetarian
Ingredients
- 1 box (18.25 oz) chocolate cake mix
- Ingredients required for cake mix (eggs, oil, water)
- 1.5 quarts chocolate ice cream, softened slightly
- 1.5 quarts vanilla ice cream, softened slightly
- 1 cup chocolate fudge sauce, slightly warmed
- 1 cup whipped topping (store-bought or homemade)
- 1/2 cup chocolate sprinkles for decoration
Instructions
- Prepare the chocolate cake according to the package directions, but use only half the batter called for. Pour this half batch into a 9-inch springform pan.
- Bake the cake layer according to package directions for a thin layer. Let it cool completely on a wire rack.
- Once cool, remove the cake layer from the springform pan and place it on a serving plate or the base of the springform pan.
- Place the bottom ring of the springform pan back around the cake layer.
- Spread the slightly softened chocolate ice cream evenly over the cooled cake layer. Freeze for 1 hour until firm.
- Spread the slightly softened vanilla ice cream evenly over the chocolate layer. Freeze for at least 4 hours, or until completely solid.
- When ready to serve, remove the springform ring. Drizzle the warmed chocolate fudge sauce over the top of the frozen cake.
- Spread the whipped topping over the fudge layer. Decorate the sides with chocolate sprinkles. Slice and serve immediately.
Notes
- For cleaner slices, dip your knife in hot water and wipe it dry between each cut.
- You can substitute your favorite homemade chocolate cake recipe for the mix.
- If you want a thicker cake, use two 8-inch round cake layers instead of one thin layer.
Nutrition
- Serving Size: 1 slice
- Calories: 450
- Sugar: 55g
- Sodium: 250mg
- Fat: 25g
- Saturated Fat: 15g
- Unsaturated Fat: 10g
- Trans Fat: 0.5g
- Carbohydrates: 55g
- Fiber: 2g
- Protein: 5g
- Cholesterol: 60mg