
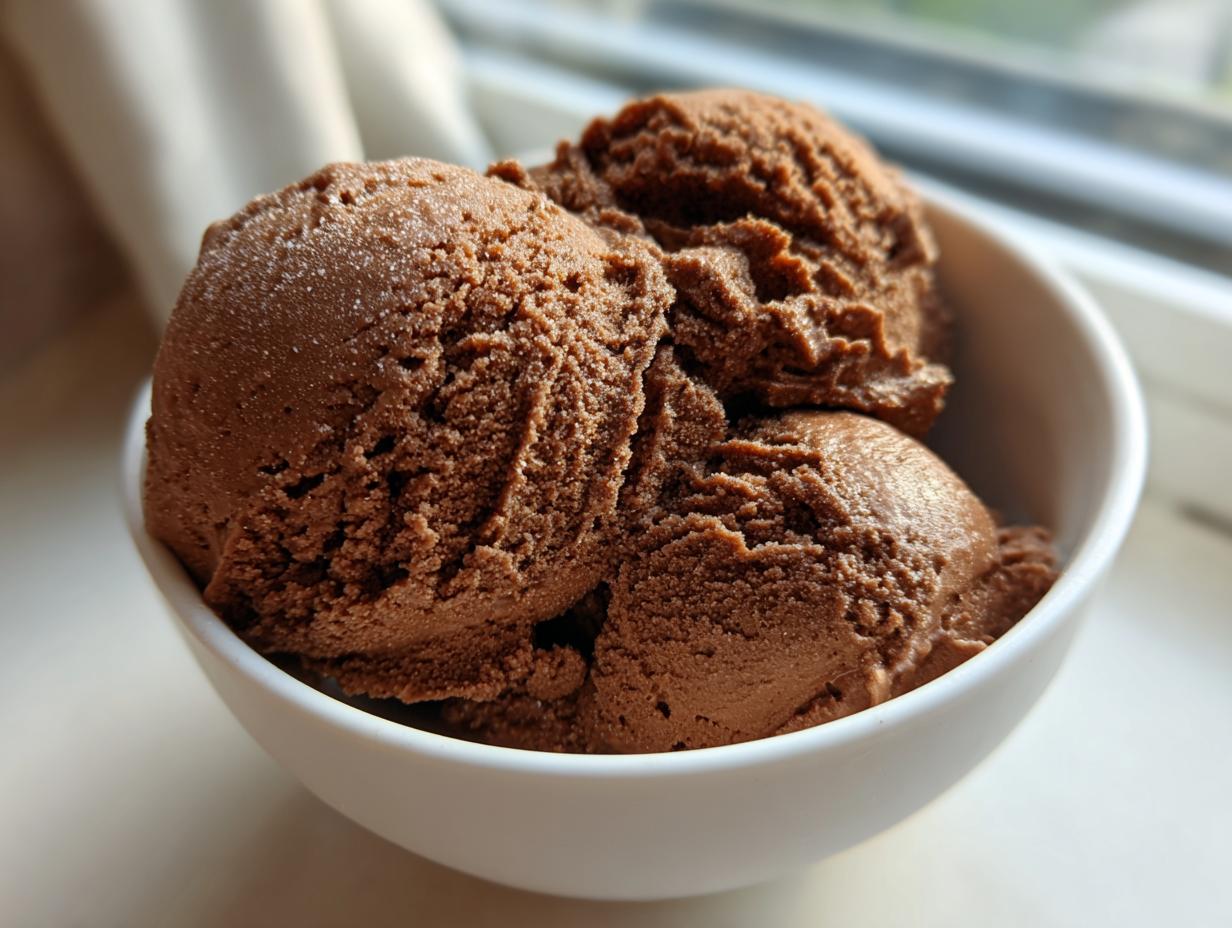
If you’re anything like me, you often find yourself staring at a basic tub of chocolate ice cream and thinking, “This is fine, but where’s the intrigue?” We’ve all been there. That’s why I engineered this recipe for Mexican chocolate ice cream—it takes that familiar comfort and amps up the sophistication with warming spices. As the founder of Dishicious, my whole philosophy is about efficient flavor delivery, and this dessert nails it. I treated the standard custard base like a project, stripping away the unnecessary steps to bring you the absolute best blend of rich cocoa, fragrant cinnamon, and that essential hint of chili heat. Trust me, this method delivers consistent, knockout flavor development every single time. If you love easy, impactful recipes, you need to check out all our amazing dessert recipes here.
- Why This Mexican Chocolate Ice Cream is Your Next Favorite Spiced Ice Cream
- Gathering Ingredients for Your Mexican Chocolate Ice Cream Base
- Step-by-Step Instructions for Churning Mexican Chocolate Ice Cream
- Tips for Success When Making Your Spiced Ice Cream
- Serving Suggestions for This Unique Flavors Chocolate Dessert
- Storage and Reheating Instructions for Mexican Chocolate Ice Cream
- Troubleshooting Common Issues with Homemade Ice Cream
- Frequently Asked Questions About Mexican Chocolate Ice Cream
- Estimated Nutritional Data for This Mexican Chocolate Ice Cream
Why This Mexican Chocolate Ice Cream is Your Next Favorite Spiced Ice Cream
You might think chocolate ice cream is set in stone, but that’s where you’re missing the magic! This recipe isn’t just another chocolate dessert; it’s an experience. We’ve optimized the process to give you layered, complex flavor without turning your evening into a culinary marathon. It’s the ideal solution when you want something truly unique for a summer night.
- It features a truly complex flavor profile where spices and chocolate dance together.
- We use a foundational custard base that guarantees a smooth, rich texture.
- It’s an incredibly satisfying, cooling treat with just the right amount of warming finish.
Achieving That Perfect Cinnamon Chocolate Flavor
The depth comes from how the cinnamon interacts with the cocoa powder. We aren’t making spicy chili sauce here, folks! The cayenne pepper is used sparingly—it’s just there to wake up the chocolate flavor and give you this lovely, subtle warmth on the back of your throat as you swallow. It’s sophisticated, not aggressive. This is how you elevate simple chocolate into something truly memorable.
Gathering Ingredients for Your Mexican Chocolate Ice Cream Base
In my approach to recipe management, efficiency starts with having exactly what you need ready to go—no last-minute store runs! We’re building a rich custard here, so get your measuring cups ready. You’ll need milk, heavy cream, sugar, and that dark, unsweetened cocoa powder. Don’t forget your spices: we need ground cinnamon and a tiny pinch of cayenne pepper for that signature warmth.
The richness absolutely requires five large egg yolks, so separate those carefully. Remember, this recipe is designed to be robust and straightforward, making sure your batch of amazing gravy isn’t the only thing you master this week!
Ingredient Notes and Substitutions for Spiced Ice Cream
Let’s talk quality control. For that deep chocolate dessert flavor everyone craves, invest in a really good unsweetened cocoa powder. That’s a non-negotiable step for top-tier results. When handling the cayenne, start small—we want a whisper of heat, not a fire alarm. Since this is a classic custard base, those egg yolks are crucial; they emulsify and give us that incredible velvety mouthfeel.
If you find yourself debating between types of sugar, stick to granulated here; the molasses flavor from brown sugar can muddy the clarity of the cinnamon notes we’re aiming for in this specific dessert.
Step-by-Step Instructions for Churning Mexican Chocolate Ice Cream
This is where the project management skills come in handy—we need structure to make sure we end up with smooth custard instead of scrambled eggs! The first stage is heating the liquids with the cocoa and spices until the sugar dissolves. Pay close attention: we want it hot, but we absolutely do not want it boiling. Boiling ruins the cream base. Once it’s warm, we introduce the yolks slowly. This methodical approach ensures structural integrity for what will become your amazing chocolate dessert.
Next, we manage the heat carefully as the custard thickens. No rushing this part; treat it like assembling complex specifications. Watch that spoon! This careful process results in a vastly superior spiced ice cream base.
Tempering the Eggs and Cooking the Custard
Tempering is mission-critical. You’ve got to gently introduce the hot liquid to your beaten egg yolks, one ladleful at a time, whisking constantly. If you dump the hot liquid in too fast, boom—you’ve got sweet, chocolatey scrambled eggs. Our goal is smooth, stable emulsification. Once the tempered yolks are back in the saucepan, keep the heat low and stir constantly until the custard coats the back of your spoon. Seriously, if you can run your finger across that coating and the line stays defined, you’re done. That usually means we’re hitting that 170°F sweet spot.
Chilling and Churning the Mexican Chocolate Ice Cream
Once that custard is cooked and strained into an ice bath to stop the cooking immediately, the real waiting game begins. You must chill this base thoroughly—four hours is the minimum, but seriously, overnight is the executive decision here. A fully chilled base churns better and freezes smoother. When you finally get it into the machine, don’t overcrowd it. My tip from project sign-off? When it comes out of the churner, it should look like thick soft-serve. That’s the perfect texture to transfer to your freezer container for final hardening.

Tips for Success When Making Your Spiced Ice Cream
Look, I’m all about efficiency, but with ice cream, there are a couple of checkpoints you just can’t skip if you want that professional, silky texture. My biggest project management pointer here is about the chilling stage. Don’t even think about churning that base until it’s arctic cold. A warm base churns poorly and creates ice crystals, which leads to grainy ice cream. Nope!
To really maximize that flavor infusion—the whole point of this spiced ice cream—make sure you let the spices steep in the hot milk mixture for a good five minutes *off* the heat before you temper the eggs. Also, always strain that final custard base. Straining removes any bits of cooked egg or undissolved cocoa, guaranteeing a perfectly clean mouthfeel when you finally dig into your finished product.
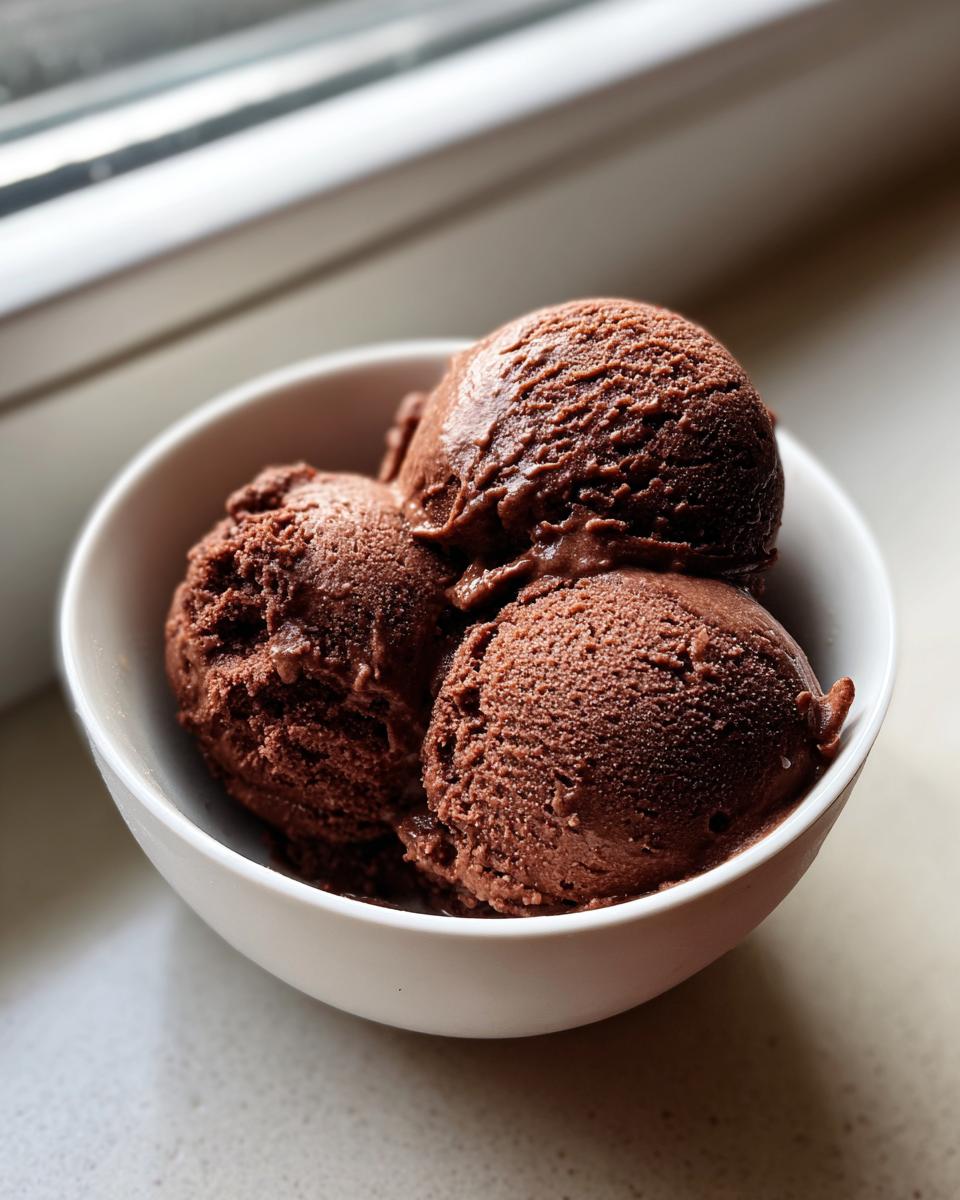
Serving Suggestions for This Unique Flavors Chocolate Dessert
My favorite part of this whole process is deciding what to pair it with! Since this Mexican chocolate ice cream has that sophisticated warmth, you need toppings that contrast beautifully. Skip the plain sauces; we’re going elevated here. For texture, I always top mine with crumbled Mexican wedding cookies or toasted, chopped pecans for a nice crunch.
It’s also amazing scooped alongside grilled pineapple—that caramelized fruit really plays up the cinnamon notes. And if you need a dip recipe for fruit later in the week, check out my go-to easy fruit dip—it’s surprisingly good with a side of this intense chocolate.
Storage and Reheating Instructions for Mexican Chocolate Ice Cream
Once your Mexican chocolate ice cream is firm enough, transfer the container immediately to the freezer. Here’s the key optimization for storage: press a piece of plastic wrap directly against the surface of the ice cream before sealing the lid. This stops air contact, which is what causes those annoying ice crystals.
If you made a full quart, it keeps its incredible texture for about two weeks, though frankly, it rarely lasts that long in my house. If it gets too hard, just let it sit on the counter for five minutes before scooping.
Troubleshooting Common Issues with Homemade Ice Cream
Even with the best project plan, sometimes things go sideways in the kitchen. If your ice cream base won’t churn, go back and check that chilling time—it needed to be near freezing temperatures. If your final product ends up icy instead of smooth, that’s almost always a sign the custard didn’t contain enough fat or you rushed the chilling step before churning it.
If you accidentally scrambled your eggs, don’t panic and throw the whole batch out! Strain it aggressively through the fine-mesh sieve. It won’t be perfect, but it saves the batch. Rigorous chilling and accurate temperature control during cooking are the real secrets to avoiding these hiccups with your spiced ice cream.
Frequently Asked Questions About Mexican Chocolate Ice Cream
I get so many questions about optimizing this recipe for different schedules, which is totally understandable! We want great flavor without major delays. This section covers the most common logistical hurdles people encounter when making their first batch of Mexican chocolate.
Can I make this Mexican chocolate ice cream without an ice cream maker?
You absolutely can, but your texture will shift slightly. If you skip the churning, mix the thoroughly chilled base every 30 minutes for the first three hours in the freezer. It won’t be as smooth as the churned version, but you’ll still get a decent spiced ice cream!
How do I increase the chili flavor in this chocolate dessert?
If you want a bolder kick in your chocolate dessert, infuse the milk mixture with a dried chili (like a small piece of Ancho) while heating, then remove it before tempering the eggs. That gives you a much deeper, slower heat than just adding more cayenne powder at the end.
What’s the secret to making sure the cinnamon flavor stands out?
Don’t use pre-ground cinnamon that’s been sitting in your spice cabinet for years! Fresh, potent cinnamon is key. Toasting the ground cinnamon lightly in the dry saucepan for about 30 seconds before adding the liquids really blooms the flavor profile beautifully.
Estimated Nutritional Data for This Mexican Chocolate Ice Cream
Okay, so we’ve created a show-stopping, intensely flavored, wonderfully spiced chocolate dessert here. When you’re enjoying this homemade Mexican chocolate ice cream, it’s good to know the specs, even if I try not to look at them too closely!
Because we are using whole cream and real egg yolks for that signature richness, these numbers reflect a truly indulgent treat. Keep in mind that these are just baseline estimates. If you decide to swap out your heavy cream for a lower-fat option, or use less sugar, the final breakdown will change. But honestly, for this recipe? I recommend sticking to the plan for the perfect texture.
- Serving Size: 1/2 cup
- Calories: 350
- Sugar: 30g
- Fat: 24g (Saturated Fat: 15g)
- Carbohydrates: 30g
- Protein: 5g
Spiced Mexican Chocolate Ice Cream

Make a unique chocolate dessert featuring cinnamon and a hint of chili for a complex, cooling flavor.
- Prep Time: 20 min
- Cook Time: 15 min
- Total Time: 4 hours 35 min
- Yield: About 1 quart 1x
- Category: Dessert
- Method: Churning
- Cuisine: American/Mexican Inspired
- Diet: Vegetarian
Ingredients
- 1 cup whole milk
- 2 cups heavy cream
- 3/4 cup granulated sugar
- 1/4 cup unsweetened cocoa powder
- 1 teaspoon ground cinnamon
- 1/8 teaspoon cayenne pepper (or to taste)
- 1/4 teaspoon salt
- 5 large egg yolks
- 1 teaspoon vanilla extract
Instructions
- In a medium saucepan, combine the milk, heavy cream, sugar, cocoa powder, cinnamon, cayenne pepper, and salt. Heat over medium heat, stirring until the sugar dissolves and the mixture is hot but not boiling. Remove from heat.
- In a separate bowl, whisk the egg yolks until they are pale. Slowly temper the egg yolks by whisking about 1 cup of the hot chocolate mixture into the yolks.
- Pour the tempered yolk mixture back into the saucepan with the remaining chocolate base.
- Cook over medium-low heat, stirring constantly with a wooden spoon or spatula, until the custard thickens enough to coat the back of the spoon (about 170°F). Do not let it boil.
- Remove the custard from the heat and stir in the vanilla extract.
- Strain the mixture through a fine-mesh sieve into a clean bowl set over an ice bath. Stir occasionally until completely cool.
- Cover the bowl and chill the ice cream base in the refrigerator for at least 4 hours, or preferably overnight.
- Churn the chilled base in an ice cream maker according to the manufacturer’s instructions.
- Transfer the soft ice cream to an airtight container and freeze for at least 2 hours to firm up before serving your spiced ice cream.
Notes
- For a deeper chocolate flavor, use high-quality unsweetened cocoa powder.
- Adjust the cayenne pepper amount based on your preference for heat; start small for a subtle warmth.
- This recipe makes a great chocolate dessert base for pairing with fruit.
Nutrition
- Serving Size: 1/2 cup
- Calories: 350
- Sugar: 30
- Sodium: 75
- Fat: 24
- Saturated Fat: 15
- Unsaturated Fat: 9
- Trans Fat: 1
- Carbohydrates: 30
- Fiber: 2
- Protein: 5
- Cholesterol: 150