

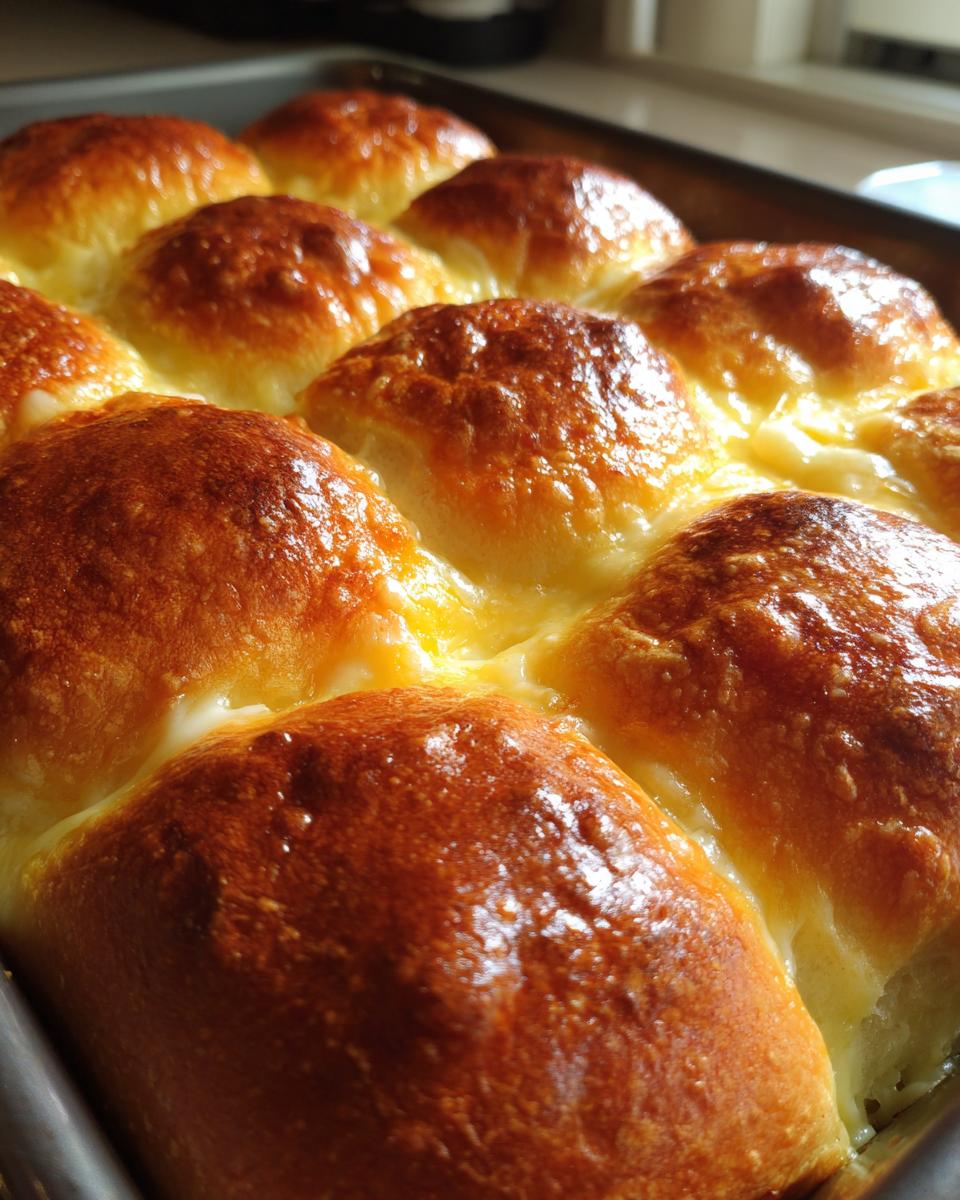
Okay, let’s talk party food! You know I’m all about making gatherings easy and delicious, and that’s exactly where these Ham and Cheese Sliders come in. Seriously, they’re a lifesaver for busy hosts like us. I first started making these years ago because honestly, who has time to fuss when the doorbell rings? Inspired by Leo’s whole ‘project manager in the kitchen’ philosophy over at Dishicious (check out his story – it’s brilliant!), I figured out how to get maximum flavor with minimum fuss. These little sandwiches, nestled on sweet Hawaiian rolls and swimming in a dreamy, buttery mustard glaze, are always the first to disappear from the appetizer table. They’re just so darn perfect for literally any occasion, from tailgates to holidays, and trust me, they taste like you spent way more time on them than you actually did!
- Why You'll Love These Ham and Cheese Sliders
- Ingredients for Perfect Ham and Cheese Sliders
- How to Make Ham and Cheese Sliders: Step-by-Step
- Tips for Success with Your Ham and Cheese Sliders
- Make-Ahead and Storage for Party Sandwiches
- Variations for Your Baked Sliders
- Frequently Asked Questions About Ham and Cheese Sliders
- Estimated Nutritional Information
- Share Your Ham and Cheese Slider Creations!
Why You’ll Love These Ham and Cheese Sliders
Honestly, what’s not to love? These sliders are a game-changer for entertaining:
- Super Simple to Make: Seriously, you can whip these up in no time at all. Perfect for when you’re short on time but want something amazing.
- Always a Crowd-Pleaser: Ham and cheese on soft, slightly sweet rolls? It’s a classic combo that everyone, and I mean *everyone*, adores.
- Incredibly Versatile: They’re fantastic for game days, holiday parties, casual get-togethers, or even just a fun weeknight dinner.
- Make-Ahead Magic: You can totally assemble them ahead of time and just pop them in the oven when your guests arrive. It’s a lifesaver!
Ingredients for Perfect Ham and Cheese Sliders
Alright, let’s chat about what makes these little guys so darn special. It’s all about the ingredients, and luckily, they’re super straightforward! You’ll need:
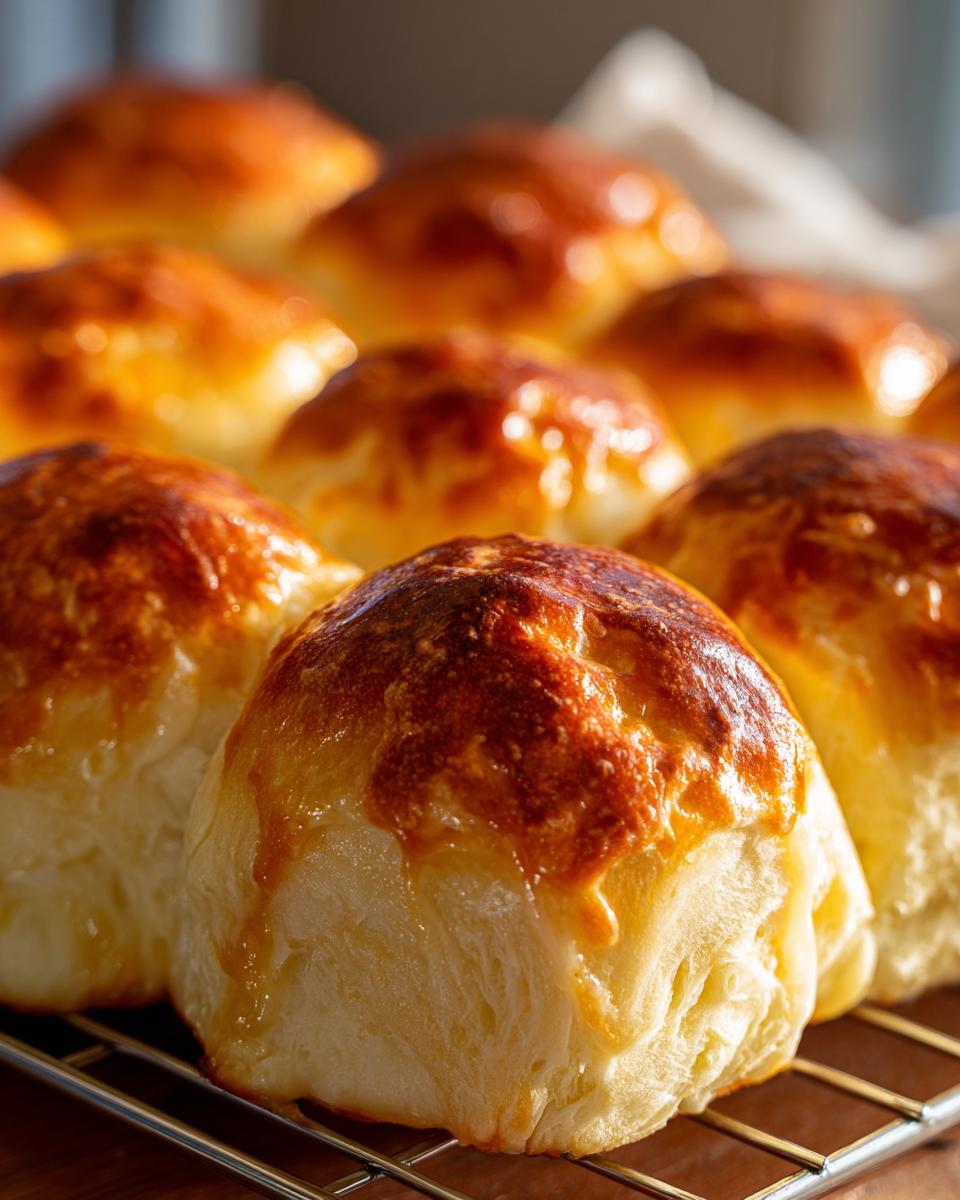
- 12 dinner rolls (like Hawaiian rolls): Okay, yes, Hawaiian rolls are my absolute secret weapon here. Their slightly sweet taste is just heavenly with ham and cheese, and they’re so soft and perfect for sliders. But honestly, any soft dinner roll will work in a pinch!
- 12 slices deli ham: Just your standard, good-quality deli ham works perfectly. You can pile it on!
- 6 slices Swiss cheese: Swiss has that lovely nutty flavor that goes so well with ham. If you’re not a Swiss fan, no worries, we’ll talk about swaps later!
- 1/4 cup butter, melted: This is the base for our glorious glaze.
- 1 tablespoon Dijon mustard: For that little tang and depth.
- 1 teaspoon Worcestershire sauce: A little secret umami boost!
- 1/2 teaspoon garlic powder: Because everything is better with a hint of garlic, right?
- 1/4 teaspoon onion powder: Adds another subtle layer of savory goodness.
- Poppy seeds (optional): Just for a little somethin’-somethin’ on top if you’re feeling fancy!
It really is that simple! Those few key players work together to create pure magic.
How to Make Ham and Cheese Sliders: Step-by-Step
Alright, let’s get these party superstars assembled! This is where the magic really happens, and I promise it’s way easier than it looks. I remember making these for my cousin’s graduation party a few years back, and people were literally fighting over the last few. It was hilarious! Anyway, grab your ingredients and let’s get cooking.
Preparing the Glaze for Your Ham and Cheese Sliders
First things first, let’s whip up that glorious glaze that gives these sliders their signature flavor. It’s super simple: in a small bowl, just whisk together your melted butter, that little kick of Dijon mustard, a dash of Worcestershire sauce for some depth, garlic powder for that savory punch, and onion powder. Give it a good whisking until everything is beautifully combined and smells absolutely heavenly. This little mixture is going to soak into those sweet rolls and make them irresistible, trust me!
Assembling and Baking the Hawaiian Roll Sliders
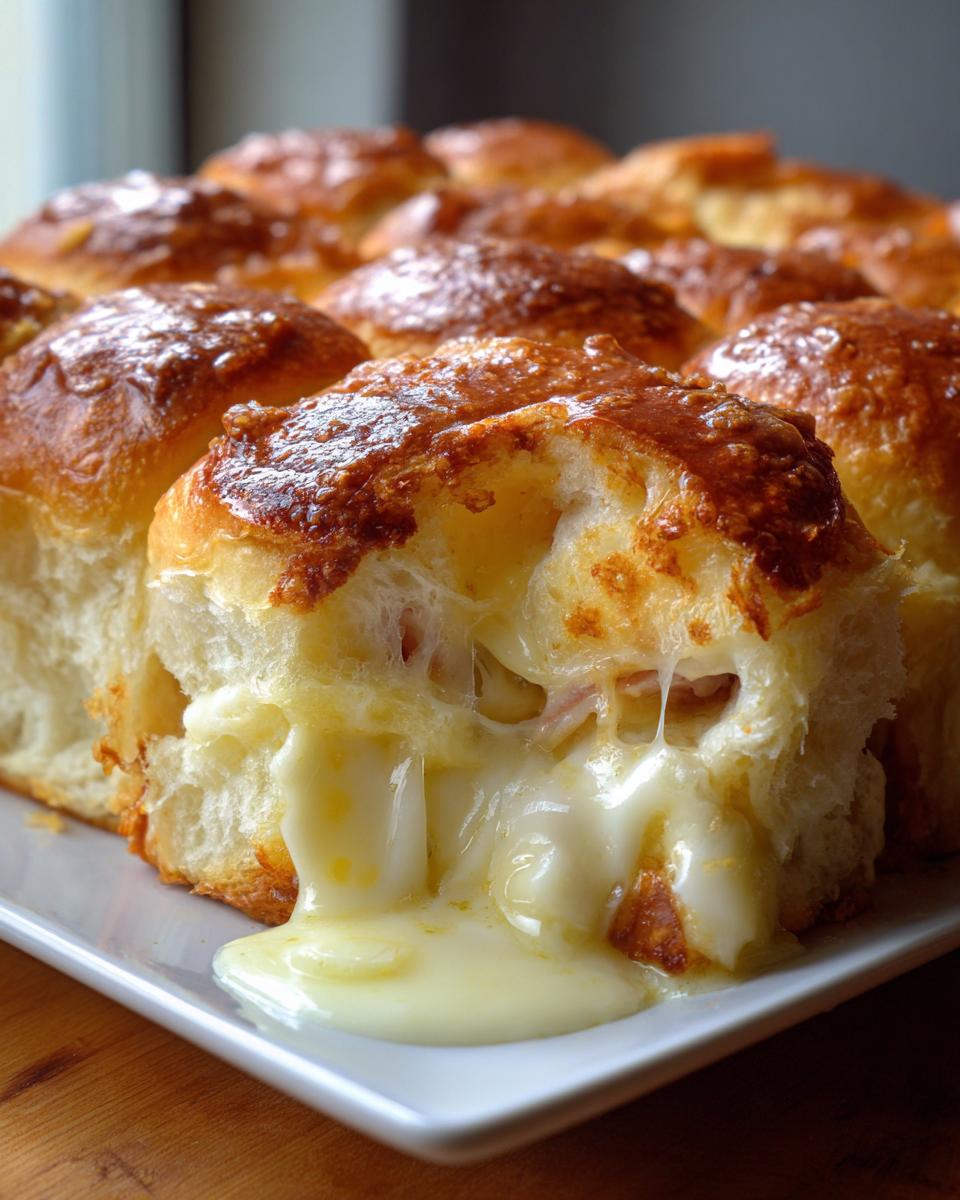
Now for the fun part! Grab your sliced rolls – I like to slice them horizontally with a good serrated knife so you get nice clean halves, which makes assembly way easier. Layer about half of your ham slices onto the bottom halves of the rolls. Don’t be shy; pile it on! Then, top that with your Swiss cheese slices. Now, add the rest of your ham. Place the top halves of the rolls back on, like a cozy little sandwich blanket. Make sure everything sits nicely. Now, take that amazing buttery mustard glaze you just made and pour it as evenly as you can over the tops of all the sliders. You want that goodness to seep down into every nook and cranny. If you’re using poppy seeds, sprinkle them on now for a little something extra pretty. Cover the whole pan loosely with foil – this helps the cheese melt and the rolls steam a bit without getting too crispy too fast. Pop them into your preheated oven at 350°F (175°C) for about 15 to 20 minutes. You’re looking for the cheese to be all melty and gooey, and the rolls to be just lightly golden brown and warmed through. Once they’re ready, use that serrated knife again to cut straight down between the individual sliders. Boom! Perfect, pull-apart portions every time!
Tips for Success with Your Ham and Cheese Sliders
You know how some recipes just *work* every single time? These sliders are like that! But, like any good project, a few little tricks can make them even better. When I’m pulling these together, especially for a big bash where I need to really nail it, I always keep a few things in mind. First off, don’t skimp on the roll quality – the slightly sweet Hawaiian rolls really are key to that perfect sweet-and-savory balance. And make sure your cheese is good quality too; it melts so much better! When you’re assembling, slice those rolls really cleanly first. It makes a huge difference for even layering and cutting them apart later. Oh, and speaking of planning, these are absolutely brilliant for meal planning – you can prep them the day before and just bake them off. Check out Leo’s approach; he taught me a lot about making cooking feel like a smart project, not a chore!
Make-Ahead and Storage for Party Sandwiches
Okay, my favorite thing about these little ham and cheese sliders? You can totally get a head start! Seriously, this is where the “smart project” cooking really shines. You can assemble the whole tray of sliders – rolls, ham, cheese, everything – up to 24 hours in advance. Just don’t pour that gorgeous buttery mustard glaze over them just yet. Put them into your baking dish, cover them tightly with plastic wrap (or foil), and pop them right into the fridge. When you’re ready to bake, just pull them out, drizzle that glaze all over the tops, cover with foil, and add a few extra minutes to the baking time – maybe an extra 5-10 minutes to make sure everything gets hot and melty all the way through. It’s a total game-changer on party day! If you happen to have any leftovers (which is rare, I know!), just store them in an airtight container in the fridge and reheat them gently in a low oven to crisp them back up a bit.
Variations for Your Baked Sliders
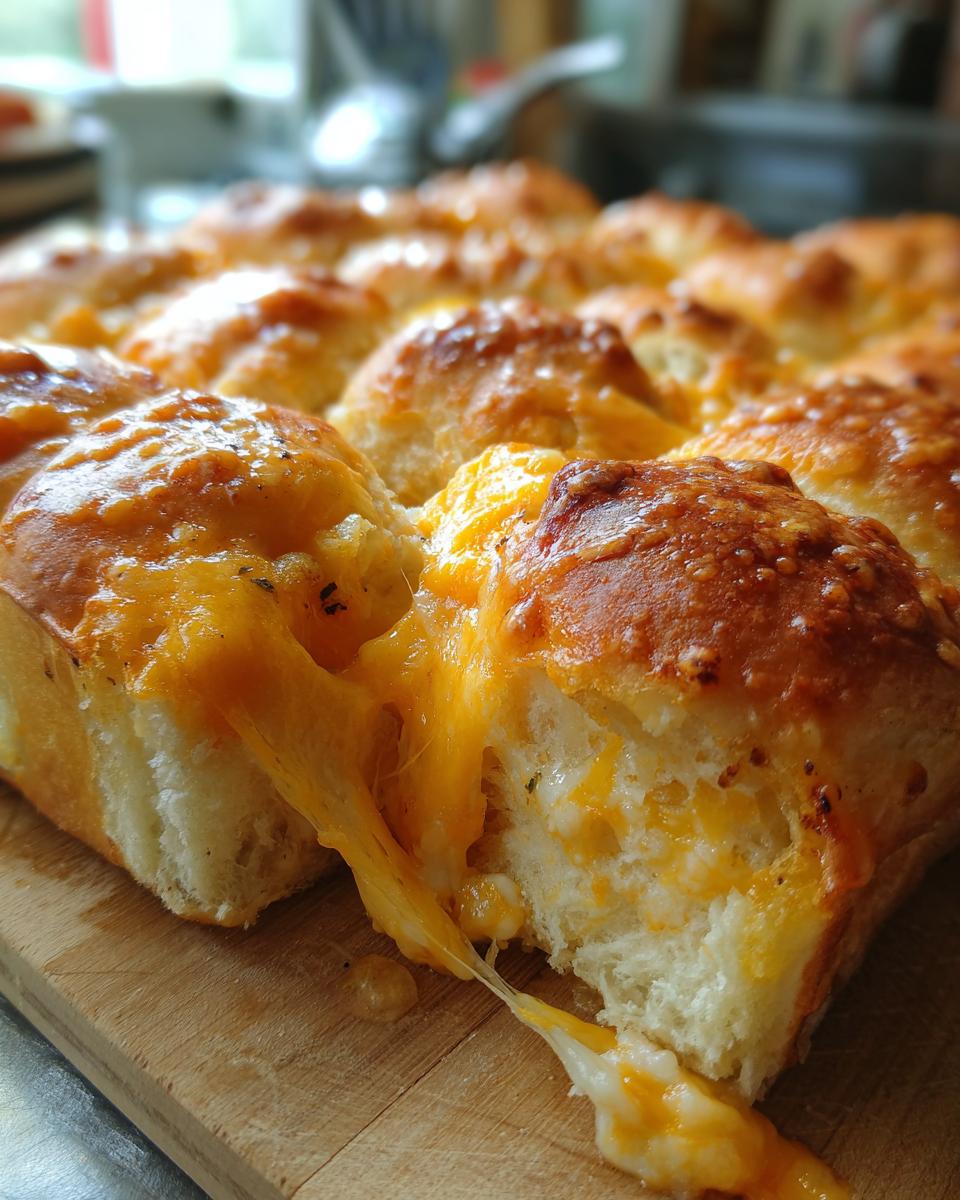
So you’ve mastered the classic ham and Swiss, but wouldn’t it be fun to jazz them up a bit? These sliders are super adaptable, which is why I love them so much! If you’re not a Swiss cheese devotee, no sweat. Sharp cheddar or creamy provolone are fantastic swaps that melt beautifully and pair wonderfully with the ham. Want a little heat? Try a spicy brown mustard in your glaze instead of Dijon, or maybe even add a pinch of red pepper flakes to the butter mixture. You could also add a layer of thinly sliced pickles or even some caramelized onions in there for an extra flavor punch. The possibilities are endless, and they all lead to deliciousness!
Frequently Asked Questions About Ham and Cheese Sliders
Got questions about these little sliders? I’ve got answers! It’s always good to know the ins and outs, especially when you’re planning a party. If you have more questions after checking these out, feel free to reach out via our contact page!
Can I use a different type of bread for these sliders?
Absolutely! While I adore the sweet magic of Hawaiian rolls, any soft dinner roll will work in a pinch. Just know that other rolls might not have that same subtle sweetness, so the overall flavor profile will be a bit different. Brioche rolls are another fantastic option if you can find them!
What are the best cheeses to use for ham and cheese sliders?
Swiss is my go-to for that classic taste, but don’t be afraid to experiment! Sharp cheddar gives a nice bite, provolone offers a lovely meltiness, and even Gruyère can add a sophisticated, nutty depth. Just make sure they’re slices that melt well.
How do I prevent the bottoms of the rolls from getting soggy?
Great question! A little sogginess can happen if the glaze is too liquid or if they sit too long. My best advice is to make sure your glaze isn’t watery – whisk it until it’s nicely emulsified. Also, try baking them on a slightly higher rack in the oven. And if you’re making them way ahead, I sometimes wait to glaze them until just before baking to keep things extra pristine.
Estimated Nutritional Information
Okay, so you’re probably wondering about the deets. While every kitchen and ingredient can vary a little, here’s a ballpark for each of these yummy sliders:
Serving Size: 1 slider
Calories: ~250
Fat: ~12g
Protein: ~15g
Carbohydrates: ~20g
Keep in mind that using different cheeses or brands of ham could tweak those numbers a bit, but this gives you a pretty good idea!
Share Your Ham and Cheese Slider Creations!
Alright, now it’s YOUR turn to shine! I’d absolutely LOVE to hear how your ham and cheese sliders turned out. Did you try a fun cheese swap? Did they disappear in minutes at your party (I bet they did!)? Please leave a comment below and tell me all about it! And if you snap a pic, tag us on social media – seeing your kitchen creations makes my day. Don’t forget to check out our terms and privacy policy!
PrintHam and Cheese Sliders

Easy ham and cheese sliders baked on Hawaiian rolls with a buttery mustard glaze. Perfect for parties, potlucks, or game days.
- Prep Time: 15 min
- Cook Time: 20 min
- Total Time: 35 min
- Yield: 12 sliders 1x
- Category: Appetizer
- Method: Baking
- Cuisine: American
- Diet: Vegetarian
Ingredients
- 12 dinner rolls (like Hawaiian rolls)
- 12 slices deli ham
- 6 slices Swiss cheese
- 1/4 cup butter, melted
- 1 tablespoon Dijon mustard
- 1 teaspoon Worcestershire sauce
- 1/2 teaspoon garlic powder
- 1/4 teaspoon onion powder
- Poppy seeds (optional)
Instructions
- Preheat your oven to 350°F (175°C).
- Slice the dinner rolls in half horizontally.
- Layer 6 slices of ham on the bottom halves of the rolls.
- Top the ham with 6 slices of Swiss cheese.
- Layer the remaining 6 slices of ham over the cheese.
- Place the top halves of the rolls back on.
- In a small bowl, whisk together the melted butter, Dijon mustard, Worcestershire sauce, garlic powder, and onion powder.
- Pour the butter mixture evenly over the tops of the sliders.
- Sprinkle with poppy seeds, if desired.
- Cover the sliders loosely with foil.
- Bake for 15-20 minutes, or until the cheese is melted and the rolls are lightly golden.
- For easy slicing, use a serrated knife to cut through the sliders.
Notes
- These sliders can be assembled up to 24 hours in advance and refrigerated. Bake as directed, adding a few extra minutes to the baking time if baking from cold.
- For a spicier glaze, use spicy brown mustard instead of Dijon.
- You can substitute cheddar or provolone cheese for Swiss.
Nutrition
- Serving Size: 1 slider
- Calories: 250
- Sugar: 5g
- Sodium: 600mg
- Fat: 12g
- Saturated Fat: 5g
- Unsaturated Fat: 7g
- Trans Fat: 0g
- Carbohydrates: 20g
- Fiber: 1g
- Protein: 15g
- Cholesterol: 40mg