
There’s just nothing like that first sip of hot chocolate when the air outside is sharp and cold. You know, the kind that feels like a warm hug right down to your toes? If you agree, then you absolutely need this ultimate hot cocoa mix recipe in your life. Forget those dusty packets that taste more like flavored sugar than actual chocolate. We’re making a big batch of the creamiest, richest, better-than-store-bought mix you’ve ever seen.
This is pure efficiency, straight from the Dishicious playbook. Founder Leo Grant always says cooking should be simple, not stressful, and this no-cook powder proves it. It requires basic pantry staples and about ten minutes of effort for months of cozy winter beverages. Before you dive in, don’t forget to check out our recipe for quick stovetop oatmeal—it’s another winner for busy mornings!
- Why This Big Batch Hot Cocoa Mix is Your New Winter Essential
- Ingredients for Rich and Creamy Hot Cocoa Mix
- How to Prepare Your Homemade Hot Cocoa Mix Recipe
- Serving Suggestions: Making the Perfect Cup with Your Hot Cocoa Mix
- Storage and Make Ahead Hot Cocoa Mix Tips
- Troubleshooting Common Issues with DIY Hot Chocolate Powder
- Frequently Asked Questions About Homemade Hot Cocoa Mix
- Estimated Nutritional Data for This Hot Cocoa Mix
- Share Your Cozy Drink Mixes Recipe Creations
Why This Big Batch Hot Cocoa Mix is Your New Winter Essential
Honestly, I don’t know why anyone buys those tiny packets anymore. Once you make this big batch hot cocoa mix, you’ll never go back. This recipe is designed to solve that busy evening problem we all have—it hits the mark on every requirement for a truly great pantry staple drink mix.
- It is miles better than store bought cocoa mix; the flavor is so much richer.
- It’s totally flexible; add or subtract ingredients based on what you have on hand.
- When you make a huge batch, you’ve got a reliable make ahead hot cocoa mix ready all season long!
You definitely want to check out our ultimate creamy dip recipe for your next gathering, too, but this cocoa mix is where the real winter magic happens.
Speed and Simplicity: The No Cook Hot Cocoa Mix Advantage
Look, winter is for relaxing, not spending hours over the stove. This is a pure no cook cocoa mix, meaning you just toss things in a bowl, whisk, and you’re done. Ten minutes, tops! It transforms the clunky chore of making a drink into having a simple hot chocolate powder ready instantly. It just doesn’t get easier than this setup.
Perfect for Gifting: The Hot Cocoa Mix for Gifting Appeal
This is my favorite part, truly! Because you make such a large quantity, dividing it up into cute jars is so easy. Suddenly, you have an impressive and thoughtful chocolate gift in a jar for neighbors, teachers, or anyone who deserves a little cozy cheer. Tie a nice ribbon around the top, and boom—instant holiday success without stressing over baking.
Ingredients for Rich and Creamy Hot Cocoa Mix
When you’re aiming for that rich and creamy hot cocoa mix flavor, the ingredients really matter. We are sticking to accessible pantry staples here, nothing fancy, but trust me, the ratios are locked in for delicious results. We need three cups of sugar and a generous cup and a half of unsweetened cocoa powder to get that deep chocolate punch.
Then we add one and a half cups of powdered milk—this is what makes it so velvety when you stir it in later. Don’t forget the salt, just a teaspoon to balance everything, and the cornstarch if you want that cloud-like texture!
If you need to skip the dairy because of allergies or preference, just omit the powdered milk entirely. You can see more about swapping out dairy in our fantastic creamy Alfredo sauce recipe, which uses similar principles!
Ingredient Notes and Substitutions for Hot Cocoa Mix
A couple of quick notes before you start dumping everything in the bowl. For the absolute deepest, darkest sip, try swapping out regular cocoa powder for Dutch-process cocoa powder—the flavor shift is amazing. It really elevates this from simple drink mix to something special.
Now, about that powdered milk, which many people ask about when making a hot chocolate mix without powdered milk: If you leave it out, you lose some of that signature creaminess. To combat that, try stirring in about a quarter cup of non-dairy creamer powder if you have it, or just accept it will be a thinner, more traditional hot chocolate when you stir it with hot water.
How to Prepare Your Homemade Hot Cocoa Mix Recipe
Putting this mix together is honestly the easiest part of your entire busy week, I promise! We’re keeping it strictly no-cook here, which is the beauty of efficiency. First, grab those staples: the sugar, the cocoa, the powdered milk (if you’re using it for creaminess), plus the salt and that secret weapon cornstarch.
Dump everything right into the biggest bowl you own. Now, this is where we need to focus. You have to whisk it like you mean it until everything looks perfectly unified—no white streaks from sugar or dry patches of cocoa powder hiding in the corners. We need consistency so that every single scoop you take out later tastes exactly the same. If you want to check out how whisking aeration works for our fluffy rice pilaf, you know where to look!
Achieving the Velvety Hot Cocoa Dry Mix Texture
Okay, for true perfection, you might want to take one extra, super-smart step here. If you want that absolutely pristine, velvety hot cocoa dry mix that dissolves instantly without a single lump fighting you in your hot milk, you have two options.
Option one: Use a food processor! In batches, pulse the mixture a few times until it’s super fine. It really breaks down any small sugar crystals that might clump up later. Option two, which is faster if you don’t want to wash the processor: Sift it. Sift it twice, if you’re feeling ambitious! This aeration step is what separates a good mix from the *best* mix. Once it looks perfect, transfer it immediately into your airtight container for storage.

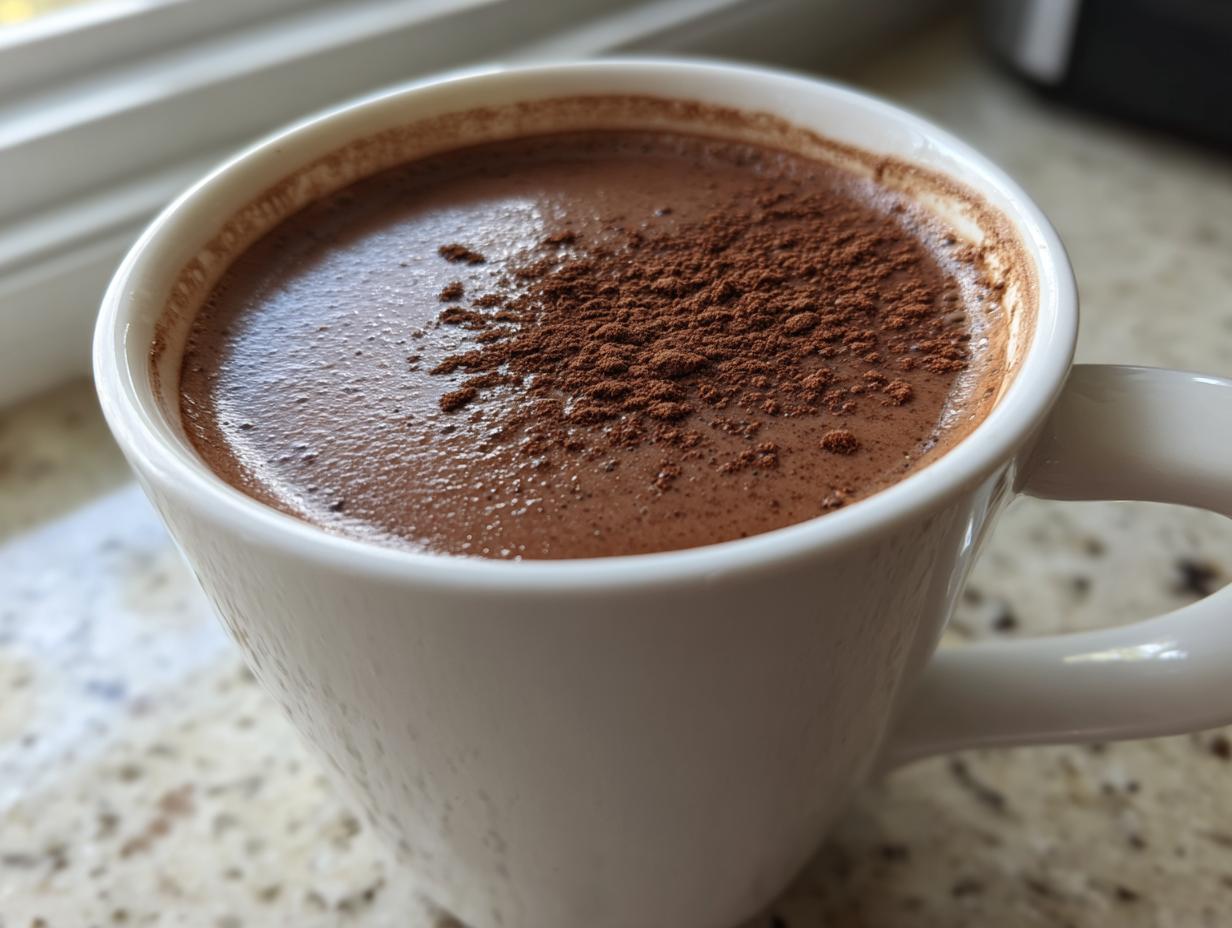
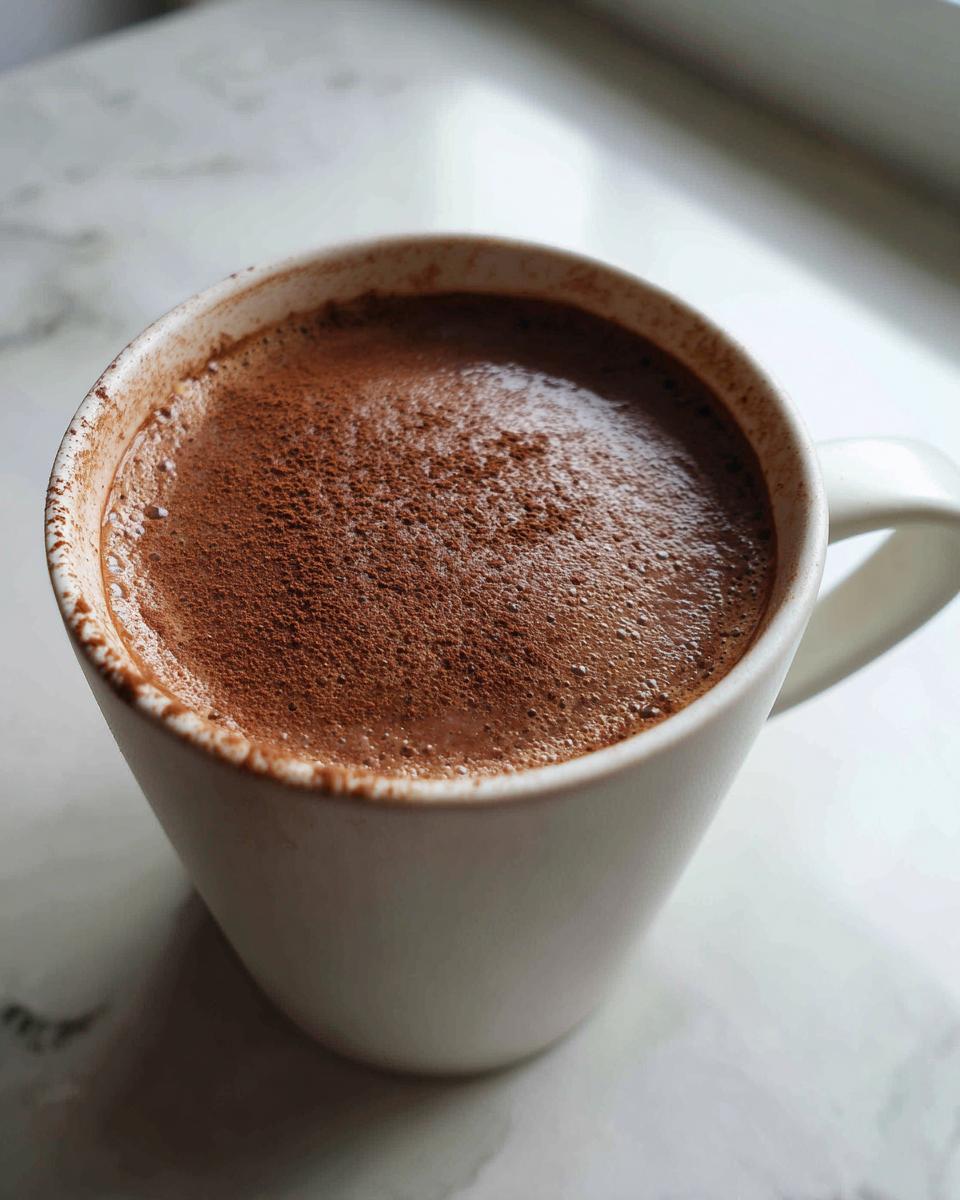
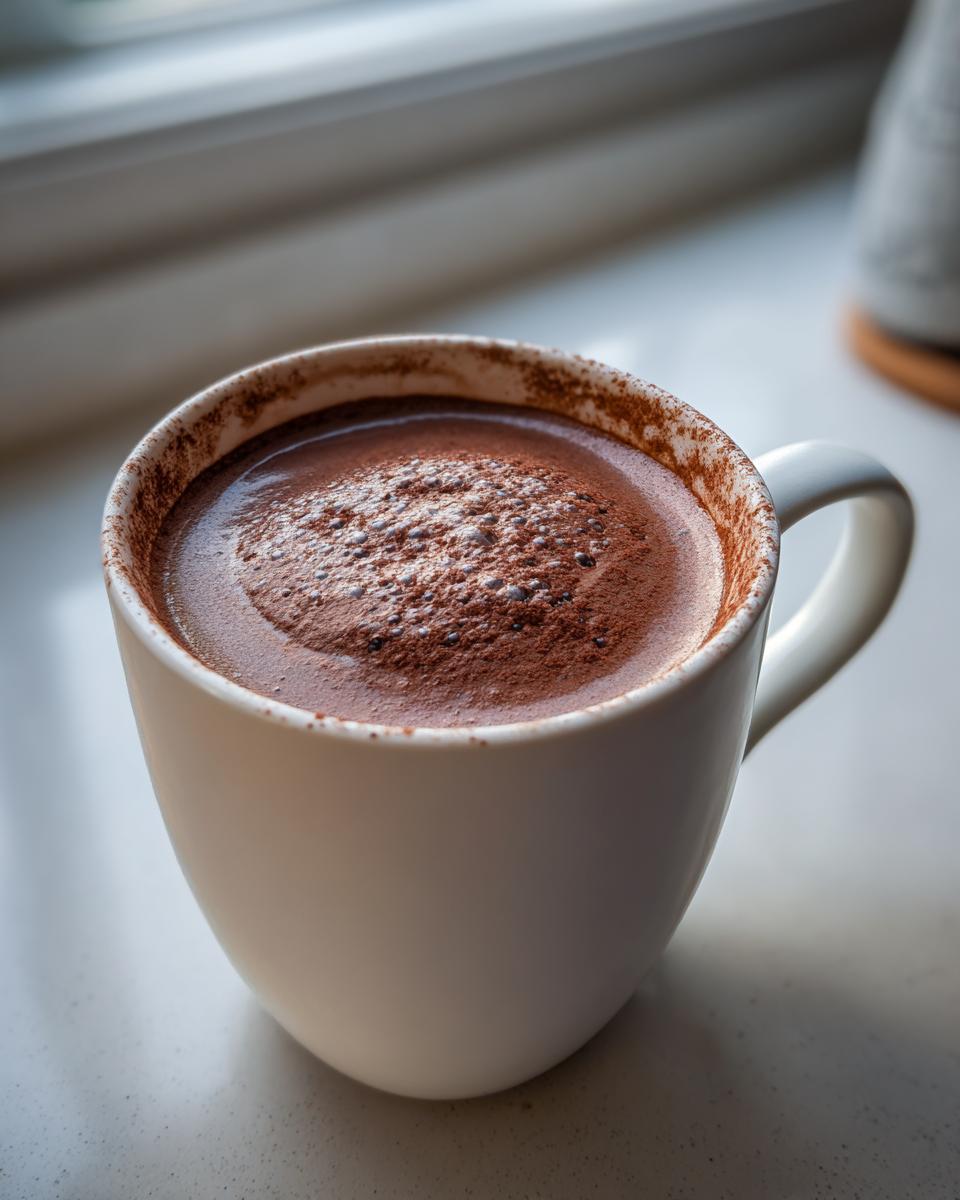
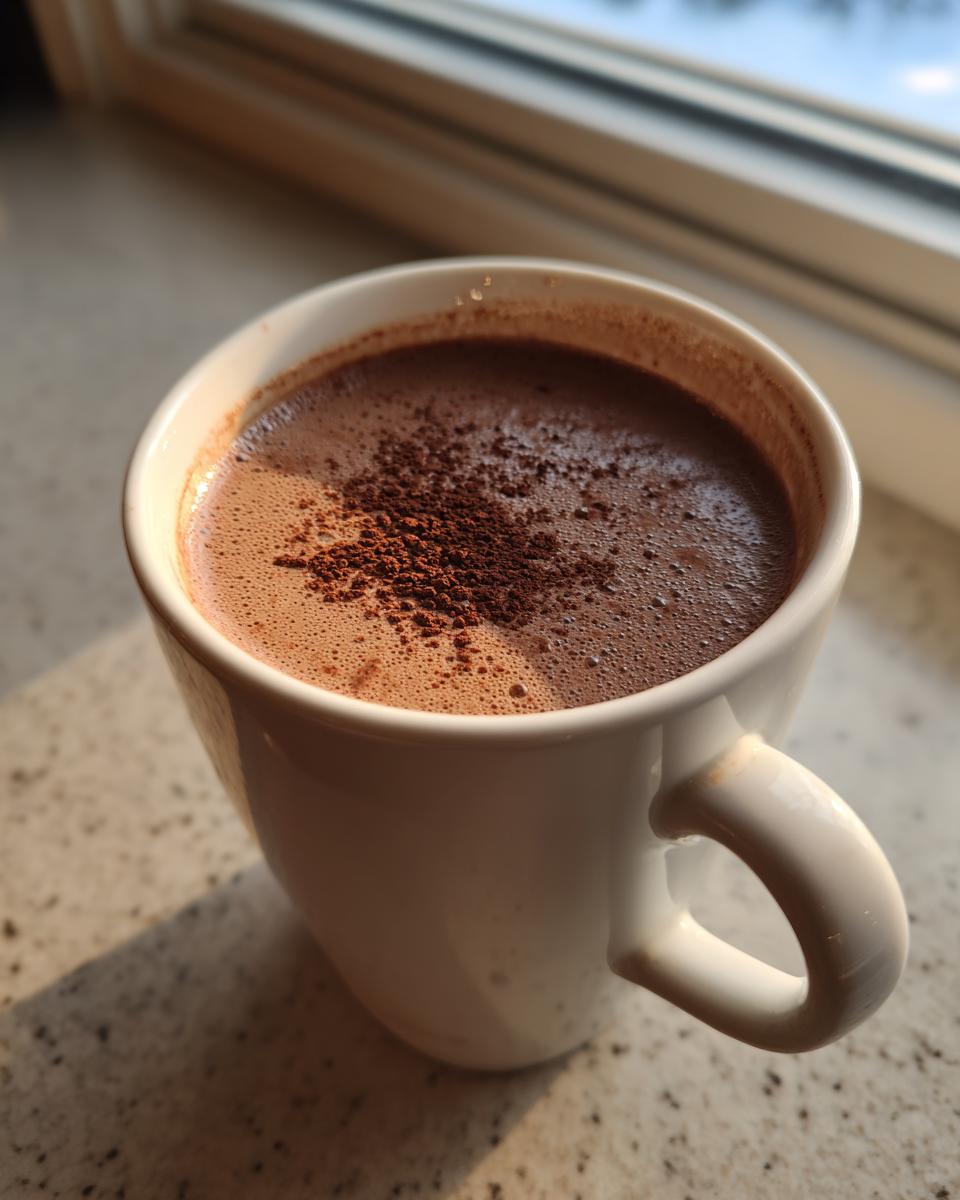
Serving Suggestions: Making the Perfect Cup with Your Hot Cocoa Mix
Now that you have this gorgeous, creamy dry powder ready to go, it’s time for the best part: actually drinking it! Getting the proportions right is crucial if you want to maximize that rich and creamy hot cocoa mix experience we talked about.
The magic ratio I’ve settled on after way too many taste tests—seriously, I was buzzing for days—is this: use about one-third cup of the dry mix for every one cup of hot liquid. That seems like a lot of powder, I know, but trust me, it creates that dense, luxurious texture we are aiming for.
So, what liquid should you use? If you’re in a rush, hot water works fine—it still tastes great because the powdered milk in the mix does a lot of the heavy lifting. BUT, if you want to truly honor the ‘creamy’ part of the title, you have to use hot milk. I usually heat up whole milk until it’s steaming, then whisk in my powder. It creates a velvety mouthfeel that water just can’t match.
If you ever need another warm, cozy drink idea, you should peek at my recipe for creamy coquito—it’s perfect for the adults when you need something richer than cocoa!
Storage and Make Ahead Hot Cocoa Mix Tips
This is where that project manager mentality really pays off because we set this amazing hot cocoa mix up to reduce future work during the busy holidays. Since this is a dry powder mix, storage is super simple! You want to make sure you transfer the finished product immediately into an airtight container—a big Mason jar or something with a really tight lid works best.
Keep that sealed container stored in a cool, dry spot, like your pantry alongside your other pantry staple drink mixes. Seriously, stored correctly, this stuff lasts for up to six months! Can you imagine? You make one big batch now, and for half a year, you pull out the jar, scoop out your 1/3 cup, and in sixty seconds you have a perfect, comforting mug.
That’s the heart of the Dishicious philosophy, right? Do the work once, enjoy the efficiency forever. This make ahead hot cocoa mix means those frantic, last-minute cold nights or unexpected guests get the same rich, creamy chocolate without you having to run to the store. It’s just smart cooking, and it’s so satisfying knowing your winter drink supply is totally handled. If you love making things ahead of time, you should definitely check out my tips for make-ahead egg muffins for simple breakfasts, too!
Troubleshooting Common Issues with DIY Hot Chocolate Powder
Even the simplest recipes can have little hiccups, right? That’s why I always test things out until they are foolproof. I want you to have a perfect mug every time you reach for this DIY hot chocolate powder. If you run into any snags once you start mixing or storing the batch, don’t fret—here are the three things I’ve noticed trip people up, and how to fix them fast.
First up, maybe your first cup was a little gritty, and not that cozy kind of grit, but the kind that you have to chew a little. If that happens, it just means you didn’t whisk or process thoroughly enough when you mixed the dry ingredients! The sugar might have been hiding away from the cocoa powder. Go ahead and take the mix you’ve already made and blitz it again in the food processor or sift it a third time. You want that velvety texture we talked about, trust me on this extra step.
The second snag? Flavor being too bitter. Sometimes if you use a really dark or overly processed cocoa that isn’t balanced with enough sugar, it can taste flat or a little too intense. If you taste your dry mix and it’s screaming “bitter,” the fix is easy: mix in just a tablespoon or two more of granulated sugar at a time until it smooths out for you. Remember, this is *your* recipe, so adjust the sweetness level until it sings!
Finally, and this is crucial for long-term storage: if you notice your beautiful powder starts getting little hard or damp clumps after a few weeks, moisture snuck in there. This happens if you store the jar somewhere humid, or if you added your ingredients when they weren’t perfectly dry. You can try drying the mix out slightly in a very low oven (like 200 degrees F for just five minutes—watch it like a hawk!) or just ensure your storage area is absolutely bone dry next time. Moisture is the enemy of any good pantry staple drink mix!
Frequently Asked Questions About Homemade Hot Cocoa Mix
Okay, I know we covered a lot about proportions and creaminess, but sometimes you just have quick questions! Baking and mixing dry ingredients always brings up a few FAQs. Here are the things readers ask me most often about perfecting their homemade hot cocoa mix recipe.
Can I make this vegan or dairy-free?
Yes, absolutely! That’s one of the huge advantages of making your own DIY hot chocolate powder. As mentioned before, you just leave out the powdered milk. If you want that cloud-like texture back when you mix it, I highly recommend substituting it with about a quarter cup of a quality non-dairy creamer powder—think coconut or oat powder—instead of skipping that component totally. It really helps the final cup feel luxurious.
Is this hot cocoa mix recipe suitable for a ‘Chocolate Powder Recipe’ base?
Great question! Yes, it totally is. Since we use a high ratio of rich, unsweetened cocoa powder, what you have here is essentially a high-quality chocolate powder recipe that’s ready to go. You can absolutely use a small scoop of this mix to dust over whipped cream before serving your finished drinks, or even sprinkle a little bit over brownies or cookies before baking for extra chocolate depth. It’s multi-purpose!
How do I make a batch much sweeter or less sweet than written?
Since this is your kitchen, you’re the boss of the sugar, which is so much better than those fixed store brands. If you find yourself wanting something even sweeter, the best way to adjust is to add more granulated sugar, maybe just a half cup at a time, and then re-whisk everything thoroughly. If you want it less sweet, substitute some of the sugar with a zero-calorie sweetener that measures cup-for-cup with sugar, but always blend it in gently so it gets perfectly distributed into your simple hot chocolate powder base.
How does this compare to store-bought ‘Pantry Staple Drink Mix’ options?
It wins, hands down! Store-bought mixes have to keep for years on shelves, so they rely on way more stabilizers, artificial flavors, and frankly, too much cheap sugar. When comparing this to any pantry staple drink mix you grab at the grocery run, ours is superior because you control the quality of the cocoa and the amount of sugar. It tastes fresher, richer, and is truly better than store bought cocoa mix because you used real ingredients.
For more really streamlined kitchen advice, you might enjoy reading through how I make my velvety celery soup—same philosophy, maximum flavor, minimal fuss!
Estimated Nutritional Data for This Hot Cocoa Mix
Since we are using such simple, pure ingredients for this hot cocoa mix, it’s nice to know what you’re getting in each mug. Remember, this nutritional breakdown is based on the dry mix itself—the portion you store in the jar—and is calculated for one serving size (which is about 1/3 cup of powder).
For estimation purposes, we are calculating based on the recipe including powdered milk. If you skip the milk powder or use a different sweetener, these numbers will shift slightly. I always say this is just a good guideline; the actual results will depend on the specific brand of cocoa and sugar you use!
- Calories: 180
- Fat: 3g
- Carbohydrates: 38g (with 30g of that being sugar)
- Protein: 3g
It’s pretty low in fat for something that tastes so incredibly rich, which I love! If you’re interested in other light and healthy recipes, take a look at my recipe for Mediterranean lentil salad—it’s packed with flavor and fiber.
Share Your Cozy Drink Mixes Recipe Creations
Alright, that’s it! You now have the blueprint for the ultimate hot cocoa mix that will make your kitchen smell like a winter cabin every time you reach for that jar. I truly hope this recipe becomes a reliable, efficient staple on your counter, just like it is in mine.
I’m so excited for you to curl up with your first mug! When you try this out—whether you whip up a huge batch for your freezer or just make enough for one perfect cup tonight—please come back and leave a rating. I love hearing which flavors you chose or if you added a special spice to your mix!
Seeing your photos of these wonderful homemade winter beverages makes my day. It proves that cooking smarter, not harder, is absolutely the best way to enjoy delicious food without feeling overwhelmed. If you need something a little lighter after all that cocoa decadence, you should absolutely check out my recipe for a vibrant winter fruit salad!
And hey, if you want to see why other folks love the big batch method, check out this recipe from a friend over at Wow Chocolate. Happy sipping, friends!
PrintBig Batch Creamy Homemade Hot Cocoa Mix

Make a large batch of this rich, creamy hot cocoa mix using simple pantry staples. This no-cook recipe tastes better than store-bought and is perfect for keeping stocked or giving as gifts.
- Prep Time: 10 min
- Cook Time: 0 min
- Total Time: 10 min
- Yield: Approximately 18 servings 1x
- Category: Beverage
- Method: No Cook
- Cuisine: American
- Diet: Vegetarian
Ingredients
- 3 cups granulated sugar
- 1 1/2 cups unsweetened cocoa powder
- 1 1/2 cups powdered milk (omit for dairy-free)
- 1 teaspoon salt
- 1 teaspoon cornstarch (optional, for extra creaminess)
Instructions
- Gather all dry ingredients: sugar, cocoa powder, powdered milk (if using), salt, and cornstarch (if using).
- Place all ingredients into a very large bowl.
- Whisk the ingredients together thoroughly until the mixture is uniform in color and texture. Break up any clumps of cocoa powder or sugar.
- For the smoothest mix, pulse the mixture in a food processor in batches until very fine, or sift twice.
- Transfer the finished hot cocoa mix to an airtight container for storage.
- To serve, combine 1/3 cup of the dry mix with 1 cup of hot milk or water. Whisk until smooth and hot.
Notes
- For a richer flavor, use Dutch-process cocoa powder.
- If you skip the powdered milk, add 1/4 cup of non-dairy creamer powder for a similar texture when mixing.
- This mix stores well in an airtight container at room temperature for up to 6 months.
- Package this dry mix in jars with mini marshmallows and a ribbon for an easy chocolate gift in a jar.
Nutrition
- Serving Size: 1/3 cup dry mix
- Calories: 180
- Sugar: 30g
- Sodium: 110mg
- Fat: 3g
- Saturated Fat: 1.5g
- Unsaturated Fat: 1.5g
- Trans Fat: 0g
- Carbohydrates: 38g
- Fiber: 3g
- Protein: 3g
- Cholesterol: 5mg