

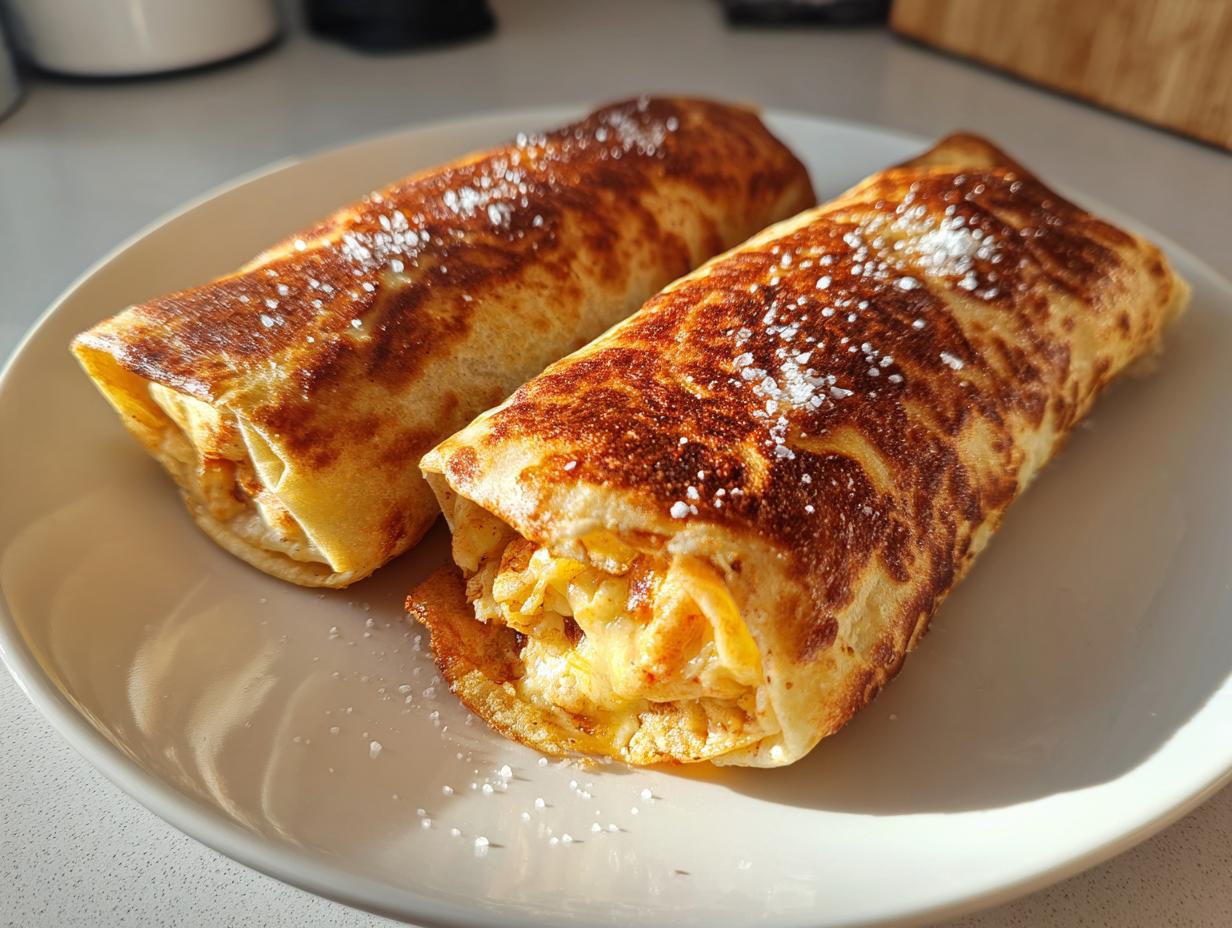
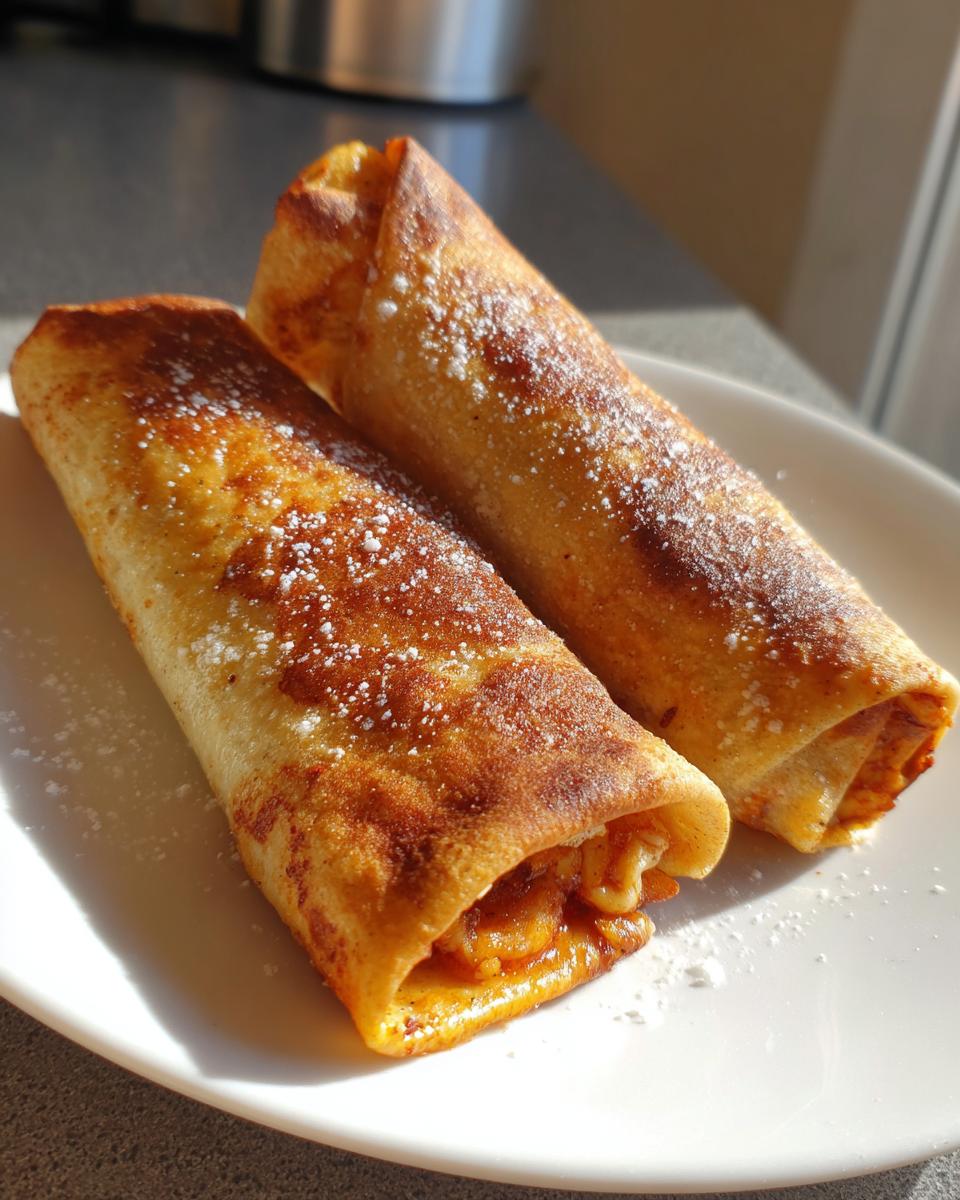
Oh, you know those nights, right? You’re craving that massive flavor hit of Tex-Mex, the crunchy cheese pull, the whole deal, but the thought of deep-frying anything makes you tired before you even start? Me too! That’s why I perfected these **Baked Chicken Chimichangas**.
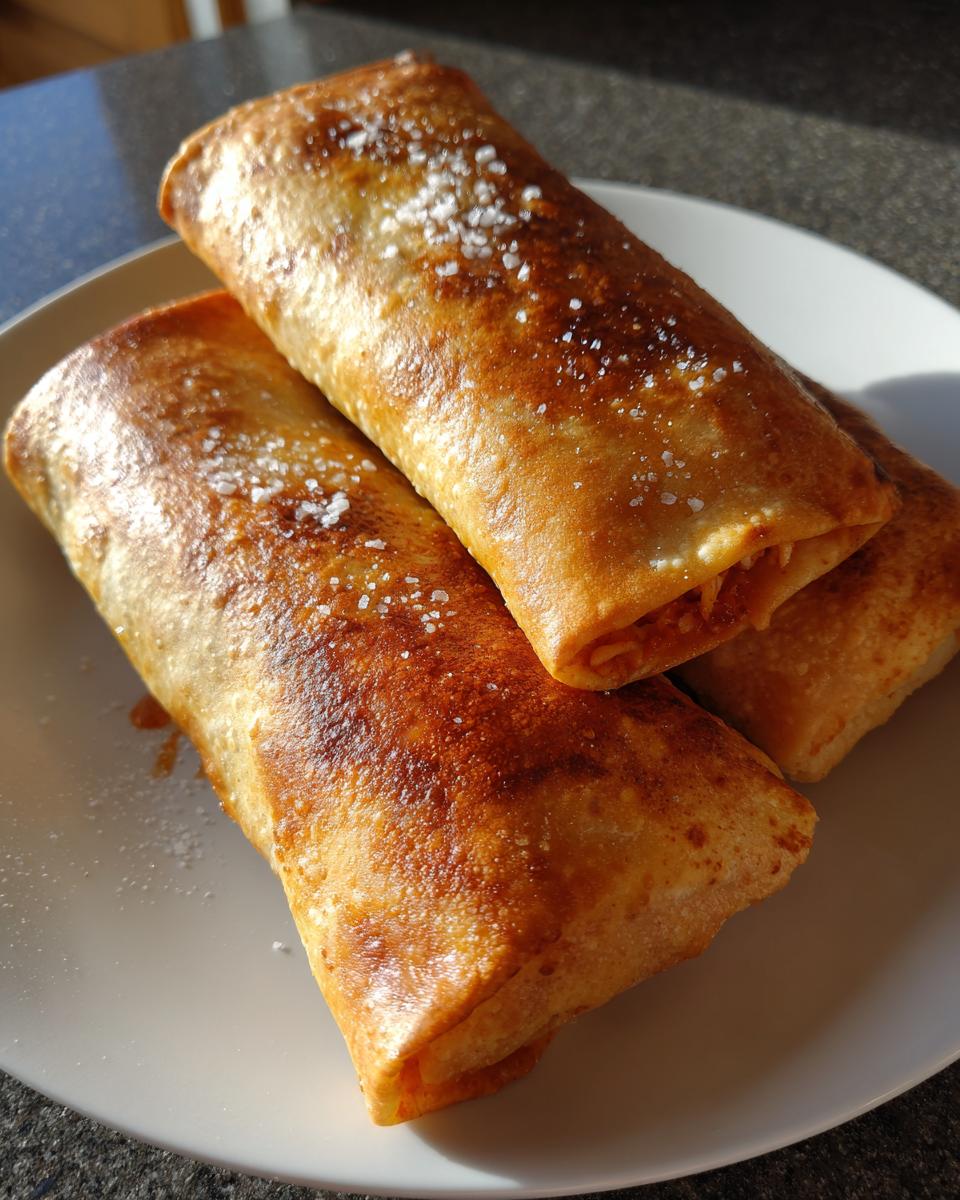
Forget soggy burritos; I’m talking genuinely crispy, golden shells that shatter beautifully when you cut into them. Seriously, these are the crispiest baked versions out there, and they come together faster than you can decide what to watch on TV! Since my philosophy for cooking is all about efficiency—cutting out the unnecessary steps while keeping the flavor dialed up—this recipe keeps all the seasoning payoff but cuts the cleanup in half. You get all the satisfaction of those classic chimichangas, done quick, done easy, and ready before the kids even start asking what’s for dinner.
- Why This is the Best Baked Chicken Chimichangas Recipe for Weeknights
- Essential Ingredients for Flavorful Baked Chicken Chimichangas
- Step-by-Step Instructions for Crispy Baked Chicken Chimichangas
- Tips for the Ultimate Oven Baked Chimichangas Success
- Making Ahead and Storing Your Baked Chicken Chimichangas
- Serving Suggestions for Your Family Favorite Mexican Dinner
- Frequently Asked Questions About Baked Chicken Chimichangas
- Nutritional Snapshot of These Lightened Up Mexican Classics
- Share Your Crispy Baked Chicken Chimichangas Experience
Why This is the Best Baked Chicken Chimichangas Recipe for Weeknights
Seriously, when you’re juggling work, school runs, and just needing a win on the dinner front, this recipe delivers. It hits all those marks we look for when we need Quick Dinner Ideas Chicken. Leo’s project management brain kicks in here; we strip away anything that wastes time but leave the essential steps that build maximum flavor and texture. Trust me, these are genuinely Better Than Fried Chimichangas because you get the crunch without the oil slick!
- They are lightning fast: Total time is under 45 minutes.
- They nail the texture: Crispy, golden goodness every time.
- They are a healthier choice for the family.
- Perfectly managed steps mean less fuss and easier cleanup.
Achieving Maximum Crispiness with Low Oil
This is the make-or-break moment for any baked tortilla, right? We need that satisfying crunch. The trick is heat combined with just enough fat. We crank the oven way up to 400°F. Then, you need to treat those tortillas gently. Don’t drown them! A quick, very light brush of olive oil or a generous spray of cooking spray on the outside gives you those gorgeous, Oven Crisped Tortillas. Flipping them halfway through is non-negotiable—that ensures both sides get that golden, shatteringly crisp texture we are aiming for in a Low Oil Chimichanga.
Essential Ingredients for Flavorful Baked Chicken Chimichangas
Okay, let’s talk about what goes inside these beauties because flavor is EVERYTHING, even when we’re keeping things light. As someone who values efficiency—and grabbing dinner on the table fast!—I rely on straightforward, high-impact ingredients. You only need a handful of things for this Simple Seasoned Chicken Filling.
We start with two cups of cooked, shredded chicken. If you’re trying to hit that ‘Dinner in Under 45 Minutes’ mark, grab a rotisserie chicken! It’s my secret weapon for speedy dinners. Then we toss it with classic Tex-Mex spices—chili powder, cumin, garlic powder, and onion powder—and just a pinch of salt. We finish the filling with shredded Monterey Jack cheese because it melts like a dream. And hey, if you love a bit of creaminess, a spoonful of refried beans is a great addition, though totally optional for our Healthy Chimichanga Recipe!
Ingredient Substitutions and Customization Tips
Don’t feel locked into exactly what I wrote! That’s the fun of home cooking. If you don’t have Monterey Jack, Pepper Jack adds a nice kick, or four-cheese blends melt beautifully too. If you want to keep this recipe ultra-lean—really focusing on that Low Oil Chimichanga method—just leave out the refried beans. They add richness, but they aren’t essential for structure.
For customization, adjust the spices to your liking! Love heat? Go heavy on cayenne pepper or add some smoked paprika for depth. Or, if you’re really channeling that ‘Copycat Chi Chis Chimichangas’ vibe some folks love, a small dollop of softened cream cheese mixed into the chicken filling before rolling gives you that subtle, tangy richness without any frying!
Step-by-Step Instructions for Crispy Baked Chicken Chimichangas
Alright, let’s get down to the fun part—assembling these beauties! This process is so straightforward, it honestly feels like cheating how good they end up tasting. Before you start anything, go ahead and get your oven preheated to 400°F (200°C). That high heat is absolutely essential for getting that crispy shell when we bake them.
I remember making these for the first time when Leo was younger and we were scrambling for a fast dinner after soccer practice. He just kept pointing and saying, “More cheese, Daddy!” It’s so rewarding when you can pull something this tasty out of the oven in under 20 minutes—it really proves that you don’t need complicated techniques to make your family happy.
Preparing the Simple Seasoned Chicken Filling
First things first, grab your cooked, shredded chicken and pop it into a bowl. Now, we season! I measure this out carefully because the spices are key for that Tex-Mex profile. You’re going in with your chili powder, cumin, garlic powder, and onion powder. Give that a really thorough toss until every single piece of that chicken is coated in that beautiful, earthy red seasoning. It should smell amazing already!
Rolling and Sealing the Baked Chicken Chimichangas
Next, get your tortillas ready. If they’ve been sitting out, they might crack when you roll them, so take just 15 seconds to microwave them or heat them in a dry skillet until they are nice and soft—we need pliability!
Time to fill! Lay your warm tortilla down. Scoop a good amount—about a quarter cup—of that seasoned chicken right in the center. If you’re adding beans or cheese, make sure they are sitting on top of the chicken, not right against the tortilla edges. Now, here is where you need to be decisive: fold the left and right sides inward so they overlap the filling just a bit. Then, roll it up tightly from the bottom edge, just like you would a very sturdy burrito. Those folded sides stop the filling from escaping!
Place the rolled chimichanga seam-side down onto your baking sheet. You want to repeat this until all eight are ready. Then, this is the crispiness insurance: brush the tops lightly with olive oil or give them a good spritz of cooking spray and sprinkle them with just a tiny pinch of salt. They go straight into that hot 400°F oven for 15 to 20 minutes. Remember to flip them halfway through so they brown evenly on all sides. If you want the real scoop on how professional kitchens handle these, check out some of the best methods like the tips found over at Recipe Gap!
Tips for the Ultimate Oven Baked Chimichangas Success
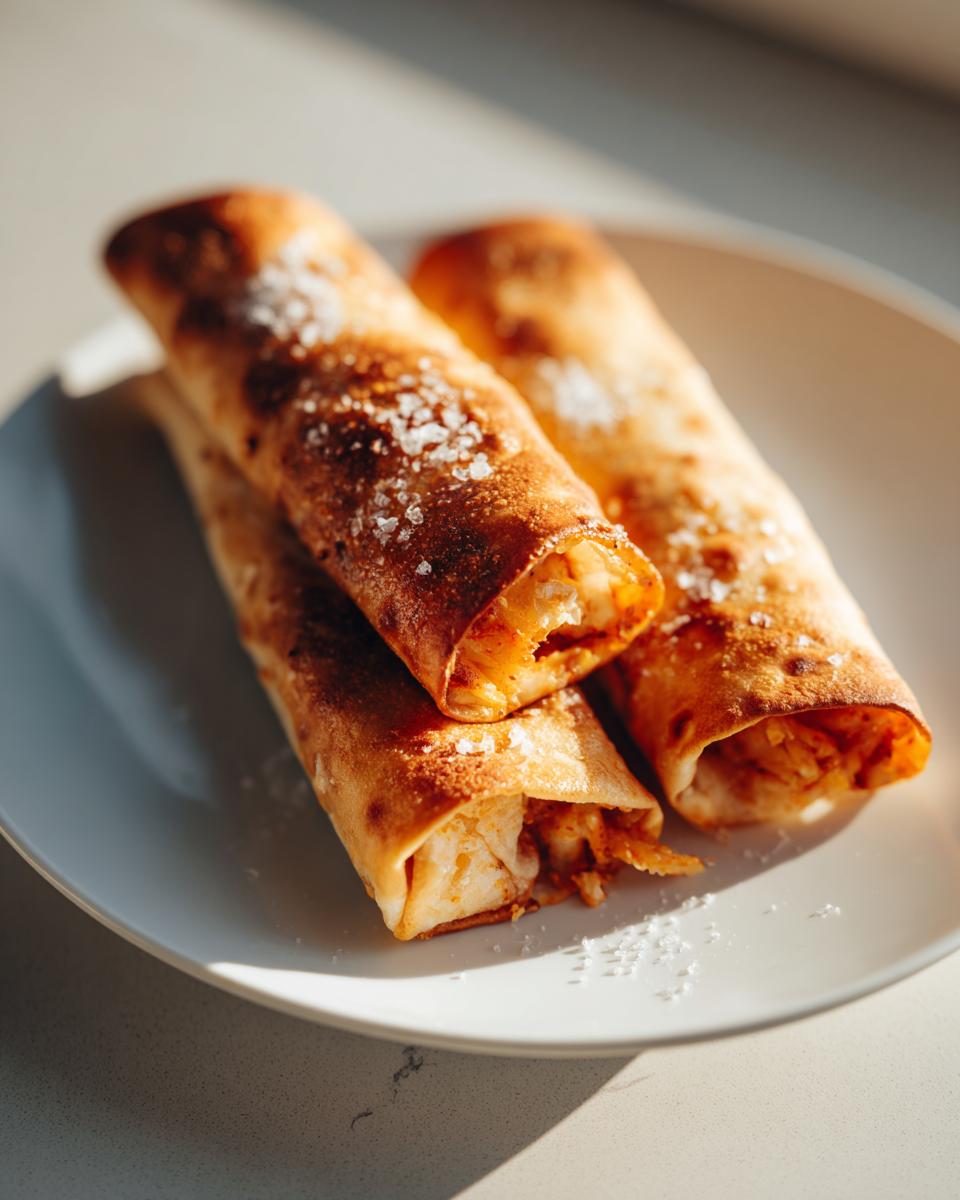
You’ve rolled them tight, you’ve brushed them with oil—fantastic job! But if you want to take these **Oven Baked Chimichangas** from great to downright spectacular, I have one little trick Leo always insists on. Don’t just bake them directly on the sheet pan.
Pop your baking sheet inside the oven with a wire cooling rack sitting on top of it before you even put the chimichangas in. When you place the chimichangas on that rack, you allow hot air to circulate *all* the way around the tortilla, including the bottom! This is my absolute key to ensuring there are no soggy bottoms hanging around. Seriously, air flow is your friend when you are trying to achieve that crackly, crispy shell without actually frying.
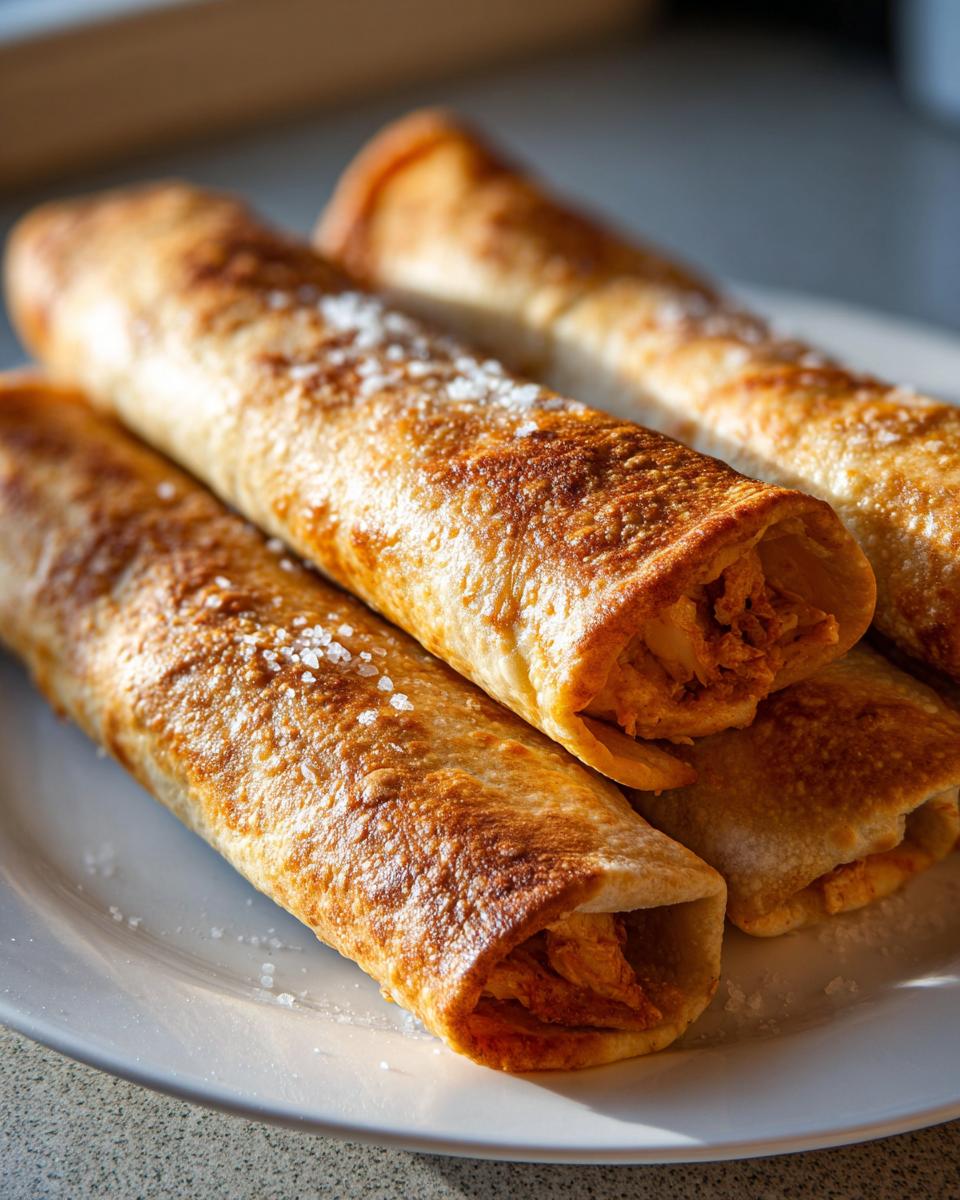
If you’re serving these alongside something like my easy restaurant-style rice, having that extra crispness on the chimichangas really makes the whole plate feel more satisfying. For even more ideas on baking success, check out what others are doing over at All Mom Recipes—they often have great insights for family meals!
Making Ahead and Storing Your Baked Chicken Chimichangas
Listen, sometimes dinner needs to be ready before the actual dinner time, right? These are absolutely perfect for prepping ahead, which is a huge win for me when my week gets crazy. This recipe totally supports the idea of having **Make Ahead Chimichangas** ready to go!
If you want to assemble them completely—filling, rolling, sealing—just stop before the oil/spray step. Lay them seam-side down on a baking sheet lined with parchment paper and just pop the whole tray into the freezer until they are totally solid. Once they’re frozen hard, you can transfer them into a big labeled zip-top bag. They are super **Freezer Friendly Chimichangas**!
When it’s time to bake from frozen, just bump your oven temp down slightly, maybe to 375°F (190°C), and add about 10 more minutes to your baking time. Give them a flip halfway through the longer bake. If they were in the fridge, just give them that quick oil brush and bake them normally, but check them closer to the 15-minute mark. It’s so smart to have these waiting for a busy night!
Serving Suggestions for Your Family Favorite Mexican Dinner
So, you’ve got your golden, crispy **Baked Chicken Chimichangas** fresh out of the oven. Awesome! Now we need the supporting cast. A great Tex-Mex meal is all about the optional dips and fresh toppings you pile on top before that first bite.
For a classic experience, you absolutely need the trifecta: some bright, chunky salsa, a dollop of cool sour cream (or Greek yogurt if you’re keeping it lighter!), and plenty of creamy guacamole. Don’t be shy with the fresh cilantro sprinkled over the top—it just wakes everything up!
But if you want to turn this into a complete **Family Favorite Mexican Dinner** that feels like a feast, you need a great side. My go-to is my quick Mexican rice, but if you’re looking for something different that balances the richness of the cheese, try serving these alongside a simple, crunchy side salad. I actually use a simplified version of my recipe for that famous copycat Italian dressing over chopped romaine and cucumber. It’s unexpected heaven alongside that seasoned chicken and spice!
Frequently Asked Questions About Baked Chicken Chimichangas
Can I make these chimichangas without chicken?
Oh, absolutely! This recipe is so flexible, it’s easy to turn it into a fantastic vegetarian option. If you skip the chicken, you can bulk up the filling with things that hold flavor well. I often use a mixture of black beans, corn, cooked sweet potatoes, and then amp up the spice blend a little bit. Make sure you use lots of cheese and maybe even some diced green chiles for moisture. It still rolls up perfectly and gets super crispy in the oven, making it a wonderful Healthy Chimichanga Recipe alternative!
How do I get the tortillas truly crispy when baking?
This is the question everyone asks! Because we aren’t deep frying, we have to trick the tortilla into crisping up beautifully, and it all comes down to heat and fat coverage. First, make sure your oven is blazing hot at 400°F. Second, don’t skimp on the fat coverage on the outside—a light, even coating of olive oil or cooking spray is crucial. Finally, and this is key: flip them halfway through! Allowing that hot oven air to hit both sides guarantees you get that satisfying crunch you look for in the best Baked Chicken Chimichangas.
Do these baked versions taste like the ones from Chi-Chi’s?
That’s a big goal! The restaurant version famously used steaming before frying, which gave them a unique texture, but we can mimic that richness in the oven. If you want to get close to those famous **Copycat Chi Chis Chimichangas**, the biggest thing you need to focus on is the filling’s creaminess combined with that final crisp. Try adding just one or two tablespoons of cream cheese mixed right into your seasoned chicken before rolling. It melts down and adds that specific, savory tang that people remember. You can read more about copying those iconic flavors over at Savory Discovery!
Nutritional Snapshot of These Lightened Up Mexican Classics
Okay, let’s do a quick rundown on the numbers, because let’s be real—one of the best parts about making these **Baked Chicken Chimichangas** at home is knowing exactly what you’re eating! Since we skipped the deep fryer, we’ve managed to keep the fat content way down while still packing in the protein from that shredded chicken and cheese.
This section is all about showing how you can enjoy satisfying meals, like these **Lightened Up Mexican Classics**, without feeling weighed down later. Remember, these numbers are based on the recipe as written, using two chimichangas per serving, so your actual values might shift a bit based on how much cheese you sneak in!
Here’s the breakdown:
- Serving Size: 2 chimichangas
- Calories: 380
- Protein: 25g
- Fat: 12g (That’s way less than fried!)
- Carbohydrates: 45g
- Fiber: 4g
- Sugar: 3g
See? Good stuff! You get a solid dose of protein and fiber, keeping you full until your next meal. If you want to explore more smart, easy meals that focus on nutrition without tasting diet-y, check out my suggestions for healthy lunch ideas to keep the momentum going!
Share Your Crispy Baked Chicken Chimichangas Experience
Now that you’ve made these amazingly crispy **Baked Chicken Chimichangas** in your own kitchen, I really want to hear about it! Did they turn out golden? Did that quick oil spray do the trick and keep them from getting soggy on the bottom? Tell me everything!
Seriously, hit that star rating system right below this—I gauge how well this recipe works for you by how many stars you give it. Don’t be shy about leaving a comment, either. I love seeing what fillings you guys come up with!
Did you load yours up with extra beans? Did you try adding my little trick for the Chi-Chi’s flavor? Or maybe you just want to brag about how you got these done in under thirty minutes? Let me know the time you clocked! We all learn from each other, and seeing your success stories keeps me cooking up new, efficient recipes!
If you ever have a question or just want to send a virtual high-five about how much easier these **Oven Baked Chimichangas** are than frying, you can always reach out directly through my contact page. I read every single message!
PrintCrispy Baked Chicken Chimichangas (Easy Weeknight Edition)

Make satisfying, crispy chicken chimichangas in your oven. This recipe uses seasoned shredded chicken and requires minimal oil for a lighter, family-friendly Tex-Mex dinner ready quickly.
- Prep Time: 15 min
- Cook Time: 20 min
- Total Time: 35 min
- Yield: 4 servings 1x
- Category: Dinner
- Method: Baking
- Cuisine: Tex-Mex
- Diet: Vegetarian
Ingredients
- 2 cups cooked, shredded chicken
- 1 teaspoon chili powder
- 1/2 teaspoon cumin
- 1/4 teaspoon garlic powder
- 1/4 teaspoon onion powder
- 1/2 cup shredded Monterey Jack cheese
- 1/2 cup refried beans (optional)
- 8 medium flour tortillas (burrito size)
- 2 tablespoons olive oil or cooking spray
- Pinch of salt
Instructions
- Preheat your oven to 400°F (200°C). Lightly grease a baking sheet or line it with parchment paper.
- In a bowl, combine the shredded chicken with chili powder, cumin, garlic powder, and onion powder. Mix well to coat the chicken evenly.
- Warm the tortillas briefly in the microwave or a dry skillet to make them pliable.
- Place about 1/4 cup of the seasoned chicken mixture in the center of each tortilla. Add a spoonful of refried beans, if using, and a sprinkle of cheese over the chicken.
- Fold the sides of the tortilla inward over the filling, then tightly roll the tortilla from the bottom up, creating a sealed burrito shape. Place the seam-side down on the prepared baking sheet. Repeat for all chimichangas.
- Lightly brush the tops of the rolled chimichangas with olive oil or spray them thoroughly with cooking spray. This helps achieve crispiness. Sprinkle lightly with salt.
- Bake for 15 to 20 minutes, flipping halfway through, until the tortillas are golden brown and crispy.
- Serve immediately with your preferred toppings.
Notes
- For a faster process, use pre-cooked rotisserie chicken for the shredded chicken base.
- To mimic Chi-Chi’s flavor, add a small amount of cream cheese to the chicken filling mixture before rolling.
- If you want extra crispiness, place the chimichangas on a wire rack set over the baking sheet before baking.
- These are freezer friendly; assemble completely, wrap tightly, and freeze. Bake from frozen at 375°F (190°C) for about 30 minutes, turning once.
Nutrition
- Serving Size: 2 chimichangas
- Calories: 380
- Sugar: 3
- Sodium: 550
- Fat: 12
- Saturated Fat: 5
- Unsaturated Fat: 7
- Trans Fat: 0
- Carbohydrates: 45
- Fiber: 4
- Protein: 25
- Cholesterol: 65