
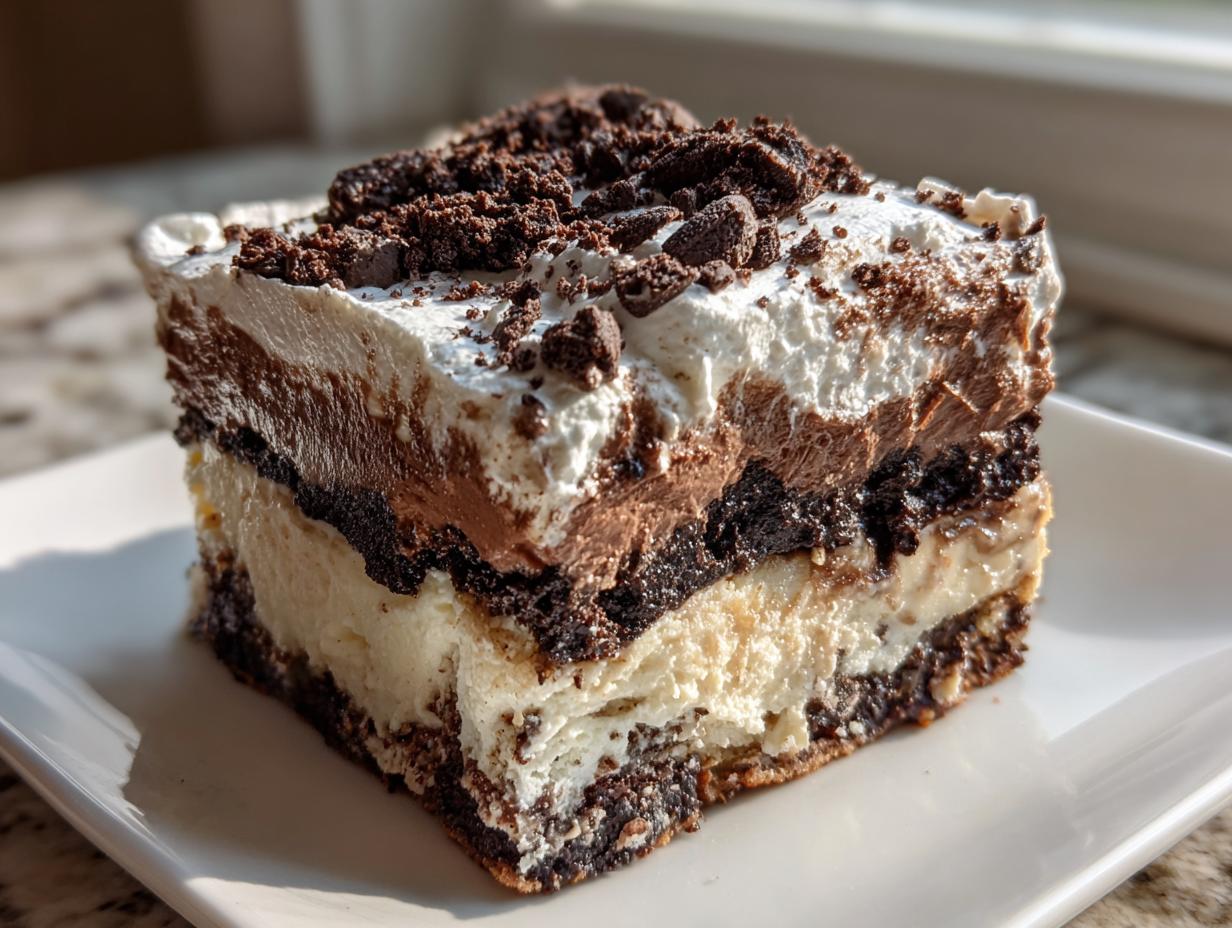
Okay, let’s be honest: some nights you just need chocolate. And I mean serious chocolate. But you definitely don’t have two hours to hover over an oven. That’s exactly why I love this dessert. We call it the Brownie Refrigerator Cake, and trust me, it’s a game-changer for anyone juggling a busy schedule. If you crave something rich like my no-bake peanut butter bars but want to skip the baking entirely, keep reading!
When I started Dishicious, my goal was simple: delicious food that fit into real life. I approach recipes like a project manager, stripping away any unnecessary steps without sacrificing that amazing flavor. This cake is the perfect blueprint for that philosophy. It relies completely on your fridge to do the heavy lifting, layering fudgy, rich brownies with creamy fillings. It’s decadent, it’s make-ahead heaven, and it completely eliminates dessert stress. Seriously, you need this in your cut-and-stack rotation!
- Why This Brownie Refrigerator Cake Is Your New Go-To Stress Free Dessert
- Gathering Ingredients for Your Brownie Refrigerator Cake
- Step-by-Step Instructions for the Perfect Brownie Refrigerator Cake
- Tips for Success with Your Brownie Refrigerator Cake
- Storage and Make-Ahead Tips for This Brownie Refrigerator Cake
- Serving Suggestions for Your Party Ready Chocolate Cake
- Frequently Asked Questions About the Brownie Refrigerator Cake
- Nutritional Estimates for This Chilled Chocolate Delight
- Share Your Brownie Refrigerator Cake Experience
Why This Brownie Refrigerator Cake Is Your New Go-To Stress Free Dessert
Listen, we’ve all been there—you promised dessert, but you have exactly zero desire to turn on the oven, especially when it’s hot out. This Brownie Refrigerator Cake swoops in to save the day. It’s the ultimate Easy Make Ahead Cake because once you assemble it, you walk away! Seriously. The beauty here is how the layers interact in the cold; the moisture from the pudding and the cream cheese filling actually meld perfectly with the fudgy brownies. It’s just as foolproof as my no-bake peanut butter bars, but with way more chocolate!
When I project-manage a recipe, I look for maximum flavor return for minimum input, which is why this layered treat shines. It’s incredibly reliable as a Stress Free Dessert. You layer, you chill, you slice. That’s it. No sinking tops, no undercooked centers, just perfectly set layers every time. It’s pure chocolate heaven without the oven anxiety.
The Magic of No Oven Desserts
If I can avoid using the oven, I will. This recipe lets me keep the kitchen cool and saves me at least 45 minutes of baking and cooling time. It’s the perfect choice when you need a showstopper for a party but you’ve already spent the afternoon running errands. It gives you back your time while still delivering that decadent, chilled chocolate experience everyone wants. Don’t feel guilty relying on store-bought brownies here; they are the ultimate shortcut for these No Oven Desserts!
Gathering Ingredients for Your Brownie Refrigerator Cake
So, you’re ready to build this incredible architecture of chocolate, cream cheese, and pudding? Fantastic! As a project manager in the kitchen, I always insist on having all components prepped before I start assembly. This is what guarantees smooth sailing. For this Brownie Refrigerator Cake, the ingredients list is surprisingly short, which is why it’s such a reliable recipe.
We are relying on a few key building blocks here. Make sure your cream cheese is actually softened—I mean, soft enough to poke easily! Also—and this is important for the texture—your whipped topping absolutely needs to be thawed completely; liquidy topping will ruin the structure. We’re using store-bought fudgy brownie squares as our base layer because we want this to be fast, but remember you can always swap in your own homemade, cooled brownies if you prefer!
If you feel like you need a little help getting that perfect cream cheese consistency for the future, check out my tips for a really smooth cream cheese frosting recipe. It uses similar principles!
- 1 box (about 18 ounces) store-bought fudgy brownies, cut into uniform squares
- 1 package (8 ounces) cream cheese, softened
- 1 cup powdered sugar
- 1 teaspoon vanilla extract
- 1 container (8 ounces) frozen whipped topping, thawed (or equivalent homemade whipped cream)
- 1 package (3.9 ounces) instant chocolate pudding mix
- 2 cups cold milk
- Optional: Chocolate shavings for topping
Step-by-Step Instructions for the Perfect Brownie Refrigerator Cake
Okay, now for the fun part—putting this masterpiece together! Because we’re skipping the oven, the logic here is all about layering and patience. Think of this as soft construction. You want each layer to fully support the next one until it’s ready for its final chill. We need to move carefully but quickly because nothing should sit around and get messy before it hits the glass dish.
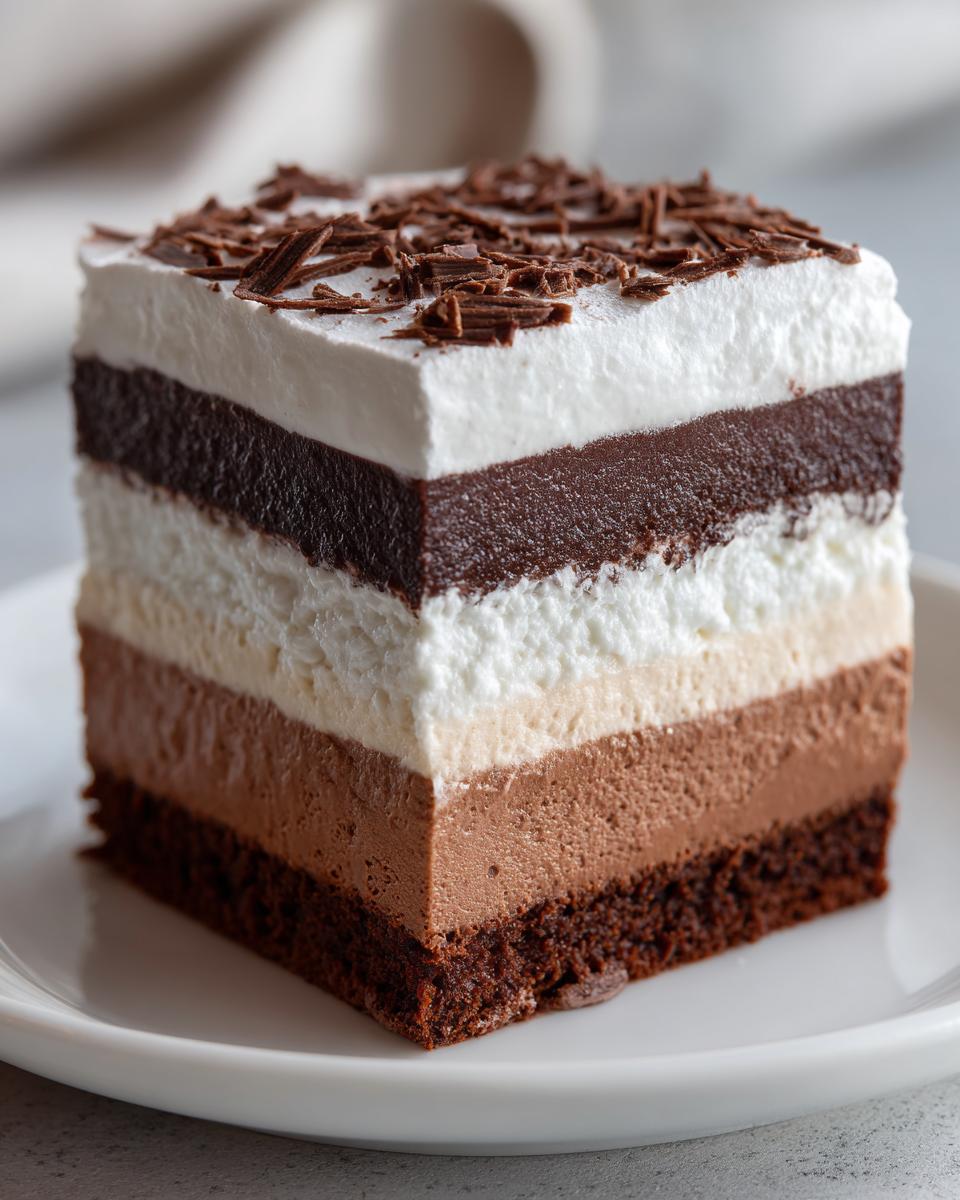
I always suggest having your container ready to go—I’m using a standard 8×8 inch dish for perfect, thick squares. This structure is what supports that rich, dense finish we want in a great, Layered Chocolate Dessert. If you want more quick-prep winners, take a peek at my general dessert recipes collection!
Assembling the Fudgy Brownie Layers
First things first: you have to protect your container bottom! Line your 8×8 inch dish completely with plastic wrap, making sure you leave plenty of overhang on all sides. This is our pull-tab for later—don’t skip it! Next, take those fudgy brownie squares and arrange them tight, tight, tight in a single layer across the bottom. You want zero gaps because pudding loves to seep into cracks! Pack those brownies in snugly so you have a nice, even foundation for the rest of the cake.
Creating the Cream Cheese Pudding Dessert Base
Now we build up! In one bowl, grab your softened cream cheese, powdered sugar, and vanilla. Beat that until it’s totally smooth—no little lumps allowed in this layer! Then, *gently* fold in half of your thawed whipped topping. Remember, folding keeps it light. Now, switch bowls for the pudding. Whisk that instant chocolate pudding mix right into the cold milk for about two minutes. It gets thick fast, but let it sit for five minutes to set up even more before you spread it over that cream cheese layer.
The Essential Chill Time for a Sliceable Brownie Refrigerator Cake
This is the most important step, so take a deep breath and walk away! Once you put the final layer of whipped topping on top, cover the whole thing tightly with that plastic wrap overhang. This Brownie Refrigerator Cake *must* chill for a minimum of six hours. I cannot stress this enough. Six hours lets the pudding firm up and the cream cheese layer stabilize so you get a clean slice. Honestly? Overnight is even better for the perfect Chilled Brownie Dessert experience!
Tips for Success with Your Brownie Refrigerator Cake
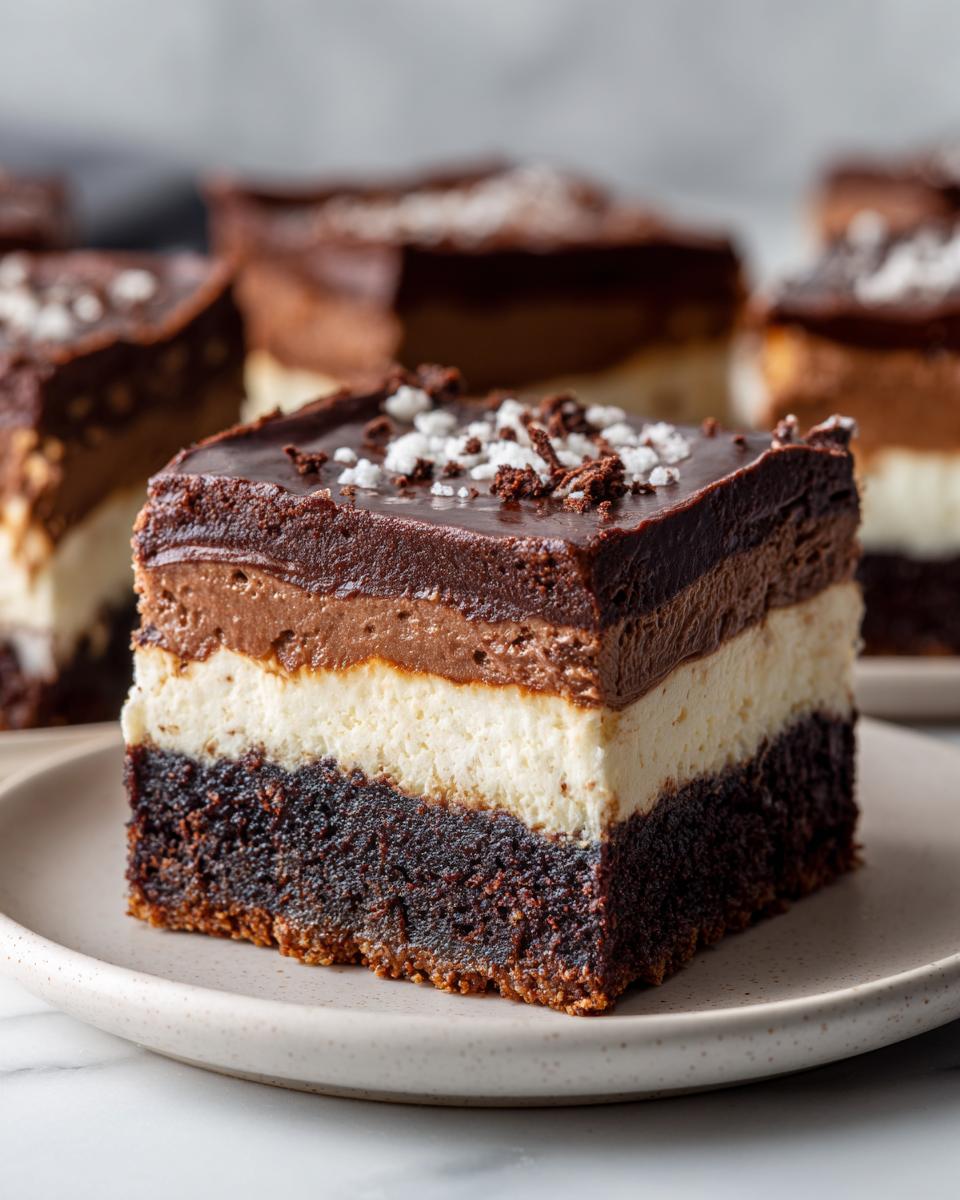
Even though this is practically foolproof, a couple of tiny tweaks can take your creation from good to legendary. If you’re using your own homemade brownies, just make absolutely certain they are completely cooled down before you start layering! If they are even slightly warm, that beautiful cream cheese layer will melt into the brownie base, and you won’t get the distinct layers you’re looking for in this Icebox Cake Brownie Version.
When it comes time to slice, use a long, sharp knife—and wipe that blade clean between every single cut. That trick is crucial for getting those Instagram-ready, clean edges on your squares. Think of it as quality control for your chocolate construction! If you like experimenting with textures, try out my recipe for easy sugar cookie bars next time you need a different base texture.
Storage and Make-Ahead Tips for This Brownie Refrigerator Cake
This is where the Brownie Refrigerator Cake truly proves itself as the ultimate host’s secret weapon. Remember how I said this is an Easy Make Ahead Cake? It thrives on being prepped early! I often make this fully on a Friday morning if I’m having people over Saturday night. The chilling process doesn’t just set the layers; it actually deepens the chocolate flavor, making it taste even richer over time.
The goal is keeping it airtight. Once it’s fully set after that mandatory 6-hour chill, you need to cover it securely with plastic wrap, making sure the wrap doesn’t touch the top layer of whipped topping—that’s how frosting gets damaged! If you want it perfect for your next event, leave it in that 8×8 dish in the fridge. It stays incredibly fresh for up to four whole days. I know; I’ve tested it! It holds up beautifully, making it a fantastic option for leftover lunches or just those late-night cravings. If you enjoy making things ahead of time, you should definitely look through my other dessert recipes for more ideas.
Just one quick note: when you pull out a slice on day three or four, let it sit on the counter for about 10 minutes before serving. It brings the richness back out of the cream cheese layer just a bit without making the whole thing sloppy. It’s the perfect plan for stress-free entertaining!
Serving Suggestions for Your Party Ready Chocolate Cake
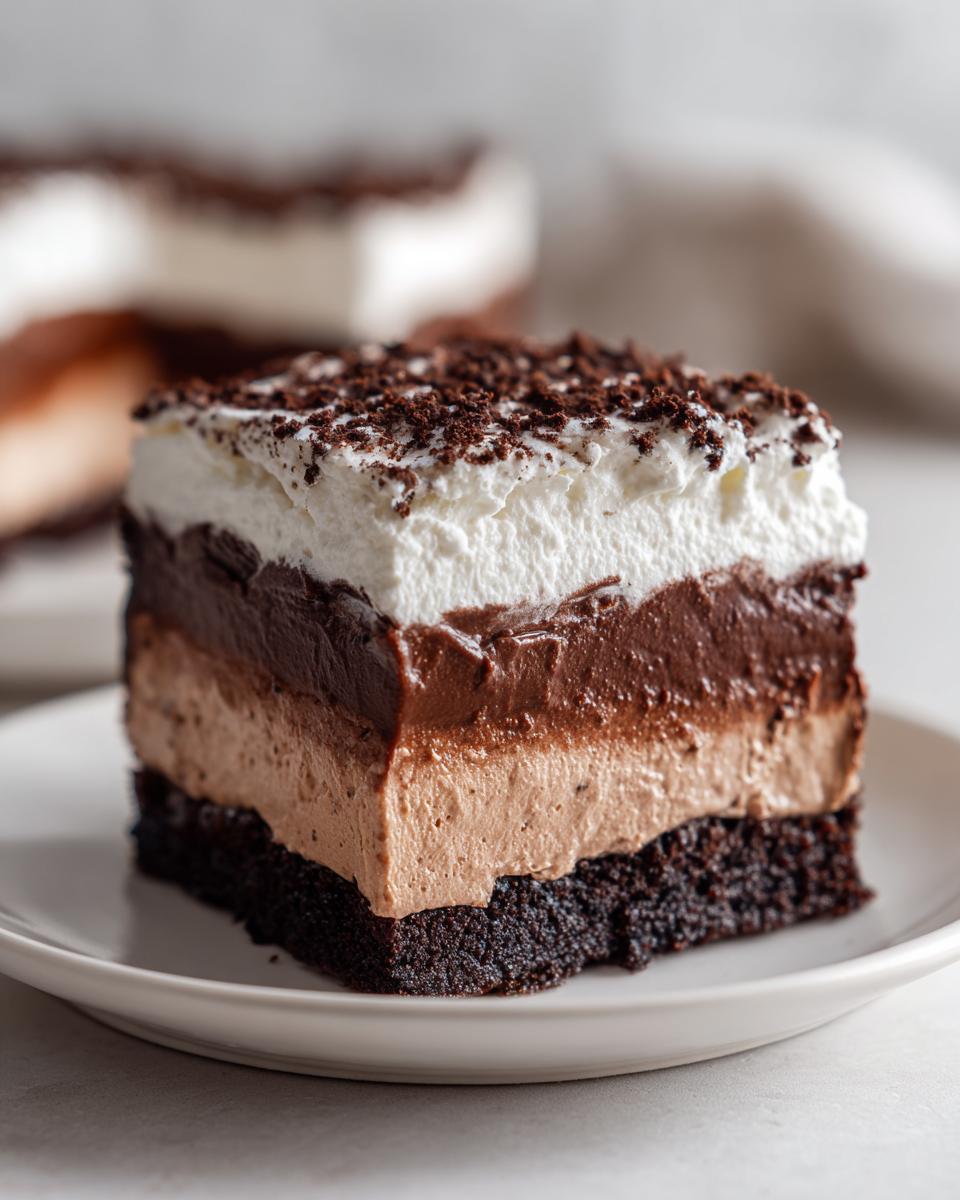
Once this beauty is set and you’ve used that plastic wrap sling to carefully lift it out, it’s time to make it look as good as it tastes! I don’t fuss around with complicated garnishes for this one—it really shines best when it’s simple. A dusting of high-quality cocoa powder looks elegant across the top, or you can opt for some nice chocolate shavings. They catch the light and scream decadence, don’t you think?
This dessert is intensely rich, so you want pairings that cut through that. It’s amazing served alongside a strong cup of black coffee, which just complements the chocolate perfectly. If you need a fresh element, a few bright raspberries or a light drizzle of raspberry coulis adds a wonderful tart contrast. It’s the perfect, stunning finale for any dinner party, and you can find more ideas in my collection of easy dessert recipes!
Frequently Asked Questions About the Brownie Refrigerator Cake
I mapped this recipe out so you wouldn’t have to guess, but sometimes questions pop up once you’re standing in the kitchen ready to build. That’s normal! As someone who loves streamlining things, I’ve answered the most common queries right here so you can move forward with confidence. Remember, the goal is always a perfect, Layered Chocolate Dessert without the fuss.
Can I substitute the store-bought brownies in this Brownie Refrigerator Cake?
Absolutely, you can! While using those pre-made fudgy squares is a massive time saver, if you have a favorite homemade recipe for fudgy brownies, run with it! The only critical step is that they must be completely cooled—room temperature, totally solid—before you even think about layering them in your dish. Warm fudgy layers mixed with cold cream cheese? That’s how you get a soupy mess instead of a structured make-ahead treat. They need to be solid for this Refrigerator Cake Recipe to shine.
Is this considered a true No Bake Brownie Cake?
Yes, 100%. That’s the whole reason this recipe exists! Since we start with brownies that are already baked (whether you bought them or baked them yesterday), the assembly process itself involves zero oven time. You are just mixing, layering, and chilling. It fits perfectly into the category of No Oven Desserts. You get all the indulgence of a layered chocolate cake, but the only heat involved is the tiny bit used to make coffee for yourself while you wait for the fridge to work its magic!
Nutritional Estimates for This Chilled Chocolate Delight
Alright, let’s talk details—because while this is pure indulgence, I know some of you like to keep track of what’s going into your body (I get it, I map everything out too!). Here are the general estimates based on the ingredients listed. Remember, because we’re using store-bought brownies and pudding mixes, your exact numbers might shift a bit depending on the brands you grab from the shelf.
I used the standard serving size of one square in an 8×8 pan configuration to calculate these figures. Think of this as your baseline for this ridiculously easy, Layered Chocolate Dessert. These numbers are just guidelines, you know?
- Serving Size: 1 square
- Calories: 350
- Sugar: 35g
- Sodium: 250mg
- Fat: 18g
- Saturated Fat: 10g
- Unsaturated Fat: 8g
- Trans Fat: 0.5g
- Carbohydrates: 45g
- Fiber: 1g
- Protein: 4g
- Cholesterol: 45mg
Just a quick note here—since we skipped the oven and are using instant products, these values are pretty stable, but switching to a homemade pudding or richer brownies could easily bump up the fat and sugar content. That’s why I always stress that if you customize things, you’re responsible for the final numbers! But for this simple Refrigerator Cake Recipe, you can generally trust this breakdown.
Share Your Brownie Refrigerator Cake Experience
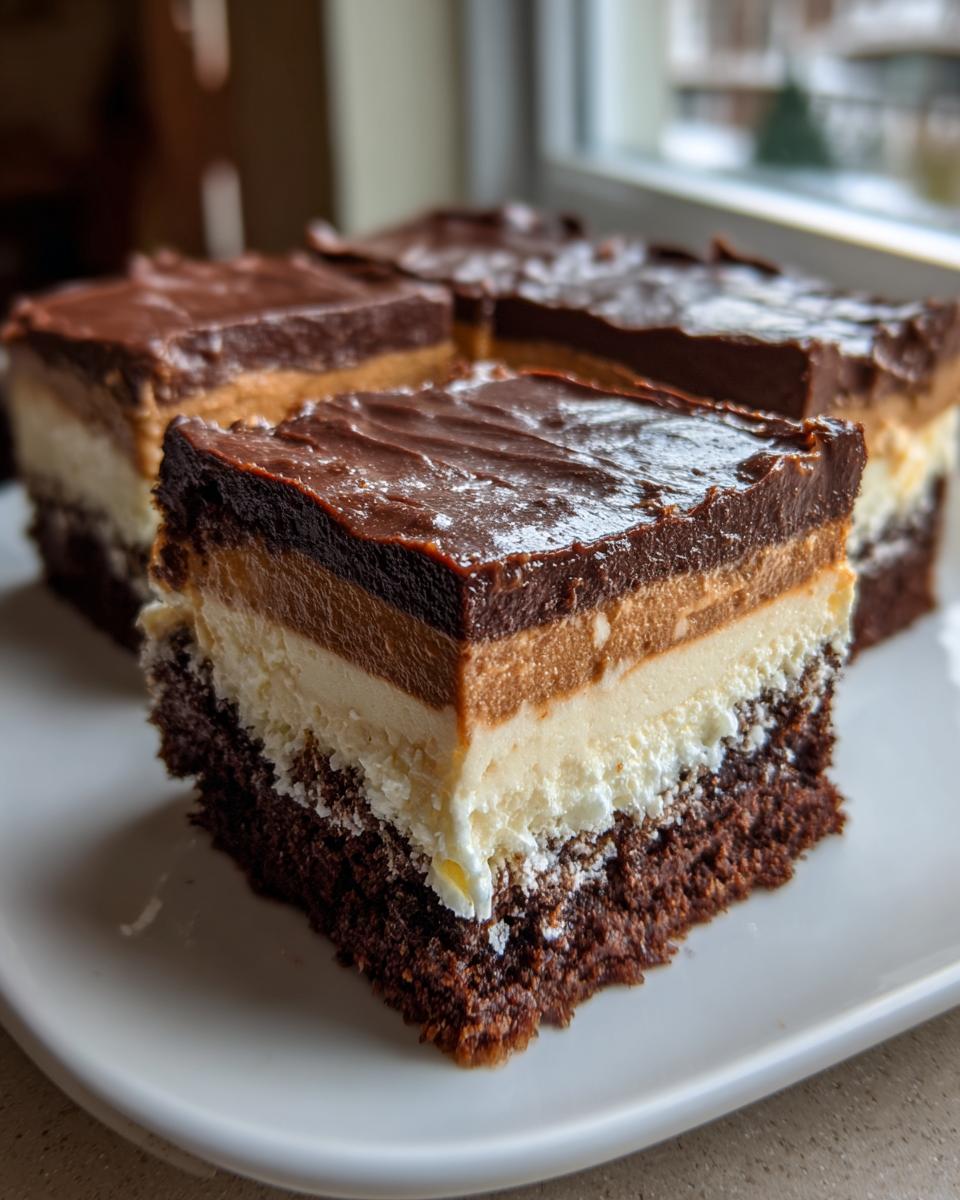
Well, that’s it! You’ve successfully engineered a truly decadent, three-layer chocolate experience with basically zero effort. That’s the Dishicious way, right? Now that you’ve got your amazing Brownie Refrigerator Cake chilling beautifully in the fridge, I really want to hear how it went!
Don’t just disappear with the last slice! I trust my readers and I thrive on feedback because it helps me streamline even better recipes for the future. Did you use homemade brownies? Did you add a sprinkle of sea salt on top? Tell me everything!
Head down to the comments section below and leave a star rating—it only takes two seconds, and it truly helps other busy cooks know this recipe is reliable. If you snapped a picture of your perfectly set layers, please tag us or reach out through my contact page. I love seeing these simple projects turn into stunning family desserts. Go forth and enjoy that chilled chocolate delight!
PrintUltimate No-Bake Brownie Refrigerator Cake with Cream Cheese and Chocolate Pudding Layers
Assemble this easy make-ahead chocolate cake featuring fudgy brownie layers, a tangy cream cheese filling, and rich chocolate pudding. This chilled chocolate delight requires no oven time and is perfect for parties.
- Prep Time: 20 min
- Cook Time: 0 min
- Total Time: 6 hr 20 min
- Yield: 9 servings 1x
- Category: Dessert
- Method: No-Bake/Chilling
- Cuisine: American
- Diet: Vegetarian
Ingredients
- 1 box (about 18 ounces) store-bought fudgy brownies, cut into uniform squares
- 1 package (8 ounces) cream cheese, softened
- 1 cup powdered sugar
- 1 teaspoon vanilla extract
- 1 container (8 ounces) frozen whipped topping, thawed (or equivalent homemade whipped cream)
- 1 package (3.9 ounces) instant chocolate pudding mix
- 2 cups cold milk
- Optional: Chocolate shavings for topping
Instructions
- Prepare the brownie layer: Line an 8×8 inch or 9×9 inch square baking dish with plastic wrap, leaving an overhang for easy removal later. Arrange the cut brownie squares tightly in a single layer on the bottom of the dish.
- Make the cream cheese layer: In a medium bowl, beat the softened cream cheese, powdered sugar, and vanilla extract until the mixture is smooth and creamy. Fold in half of the thawed whipped topping until just combined. Spread this mixture evenly over the brownie layer.
- Prepare the pudding layer: In a separate bowl, whisk together the instant chocolate pudding mix and cold milk for about two minutes, until the mixture begins to thicken. Let it stand for five minutes.
- Spread the pudding mixture over the cream cheese layer.
- Top the cake: Gently spread the remaining half of the whipped topping over the pudding layer.
- Chill: Cover the dish with the plastic wrap overhang and refrigerate for at least 6 hours, or preferably overnight, to allow the layers to set completely. This is the essential step for a firm, sliceable refrigerator cake.
- Serve: Use the plastic wrap overhang to lift the cake from the dish. Slice into squares and top with chocolate shavings, if using. Store leftovers covered in the refrigerator.
Notes
- You can substitute store-bought brownies with your favorite homemade fudgy brownie recipe baked and cooled completely.
- For a richer flavor, use dark chocolate pudding mix instead of regular chocolate pudding.
- This stress free dessert keeps well for up to 4 days when stored properly in the refrigerator.
Nutrition
- Serving Size: 1 square
- Calories: 350
- Sugar: 35
- Sodium: 250
- Fat: 18
- Saturated Fat: 10
- Unsaturated Fat: 8
- Trans Fat: 0.5
- Carbohydrates: 45
- Fiber: 1
- Protein: 4
- Cholesterol: 45