
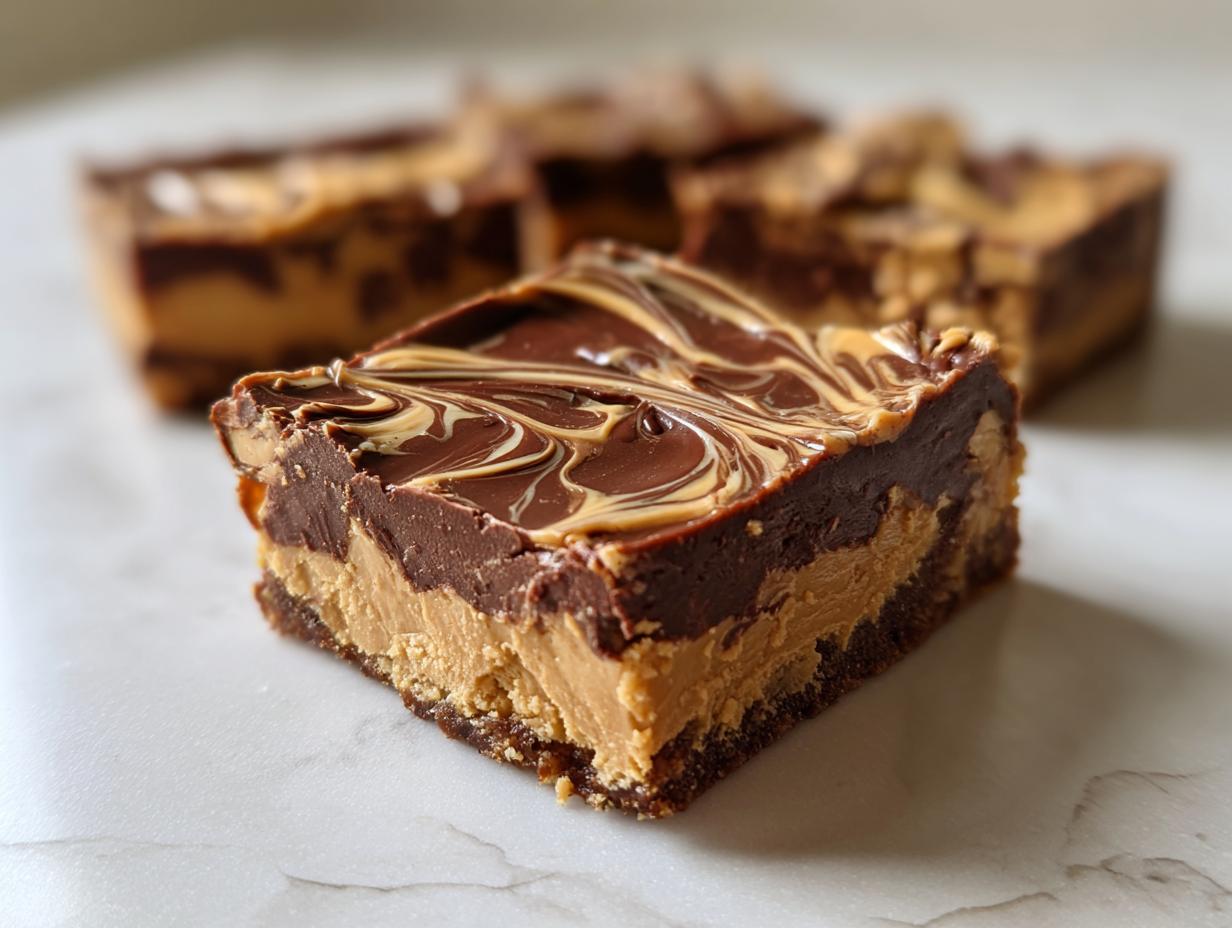
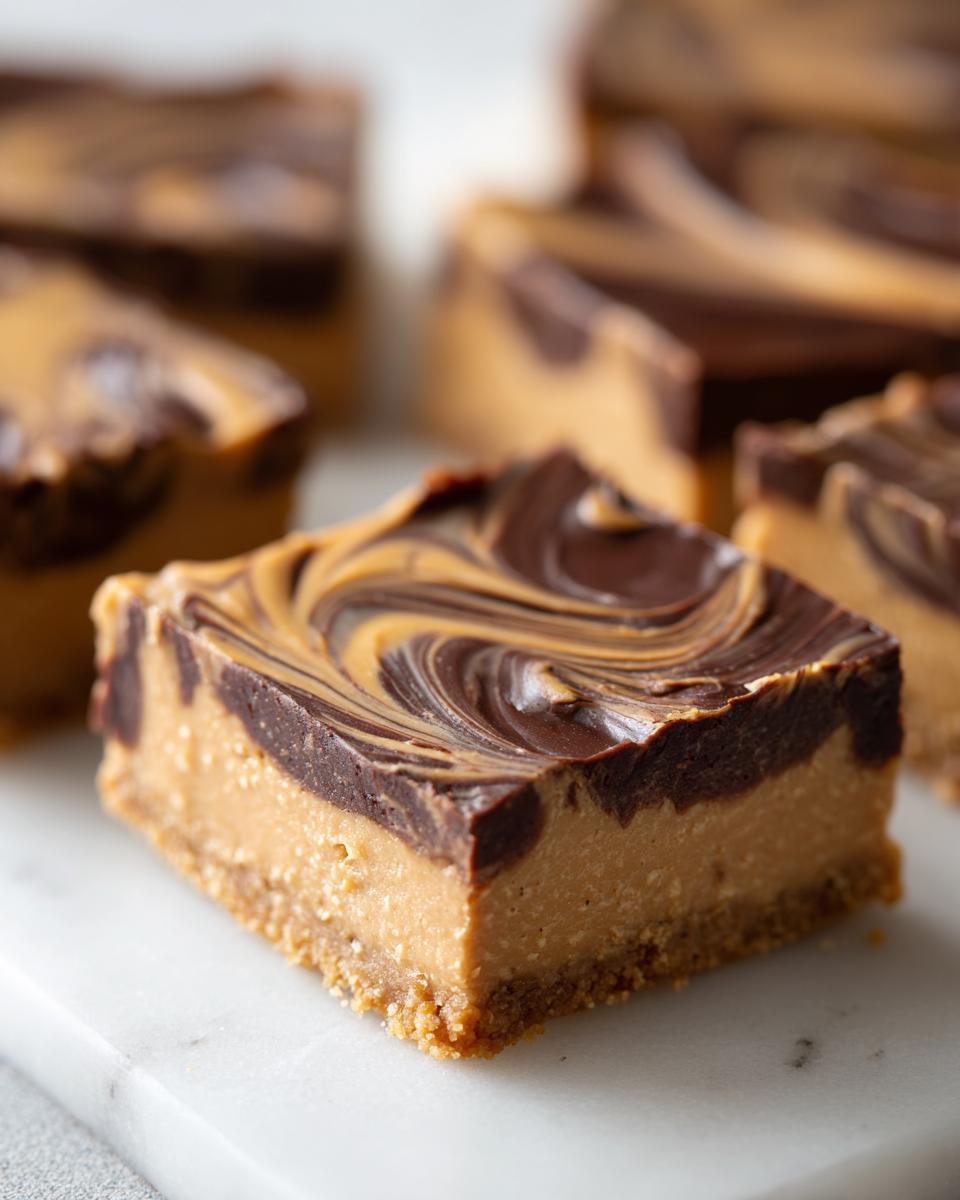
If you’re anything like me, you have those days where you need a serious sweet fix, but the thought of turning on the oven feels like running a marathon. That’s where I bring out the project management strategy for dessert: minimize steps, maximize payoff. These No Bake Chocolate Peanut Butter Bars are the result of that optimization. They are hands-down the easiest, creamiest recipe I’ve ever developed for rich peanut butter bars. Forget fussy baking times; we’re focusing only on simple mixing and chilling for maximum flavor impact. Trust me, these are going straight into your weekly rotation.
- Why You Will Make These Peanut Butter Bars Repeatedly
- Gathering Ingredients for Your Peanut Butter Bars
- The Project Plan: Step-by-Step Instructions for Peanut Butter Bars
- Expert Tips for Perfect Peanut Butter Bars Every Time
- Variations on Classic Chocolate Peanut Butter Bars
- Storage and Making Ahead These Peanut Butter Bars
- Serving Suggestions for Your Simple Dessert Bars
- Frequently Asked Questions About No Bake Peanut Butter Bars
- Nutritional Snapshot of These Peanut Butter Treats
Why You Will Make These Peanut Butter Bars Repeatedly
When I engineer a recipe, ease is always the top priority. For these peanut butter bars, the efficiency score is off the charts! You get that deep, satisfying sweetness without any of the hassle. We designed these to be the ultimate go-to comfort treat.
- It’s Completely No Bake: Seriously, the oven stays off. This is perfect for summer days or when you just don’t have the headspace for baking.
- Incredibly Fast Prep Time: You’re looking at maybe 15 minutes of actual work before these go into the fridge. That makes them ideal for last-minute cravings or surprise guests.
- Creamy, Not Crumbly: We nail that smooth, melt-in-your-mouth texture that everyone craves in a good peanut butter dessert.
- The Perfect Sweet & Salty Balance: That hint of salt cuts through the powdered sugar and rich chocolate in a way that keeps you reaching for another one of these quick peanut butter squares.
- Make Ahead Dessert Bars: These honestly taste better on day two when everything has fully set up and married in the chill.
- Crowd Pleaser Guarantee: If you take these to any gathering, they disappear first. They hit that nostalgic spot without needing any complicated steps.
Gathering Ingredients for Your Peanut Butter Bars
As a project manager, I hate realizing I’m halfway through a recipe only to find I’m missing one tiny thing! So, let’s get organized right now. The beauty of these peanut butter bars is their simplicity—we rely on pantry staples to create that incredible, creamy texture. Everything you need here is easy to source. We’re dividing the ingredients into two simple groupings: the base that sets up firm, and the rich chocolate blanket on top.
Base Layer Ingredients
This is what creates the chewy, sweet foundation of these treats. Make sure you measure that powdered sugar accurately; it melts beautifully into the butter!
- 1 cup unsalted butter, melted
- 2 cups graham cracker crumbs
- 2 cups powdered sugar, divided (keep an eye on that cup measurement—we use the rest for the chocolate!)
- 1 cup creamy peanut butter
- 1 teaspoon vanilla extract
- 1/2 teaspoon salt
Chocolate Topping Ingredients
These next ingredients are super simple, designed to melt down fast into a beautiful, fudgy layer. We only use a little extra peanut butter here for that classic Reese’s-style swirl we all know and love.
- 1 1/2 cups semi-sweet chocolate chips
- 2 tablespoons creamy peanut butter (for topping, separate from the 1 cup above)
The Project Plan: Step-by-Step Instructions for Peanut Butter Bars
Alright, once you have your ingredients prepped, it’s time for efficient execution. Since this is a no bake peanut butter bars recipe, we treat this like a streamlined assembly line. We need the bottom layer perfectly compact before we introduce the chocolate topping. Getting this timing right ensures you end up with those fantastic creamy peanut butter treats and not a messy puddle! This entire process relies on smooth handoffs, just like managing any good project.
Preparing the Pan and Base Mixture
First order of business is making our base easily removable—never underestimate the power of good prep work! Line that 8×8 inch pan with parchment paper, making sure you leave an overhang on two sides. That overhang is my project management optimization for easy lifting later. Now, mix everything for the base: melted butter, graham crumbs, 1 cup of powdered sugar, 1 cup of peanut butter, vanilla, and salt. Mix it until it really looks like wet sand. You need everything totally incorporated.
Setting the Base and Preparing the Chocolate
Next, take that wet sand mixture and press it firmly and evenly into your lined pan. You want this base nice and tight! Pop that pan into the freezer while you handle the topping. For the chocolate, this is where we use quick bursts of power. Combine your chocolate chips and the reserved 2 tablespoons of peanut butter in a microwave-safe bowl. Microwave in 30-second intervals, stirring thoroughly after every single burst. We want that rich chocolate smooth enough to rival the filling in my chocolate meringue pie recipe; stopping before it’s fully melted saves it from overheating.
Finishing and Chilling Your Peanut Butter Bars
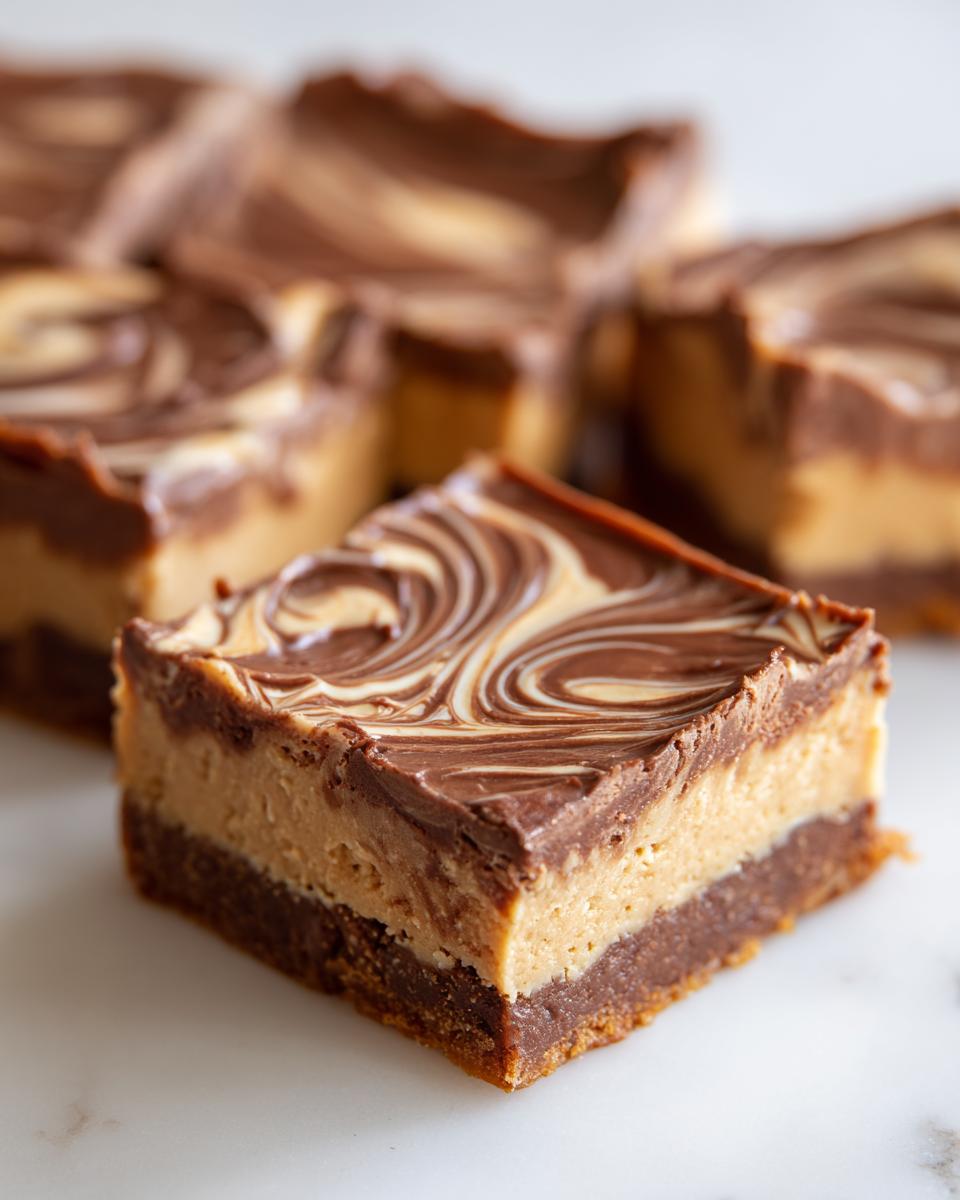
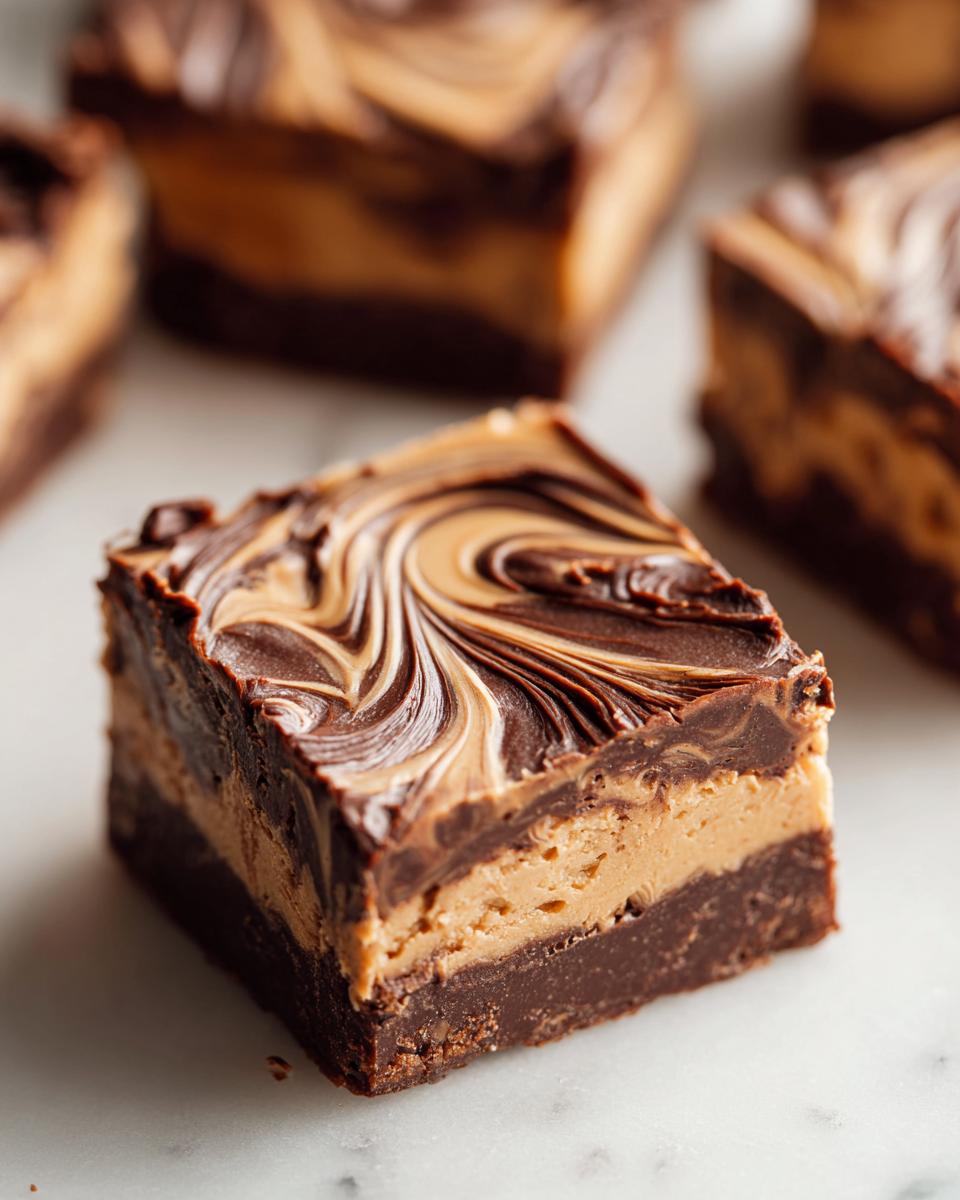
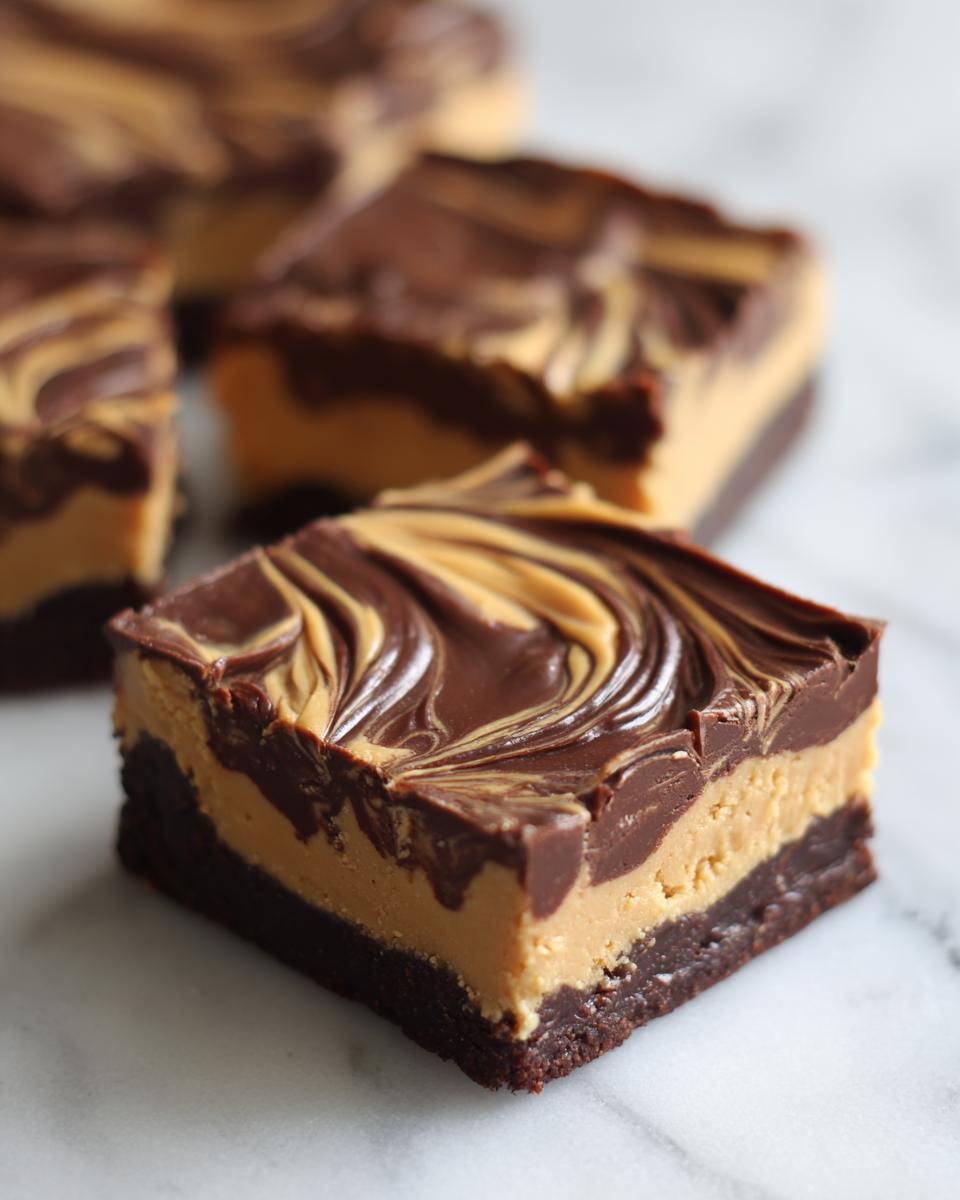
Quickly pour that smooth, silky chocolate over your chilled base and spread it out evenly. Here’s the visual trick: Immediately dollop that last little bit of peanut butter on top and use a knife or a toothpick to gently pull the topping, creating that beautiful marble swirl. Now, this is critical for texture: back into the refrigerator it goes for a minimum of two hours until that chocolate is rock solid. Once firmly set, use those parchment handles to lift the entire slab out, and slice into 16 perfect squares. Enjoy that smooth, rich bite!
Expert Tips for Perfect Peanut Butter Bars Every Time
Even though these are no bake peanut butter bars, precision still matters if you want those perfect, decadent results people expect from a truly rich dessert recipe. I’ve learned a few tricks over the years by optimizing this assembly line process, especially regarding how the layers interact. Following these little pointers ensures your bars set up perfectly, slice cleanly, and deliver that amazing creamy flavor every single time.
Achieving the Ideal Chocolate Swirl
When you pour that melted chocolate over the base, you need to move fast, but controlled speed is key. If you just dump the extra two tablespoons of peanut butter on top and start hacking at it with a knife, you’ll end up pushing the chocolate layer right down into the base, losing that lovely separation. Instead, dollop the peanut butter dots evenly spaced across the chocolate surface. Take a toothpick or the very tip of a butter knife, and gently drag it through *only* the chocolate layer, connecting the dots. You only need one or maybe two gentle passes. Stop as soon as you see a nice marbling effect. Over-swirling is the enemy here; we want distinct layers!
Ingredient Temperature Considerations for Peanut Butter Bars
In a baked recipe, temperature is everything, but even in no-bake bars, it matters! Since the base uses melted butter, you really want the peanut butter you mix into that base to be room temperature, or at least soft. If you try to mix a cold scoop of peanut butter into melted butter, it seizes up and creates little hard clumps instead of blending smoothly into that wet sand texture we need. For the topping, keeping those chocolate chips slightly warm (but not hot) after microwaving helps them adhere perfectly to the cold base without cracking prematurely when you chill them. For more ideas on using high-quality ingredients to elevate simple desserts, check out my thoughts on brown butter sugar cookies.
If you love these flavor profiles, you absolutely have to see what other cooks are doing with these concepts!
Variations on Classic Chocolate Peanut Butter Bars
One of the things I love about perfecting a simple recipe, like these peanut butter bars, is how easy they are to tweak without destroying the core structure. This recipe is already designed to hit that sweet spot, but maybe you want a little more texture or a specific nostalgic flavor profile, like those classic Reese’s Inspired Bars. Good news: modifications are super simple!
Since we’re using graham crumbs for the base, that’s the easiest place to switch things up if you want to channel those old-school cafeteria vibes. I know some folks swear by the oatmeal version of these treats, often called Lunch Lady Bars Recipe style. If you swap the 2 cups of graham cracker crumbs for 2 cups of quick oats, you’ll get a chewier, heartier base. Just make sure those oats are finely chopped in a food processor if you want them to press down really flat in the pan!
Also, you can totally play around with the chocolate layer complexity. If you want a truly fudgy peanut butter dessert, try adding half a teaspoon of coconut oil to the chocolate chips before you microwave them. It makes the topping incredibly smooth and slightly softer when chilled, which is fantastic for slicing cleanly. Or, if you’re making these for a party and want something extra salty and crunchy, sprinkle a little flaky sea salt or some chopped dry-roasted peanuts right over the chocolate before it sets up. It adds that perfect salty crunch to contrast with the creamy filling underneath!
Storage and Making Ahead These Peanut Butter Bars
One of my favorite parts about designing these easy dessert bars is that they are naturally excellent for planning ahead. Since there is no baking involved, their structure improves with time in the fridge! If your goal is to have a ready-to-go treat for a party later in the week, this recipe is your best friend. Think of them as true make ahead dessert bars.
Once you’ve sliced the bars—and remember, letting them chill completely is non-negotiable for clean cuts—we need to think about containment. Because the peanut butter layer is soft and the chocolate topping can sometimes get a little soft at room temperature, airtight storage is key. I always line my container with just a little bit of fresh parchment paper before placing the first layer of bars inside.
You can definitely keep these stored in the refrigerator for up to a full week, just as the notes mentioned. The cold temperature keeps the chocolate firm and the peanut butter layer dense and chewy. If you try to leave them out on the counter for too long, especially if your kitchen runs warm, the chocolate layer starts to weep a little, and the base gets overly soft. So, fridge is best!
Can you freeze them? Yes, absolutely! If you wrap the bars snugly (I usually wrap the whole block *before* cutting, then separate them after thawing a bit), they will hold up beautifully in the freezer for about two months. When you want to serve them, just pull out the block you need and let it thaw on the counter for about 30 minutes before slicing. Either way, having a batch of these no-bake squares tucked away means dessert is solved for almost a week. You can find more of my reliable make-ahead options over on my main dessert recipes page!
Serving Suggestions for Your Simple Dessert Bars
When you bring out a tray of these amazing peanut butter bars, you want the presentation to match the flavor profile, right? Since these are so rich—that perfect mix of sweet peanut butter and dark, fudgy chocolate—you don’t need a lot of fuss. They are fantastic on their own, but a few simple pairings can elevate them from a great snack to a stunning post-dinner treat. These are definitely in the top tier of dessert bars for parties because they look impressive but require zero plating effort.
Here’s how I usually present them, depending on if I’m just packing them away for lunch boxes or setting them out for guests:
- The Coffee Companion: Seriously, these sweet and salty bars cut through the richness of a hot cup of dark roast coffee or a strong espresso. If you’re serving them after dinner, keep the coffee straightforward—no giant flavored lattes needed.
- Cold Milk, Always: If these are going out during the afternoon or as a casual family treat, a tall, cold glass of whole milk is the absolute best partner. It cools down the intense sweetness just enough.
- Simple Sprinkles and Salt: Before they go into the fridge to set (while the chocolate is still slightly tacky), a final dusting makes a huge visual impact. Skip the super sugary sprinkles. Instead, use flaky sea salt sprinkled lightly over the chocolate layer for that gourmet look, or use miniature chocolate shavings.
- A Fruit Contrast: If you are serving these alongside a dessert platter, a small bowl of raspberries or tart green apple slices nearby offers a necessary acidic break from the richness. It just makes the whole spread feel more balanced.
Remember, the goal here is speed and flavor payoff. Don’t overcomplicate the presentation. A clean white platter with neat squares of these decadent bars is all you need to impress everyone!
Frequently Asked Questions About No Bake Peanut Butter Bars
Even when the recipe is straightforward, I know you might have little hang-ups about ingredients or technique. That’s totally normal! When you’re aiming for those perfect, creamy peanut butter treats, sometimes you just need a little assurance that your modification won’t ruin the whole batch. I’ve handled a lot of troubleshooting over the years, so let’s run through the most common questions I get about these quick peanut butter squares.
Can I substitute graham cracker crumbs in these peanut butter bars?
That’s a very sensible question. The graham crackers provide a specific, slightly sandy structure that really supports the soft interior layer. However, this recipe is forgiving! If you are out of graham crumbs, you can absolutely swap them for an equal amount of finely crushed vanilla wafer cookies. That works beautifully and keeps the sweet profile. If you’re trying to make these more like an oatmeal version, you can substitute the crumbs with 2 cups of quick oats, but make sure you pulse those oats in a food processor until they are broken down a bit first. If you leave them whole, the base won’t compact properly, and you’ll end up with a looser base that’s harder to cut.
How do I prevent the chocolate topping from cracking when cutting?
This happens almost every time if you chill the bars too aggressively! When the cold peanut butter base meets hot, freshly melted chocolate, the temperature shock causes the chocolate layer to seize up too fast and become brittle. It sets hard but snaps when you try to slice it. For the best results, make sure your base layer has been chilled for at least 30 minutes before pouring the chocolate on top—this gives the base a chance to firm up without being rock-solid frozen. Once the chocolate is spread, let the bars sit on the counter at room temperature for 15 to 20 minutes *before* you put them in the fridge for the final two hours. That slight tempering time makes all the difference for clean slices. You can even check out tips on how to keep creamy fillings stable over at Eva’s Recipes for more ideas!
I always tell people, if you need to cut them right away from the fridge, run your sharp knife under hot water for ten seconds, dry it thoroughly, and then make your cut. Wipe the blade between every single slice. It heats the knife just enough to glide through that lovely chocolate without shattering it. Sometimes the simplest solutions, like using hot water, work better than any fancy technique! If you ever need guidance on making other creamy desserts like my creamy chicken tortilla soup, you know where to look!
Nutritional Snapshot of These Peanut Butter Treats
Okay, look, these peanut butter bars are purely for pleasure, but I know a lot of you still track things, and I respect that! Since we aren’t using any niche or low-carb substitutes here—this is the classic, melt-in-your-mouth recipe—the numbers reflect that rich, satisfying flavor we’re chasing. Remember, I approach baking like a project where the goal is maximum flavor payoff, and that requires butter and sugar!
I’ve run the numbers based on the ingredient list above, assuming this recipe yields 16 squares (which is a standard size for an 8×8 pan). Please keep in mind these are strict estimates based on standard ingredient databases. If you use organic peanut butter or a different brand of chocolate chips, things can shift slightly. Treat this as a guide, not gospel, when enjoying these incredibly rich dessert recipes.
- Serving Size: 1 bar
- Calories: 285
- Sugar: 25g
- Sodium: 110mg
- Fat: 18g
- Saturated Fat: 7g
- Unsaturated Fat: 11g
- Trans Fat: 0g (Major win!)
- Carbohydrates: 29g
- Fiber: 1g
- Protein: 6g
- Cholesterol: 15mg
See? It’s decadent, but balanced enough for a satisfying treat! If you want to look at other amazing, high-flavor recipes that fit different nutritional goals, don’t forget to check out my easy chicken enchiladas; sometimes savory is just what you need!
PrintEasy No Bake Chocolate Peanut Butter Bars
Make dessert simple with these easy no bake peanut butter bars. They are creamy, rich, and require no oven time.
- Prep Time: 15 min
- Cook Time: 0 min
- Total Time: 2 hours 15 min
- Yield: 16 servings 1x
- Category: Dessert
- Method: No Bake
- Cuisine: American
- Diet: Vegetarian
Ingredients
- 1 cup unsalted butter, melted
- 2 cups graham cracker crumbs
- 2 cups powdered sugar, divided
- 1 cup creamy peanut butter
- 1 teaspoon vanilla extract
- 1/2 teaspoon salt
- 1 1/2 cups semi-sweet chocolate chips
- 2 tablespoons creamy peanut butter (for topping)
Instructions
- Line an 8×8 inch baking pan with parchment paper, leaving an overhang on two sides for easy removal.
- In a large bowl, combine the melted butter, graham cracker crumbs, 1 cup of the powdered sugar, 1 cup of creamy peanut butter, vanilla extract, and salt. Mix until fully combined and the mixture resembles wet sand.
- Press this peanut butter mixture evenly into the bottom of the prepared pan. Place the pan in the freezer while you prepare the topping.
- In a microwave-safe bowl, combine the chocolate chips and the remaining 2 tablespoons of peanut butter. Microwave in 30-second intervals, stirring well after each, until the chocolate is smooth and fully melted.
- Pour the melted chocolate mixture over the peanut butter base. Spread it evenly across the surface.
- Immediately dollop the remaining 2 tablespoons of peanut butter over the chocolate layer. Use a knife or toothpick to gently swirl the peanut butter into the chocolate for a marbled effect.
- Return the pan to the refrigerator for at least 2 hours, or until the chocolate topping is firm.
- Use the parchment paper overhang to lift the bars from the pan. Cut into 16 squares. Store leftovers in an airtight container in the refrigerator.
Notes
- For a Reese’s Inspired Bars flavor, use slightly salted peanut butter in the base mixture.
- If you want a fudgier topping, reduce the peanut butter in the topping mixture slightly.
- These are excellent make ahead dessert bars; they hold up well in the refrigerator for up to one week.
Nutrition
- Serving Size: 1 bar
- Calories: 285
- Sugar: 25
- Sodium: 110
- Fat: 18
- Saturated Fat: 7
- Unsaturated Fat: 11
- Trans Fat: 0
- Carbohydrates: 29
- Fiber: 1
- Protein: 6
- Cholesterol: 15