
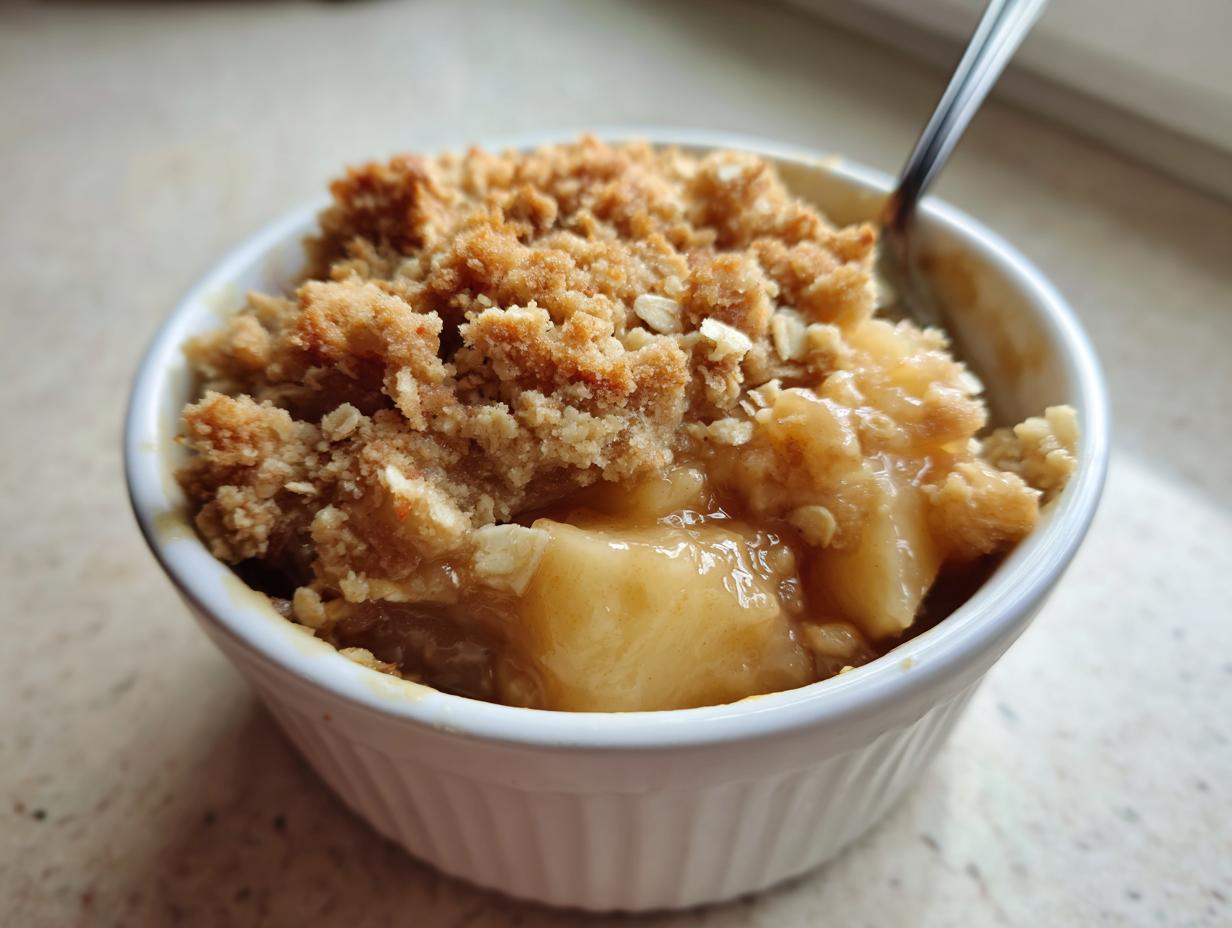
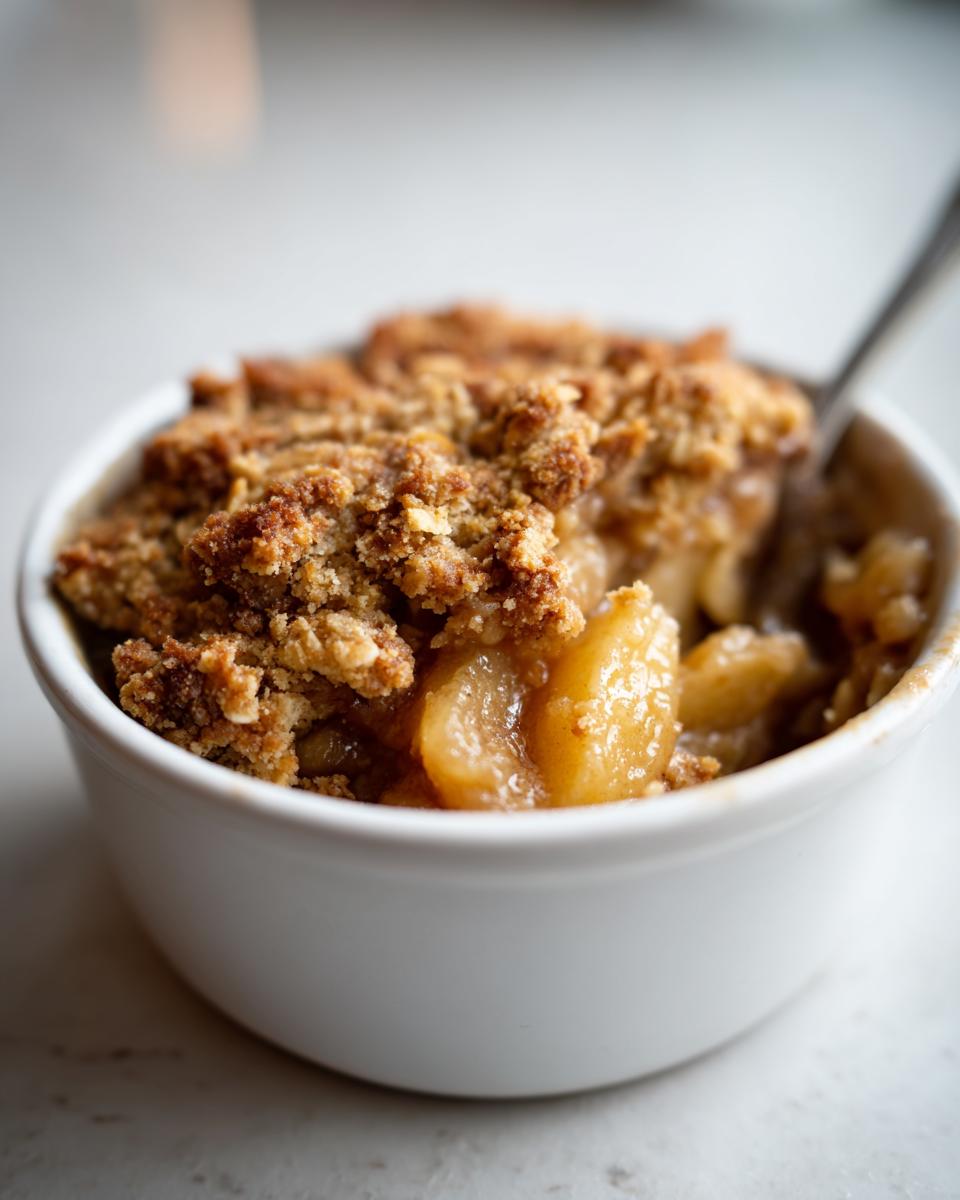
Oh, you know those desserts that just feel like a warm hug on a chilly evening? That’s exactly what this apple crumble is all about. It’s that classic, old-fashioned goodness we all crave, and the best part? It’s incredibly easy and comes together in under an hour. Seriously, it’s perfect for those nights when you want something delicious without spending all evening in the kitchen. Our founder, Leo Grant, totally gets it. He approaches cooking like a project manager, streamlining everything to get maximum flavor with minimum fuss, which is exactly how we landed on this gem of an apple crumble recipe. It’s all about smart cooking for busy lives, just like you’ll read more about on our About page.
- Why You'll Love This Easy Apple Crumble
- Gathering Your Ingredients for the Best Apple Crumble Recipe
- How to Make Old Fashioned Apple Crumble: Step-by-Step
- Tips for the Perfect Apple Crumble
- Serving and Storing Your Delicious Apple Crumble
- Frequently Asked Questions About Apple Crumble
- Nutritional Information for this Apple Crumble
- Share Your Thoughts on This Easy Apple Crumble
Why You’ll Love This Easy Apple Crumble
Seriously, why wouldn’t you love this apple crumble? It’s the ultimate comfort dessert that’s totally fuss-free. Here’s the scoop on why it’ll become your go-to:
- Super Quick: We’re talking from start to finish in about an hour. Perfect for a ‘quick apple dessert’ when a craving strikes!
- Crazy Simple: No fancy techniques here. Just toss, sprinkle, and bake – it’s that easy.
- Classic Flavors: It’s the comforting, old-fashioned taste you remember, with perfectly tender apples and that irresistible crumbly topping.
- So Versatile: Whether it’s a cozy ‘fall apple crumble’ night or a last-minute guest, this dessert always impresses.
It’s just pure, unadulterated deliciousness without the stress!
Gathering Your Ingredients for the Best Apple Crumble Recipe
Alright, let’s round up everything you need for this fantastic apple crumble. Think of it as gathering treasures for the ultimate cozy dessert! For the star of the show, grab about 6 medium apples. My favorites are Honeycrisp, Gala, or Fuji because they’re sweet, a little tart, and hold their shape beautifully when baked – no mushy apples here! You’ll want to peel them, core them, and get them sliced up and ready. A splash of 1 tablespoon of lemon juice keeps them from browning too much and adds a tiny bit of zing, which is always a good thing. Then we’ll toss them with 1/4 cup granulated sugar, 1 teaspoon ground cinnamon, and a pinch of 1/4 teaspoon ground nutmeg to get that warm, comforting spice mix just right.
Now for that amazing crumble topping! You’ll need 1 cup all-purpose flour and a good 1/2 cup packed brown sugar – that brown sugar is key for that deep, caramelly flavor. And the butter! Make sure it’s 1/2 cup (or one stick) of cold unsalted butter, cut into little cubes. Cold butter is super important for getting that perfect crumbly texture. Oh, and if you like a little extra crunch and texture, totally throw in 1/2 cup rolled oats with your dry ingredients for an ‘apple crumble with oats’ vibe. Trust me, it’s chef’s kiss!
How to Make Old Fashioned Apple Crumble: Step-by-Step
Alright, let’s get this delicious old-fashioned apple crumble baking! It’s honestly super straightforward. First things first, get your oven preheated to 375°F (190°C). While that’s heating up, grab an 8×8 inch baking dish and give it a little grease – just a light coating will do.
Next up are those beautiful apples. Pop those sliced apples into a big bowl. Add the lemon juice, granulated sugar, cinnamon, and nutmeg. Now, gently toss everything together. I mean, real gentle, so you don’t bruise those lovely apple slices. Once they’re all coated in that yummy spice mix, carefully pour them into your prepared baking dish. Spread ‘em out evenly so they bake up nice and consistently.
Now for the best part – the crumble topping! Grab a separate medium bowl. Toss in your flour and brown sugar. Then, add your cold butter cubes. This is where the magic happens. You can use a pastry blender, or honestly, your fingertips work just fine (and they’re usually the best tools, right?). Just work that butter into the flour and sugar mixture until it looks like coarse crumbs. If you’re adding oats for that extra texture, stir them in now.
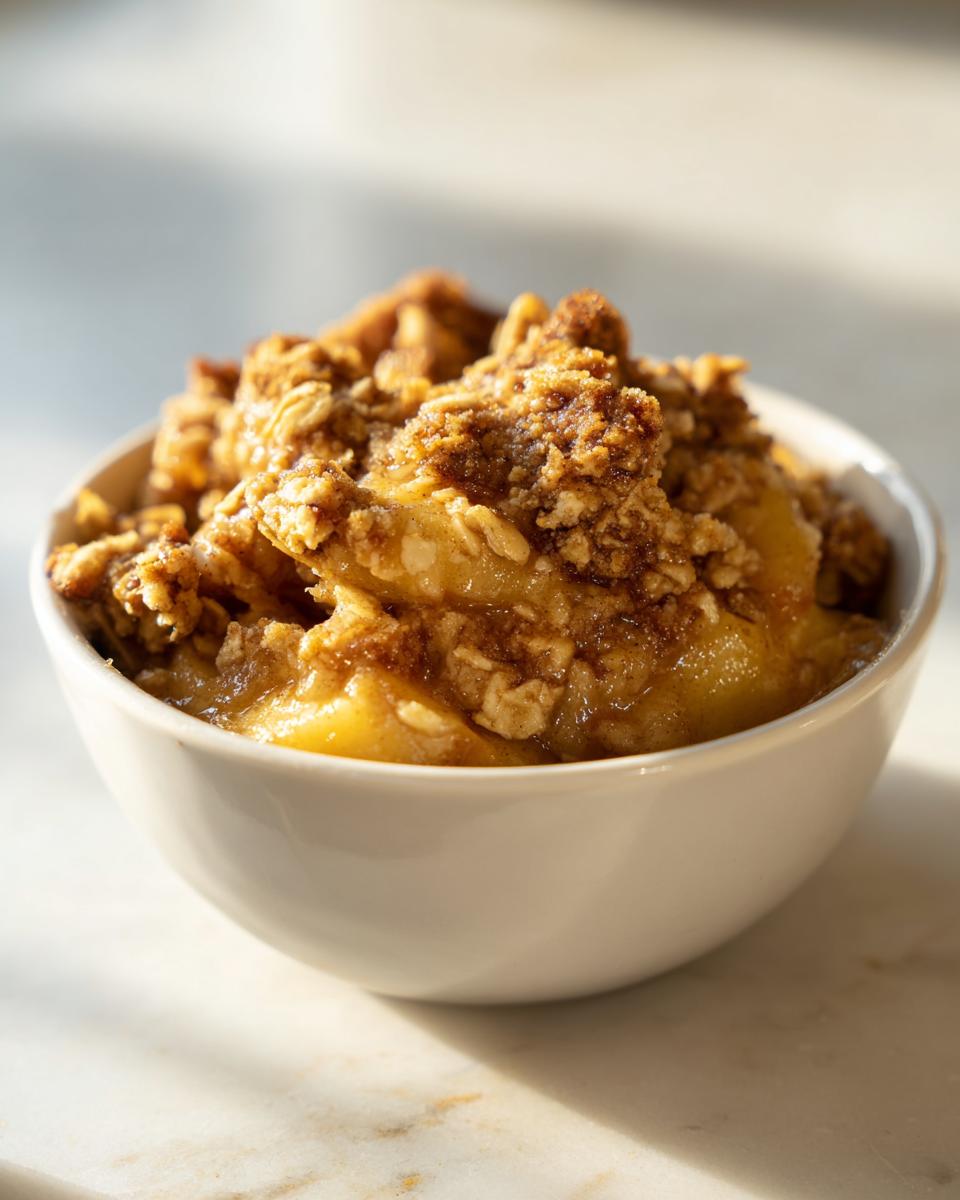
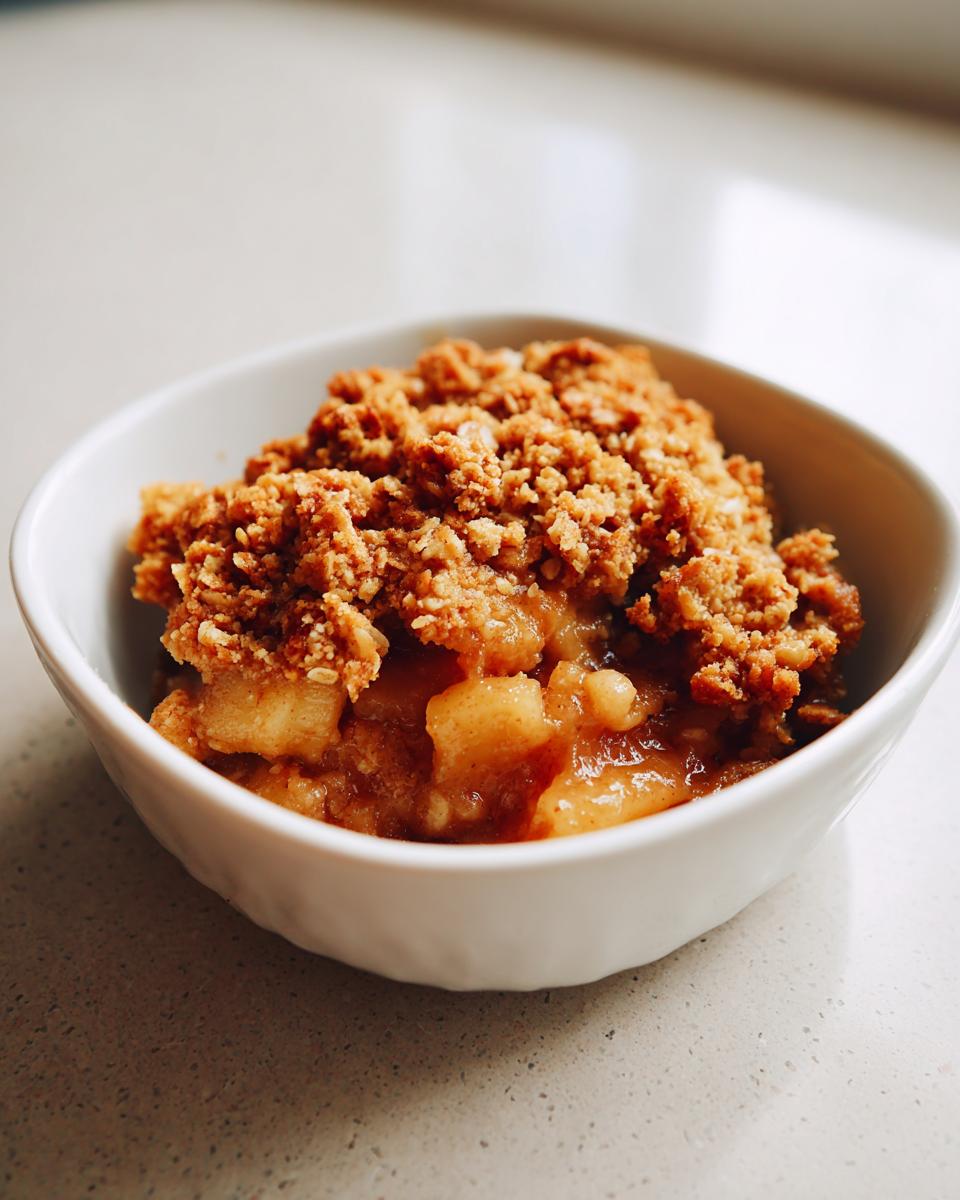
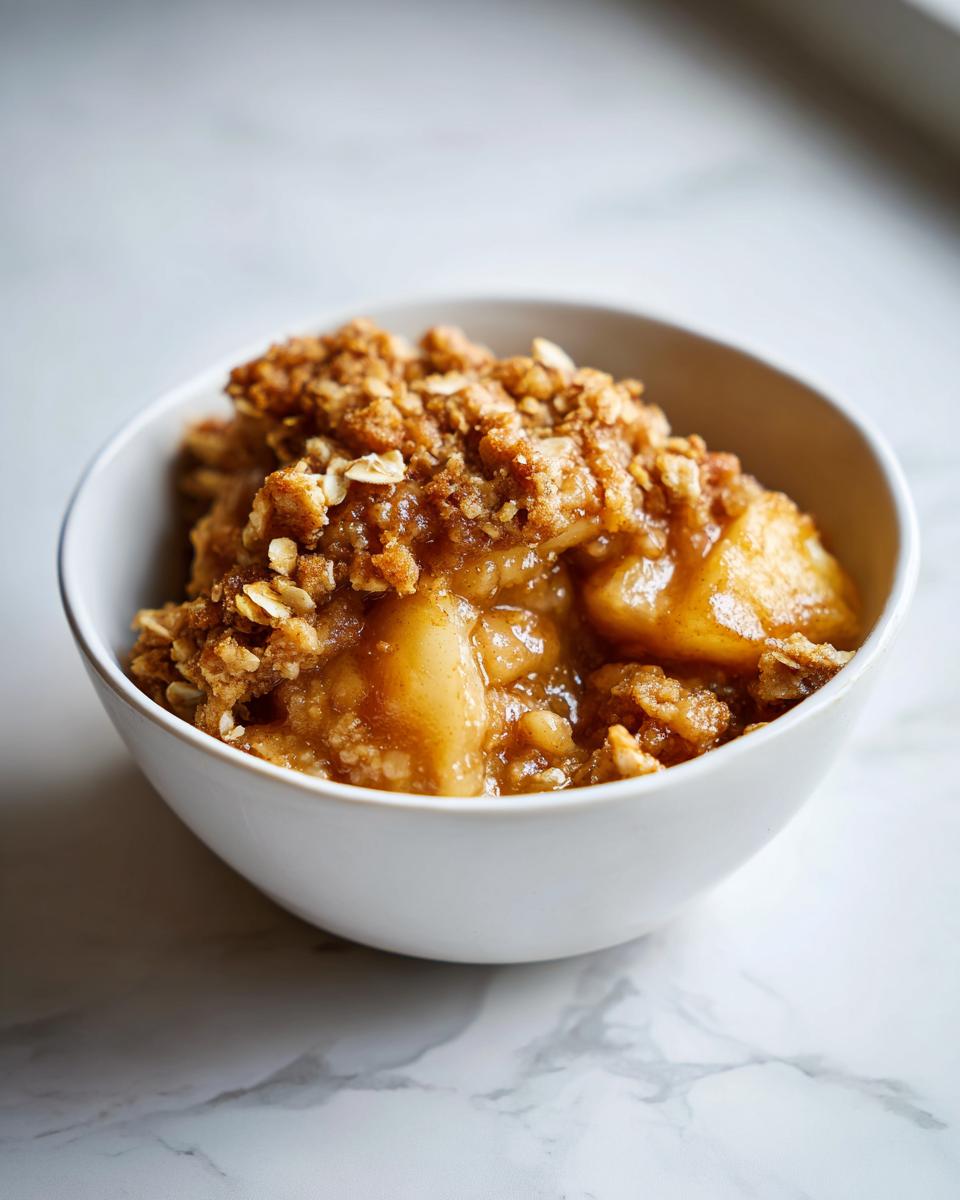
Once your topping looks perfectly crumbly, sprinkle it all evenly over the apples in the baking dish. Make sure to cover all those apples! Pop that dish into your preheated oven and let it bake for about 35 to 45 minutes. You’ll know it’s ready when the topping is golden brown and you see those apples bubbling up around the edges. That’s the sound of pure comfort! And hey, a little tip – let it cool for at least 10-15 minutes before you dive in. It needs a moment to set up, and trust me, it’s worth the wait!
Tips for the Perfect Apple Crumble
Making a truly fantastic apple crumble isn’t complicated, but a few little tricks can really elevate it from good to absolutely perfect. My biggest tip? Don’t be afraid of that crumble topping! You want it nicely coarse, not too fine. Using cold butter and not overworking it is key here – that’s what gives you those lovely little crunchy bits. Also, a soggy bottom is the enemy, right? To avoid it, make sure your apples aren’t swimming in liquid. Sometimes, if apples are super juicy, I’ll even drain off a little bit of the syrupy liquid before adding the topping. And please, let it cool for a bit! That little bit of patience helps everything set up so you don’t end up with apple soup on your plate. Trust me, these little details make all the difference for the best apple crumble!
Serving and Storing Your Delicious Apple Crumble
Okay, so you’ve pulled this gorgeous apple crumble out of the oven, and the smell is just DIVINE! The absolute best way to enjoy it is warm, straight from the dish. Seriously, a scoop of creamy vanilla ice cream melting into those warm, spiced apples and crunchy topping? Pure bliss! Whipped cream is also a lovely choice if you’re feeling fancy.
Got leftovers? Lucky you! This is where the ‘quick apple dessert’ label really shines. Just pop the dish or individual portions into an airtight container and pop it in the fridge. It’ll keep beautifully for up to 3 days. Need to reheat? You can zap it in the microwave for a quick warm-up, or for that extra-special crispy topping, give it a little time in a 350°F (175°C) oven for about 10-15 minutes. It’s perfect for making ahead and enjoying later!
Frequently Asked Questions About Apple Crumble
Got burning questions about this super easy apple crumble? I’ve got you covered! It’s always good to know the little details, right? If you have more questions after reading these, feel free to reach out through our contact page!
What are the best apples for apple crumble?
For the absolute best apple crumble experience, you want apples that are a little tart and hold their shape when baked. Think firm and flavorful! My top picks are Honeycrisp, Gala, Fuji, or even Granny Smith if you like a tangier dessert. They give you that perfect balance of sweetness and a nice bite, so your crumble isn’t just apple mush. Using a mix can be fun too!
Can I make this apple crumble recipe gluten-free?
Oh, absolutely! Making this apple crumble gluten-free is super simple. Just swap out the regular all-purpose flour for a good quality gluten-free all-purpose flour blend. Make sure the blend has xanthan gum in it for the best texture. Honestly, you often can’t even tell the difference – you still get that delicious, comforting flavor and crunchy topping!
How long does apple crumble last?
This apple crumble is best enjoyed fresh, but leftovers are totally a thing! Stored properly in an airtight container in the refrigerator, it should last for about 3 days. Just remember to let it cool completely before you seal it up.
Nutritional Information for this Apple Crumble
Alright, let’s talk numbers for this delightful apple crumble! Keep in mind these are just estimates, and they can totally change depending on the exact apples you use, how much butter sneaks into your topping, and what you serve it with. But generally, a serving clocks in at around 350 calories. You’re looking at about 18g of fat (with 11g being saturated, thanks butter!), around 48g of carbohydrates, and a nice dose of 4g fiber to keep things happy. Plus about 3g of protein.
Share Your Thoughts on This Easy Apple Crumble
So, what did you think? Did you whip up this easy apple crumble? I’d absolutely LOVE to hear about it! Drop a comment below and tell me how it turned out, or if you tweaked anything. If you enjoyed this recipe, please consider giving it a star rating – it really helps others find their new favorite dessert! Check out our terms of use when you’re done!
PrintEasy Old-Fashioned Apple Crumble
A simple and comforting apple crumble recipe, perfect for a quick weeknight dessert or a holiday treat. This recipe focuses on classic flavors and an easy-to-make topping.
- Prep Time: 20 min
- Cook Time: 40 min
- Total Time: 60 min
- Yield: 6 servings 1x
- Category: Dessert
- Method: Baking
- Cuisine: American
- Diet: Vegetarian
Ingredients
- 6 medium apples (like Honeycrisp, Gala, or Fuji), peeled, cored, and sliced
- 1 tablespoon lemon juice
- 1/4 cup granulated sugar
- 1 teaspoon ground cinnamon
- 1/4 teaspoon ground nutmeg
- 1 cup all-purpose flour
- 1/2 cup packed brown sugar
- 1/2 cup (1 stick) cold unsalted butter, cut into cubes
- 1/2 cup rolled oats (optional, for added texture)
Instructions
- Preheat your oven to 375°F (190°C). Lightly grease an 8×8 inch baking dish.
- In a large bowl, toss the sliced apples with lemon juice, granulated sugar, cinnamon, and nutmeg. Pour the apple mixture into the prepared baking dish.
- In a separate medium bowl, combine the flour and brown sugar. Add the cold butter cubes.
- Using a pastry blender, your fingertips, or a fork, cut the butter into the flour mixture until it resembles coarse crumbs. If using oats, stir them in now.
- Evenly sprinkle the crumble topping over the apples in the baking dish.
- Bake for 35-45 minutes, or until the topping is golden brown and the apples are tender and bubbly.
- Let the crumble cool for at least 10-15 minutes before serving.
Notes
- For a gluten-free version, use a gluten-free all-purpose flour blend.
- Serve warm with vanilla ice cream or whipped cream.
- Leftovers can be stored in the refrigerator for up to 3 days. Reheat gently in the oven or microwave.
- This recipe is easily adaptable for meal planning, providing a delicious dessert option that complements various main courses.
Nutrition
- Serving Size: 1 serving
- Calories: 350
- Sugar: 30g
- Sodium: 100mg
- Fat: 18g
- Saturated Fat: 11g
- Unsaturated Fat: 7g
- Trans Fat: 0g
- Carbohydrates: 48g
- Fiber: 4g
- Protein: 3g
- Cholesterol: 45mg