
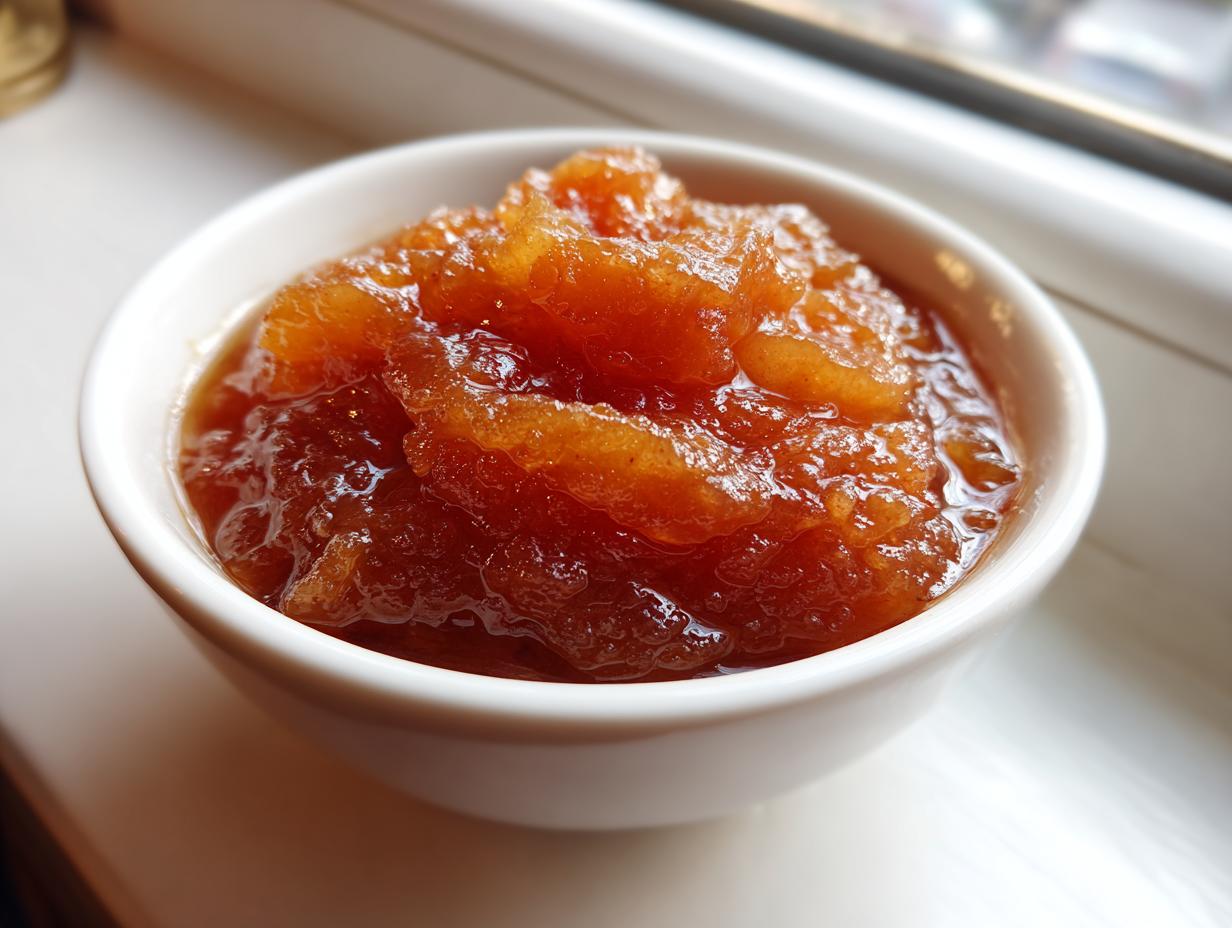
Are you tired of that sad, watery sludge you sometimes find in homemade pies? Or maybe you’ve opened a can of store-bought **apple pie filling** only to find mushy apples swimming in flavorless syrup? That’s exactly why I engineered this recipe. As a home cook who approaches cooking like a project manager, I needed something reliable, fast, and undeniably delicious. This is it: The Best Stovetop Apple Pie Filling. Seriously, it cooks up in under 10 minutes and works everywhere—pies, crisps, even just spooned over ice cream. We’re streamlining flavor here, so you get maximum impact with minimal evening effort.
- Why This is the Best Apple Pie Filling You Will Ever Make
- Ingredients for Your Quick Stovetop Apple Pie Filling
- How to Prepare This Easy Apple Pie Filling Recipe
- Tips for Success with Your Homemade Apple Pie Filling
- Making Your Apple Pie Filling for Later: Freezing and Canning
- Versatile Uses for This Apple Pie Filling
- Frequently Asked Questions About Apple Pie Filling
- Estimated Nutritional Data for Apple Pie Filling
- Share Your Experience with This Quick Apple Pie Filling
Why This is the Best Apple Pie Filling You Will Ever Make
Look, I get it. You want results that are reliable. If a recipe is going into Dishicious, it has to work, every single time. This isn’t just another sauce; it’s a foolproof system for the most flavorful **Best Apple Pie Filling** you can imagine. You’ll never go back to the can, trust me.
- You get perfectly tender apples that aren’t swimming in thin juice.
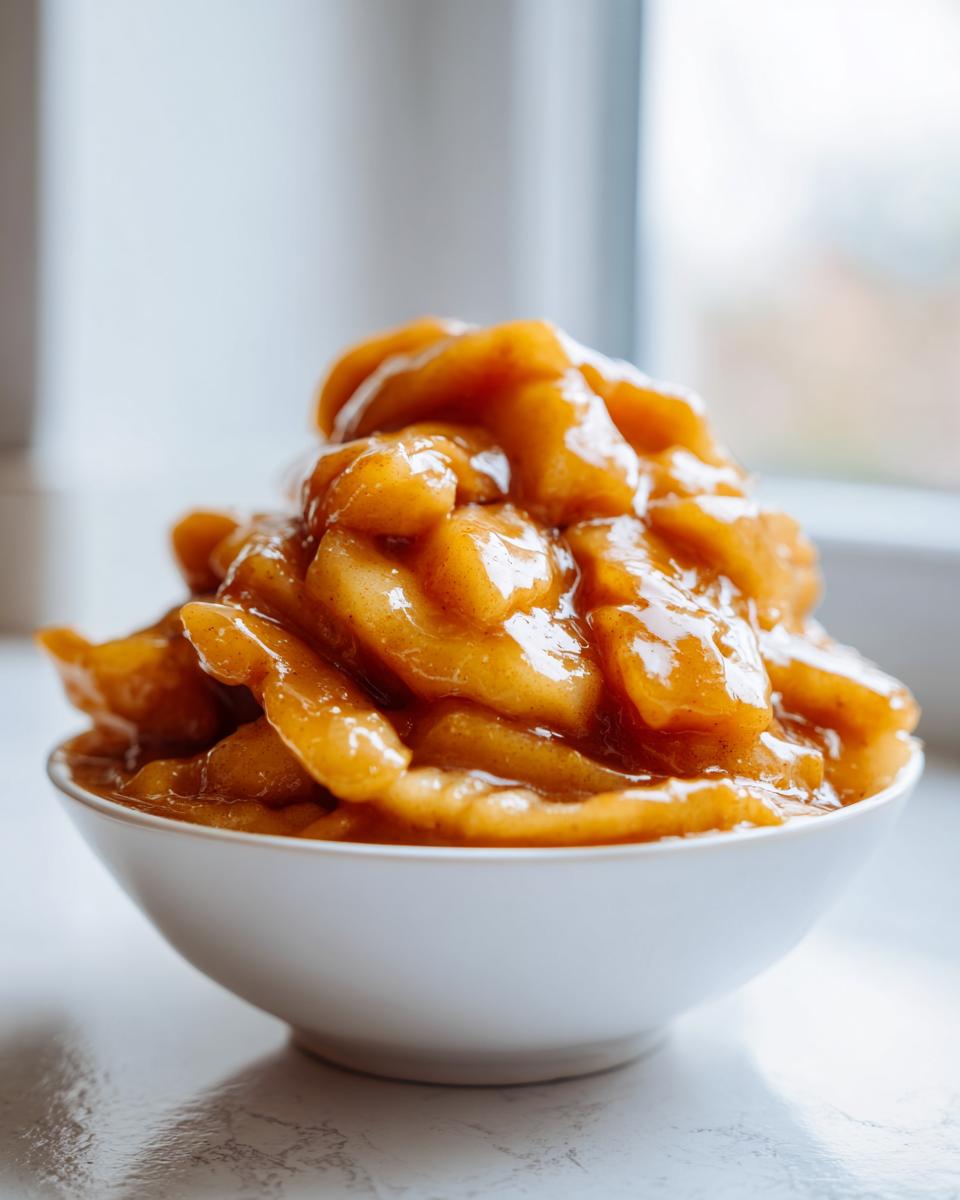
- The sauce is naturally glossy and thick—true **Gooey Apple Filling** heaven.
- We nail that classic sweet and tart balance every time.
We developed this recipe to be the core component for all fall baking. You can trust the blend of spices we use. If you want that classic flavor, check out how Kara achieved incredible results too: Best Apple Pie Filling. For more reliability checks, see what others are saying over at Best Apple Pie Filling.
Ingredients for Your Quick Stovetop Apple Pie Filling
The beauty of streamlining is realizing we don’t need twenty ingredients. We need the *right* ingredients, measured precisely. This list delivers maximum flavor for our **Homemade Apple Pie Filling** without making you pull out every spice jar you own. When you’re counting on a quick stovetop method, precision matters for that perfect texture.
- 6 medium apples (Granny Smith or Honeycrisp are my picks)
- 3/4 cup packed light brown sugar (yes, packed!)
- 1/4 cup granulated sugar
- 1/4 cup cornstarch (this is the thickening magic)
- 1 teaspoon ground cinnamon, 1/4 teaspoon nutmeg, 1/8 teaspoon allspice
- 1/4 cup water
- 2 tablespoons unsalted butter
- 1 teaspoon lemon juice
If you’re optimizing your crust game, make sure you check out the techniques over at The Food Charlatan for inspiration!
Apple Selection for Perfect Apple Pie Filling
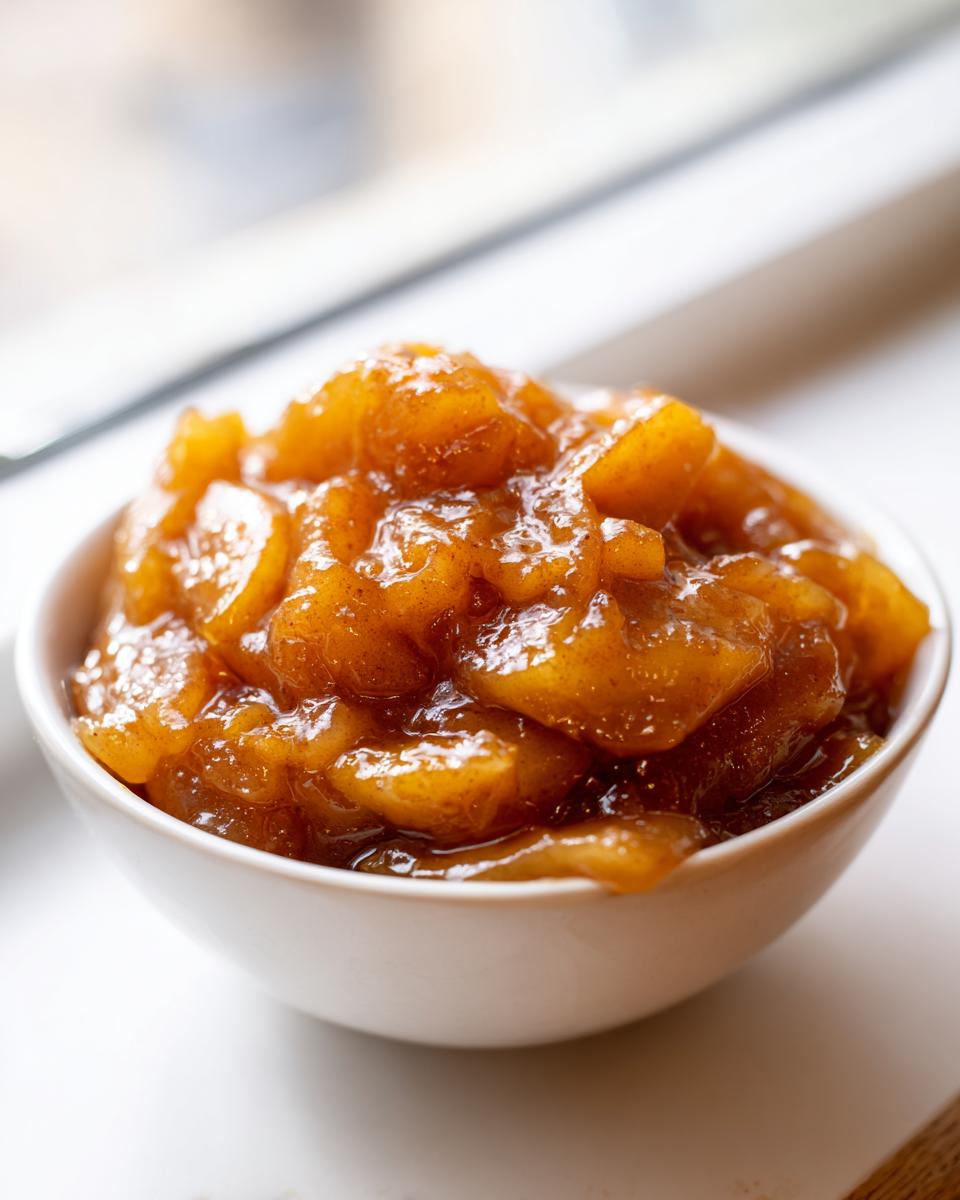
This is where you build flavor complexity. If you only use Red Delicious, you’re going to end up with sweet mush—we need structure! I always look for high-acid apples mixed with one that holds its shape well. A 50/50 combo of Granny Smith (for tartness) and Honeycrisp (for sweetness and firmness) creates that amazing **Sweet and Tart Apple Filling** everyone raves about. Slice them consistently, about a quarter-inch thick, so they cook evenly in those 8 minutes.
How to Prepare This Easy Apple Pie Filling Recipe
This is where the project management mindset really pays off—we go from raw components to finished **apple pie filling** component in minutes. First, you need to combine everything in your saucepan *before* you turn on the heat. Seriously, toss those apple slices with the brown sugar, white sugar, cornstarch, and all those wonderful spices. Get everything coated evenly! That initial coating is key to stopping the apples from releasing all their water too fast.
Once everything looks nicely dusted, add your splash of water. Now, turn the heat up to medium. The trick here is constant, frequent stirring. We are aiming for that thick, delicious sauce, and if you walk away for even 30 seconds, you risk scorching that sugar on the bottom. Keep it moving for about 5 to 8 minutes. That quick cook time is why this is a fantastic **Quick Stovetop Apple Filling**. If you’re looking for confirmation that others agree on speed, check out this quick stovetop version. For more foolproof methods, see those over at Quick Apple Pie Filling and easy homemade pie filling.
Achieving the Glossy Apple Pie Filling Sauce
The texture of the sauce is non-negotiable for me. That beautiful shine comes almost entirely from the cornstarch activating once the mixture bubbles. You need to cook it until it’s visibly thick—almost like slow-moving lava. This is what prevents that watery bottom in your pie and creates that perfect **Gooey Apple Filling**. We want the apples tender-crisp, not mushy, so watch that time closely!
Tips for Success with Your Homemade Apple Pie Filling
Alright, let’s troubleshoot before you even start. My goal is consistency, so here are the tricks I use when mixing up a batch of **Cinnamon Apple Filling**. If you follow these, your results will be solid every time, which is the whole point of a reliable recipe, right?
First off, the thickness is adjustable, and it’s all about that cornstarch. If you like your filling extra thick—almost like a chunky caramel sauce that won’t budge—go ahead and add an extra tablespoon of cornstarch next time. Don’t add it during this cook, though; just make a note for the next batch! The coating needs to be uniform on the apples before the heat goes on; use a large bowl and toss them gently but thoroughly so every slice gets kissed by the sugar and spice mixture.
When you cook it, smell it! When those spices bloom in the heat, you know you’re getting that deep, cozy flavor. For more tips on getting that perfect sweet-spice ratio, these suggestions from The Freshly Cooked are really helpful when deciding on sugar levels.
Making Your Apple Pie Filling for Later: Freezing and Canning
One of the best efficiency hacks is making a double batch and saving some for when you really need it. Having **Pie Filling for Later** tucked away in the freezer is a lifesaver on a busy Saturday when you suddenly decide you need a crisp! For freezing, the process is dead simple: Let the finished filling cool completely—this is important, don’t skip it! Then, scoop it into sturdy, freezer-safe containers or heavy-duty zip-top bags, leaving about an inch of headspace, and freeze flat if you can. It’s usually good for about six months.
Now, canning is a different project entirely, focused on shelf stability for those emergency moments. If you decide to can your **Homemade Apple Pie Filling**, you absolutely must follow USDA guidelines for processing time and jar sterilization. I always recommend you double-check safe canning instructions because that’s one area where you just can’t improvise safety. For a great step-by-step guide on those canning processes, check out what they are doing over at Mom’s Apple Pie in Jar. If you want to see a bulk prep method, see the ideas at Apple Pie Filling Recipe.
Versatile Uses for This Apple Pie Filling
This is the real payoff for taking 8 minutes to make your **apple pie filling** from scratch. When you create a quality component recipe like this, you unlock endless possibilities, which saves you so much time later. Don’t just think pies! This thick, spiced sauce is fantastic spooned hot over yogurt or mixed into your morning cottage cheese.
If you have just a little bit left after filling a pie, toss it with some oats and butter for an immediate **Apple Crisp Filling**—throw it under the broiler for five minutes, and you have dessert! We make double batches just so I can throw some on the waffle maker the next morning. Believe me, warm syrup is fine, but warm, gooey apple filling on waffles? That’s an immediate elevation of the meal. You can find lots of great ways to use this up over at Best Stovetop Apple Pie Filling.
Frequently Asked Questions About Apple Pie Filling
I always get so many questions when people first try to move away from the canned stuff. It’s all about optimization, right? Let’s clear up the main sticking points about this **Homemade Apple Pie Filling** so you can get started confidently!
How do I make this apple pie filling less sweet?
That’s an easy fix. First, try reducing the granulated sugar by half—the brown sugar adds that necessary molasses depth, so keep most of that. Also, lean heavily on Granny Smith apples; they crank up the tartness naturally, balancing out the sweetness without needing extra lemon juice.
What is the best way to store leftover apple pie filling?
If you have extra **Homemade Apple Pie Filling**, you have to let it cool down completely on the counter first. Putting hot filling straight into a sealed container makes it steam and get weird. Once it’s cool, plastic wrap pressed right against the surface in the fridge keeps it fresh for about a week.
Can I use applesauce instead of making this apple pie filling?
You could use applesauce as a topping, sure, but this recipe is specifically engineered for texture. The cornstarch suspension combined with the slices gives you that satisfying bite, whereas applesauce is already smooth. We do want the gooey element, but with structure, not just a **Versatile Apple Sauce** replacement.
For more great advice on how to get perfect texture, take a look at what people are saying over at Homemade Apple Pie Filling Recipes, or check out these great tips from The Kitchn.
Estimated Nutritional Data for Apple Pie Filling
Now, I know that when you’re optimizing a recipe, the numbers matter, but remember these visuals are estimates based on our specific ingredient load—especially the brown sugar content in this fantastic **From Scratch Apple Filling**. Your actual nutrition might shift a tiny bit depending on the exact apples you use!
- Serving Size: 1 cup
- Calories: 285
- Total Fat: 4g
- Carbohydrates: 65g
- Total Sugar: 45g
For the most accurate data, you’d obviously weigh your specific ingredients, but this gives you a solid expectation for what you are putting into your pies or toppings. This data is based on the recipe found on Best Apple Pie Filling resource pages.
Share Your Experience with This Quick Apple Pie Filling
So, that’s the whole process! I need to know what you think. Take a minute and give this recipe your honest rating—I’m aiming for five stars, obviously! Drop a comment below and tell me what you made with that batch of **Quick Stovetop Apple Filling**. Did you go classic pie, or did you throw it over pancakes like I do? I love hearing how you deploy these streamlined recipes in your own kitchens. Those comments really help other cooks build confidence!
If you enjoyed this system for getting a perfect **apple pie filling** every time, make sure you bookmark the method over at The Freshly Cooked for future reference!
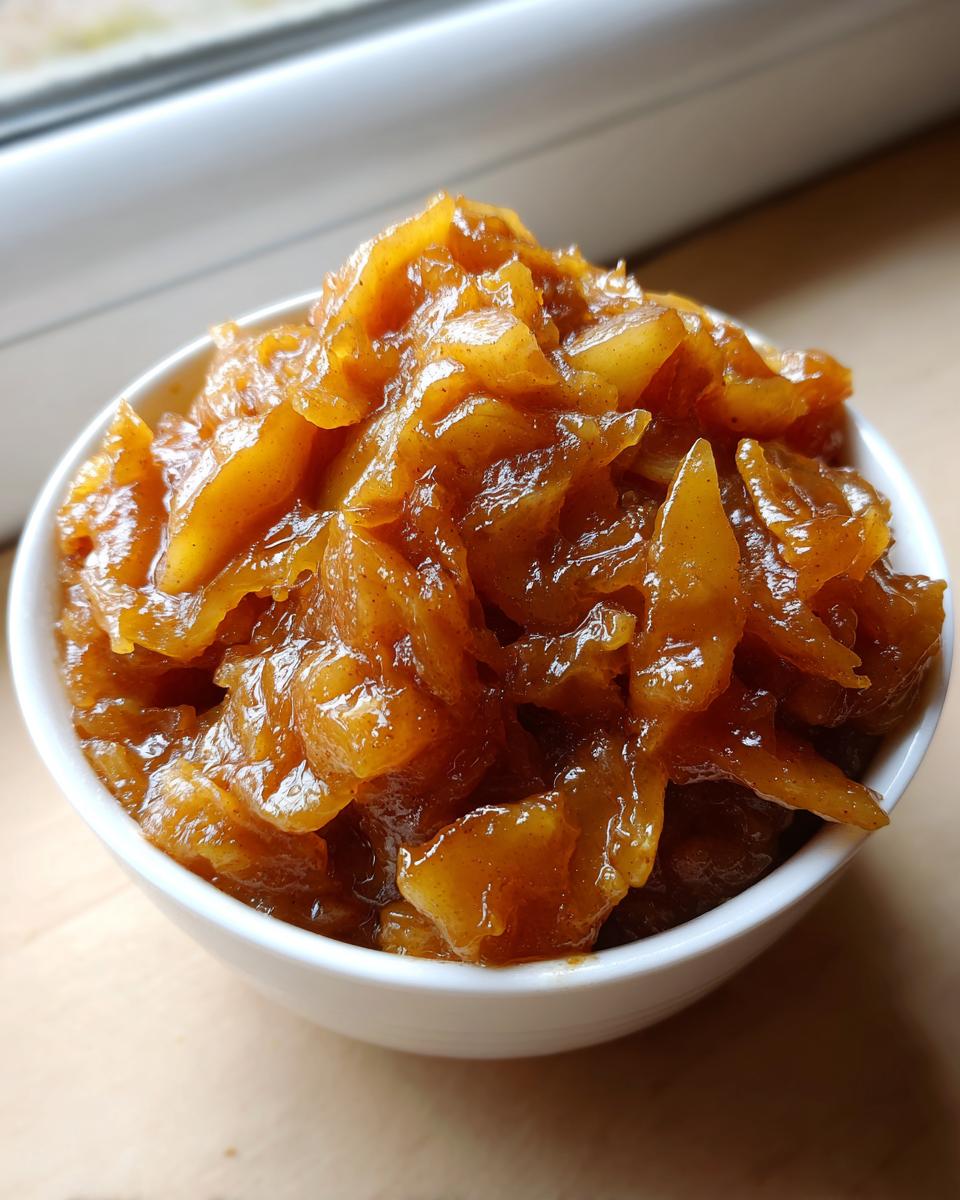
PrintThe Best Stovetop Apple Pie Filling (Quick and Versatile)

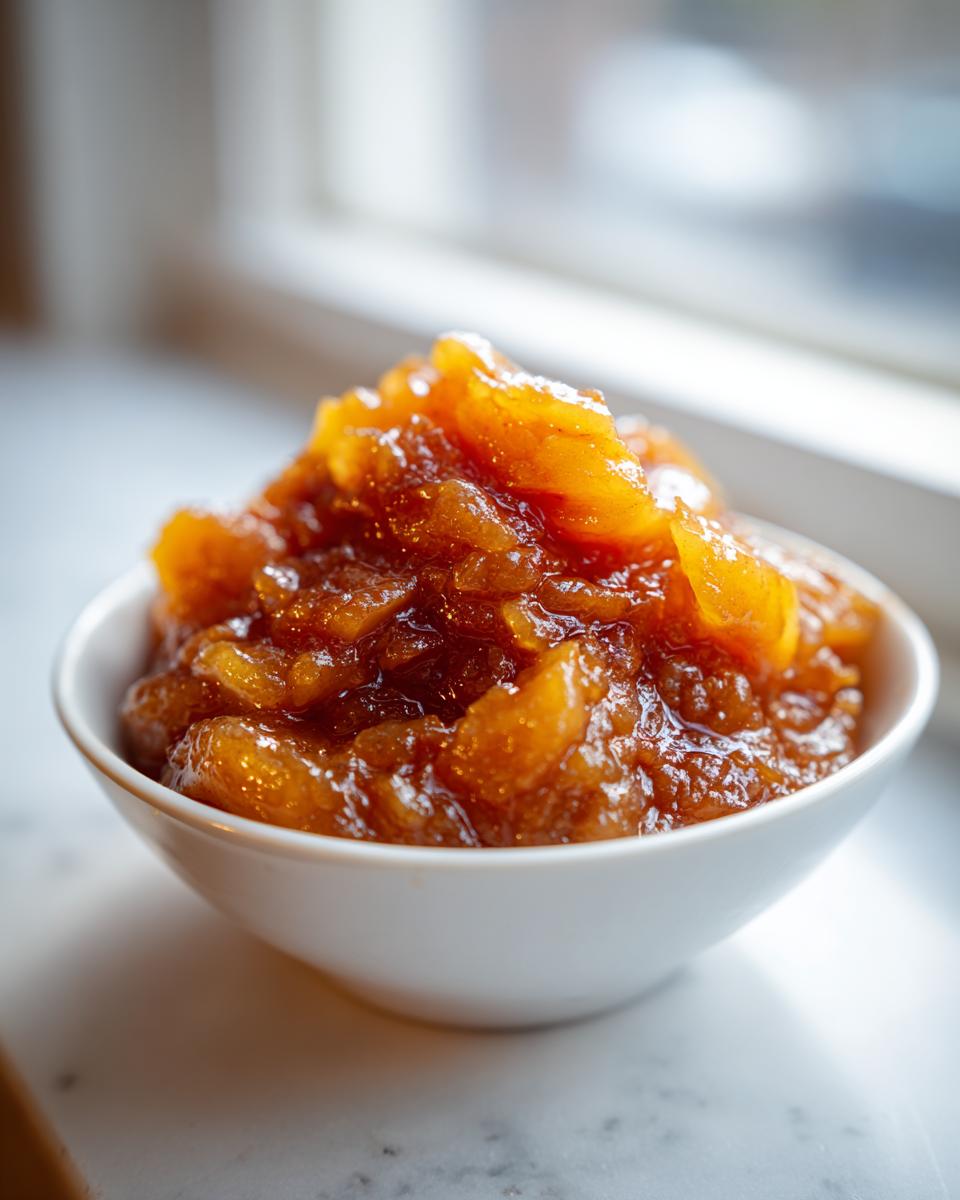
Make this easy homemade apple pie filling on the stovetop. It results in tender apples coated in a glossy, spiced sauce, perfect for pies, crisps, or topping pancakes.
- Prep Time: 15 min
- Cook Time: 8 min
- Total Time: 23 min
- Yield: 1 standard pie (about 6 cups) 1x
- Category: Dessert Component
- Method: Stovetop
- Cuisine: American
- Diet: Vegetarian
Ingredients
- 6 medium apples (like Granny Smith or Honeycrisp), peeled, cored, and sliced 1/4-inch thick
- 3/4 cup packed light brown sugar
- 1/4 cup granulated sugar
- 1/4 cup cornstarch
- 1 teaspoon ground cinnamon
- 1/4 teaspoon ground nutmeg
- 1/8 teaspoon ground allspice
- 1/4 cup water
- 2 tablespoons unsalted butter
- 1 teaspoon lemon juice
Instructions
- Combine the sliced apples, brown sugar, granulated sugar, cornstarch, cinnamon, nutmeg, and allspice in a large saucepan. Toss gently to coat the apples evenly.
- Add the water to the saucepan.
- Place the saucepan over medium heat. Cook, stirring frequently, until the mixture begins to bubble and thicken, about 5 to 8 minutes. The apples should be tender-crisp.
- Once the filling is thick and glossy, remove the pan from the heat.
- Stir in the butter and lemon juice until the butter melts completely into the sauce.
- Remove the filling from the heat. Allow it to cool slightly before using it in a pie crust or for other desserts.
- For canning, process hot filling immediately in sterilized jars according to safe canning guidelines. For freezing, cool completely and store in airtight containers for up to 6 months.
Notes
- Use a mix of sweet and tart apples for the best flavor balance.
- This filling works well as a topping for pancakes, waffles, oatmeal, or yogurt.
- If you prefer a gooier texture, increase the cornstarch to 5 tablespoons.
- This recipe makes enough filling for one standard 9-inch pie.
Nutrition
- Serving Size: 1 cup
- Calories: 285
- Sugar: 45
- Sodium: 5
- Fat: 4
- Saturated Fat: 2
- Unsaturated Fat: 2
- Trans Fat: 0
- Carbohydrates: 65
- Fiber: 4
- Protein: 0
- Cholesterol: 8