
Listen, I’m tired of those scary-looking, gelatinous fillings you get from a can. They always taste… artificial, right? When I started Dishicious, our main goal was figuring out how to eat really well without spending hours in the kitchen. That’s exactly how we cracked the code on the **Easy Homemade Cherry Pie Filling From Scratch**. Leo, our founder, approaches cooking like a project manager—streamlining every step to get mega flavor without the fuss. Trust me, this recipe, which focuses heavily on using **cherry pie filling with frozen cherries**, gives you a thick, juicy texture that puts the store-bought stuff to shame. It’s foolproof, I promise! If you want to see this topping in action, check out our lattice crust guide here: our lattice crust guide here.
- Why This Easy Cherry Filling From Scratch Is the Best Cherry Pie Filling Recipe
- Gathering Ingredients for Your Homemade Cherry Pie Filling Recipe
- Step-by-Step Instructions for Quick Cherry Pie Filling
- Tips for the Perfect Homemade Cherry Pie Filling Recipe
- Versatile Cherry Filling For Desserts Beyond the Pie
- Canning Cherry Pie Filling for Long-Term Storage
- Storage and Reheating Instructions for Your Cherry Pie Filling
- Frequently Asked Questions About Cherry Pie Filling
- Estimated Nutrition for This Cherry Pie Filling
Why This Easy Cherry Filling From Scratch Is the Best Cherry Pie Filling Recipe
When you’re aiming for something truly special, skipping the can is the first step toward success. Making your own **cherry pie filling** is so much faster than you think, and the flavor payoff is huge! We developed this recipe specifically because we hate runny pies. It just shouldn’t happen, and with our method, it won’t.
- It tastes bright, fresh, and far superior to anything pre-made.
- You control the sweetness, making it perfect for your personal taste.
- It comes together faster than you can drive to the grocery store! For more inspiration on simple, great recipes, take a look at all our dessert recipes.
Achieving a Thick Juicy Cherry Pie Filling Texture
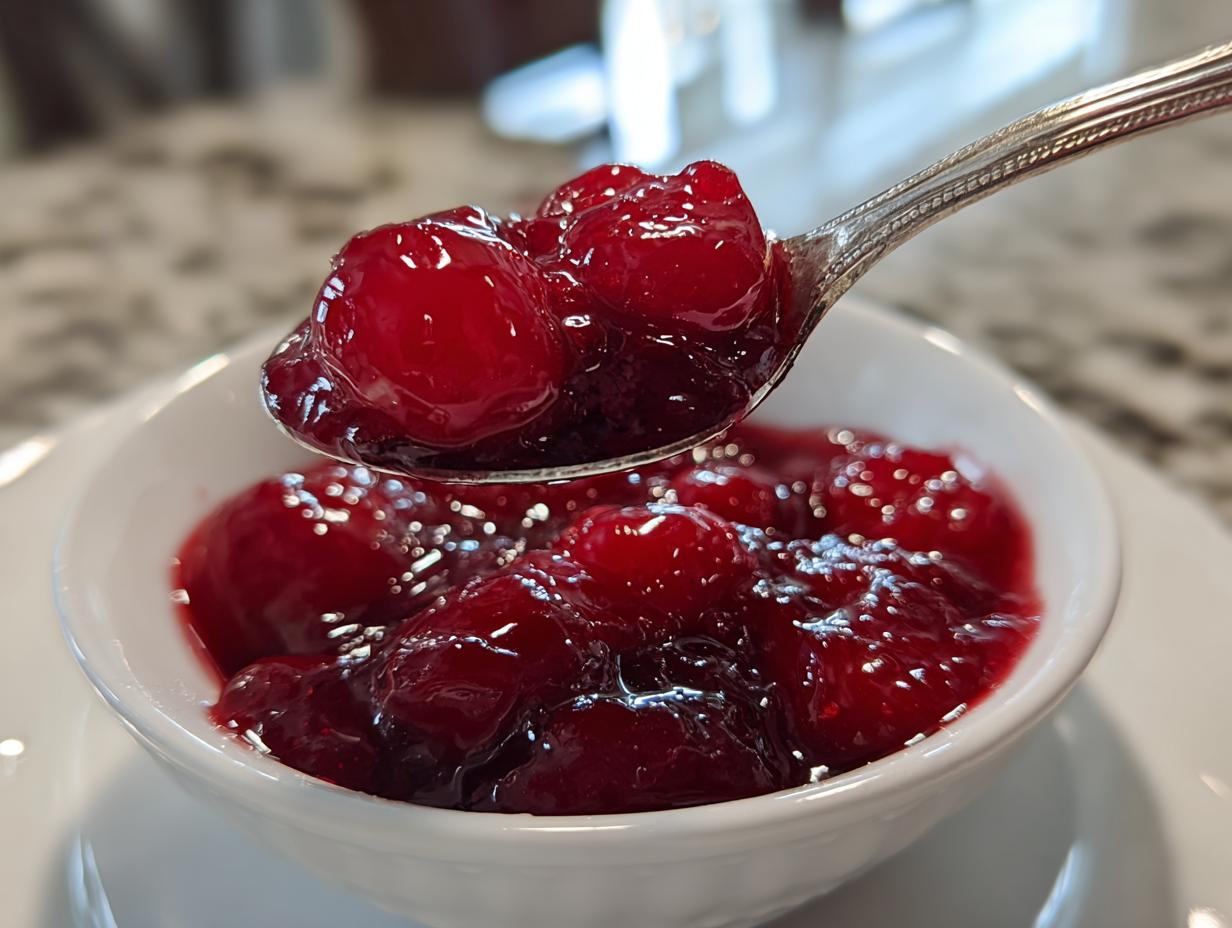
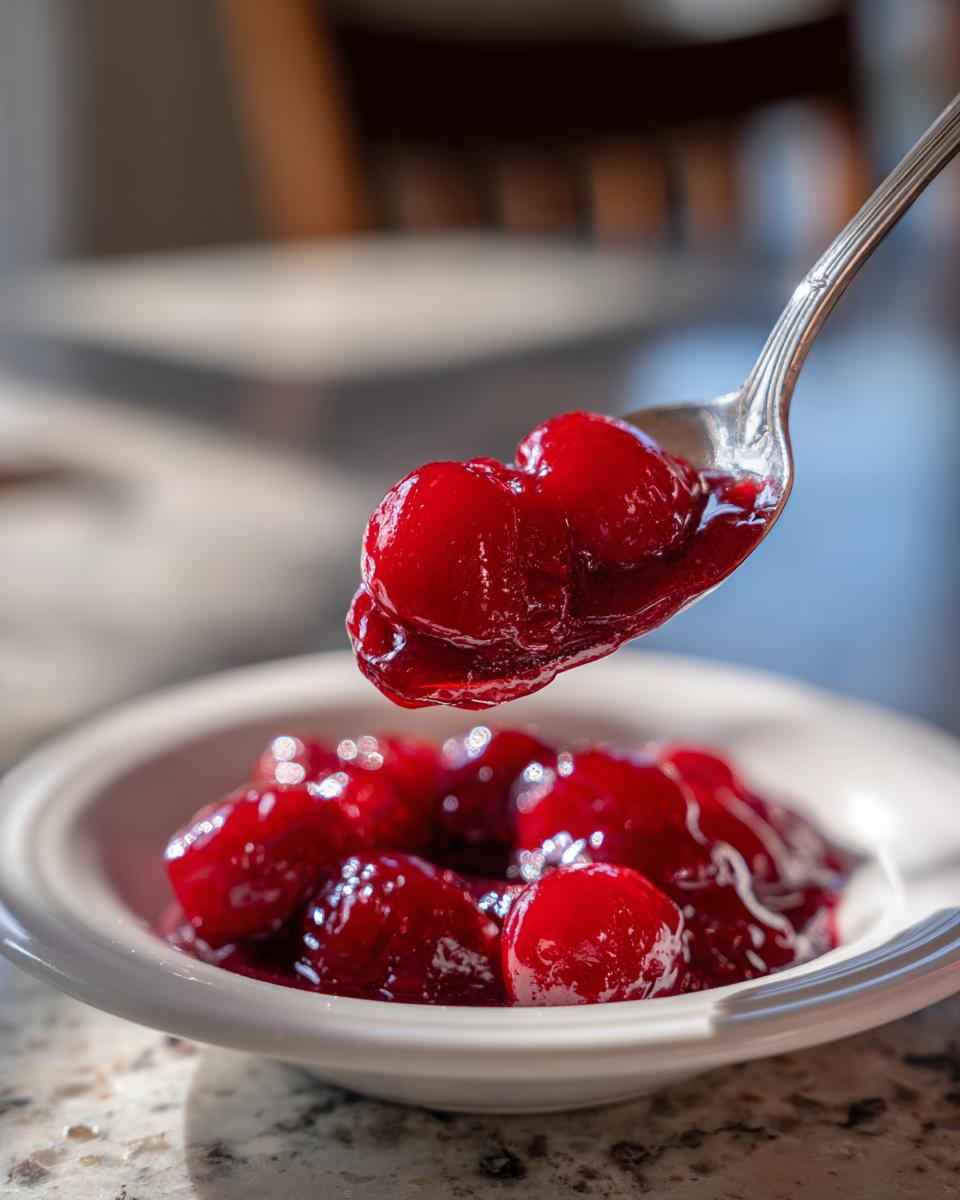
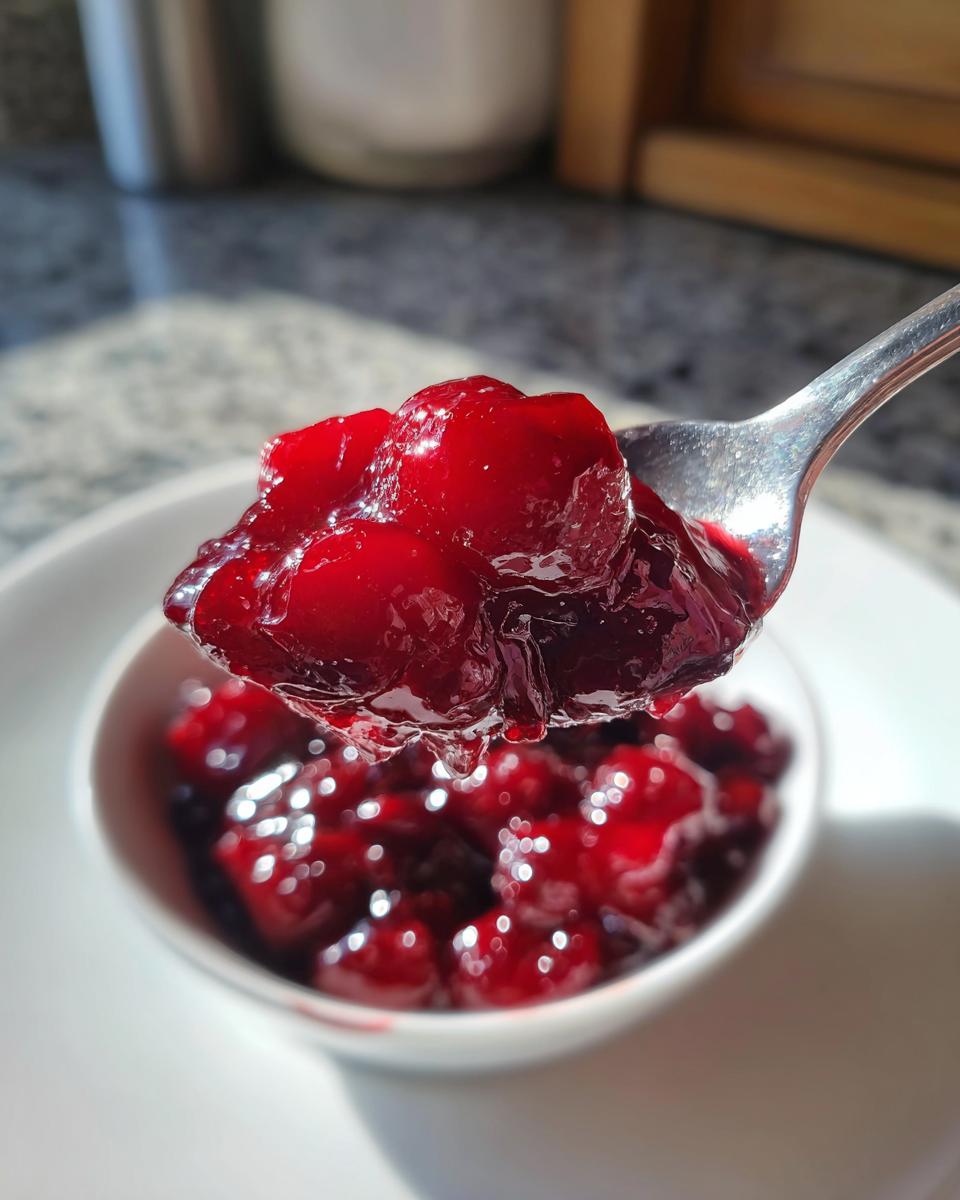
This is where we conquer the dreaded runny mess. The secret weapon is cornstarch, managed correctly! We make a cold slurry first, remember? This ensures that when it hits the heat, it thickens evenly and beautifully. We are looking for a texture that is wonderfully **thick juicy cherry pie filling**—it should coat the ladle perfectly and hold its shape when cooled. No watery edges allowed in this kitchen!
Using Simple Ingredients Cherry Filling Components
There’s no need for weird hydrocolloids or preservatives here. This is true **simple ingredients cherry filling** territory. We stick to the basics: cherries, sugar, and lemon juice to brighten things up. If you want to add that little *oomph* of professional flavor, you absolutely have to try a tiny splash of almond extract at the end. It really accentuates the cherry flavor in a way you wouldn’t expect!
Gathering Ingredients for Your Homemade Cherry Pie Filling Recipe
Okay, let’s get organized! Since this is a quick stovetop recipe, having everything measured out is crucial. We don’t want to be scrambling while the sugar is starting to scorch! We are using super simple components here, but precision is key so we land on that perfect thickness every time. Seriously, having your ingredients ready to go makes this whole process feel relaxing, not rushed.
For this batch, you’ll need four cups of pitted cherries—we’re using frozen today—one cup of sugar, that thickener (a quarter-cup of cornstarch whisked thoroughly with a quarter-cup of water to create a smooth slurry you *have* to make first!), a splash of lemon juice for balance, and my secret weapon, about half a teaspoon of almond extract if you have it. That’s it! Simple and effective, that’s the Dishicious way.
Cherry Pie Filling With Frozen Cherries Preparation Notes
I love using frozen cherries for this **homemade cherry pie filling recipe**. Honestly, they are already pitted, which saves me about twenty minutes of tedious work, and they help cool down the sugar when you first add them to the pot. If you happen to have beautiful, fresh, ripe cherries on hand—and you’ve already put in the elbow grease to pit every single one of them—they work just as well! Just know that fresh ones might release a little more liquid while they cook down, so keep an eye on that cornstarch slurry. Using **cherry pie filling with frozen cherries** is just the easiest route for weeknight baking!
Step-by-Step Instructions for Quick Cherry Pie Filling
Alright, here is where the magic happens! We’re going from frozen fruit to perfect **cherry pie filling** in about ten minutes flat. Make sure you have your cornstarch slurry ready to go *before* the cherries even start bubbling. That small bit of prep means we can move fast when it counts. Remember, this recipe is designed to be fast—perfect for a last-minute dessert emergency! If you need inspiration for using this filling outside of a pie, check out what Texas Homesteader suggests!
First, toss your cherries and sugar right into a nice medium saucepan. Let them sit for maybe ten minutes while you get your slurry ready. This lets the sugar start pulling some of that icy moisture out of the frozen fruit. Then, turn the heat to medium and gently bring that mixture just up to a simmer, stirring gently so nothing sticks to the bottom.
Creating the Cornstarch Slurry for Your Cherry Pie Filling
If you skip this part and dump the cornstarch right into the hot cherries, you will end up with little white lumps that look suspiciously like cottage cheese. Nope! In a separate little bowl, take your water and cornstarch and whisk it until it looks totally smooth—no dry powder hiding at the bottom. Now, once your cherries are simmering—and I mean just a gentle bubble, nothing crazy—pour that slurry in really slowly while stirring constantly. Keep stirring until you see everything start to cling to the spoon. Don’t stop moving it for those first couple of minutes!
Cooling the Thick Juicy Cherry Pie Filling
Once it’s thick—it should definitely coat the back of a spoon and look glossy—pull it right off the heat immediately. Stir in your lemon juice and that optional almond extract. Now, here’s the critical instruction that many people miss: you have to let this cool down! When it’s scorching hot, it looks slightly runnier than you want. But trust me, as it cools, it sets into that incredible, **thick juicy cherry pie filling** texture you are dreaming of. If you try to put hot filling in a pie crust, you’ll have soup come baking time. Let it chill out before assembling your pie. If you are looking for pie assembly tips, check out this page for some great flavor ideas!
Tips for the Perfect Homemade Cherry Pie Filling Recipe
We’ve got the technique down, but a few little nudges can take this **homemade cherry pie filling recipe** from great to absolutely show-stopping. My best piece of advice is always about tasting, tasting, tasting! Since different kinds of cherries—whether they are tart or sweet—will always yield slightly different sweetness levels, you have to adjust.
If you used super sweet cherries, add a little extra lemon juice or maybe a tiny bit more tartness to wake up the flavor. If you used straight-up tart cherries, don’t be afraid to bump that sugar up just a tablespoon or two until it tastes right to you. Leo loves to make huge batches of this filling because it’s so quick, and he freezes the leftovers flat in zip-top bags. That way, he always has filling ready to go!
For incredible flavor depth, especially if you are using frozen cherries that might lack a little punch, I highly recommend adding a small pinch of cinnamon along with the almond extract. That warm spice works wonders with the fruit. If you want more ideas on great baked goods, take a look at all our dessert recipes! And if you’re curious how others set up their fruit fillings, check out this inspiration from The Toasty Kitchen: The Toasty Kitchen recipe link.
Versatile Cherry Filling For Desserts Beyond the Pie
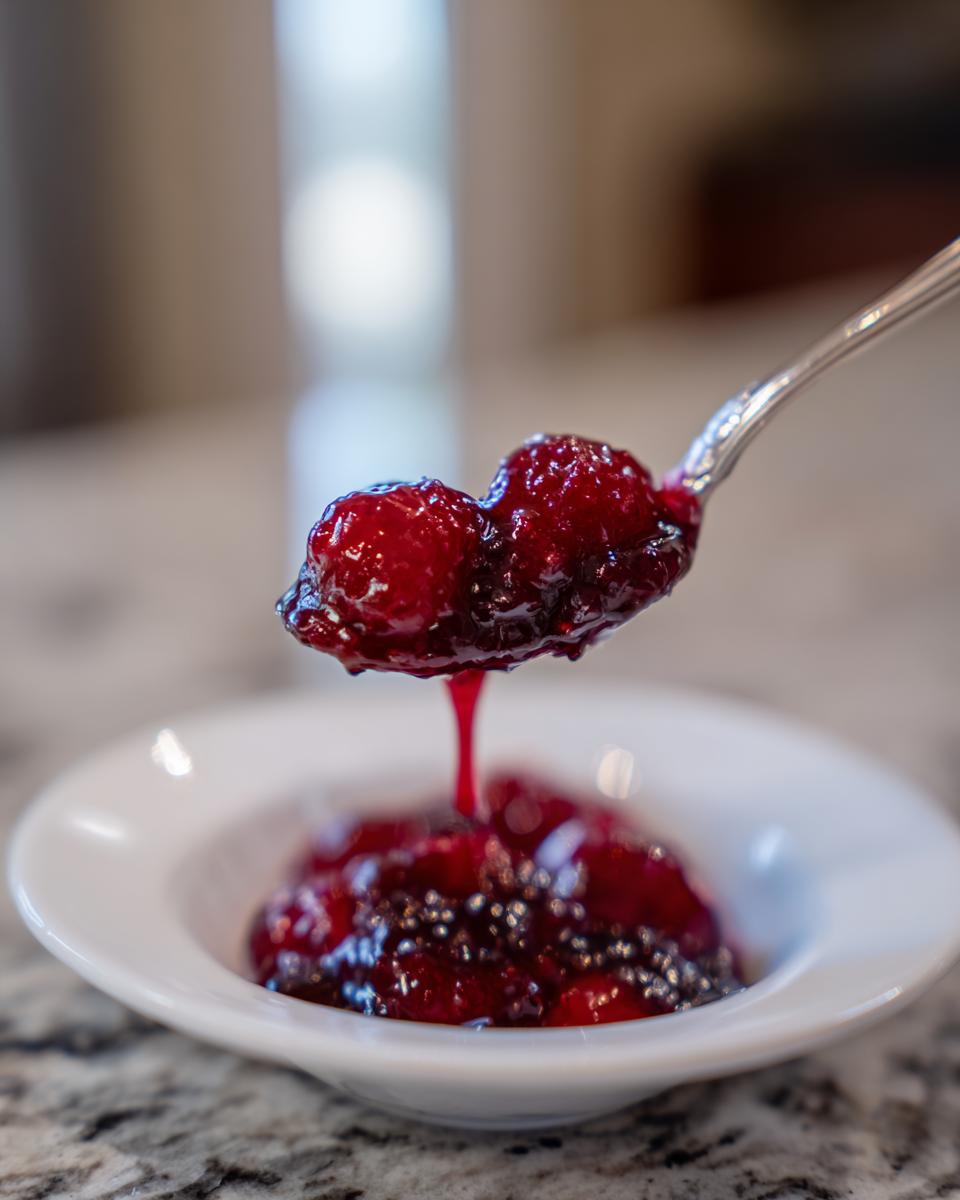
Honestly, making this jam-like sludge once means you’ve got dessert covered for a week! Just because we call it *pie* filling doesn’t mean it has to stay locked in a crust. If you’ve made a batch of this **versatile cherry filling for desserts**, you are sitting on a goldmine. It’s so much fresher and brighter than the stuff you buy in those metal cans.
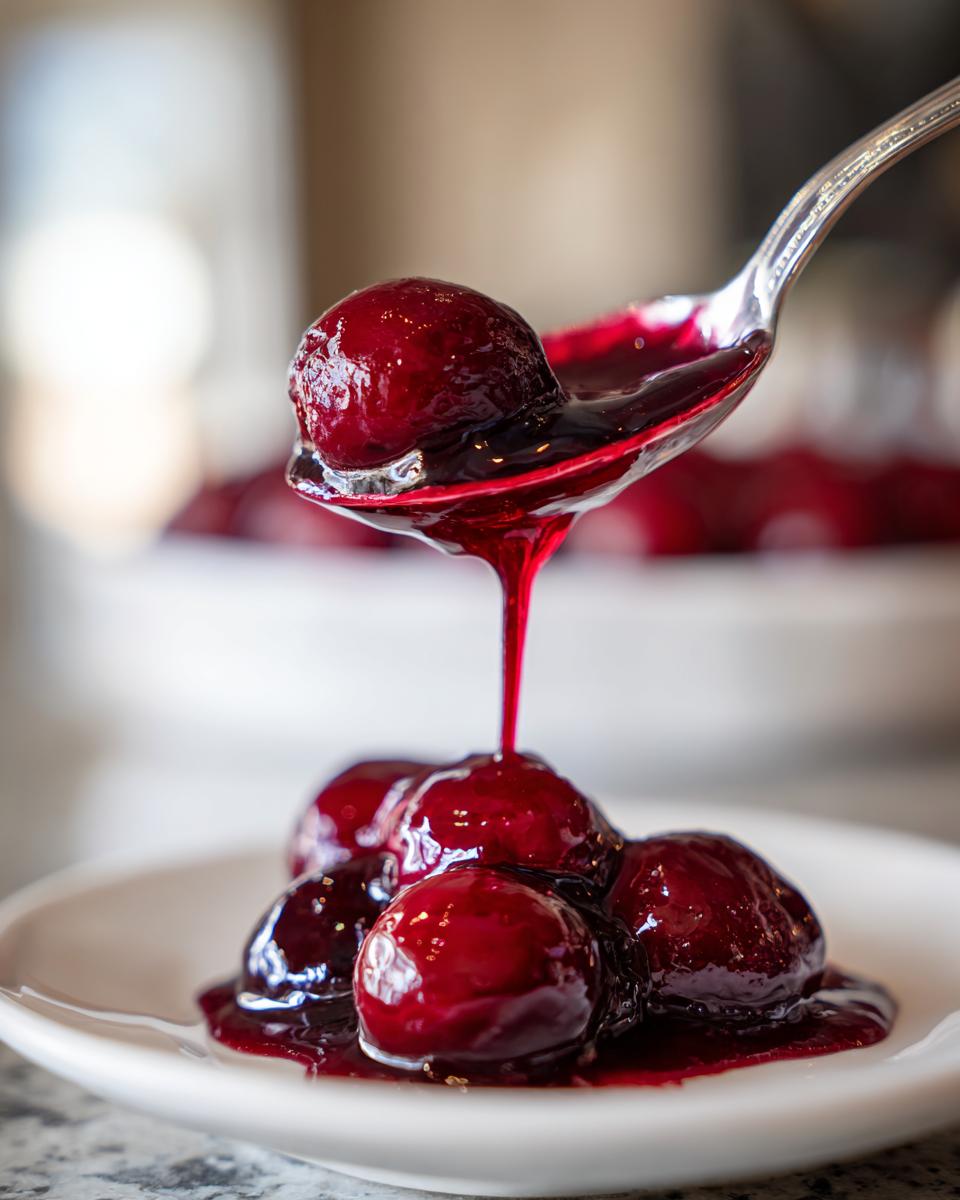
This is your secret weapon for instant gratification. Need to dress up plain vanilla ice cream tonight? Boom, instant sundae. Planning a weekend brunch? This makes an amazing, thick **how to make cherry topping** for waffles or French toast. My absolute favorite way to use the leftovers, though, is spooned generously over a slice of cheesecake—seriously, try it over my creme brulee cheesecake recipe! It’s just so easy to elevate simple things when you have this bright, tart topping ready to go.
Don’t forget yogurt or cottage cheese in the morning! This makes a fantastic sweet boost for breakfast parfaits. We’ve engineered this recipe to be so stable and tasty that it works perfectly across all these uses. If you’re looking for other easy flavor boosters, check out my guide on creamy peanut sauce, because flavor hacks are my jam!
Canning Cherry Pie Filling for Long-Term Storage
Now, I know what some of you serious batch-cookers are thinking: can I put this beautiful **cherry pie filling** away for later? Yes, you absolutely can! We love that idea of preserving summer cherries for when the snow is flying. However, when we start talking about canning, we have to switch gears immediately and become super serious about safety. This isn’t Grandma’s kitchen where we just guess! When you are doing any kind of water bath canning, especially with fruit fillings like this, you must follow tested, official guidelines.
Leo is dead set on making sure everyone follows established food safety procedures, so I can’t give you the exact timings here—they change based on altitude and jar size, and we don’t want anyone getting sick from guesswork! If you are ready to seal up jars of this amazing homemade goodness, you need to consult current USDA guidelines for preserving fruit fillings. It’s crucial for safe **canning cherry pie filling** that lasts!
If you’re interested in learning more practical canning steps or seeing how others approach this, check out this guide on canning cherry pie filling for more context on the process. Just remember to always verify those processing times with official, recent sources before you seal those jars!
Storage and Reheating Instructions for Your Cherry Pie Filling
Since we skipped that canned stuff that sits on the shelf forever, we need to know how to store our fresh, glorious homemade filling correctly. Storing your batch properly means you can have pie filling on demand whenever dessert strikes! It’s super easy to keep this on hand, which totally supports the idea of never having to buy that weird can again.
In the fridge, airtight container is your best friend. Because we made this **easy cherry filling from scratch** using cornstarch instead of heavy levels of sugar or preservatives, it lasts really well, usually up to two weeks. Just make sure it’s completely cooled down before sealing it up tight; putting hot food in the fridge gives me the jitters about potential temperature spills!
Freezing Your Homemade Cherry Pie Filling
If you made your **quick cherry pie filling** recipe double-batch style like Leo always does, freezing is the way to go! The key here is to prevent those nasty ice crystals from forming and damaging the texture. You want this filling to be perfectly thick when it thaws, right?
Here is my trick: let the filling cool completely on the counter first. Then, portion it out into heavy-duty freezer bags. Lay those bags flat on a baking sheet in the freezer until they are solid—this keeps them from turning into awkward, rectangular bricks later! Once they are rock hard, you can stack them neatly in a bin. This method keeps the filling tasting fresh for about four to six months. When you pull one out, just thaw it slowly in the fridge overnight, and it’s ready to scoop!
Reheating Tips for Pie or Topping Use
If you are using the filling hot—say, pouring it over a biscuit or using it for a warm pie filling—reheating is quick. Pop the portion you need into a small saucepan over low heat. You just want to warm it through gently; don’t boil it vigorously once it’s thawed or cooled, or you risk thinning the starch out too much. A minute or two on low heat is usually plenty to get it nice and loose again. If it seems just a touch too thick after warming, throw in a teaspoon of water or juice while stirring until you hit the perfect level of gooeyness!
Frequently Asked Questions About Cherry Pie Filling
Okay, I know when you nail a recipe like this amazing **homemade cherry pie filling recipe**, you get a million questions! It’s totally normal. People worry about changing ingredients or using it in non-pie applications, but don’t stress. We’ve covered the basics, but here are the quick answers to the questions I get most often about getting this filling just right.
Can I use fresh cherries instead of frozen for this cherry pie filling?
Oh, absolutely! If you have access to beautiful, perfectly ripe fresh cherries, go for it! Just be prepared for a little extra manual labor because you must pit every single one—it’s a mandatory first step! Fresh ones can sometimes be a little juicier than the frozen cubes, so keep an eye on your cornstarch slurry. You might need to add just a tiny bit more to get that perfect thickness we talked about. It’s worth the effort for the super fresh taste!
How do I make the filling sweeter or more tart?
This is all about customizing your **sweet tart cherry filling** experience! If your cherries are naturally very tart (which I love!), feel free to add an extra tablespoon or two of sugar while they cook. If you want that extra zing back—especially if you used sweet cherries—just increase your lemon juice slightly. A little more acidity brightens up all those sweet cherry flavors beautifully. It’s all about tasting as you go near the end!
What is the best way to use this as a Quick Cherry Pie Filling topping?
When using this as a topping instead of a pie filling, cooling is actually where you decide the texture! If you want a warmer topping—say, for pancakes or waffles—you just need to let it simmer until it’s thick, then take it off the heat and let it sit for about five minutes. It will still be warm and pourable but won’t be soupy. If you’re drizzling it over something cold, like ice cream or cheesecake (you should seriously try it on cheesecake!), let it cool completely until it sets up nicely. That’s how you get a really substantial dollop!
And speaking of flavor adjustments, if you want to learn how to balance sweet and tart in simple syrups for drinks, take a peek at my guide on simple syrup!
Estimated Nutrition for This Cherry Pie Filling
Now, I’m not a registered nutritionist—I’m just a guy who loves efficient cooking—so please remember these numbers are my best estimate based on the standard ingredients list for this recipe! Since we aren’t using tons of weird stuff, the estimates are pretty straightforward. These figures are based on the recipe yielding about three cups, and we’re calculating the nutrition for a standard half-cup serving.
You can see that we’re getting a good amount of energy from the sugar, which is totally expected in a dessert topping, but keeping the fat and protein very low. This is just the basic breakdown based around frozen sweet cherries and sugar. If you swap in tart cherries or use slightly less sugar, those numbers will shift a little, naturally.
- Calories: Around 220 per serving
- Total Carbohydrates: About 55 grams
- Total Sugar: Approximately 35 grams
- Total Fat: Practically zero—just 0g!
- Protein: A small boost at 1 gram
Basically, this is a delicious, fruit-based treat that tastes leagues better than the canned stuff without adding heavy fats or complex ingredients. Perfect for a dollop on Greek yogurt or over that slice of cheesecake we talked about!
PrintEasy Homemade Cherry Pie Filling From Scratch

Make thick, juicy cherry pie filling using frozen cherries. This simple recipe skips the canned stuff and works perfectly for pies, cheesecakes, or as a dessert topping.
- Prep Time: 5 min
- Cook Time: 10 min
- Total Time: 15 min
- Yield: About 3 cups 1x
- Category: Dessert Topping
- Method: Stovetop Cooking
- Cuisine: American
- Diet: Vegetarian
Ingredients
- 4 cups frozen sweet or tart cherries (pitted)
- 1 cup granulated sugar
- 1/4 cup cornstarch
- 1/4 cup water
- 1 tablespoon lemon juice
- 1/2 teaspoon almond extract (optional)
Instructions
- Combine the frozen cherries and sugar in a medium saucepan. Let the mixture sit for 10 minutes to draw out some liquid.
- In a small bowl, whisk together the cornstarch and water until smooth to create a slurry.
- Place the saucepan over medium heat. Bring the cherry mixture to a gentle simmer, stirring occasionally.
- Slowly pour the cornstarch slurry into the simmering cherries while continuously stirring.
- Continue to cook, stirring constantly, until the filling thickens significantly, about 2 to 4 minutes. It should coat the back of a spoon.
- Remove the pan from the heat. Stir in the lemon juice and almond extract, if using.
- Allow the cherry pie filling to cool completely before using it in your pie crust or as a topping. Cooling will help it set to the proper thickness.
Notes
- If you use fresh cherries, ensure they are pitted before starting the recipe.
- For a sweeter filling, increase the sugar slightly. For a tarter flavor, use more tart cherries or add an extra teaspoon of lemon juice.
- This filling is excellent as a topping for pancakes, waffles, or vanilla ice cream.
- For canning, follow standard safe canning procedures for fruit fillings, processing in a water bath canner.
Nutrition
- Serving Size: 1/2 cup
- Calories: 220
- Sugar: 35g
- Sodium: 2mg
- Fat: 0g
- Saturated Fat: 0g
- Unsaturated Fat: 0g
- Trans Fat: 0g
- Carbohydrates: 55g
- Fiber: 3g
- Protein: 1g
- Cholesterol: 0mg