
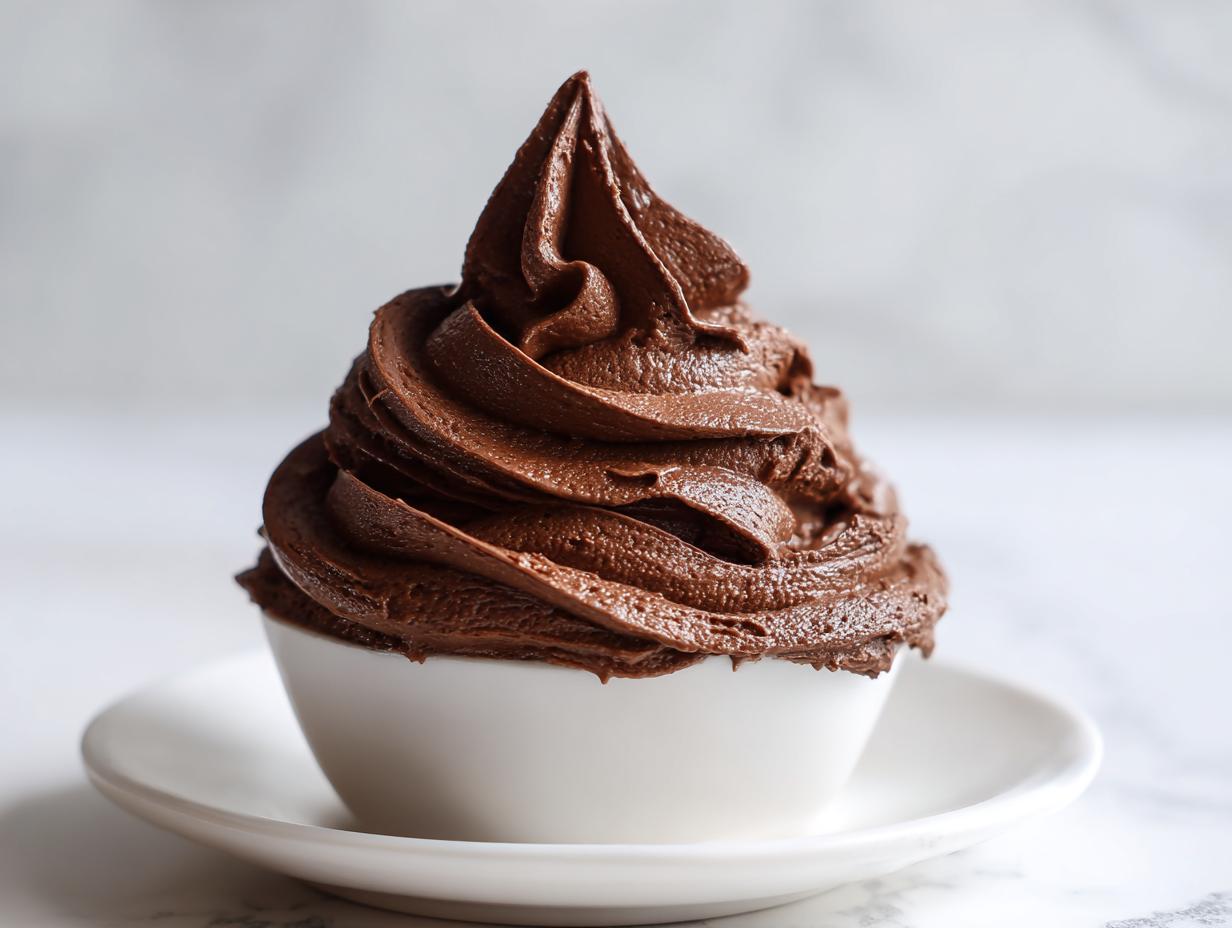
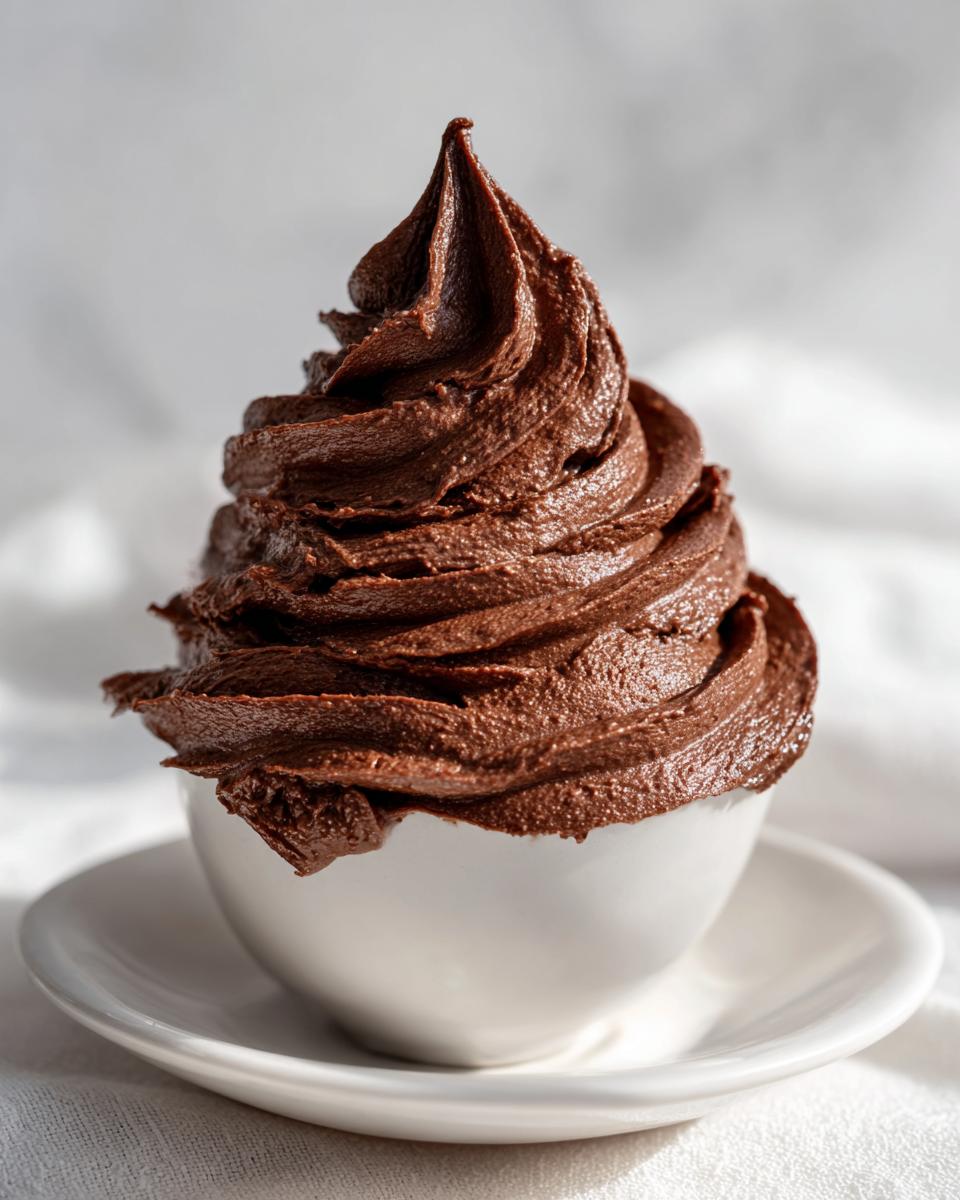
Oh, the tragedy of a dry, crumbly, or just plain boring topping! I’ve been there, staring at a beautiful cake that deserves better, crowned with some sad, waxy jarred stuff. Trust me, we aren’t doing that here. If you need a show-stopping **chocolate frosting** that looks professional but is secretly super easy, you’ve found your holy grail. This recipe is designed around Leo Grant’s philosophy here at Dishicious: high flavor, minimal fuss. We skip the candy thermometer and the strange ingredients. What you get in about 10 minutes is the **best chocolate frosting** you’ll ever make—it’s rich, wonderfully fluffy, and honestly, it gets this incredible glossy sheen that just screams ‘eat me.’
- Why This Is the Best Chocolate Frosting Recipe
- Ingredients for Your Homemade Chocolate Frosting
- How to Prepare Fluffy Chocolate Frosting Step-by-Step
- Tips for the Perfect Chocolate Buttercream Frosting
- Using Your Rich Chocolate Frosting on Desserts
- Storage and Make-Ahead for Chocolate Frosting
- Frequently Asked Questions About Chocolate Frosting Recipe
- Estimated Nutritional Data for This Chocolate Frosting
- Share Your Experience with This Chocolate Frosting
Why This Is the Best Chocolate Frosting Recipe
Why settle for mediocre when you can have perfection in ten minutes flat? This doesn’t just happen by accident, though. We pay attention to the small stuff—the ingredients have to be right, and the technique has to be solid. That creamy, deeply flavored, and genuinely **fluffy chocolate frosting** you dream about? It’s right here, and it’s ready faster than you can decide which candle to put on your cake!
When you follow these steps, you unlock that amazing texture. It’s reliable, it’s straightforward, and it always works. If you’re making a triple-layer decadent treat, you’ll want to double up this recipe, maybe even check out our ideas for a full death by chocolate cake!
Quick Frosting Recipe Attributes
This is the ultimate **easy chocolate frosting** because we follow the Dishicious philosophy: zero fuss, maximum flavor. You absolutely do not need to melt anything or stand over a stove wondering if you’re burning your cocoa—nope! This process is entirely mechanical. We rely on proper creaming and sifting to build structure, meaning you get consistent, **rich chocolate frosting** without any stove-top drama.
- Only takes about 10 minutes from start to finish.
- Uses simple baking essentials you probably already have.
- Creates that coveted light and airy texture instantly.
Ingredients for Your Homemade Chocolate Frosting
The secret to stopping store-bought frosting in its tracks is simple: good ingredients handled properly. We don’t mess around with weird stuff here; these are the basics that create magic.
- 1 cup unsalted butter, softened (This has to be soft, friend!)
- 3 1/2 cups powdered sugar, sifted (Sifting is non-negotiable, trust me!)
- 1/2 cup unsweetened cocoa powder, sifted
- 1 teaspoon vanilla extract
- 3 to 5 tablespoons milk or heavy cream (We’ll talk about cream later!)
- 1/4 teaspoon salt
If you’re making fancy cookies this week, just remember to prep your butter ahead of time!
Ingredient Notes and Substitutions for Chocolate Frosting
Using unsalted butter is important so *I* control the salt level, which is key for flavor balance. Now, about that liquid: the recipe calls for milk, but if you grab heavy cream instead of any milk, you’ll automatically get a richer, silkier mouthfeel, pushing you further into that amazing **chocolate buttercream frosting** territory.
Also, please, please sift that cocoa powder! Cocoa powder loves to clump up into tiny, gritty rocks, and we want zero surprises in this beautiful, smooth finish. Sifting ensures you get that velvety look we are aiming for!
How to Prepare Fluffy Chocolate Frosting Step-by-Step
You’ve got your ingredients measured—good job! Now it’s time for the mixer magic, and this is where we unlock that wonderful fluffiness. Seriously, treat your mixer well during this process; it’s doing all the heavy lifting here to make this **homemade chocolate frosting** perfect.
- First up, we beat the softened butter by itself until it looks light and creamy. You want to whip air into that fat first!
- Next, turn the mixer down low—this is important so you don’t create a powdered sugar snowstorm in your kitchen! Gradually add your sifted sugar and cocoa powder until they are just incorporated.
- Once mixed, add the vanilla and a modest 3 tablespoons of milk or cream. Then, turn the speed up to medium-high and let it run for a full 3 minutes. That’s the key to the *fluffy* factor!
- If your dough is stiff, just drizzle in a little more liquid, a teaspoon at a time, until you hit that perfect spreading consistency.
- Finally, toss in the salt and beat it for one more minute. This final minute of aggressive mixing is what really helps bring that beautiful shine to the surface.
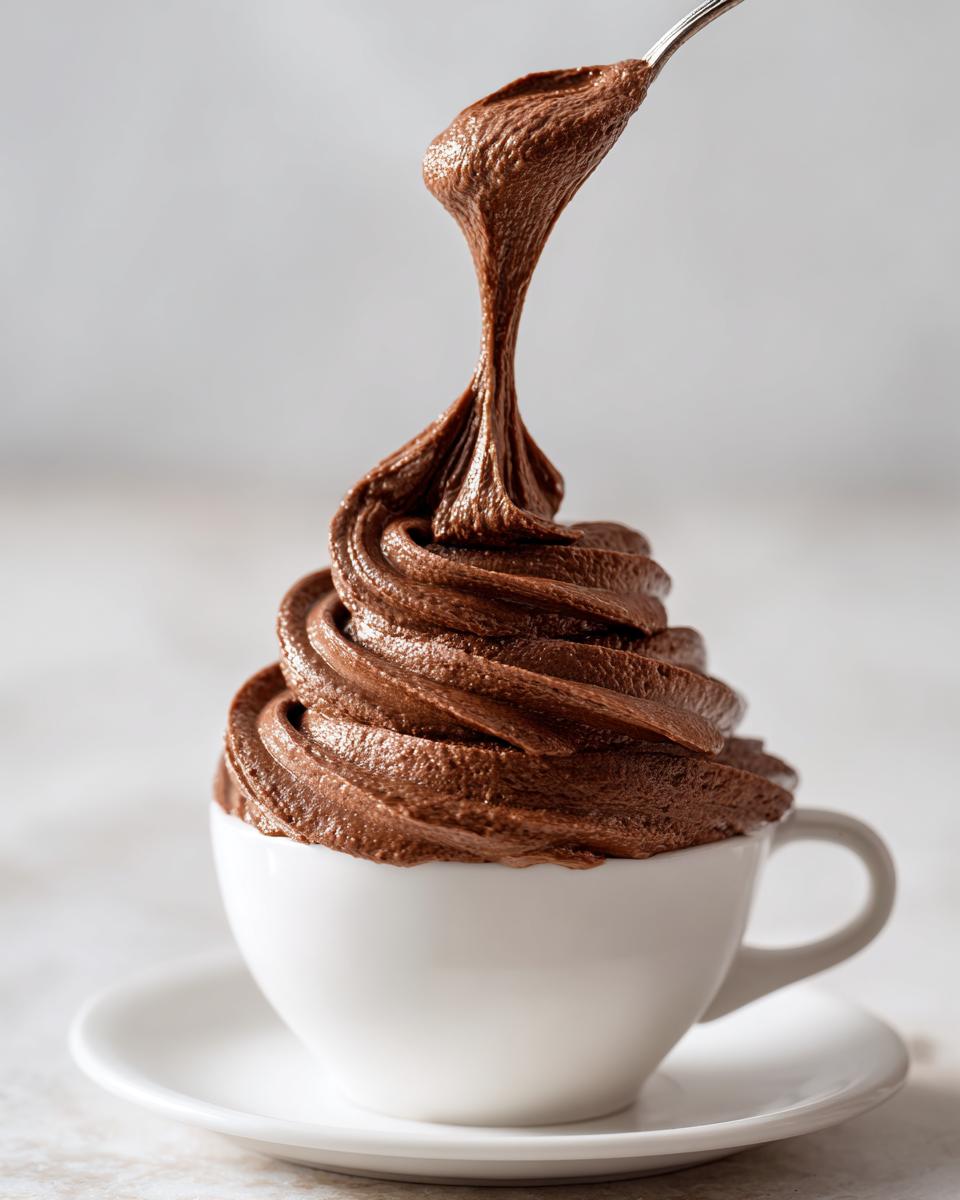
Achieving the Glossy Chocolate Frosting Finish
That final minute of beating after adding the salt? Don’t skip it! That’s pure technique at work. When you vigorously beat the mixture again at the end, you are whipping tons of tiny air bubbles into the fat matrix. More air means better light reflection, which is how we trick everyone into thinking we spent hours laboring over this **glossy chocolate frosting**.
If you’re making something truly special, maybe even our hot buttered mini donuts, using heavy cream here instead of milk really helps stabilize those glossy air pockets too. It makes for a stunning **chocolate cake topping**!
Tips for the Perfect Chocolate Buttercream Frosting
Even with an easy chocolate frosting recipe, sometimes things go slightly sideways in the kitchen, right? That is totally normal! Based on the notes my team keeps, here are the little tricks we use to keep this **homemade chocolate frosting** reliably excellent every single time. Think of this section as your secret troubleshooting guide!
First off, if you want a slightly denser profile—maybe you’re frosting brownies and don’t need a giant fluffy swirl—just pull back on the liquid. If you use only 3 tablespoons of milk instead of reaching for the full 5, you’ll end up with a wonderfully rich texture that holds its shape perfectly.
And what if humidity gets the best of you? If your frosting starts looking a little too soft while you’re spreading it? Don’t panic! Just pop the whole mixing bowl into the fridge for about 10 minutes. Chilling the bowl helps firm everything up beautifully. You’re looking for that sweet spot where it’s spreadable but still cool. For more basic kitchen stability tips, check out how we keep our mashed potatoes perfectly creamy!
Finally, I want to remind you again about sifting the sugar and cocoa. That might seem tedious, but it’s critical for avoiding lumps when getting that super smooth finish. It saves you having to over-mix later, which prevents the frosting from breaking!
Using Your Rich Chocolate Frosting on Desserts
Okay, now that we have this incredibly **rich chocolate frosting**, where should it go? Honestly, anywhere you want chocolate! This mixture is sturdy enough for a big birthday layer cake, but it’s fast enough that I often just make a batch when I have leftover brownies.
I personally think this **chocolate cake topping** shines the brightest on a simple, slightly tangy cake—like a yellow cake or even a chocolate chip loaf cake—just so the frosting can really be the star. It’s also phenomenal piled high on fudgy treats. If I’m making those sweet potato brownies, this is the only topping I ever use; it cuts through the richness just perfectly.
Cupcake Frosting Ideas with This Easy Chocolate Frosting
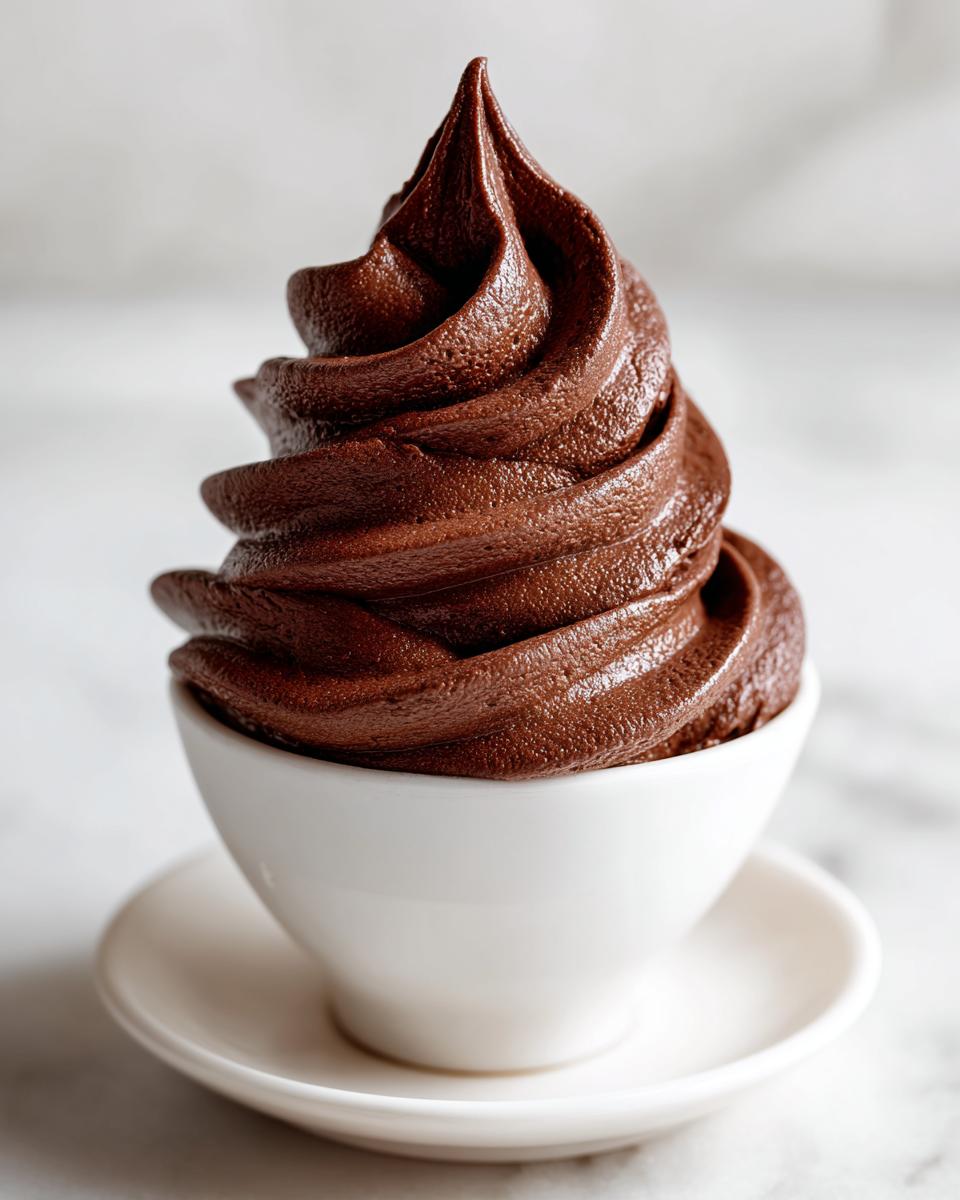
Because we made a true buttercream base, this frosting holds its shape beautifully, which is great news for anyone who wants those professional swirls! You don’t need any stabilizers here.
When piping cupcakes, just make sure your frosting is at that perfect medium consistency—not too soft. If you want tall swirls, use a large star tip. For the easiest application, though, grab an offset spatula. You get a lovely, rustic look by just gently spreading it onto your cooled treats. It turns any plain vanilla or chocolate cupcake into something spectacular, even if you need a quick dessert topping for those cheesecake buns later!
This **easy chocolate frosting** is truly your go-to for quick decorating.
Storage and Make-Ahead for Chocolate Frosting
Now, unless you plan on eating this entire batch of frosting right now—which, no judgment if you are!—you’ll need to know how to keep it fresh. This **homemade chocolate frosting** lasts wonderfully! If you have leftovers, just pop that bowl into an airtight container and keep it in the fridge for up to a week.
The only catch with cold buttercream is that it stiffens up, right? That’s normal for any butter-based icing; it’s just protecting itself! Before you use it again, you absolutely must let it sit out on the counter until it’s room temperature, usually about an hour. Then, give it a quick 30-second beat with the mixer to bring back that silky smoothness. You could even try freezing small portions if you want to keep it longer than a week—it’s great for emergency baking needs!
If you are whipping up a double batch for a big event, try freezing the unfrosted cupcakes instead, maybe prep some easy crockpot candy for the side. But keeping the frosting fresh is simple once you know the trick to waking it up!
Frequently Asked Questions About Chocolate Frosting Recipe
I know you have questions! When you’re looking for the **best chocolate frosting**, you want to make sure you nail the texture and flavor profile you’re after. Since we designed this recipe to be so fast and easy, people often ask how to tweak it for different results. It’s all about adjusting the liquid levels, which is where the magic happens.
Can I make a fudgy chocolate frosting instead of buttercream?
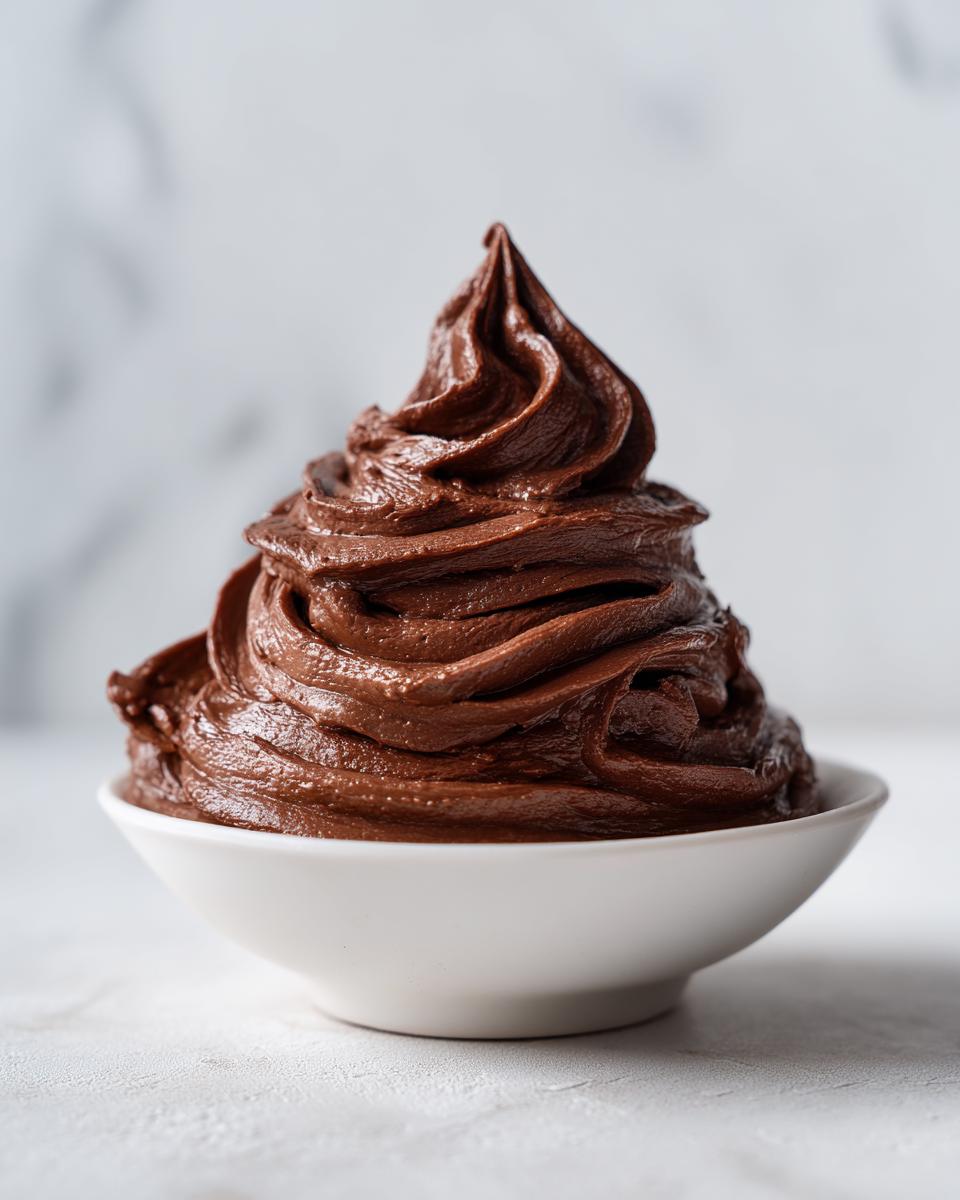
You absolutely can lean it toward being a **fudgy chocolate frosting**! Remember those 3 to 5 tablespoons of milk or cream we added? If you stick strictly to the lower end—maybe just 3 tablespoons total—you’re using less liquid, which means less fluffiness and a denser, richer texture that feels more fudgy on the palate. It’s a simple swap that gives you a whole new version of this great **chocolate frosting recipe**!
What makes this chocolate frosting recipe so glossy?
That beautiful sheen comes down to air and fat ratios! Once we get all the dry ingredients mixed in, we beat that mixture aggressively on high speed for those 3 minutes, plus that final minute after the salt goes in. That extended whipping time incorporates the maximum amount of air into the butter and sugar base. More air reflects light better, giving you that **glossy chocolate frosting** finish we love. It’s totally foolproof!
Is this a no bake chocolate frosting?
Yes, 100% yes! This is one of the best things about this specific **quick frosting recipe**—there is zero cooking involved whatsoever. It’s a classic mixing method, which means you can whip this up while your cakes are cooling and have it ready to go almost instantly. It’s truly a **no bake chocolate frosting** option, perfect for busy weeknights. If you’re interested in other simple, no-fuss desserts, you should check out my chia pudding recipe for a healthier option!
Estimated Nutritional Data for This Chocolate Frosting
Listen, I’m going to be honest: this **chocolate frosting** is made primarily of butter, sugar, and cocoa, so it’s definitely a treat! If you’re planning to spread this thick on every surface, you’ll want to keep track. I always say that the most important thing is joy, but knowing the details helps when you’re sharing with friends and family. These numbers are based on standard ingredient measurements and are just estimates for a 1/4 cup serving size, so treat them as a general guideline for your **chocolate dessert toppings**!
- Serving Size: 1/4 cup
- Calories: 320
- Sugar: 40g
- Fat: 18g (including saturated fat)
- Carbohydrates: 42g
- Protein: 2g
It’s rich, it’s decadent, and it’s definitely the reward you deserve after making a perfect cake!
Share Your Experience with This Chocolate Frosting
So there you have it! My absolute favorite, can’t-live-without-it recipe for **chocolate frosting**. Now that you’ve whipped up that beautiful batch of **fluffy chocolate frosting**, I really want to hear about it!
Did you use it on a cake, cupcakes, or maybe even warmed slightly as a drizzle for ice cream? Tell me!
Did you find it as quick and reliable as I do? Drop a rating below—you know, so the next person scrolling realizes they absolutely have to try this **simple chocolate icing**! Every baker here relies on community feedback to know which recipes truly stick around, and I want to see what you’ve created.
If you have any lingering questions or fantastic tips you discovered while making this recipe, please leave them in the comments. Don’t be shy; we’re all just home cooks figuring out smarter ways to eat well! And if you ever want to send a personal note or suggestion that isn’t quite right for the comments section, you can always reach out to me directly through the contact page.
PrintQuick and Easy Chocolate Buttercream Frosting
Make a rich, fluffy, and glossy chocolate buttercream frosting using simple pantry ingredients. This recipe is fast to prepare and perfect for cakes and cupcakes.
- Prep Time: 10 min
- Cook Time: 0 min
- Total Time: 10 min
- Yield: About 3 cups 1x
- Category: Dessert Topping
- Method: Mixing
- Cuisine: American
- Diet: Vegetarian
Ingredients
- 1 cup unsalted butter, softened
- 3 1/2 cups powdered sugar, sifted
- 1/2 cup unsweetened cocoa powder, sifted
- 1 teaspoon vanilla extract
- 3 to 5 tablespoons milk or heavy cream
- 1/4 teaspoon salt
Instructions
- Beat the softened butter in a large bowl with an electric mixer until it is light and creamy.
- Gradually add the sifted powdered sugar and cocoa powder to the butter mixture, beating on low speed until combined.
- Add the vanilla extract and 3 tablespoons of milk or cream. Increase the mixer speed to medium-high and beat for 3 minutes until the frosting is fluffy.
- If the frosting is too thick, add the remaining milk or cream, one teaspoon at a time, until you reach your desired spreading consistency.
- Beat in the salt. Continue beating for one more minute to incorporate air and make the frosting glossy.
- Use immediately to frost your cooled cakes or cupcakes.
Notes
- For a fudgier texture, reduce the amount of milk or cream used.
- Sift the powdered sugar and cocoa powder to prevent lumps in your finished frosting.
- If the frosting becomes too soft while working, chill the bowl for 10 minutes before continuing.
Nutrition
- Serving Size: 1/4 cup
- Calories: 320
- Sugar: 40g
- Sodium: 45mg
- Fat: 18g
- Saturated Fat: 11g
- Unsaturated Fat: 7g
- Trans Fat: 0.5g
- Carbohydrates: 42g
- Fiber: 1g
- Protein: 2g
- Cholesterol: 45mg