

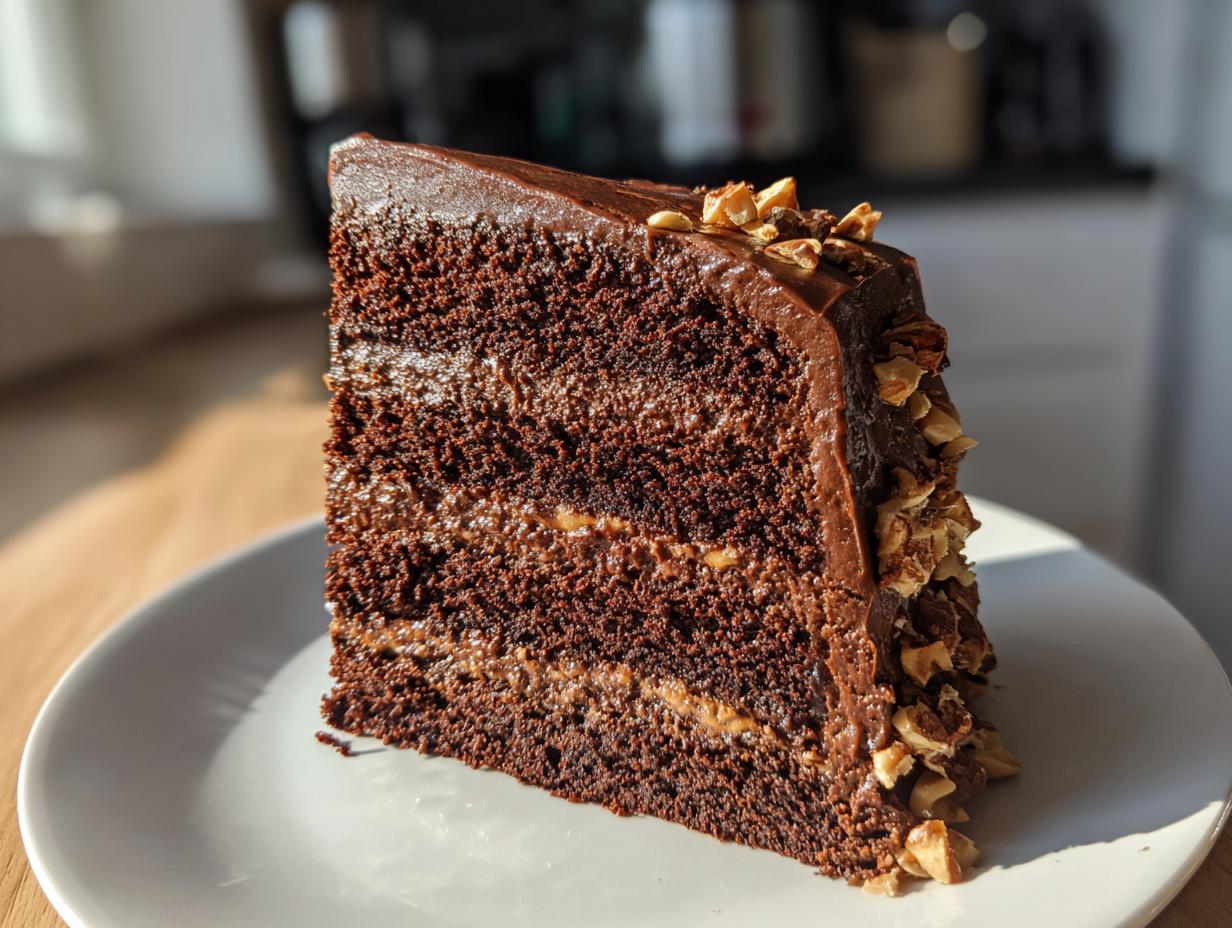
When a milestone hits—graduation, big birthdays, anniversaries—you deserve a showstopper. Forget the stress; this chocolate hazelnut cake is here to prove that truly decadent celebration baking doesn’t have to take three days. I’m Leo Grant, and when I first started Dishicious, it was because I wanted the big, impressive results without the project management nightmare. Baking felt too complicated for busy weeknights, let alone major events. So I streamlined the process. This isn’t just a cake; it’s rich, multi-layered chocolate sponge meets crunchy, creamy hazelnut praline. It looks like it took 12 hours, but trust me, we engineered this to be achievable.
- Why This Chocolate Hazelnut Cake is Your Next Celebration Centerpiece
- Ingredients for the Ultimate Chocolate Hazelnut Cake
- Step-by-Step Instructions to Bake Your Chocolate Hazelnut Layer Cake
- Expert Tips for a Perfect Chocolate Hazelnut Cake
- Ingredient Spotlight: Mastering Hazelnut Praline Paste
- Storage and Make-Ahead Strategies for Your Chocolate Hazelnut Cake
- Serving Suggestions for This Decadent Dessert
- Frequently Asked Questions About the Chocolate Hazelnut Cake
- Sharing Your Success with This Chocolate Hazelnut Cake
Why This Chocolate Hazelnut Cake is Your Next Celebration Centerpiece
You need a centerpiece for those big moments, right? Something that screams, “This is a special occasion!” This hazelnut cake does exactly that without demanding you live in the kitchen all day. We engineered this recipe for maximum impact and minimal fuss. It’s truly a decadent dessert that delivers on presentation.
- High-Impact Flavor: Deep, dark chocolate paired with toasted nuts makes every bite feel luxurious.
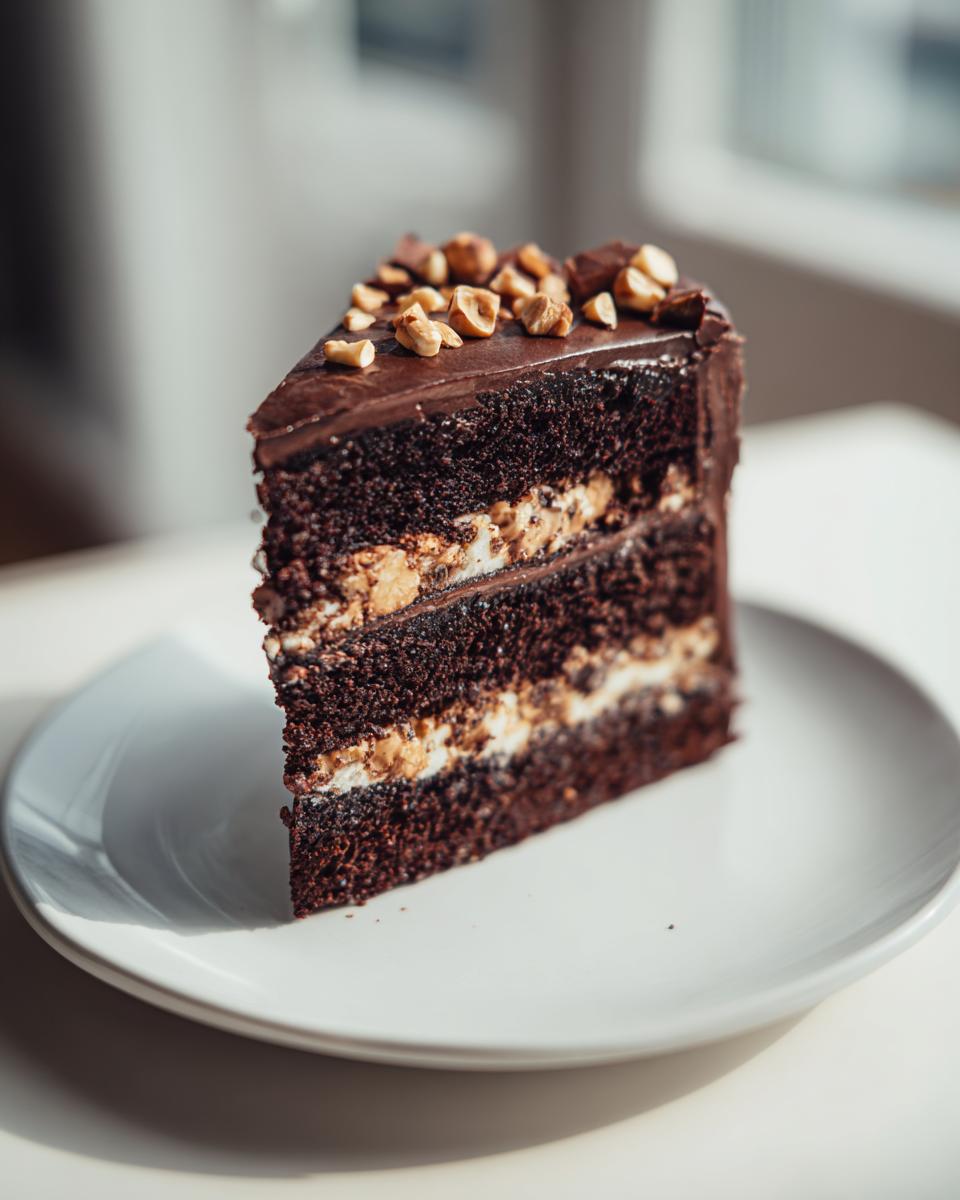
- Impressive Presentation: The clear layers and nutty finish look like something from a fancy bakery window.
- Manageable Steps: While it’s a layer cake, the process is streamlined. We skip fussy steps so you can focus on enjoying your celebration.
When it’s time for the big party, you don’t want shortcuts that compromise taste. You want a reliable recipe that brings the wow factor. Find more simple, show-stopping recipes like this one in the main Dessert Recipes section.
Ingredients for the Ultimate Chocolate Hazelnut Cake
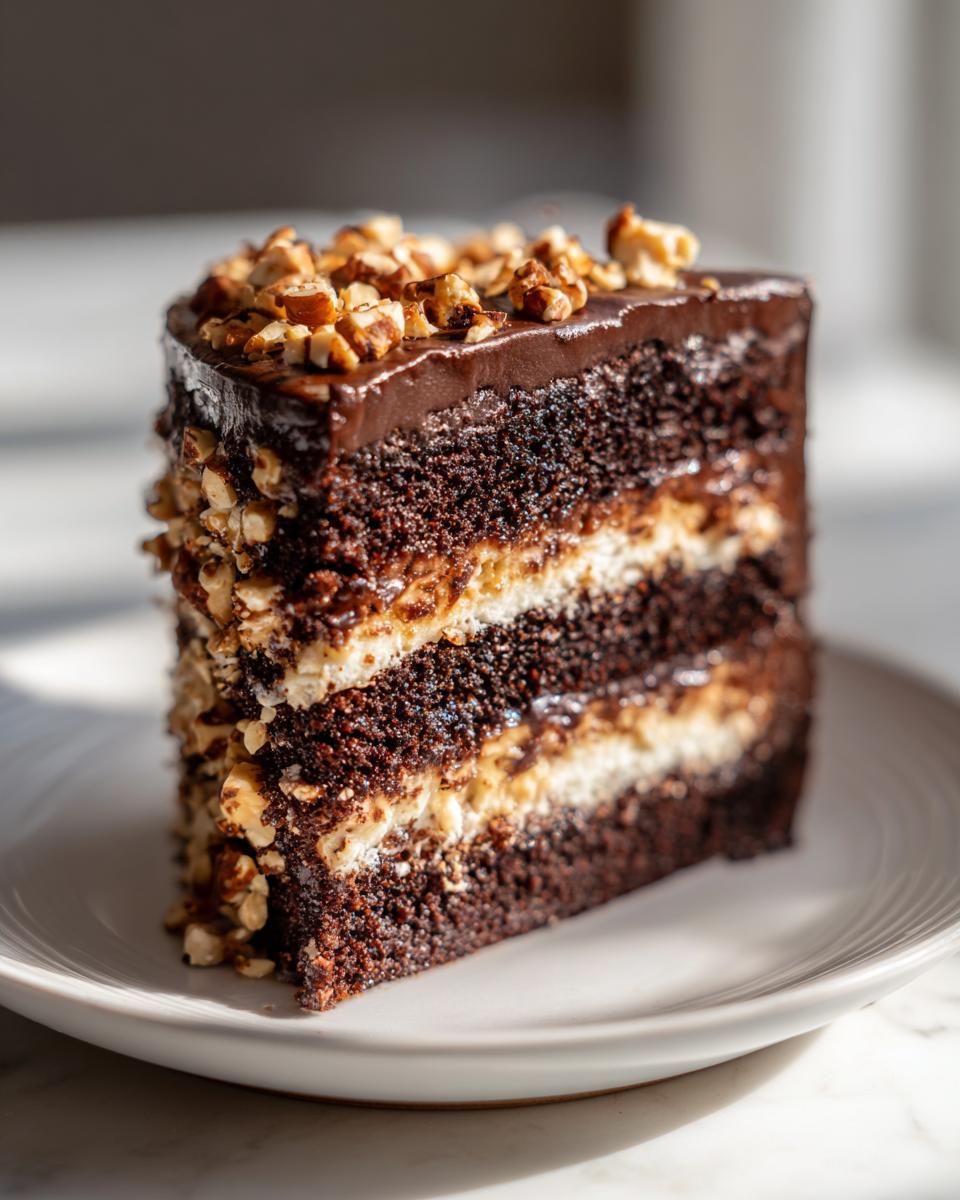
Okay, so we are building a serious cake here, and just like any good project, organization is everything. You can’t just throw things in a bowl! Separating these ingredients ensures we don’t miss that crucial toasted hazelnut or forget the hot coffee—which, trust me, makes this chocolate batter sing. If you’re looking for other incredible chocolate bakes, check out my thoughts on the Ultimate Moist Chocolate Fudge Cake.
For the Rich Chocolate Cake Layers
These are the dry goods first, then the wet mixers, but they come together fast. Remember, the 1 cup of toasted, finely chopped hazelnuts goes right in near the end!
- 2 cups all-purpose flour
- 2 cups granulated sugar
- 3/4 cup unsweetened cocoa powder
- 2 teaspoons baking soda
- 1 teaspoon baking powder
- 1 teaspoon salt
- 1 cup buttermilk
- 1/2 cup vegetable oil
- 2 large eggs
- 1 teaspoon vanilla extract
- 1 cup hot brewed coffee
- 1 cup toasted, finely chopped hazelnuts (for cake layers)
For the Hazelnut Praline Filling and Chocolate Frosting
This second list covers everything that makes this Chocolate hazelnut layer cake special—that sweet, crunchy paste and the smooth buttercream to hold it all together. Make sure your butter is softened!
- 1 cup unsalted butter, softened (for frosting)
- 4 cups powdered sugar (for frosting)
- 1/2 cup heavy cream (for frosting)
- 1 teaspoon almond extract (for frosting)
- 1 cup hazelnut praline paste (for filling)
- 1/2 cup chopped toasted hazelnuts (for garnish)
Step-by-Step Instructions to Bake Your Chocolate Hazelnut Layer Cake
When I look at baking instructions, I see a project timeline. We need to get the oven running first, manage the mixing time so we don’t ruin the texture, and then let things cool properly—that’s non-negotiable for a sturdy layer cake. Once baked, we move onto the frosting while the layers chill out. It’s all about managing capacity. If you’re struggling with timing, check out my easy Chocolate Meringue Pie guide; the ingredient flow management is similar!
Preparing and Baking the Chocolate Cake Layers
First things first: Preheat that oven to 350°F (175°C) and get your two 9-inch pans greased and floured. In your big mixing bowl, whisk the dry stuff—flour, sugar, cocoa, leaveners, salt—just to break up any cocoa clumps. Now, add the buttermilk, oil, eggs, and vanilla. Mix this on medium speed for exactly two minutes. Don’t go longer, or you’ll invite too much gluten development! The secret step is next: carefully stir in that hot brewed coffee until everything is smooth. That hot coffee really blooms the cocoa flavor, wow. Finally, gently fold in the 1 cup of those chopped hazelnuts. Divide that beautiful batter between your pans and bake for about 30 to 35 minutes. You know it’s done when a wooden pick inserted right in the center comes out clean. Let them cool in the pans for ten minutes only, then flip them out onto the racks to cool completely. Patience here saves you from broken layers later!
Making the Simple Chocolate Frosting
This is straightforward buttercream, streamlined for maximum coverage. Start by beating your softened butter until it’s really creamy—it needs to be pale and fluffy before adding anything else. Now, you’re going to alternate the powdered sugar and the heavy cream, adding them bit by bit. This keeps the frosting stable and smooth. Once it’s mostly mixed in, beat in that teaspoon of almond extract. Almond is subtle here, but it just elevates the whole chocolate experience! You want a texture that’s thick enough to hold its shape but spreadable enough to cover the whole showstopper chocolate hazelnut cake easily.
Assembling Your Decadent Chocolate Hazelnut Layer Cake
Time for the magic! Level those cake tops if they domed—we need flat surfaces here. Put your first layer down on the plate. Now, take that 1 cup of hazelnut praline paste and spread it edge-to-edge. Don’t be shy! This is the gooey, nutty heart of the cake. Carefully place the second layer right on top. Then, it’s frosting time. Cover the top and the sides completely with your chocolate frosting, smoothing it out as best you can. For the grand finale, take that last 1/2 cup of chopped toasted hazelnuts and press them lightly into the sides and sprinkle them over the very top. Pop this beauty in the fridge for about 30 minutes before slicing so the praline layer sets up nicely.
Expert Tips for a Perfect Chocolate Hazelnut Cake
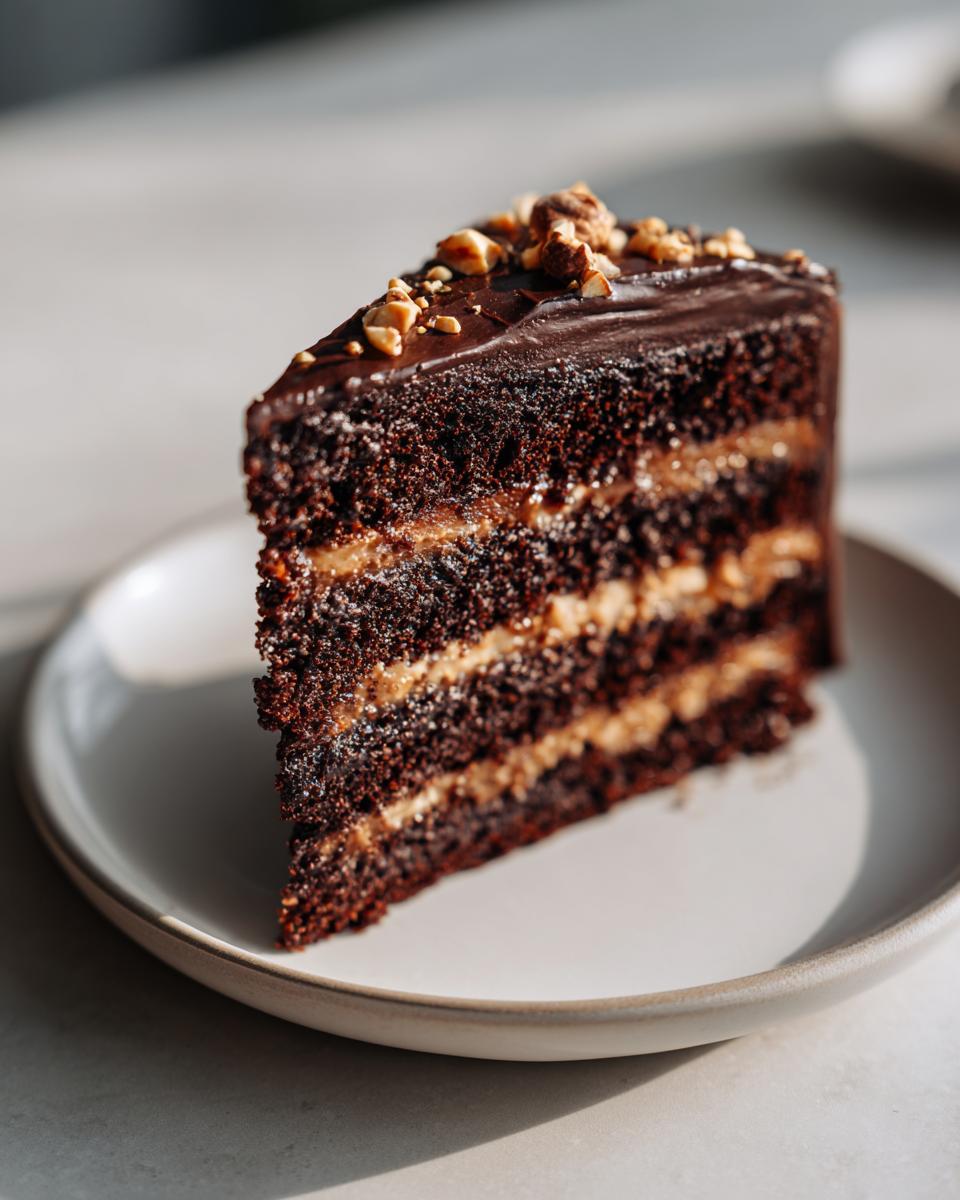
Even streamlined recipes need optimization for perfection! Since this is a big deal cake, let’s nail the details. First, those hazelnuts: always toast them, even if the bag says they’re already toasted. Spread them on a sheet pan at 350°F for about 8 to 10 minutes—watch them like a hawk so they don’t burn! Rubbing them in a clean towel afterward really helps shed those papery skins.
For the deepest chocolate punch, don’t default to natural cocoa powder; use dark cocoa powder. It just adds that extra layer of bitterness to balance the sugar. Also, once the layers are completely cool, level them with a serrated knife if needed. Taking this five-minute step ensures your final layer cake assembly is perfectly straight, which is key for a showstopper.
Ingredient Spotlight: Mastering Hazelnut Praline Paste
Okay, focusing in on the “praline paste” is essential because it’s what takes this from a nice chocolate cake to that incredible chocolate hazelnut cake you’re dreaming of. If you’re short on time, which, let’s be real, is often the case, grab the best quality jarred praline paste you can find. Look for brands that list hazelnuts high up on the ingredient list, not just sugar or oil.
But if you have an extra 20 minutes and want to tackle this from scratch—which I totally encourage for special hazelnut recipes—it’s basically caramelized sugar blended with toasted hazelnuts until it becomes a smooth, luxurious butter. That caramelization brings a depth of flavor that you just can’t fake. This paste does double duty in our layer cake: it adds intense nutty flavor, and its density helps stabilize that middle layer so your cake doesn’t slip and slide when you frost it. A good paste means a perfect structural integrity for this decadent dessert.
Storage and Make-Ahead Strategies for Your Chocolate Hazelnut Cake
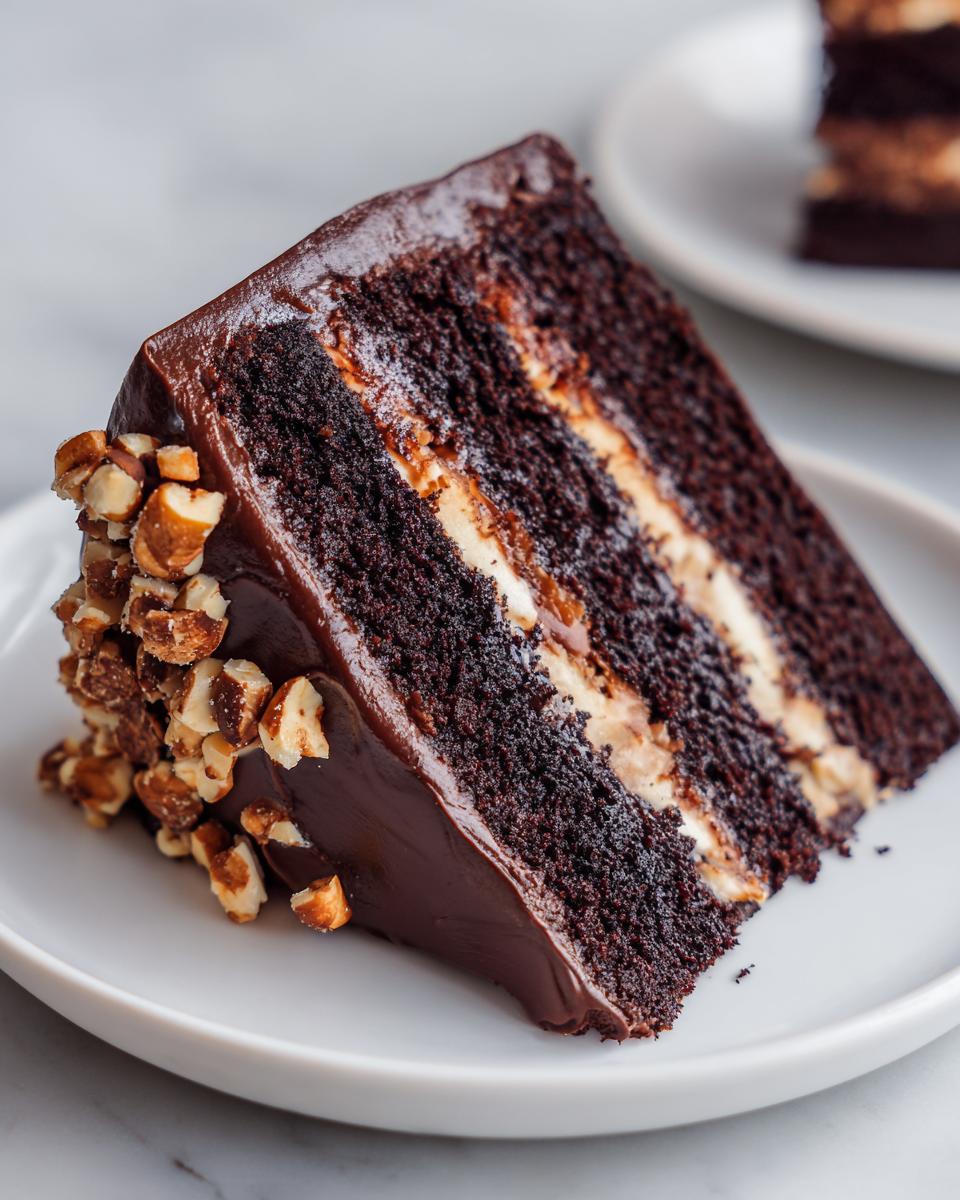
When you are planning a big celebration, you absolutely need to know how to bake ahead. This magnificent chocolate hazelnut layer cake is honestly better when assembled the day before the party, but we have to manage the components smartly.
The cake layers themselves are super sturdy, thanks to that coffee and buttermilk structure! Once they are completely cooled—and I mean stone cold—wrap each layer tightly in plastic wrap. I mean airtight, folks. You can actually bake these up to two days in advance and keep them right on the counter. This is one of those hazelnut recipes that benefits from a little upfront prep.
For assembly, I prefer to layer and frost the day of the event, but if you must do it all the day before, that’s fine! Cover the finished cake loosely with plastic wrap or place it in a cake carrier. Refrigeration is necessary because of the butter in the frosting, but here’s the project tip: don’t serve it straight from the fridge. Cold buttercream is hard, and the cake won’t taste as flavorful! Pull this decadent dessert out about an hour before you plan to slice it so it can come up to room temperature. That hour lets the chocolate soften and the praline filling get perfectly gooey again.
Serving Suggestions for This Decadent Dessert
Now you’ve built this magnificent chocolate hazelnut cake, it’s time for the finishing touch: what are you going to serve alongside it?
Keep the accompaniments elegant and simple; we don’t want anything distracting from that rich chocolate and nutty praline filling. If you are serving this in the afternoon, a simple, excellent cup of coffee is mandatory. The slight bitterness just sings against the sweetness of the frosting.
If you’re looking for something spirited, try a little Baileys or Kahlúa drizzled on the side—I find those creamy liqueurs blend perfectly with the cocoa notes. For something truly fresh, a small scattering of thinly sliced strawberries or raspberries right next to the slice cuts through the richness beautifully. It adds just a pop of color and acidity. If you’re feeling adventurous with your drinks, I highly recommend checking out this Apple Cider Moscow Mule recipe; it’s a great palate cleanser between bites of decadent dessert!
Frequently Asked Questions About the Chocolate Hazelnut Cake
It’s smart to have a quick troubleshooting guide when you’re tackling a major bake like this chocolate hazelnut layer cake. When I scope out a new baking project, I always look for the FAQs first to see where things might go wrong. Don’t worry, this recipe is incredibly reliable, but here are the common things people ask about making any great hazelnut cake.
Can I substitute the hazelnuts in this chocolate hazelnut layer cake?
You absolutely can substitute, but be prepared for a flavor shift! This cake is truly optimized for the specific earthy richness of hazelnuts, especially with that praline paste. If you must swap, pecans are a fantastic, buttery alternative. Almonds work too, but they have a lighter presence. Just make sure you toast whichever nut you choose for that essential deep flavor!
How do I prevent the chocolate cake layers from drying out?
This is key for any good chocolate layer cake! We have two built-in insurance policies here. First, the buttermilk adds necessary acidity and moisture retention. Second, that cup of hot brewed coffee doesn’t just deepen the chocolate flavor; it acts as a fantastic liquid component that helps keep the crumb tender. As long as you don’t overbake past the toothpick test, you’re golden!
Is this recipe suitable for a smaller celebration?
Yes, you can definitely scale this down! When I need less cake, I usually just halve the entire recipe and use two 6-inch round pans instead of the 9-inch ones. Just keep an eye on the oven; the baking time will likely decrease by about 5 to 10 minutes. If you check out my guide for easy no-bake peanut butter bars, you’ll see how easily recipes can be scaled—the principle is the same here for this hazelnut cake.
Sharing Your Success with This Chocolate Hazelnut Cake
Alright, project complete! You’ve baked a stunning, decadent dessert that looks like it cost a fortune. When you finish this chocolate hazelnut cake, I really want to see it! Head over to the main About Page to drop a rating and share a picture of your creation. Show off that beautiful layer cake!
PrintDecadent Chocolate Hazelnut Layer Cake
A rich, multi-layered cake combining deep chocolate sponge with nutty hazelnut praline filling, perfect for a celebration centerpiece.
- Prep Time: 30 min
- Cook Time: 35 min
- Total Time: 65 min
- Yield: 10 servings 1x
- Category: Dessert
- Method: Baking
- Cuisine: American
- Diet: Vegetarian
Ingredients
- 2 cups all-purpose flour
- 2 cups granulated sugar
- 3/4 cup unsweetened cocoa powder
- 2 teaspoons baking soda
- 1 teaspoon baking powder
- 1 teaspoon salt
- 1 cup buttermilk
- 1/2 cup vegetable oil
- 2 large eggs
- 1 teaspoon vanilla extract
- 1 cup hot brewed coffee
- 1 cup toasted, finely chopped hazelnuts (for cake layers)
- 1 cup hazelnut praline paste (for filling)
- 1 cup unsalted butter, softened (for frosting)
- 4 cups powdered sugar (for frosting)
- 1/2 cup heavy cream (for frosting)
- 1 teaspoon almond extract (for frosting)
- 1/2 cup chopped toasted hazelnuts (for garnish)
Instructions
- Preheat your oven to 350°F (175°C). Grease and flour two 9-inch round cake pans.
- In a large bowl, whisk together the flour, sugar, cocoa powder, baking soda, baking powder, and salt.
- Add the buttermilk, oil, eggs, and vanilla extract to the dry ingredients. Beat with an electric mixer on medium speed for two minutes.
- Carefully stir in the hot coffee until the batter is smooth. Stir in the 1 cup of chopped hazelnuts.
- Divide the batter evenly between the prepared pans. Bake for 30 to 35 minutes, or until a wooden pick inserted into the center comes out clean.
- Let the cakes cool in the pans for 10 minutes before inverting them onto a wire rack to cool completely.
- Prepare the frosting: Beat the softened butter until creamy. Gradually add the powdered sugar, alternating with the heavy cream, until smooth. Beat in the almond extract.
- Once the cakes are cool, level the tops if necessary. Place one layer on a serving plate. Spread the hazelnut praline paste evenly over the first layer.
- Top with the second cake layer. Frost the entire cake with the chocolate frosting.
- Garnish the top and sides with the remaining chopped toasted hazelnuts. Chill for 30 minutes before slicing.
Notes
- To toast hazelnuts, spread them on a baking sheet and bake at 350°F for 8 to 10 minutes, watching closely to prevent burning. Rub them in a clean kitchen towel to remove most of the skins.
- For a deeper chocolate flavor, use dark cocoa powder.
- You can make the cake layers one day ahead and wrap them tightly in plastic wrap once cooled.
Nutrition
- Serving Size: 1 slice
- Calories: 550
- Sugar: 65
- Sodium: 250
- Fat: 32
- Saturated Fat: 14
- Unsaturated Fat: 18
- Trans Fat: 0
- Carbohydrates: 68
- Fiber: 3
- Protein: 7
- Cholesterol: 75