
Are you desperately craving that rich, velvety flavor that only a giant slice of peanut butter perfection can cure? Well, stop waiting! This **Easy No-Bake Peanut Butter Pie** is my absolute answer when that craving hits hard and fast—it truly is the ultimate **peanut butter pie** recipe. Forget fussy baking; this is where we apply the Dishicious philosophy. Like the founder Leo Grant taught us, we streamline every step so you get maximum reward with minimum effort. We’re talking about a dessert that comes together in about 20 minutes of real work. You can always read more about how we approach simple, smart cooking over on our About page. Seriously, it’s that straightforward!
- Why This Creamy Peanut Butter Pie is Your New Go-To Dessert
- Gathering Ingredients for the Best Peanut Butter Pie Recipe
- Step-by-Step Instructions for Easy Peanut Butter Pie
- Tips for the Most Perfect Creamy Peanut Butter Pie
- Variations on the Classic Peanut Butter Pie
- Serving Suggestions for Your Peanut Butter Pie
- Storage and Make Ahead Desserts: Keeping Your Peanut Butter Pie Fresh
- Frequently Asked Questions About This Easy Peanut Butter Pie
- Nutritional Estimates for Your Peanut Butter Pie Slice
Why This Creamy Peanut Butter Pie is Your New Go-To Dessert
I know you’re looking for that perfect **No Bake Peanut Butter Pie** that actually tastes incredible, right? Well, look no further! This recipe is designed to solve your dessert dilemma instantly. It’s the answer when you need something fast but don’t want to compromise on flavor. We focus on delivering that rich, **Creamy Peanut Butter Pie** experience.
- No Oven Required: That’s right, zero preheating stress!
- Minimal Active Time: You’re looking at maybe 20 minutes of actual hands-on work.
- Crowd-Pleaser Status: Seriously, who doesn’t love peanut butter and chocolate?
- Make-Ahead Magic: It sets up beautifully in the fridge, making it perfect for parties.
When you’re ready for more incredibly reliable, simple sweets, check out all our best dessert recipes!
Gathering Ingredients for the Best Peanut Butter Pie Recipe
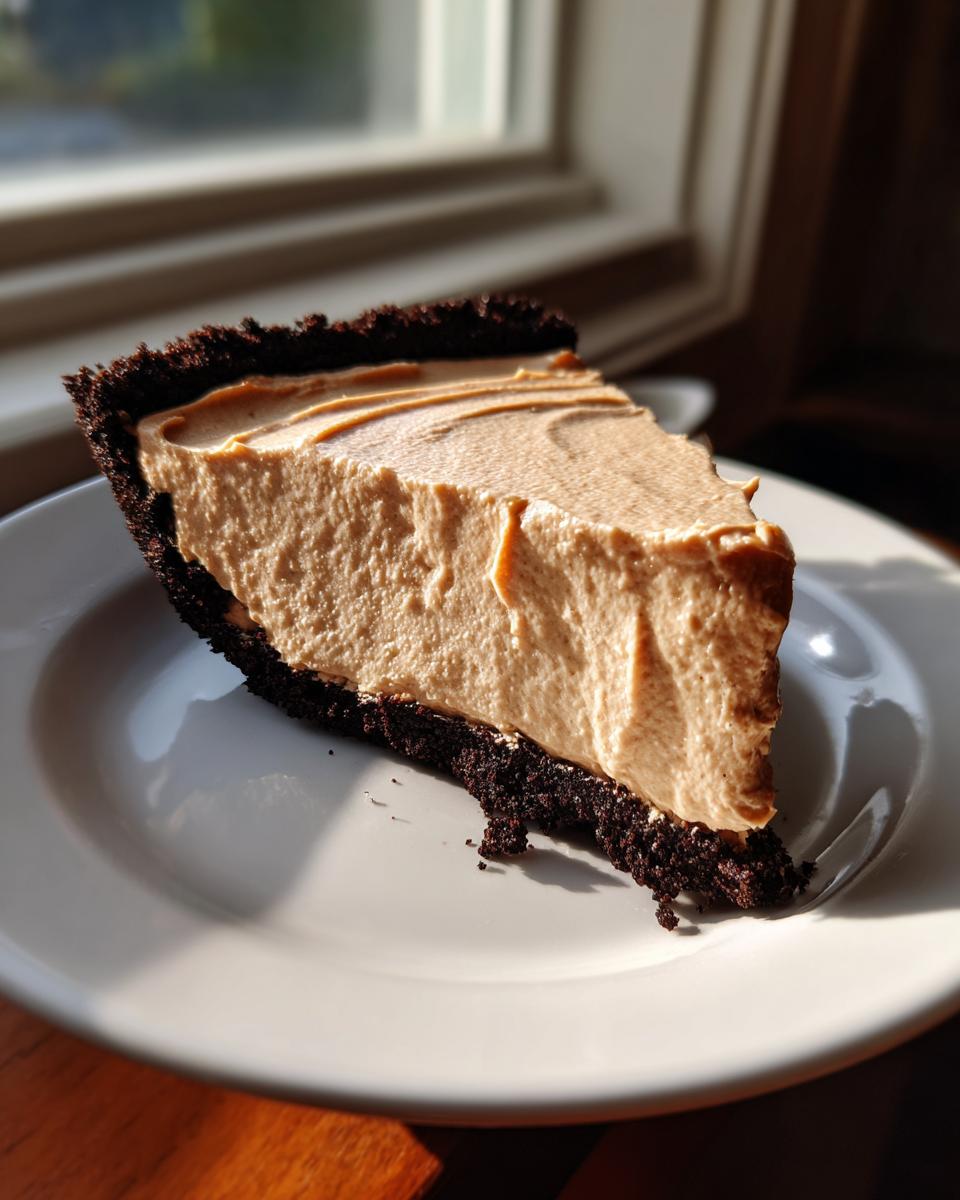
To make the absolute **best Peanut Butter Pie Recipe**, we focus on texture and hitting that sweet, salty balance. We need our star players ready to go! For that unbelievably rich and smooth peanut butter filling, you absolutely must have your cream cheese completely softened—this is non-negotiable for a perfect, non-lumpy texture. You’ll also need creamy peanut butter, powdered sugar for that silky feel, vanilla extract, and a container of thawed whipped topping; remember, that topping needs to be thawed, but definitely not whipped into submission!
We keep the method simple, which is why this becomes such a great potluck dessert. Once the filling is set, we decorate it the way we like it best: maybe a scattering of mini Reese’s peanut butter cups if I’m feeling extra indulgent, or just some standard chocolate chips. But honestly, the foundation is everything.
Crust Options for Your Peanut Butter Pie
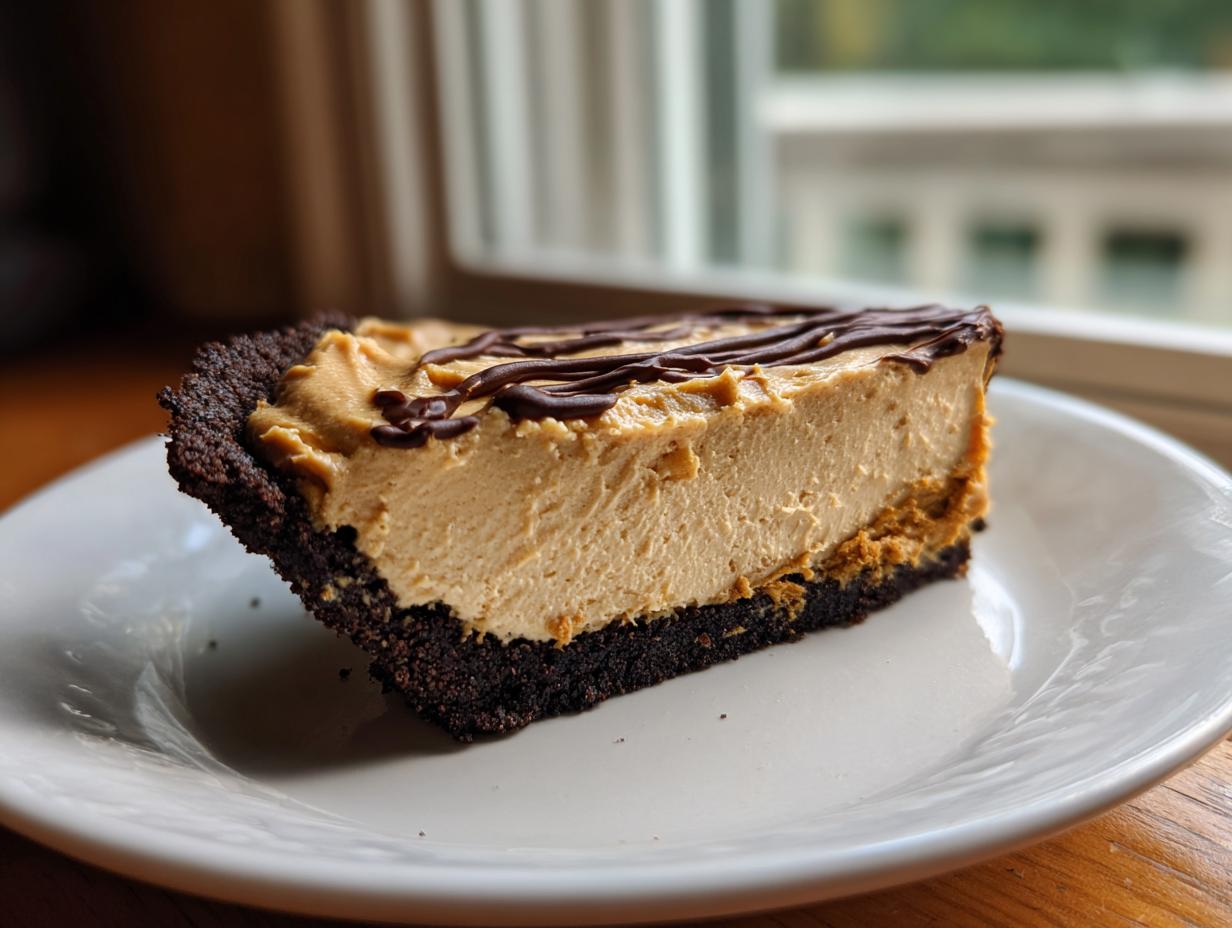
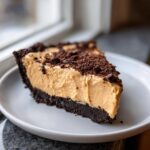
When it comes to the crust, convenience is key for this quick dessert. You can grab a pre-made graham cracker crust if you’re really in a rush, and that works just fine. However, if you want to kick things up a notch and hit that specific craving for a **Peanut Butter Pie with Oreo Crust**, making your own is super easy!
For an Oreo crust, just crush about 24 of those chocolate sandwich cookies until they are fine crumbs, and mix those crumbs with about 6 tablespoons of melted butter. Press that mixture firmly into your pie plate—that’s what gives you that wonderful dark, chocolatey base that contrasts perfectly with the creamy filling. Don’t skip that butter; it’s the glue that holds this whole **peanut butter pie** together!
Step-by-Step Instructions for Easy Peanut Butter Pie
Okay, now that we have all our beautiful components ready, it’s time to put this showstopper dessert together! Since this is an **Easy Peanut Butter Pie**, every step is designed to be quick, which means we can get it into the fridge fast. Remember, there’s no cooking involved—this is pure assembly magic, which is why it’s such a fantastic choice when you need quick and easy dinners.
Creating the Smooth Peanut Butter Filling
First things first: grab your biggest mixing bowl. The most important job right now is getting that cream cheese completely smooth. Beat the softened cream cheese by itself until it looks velvety—no lumps allowed! Once that’s perfect, toss in your peanut butter and the powdered sugar. Beat those three together really well until the mixture is uniform. It should look thick and lovely by now, but we aren’t quite done with the texture yet. Next, you stir in that teaspoon of vanilla extract.
Here’s where the real technique comes in, focusing on that **Creamy Peanut Butter Pie** texture. Gently introduce the thawed whipped topping. This is where Leo Grant’s method shines: you must gently fold it in. I mean it—use a large spatula and fold until you see no more white streaks, but stop right there! If you overmix, you knock all the air out, and suddenly, it’s not creamy anymore; it’s dense. Treat that whipped topping kindly!

Chilling and Finishing the No Bake Peanut Butter Pie
Once that filling is light and airy, gently spoon it all into your prepared crust. Make sure the top is nice and even with a spatula. Now comes the hardest part of this **peanut butter pie** recipe: waiting. This pie needs structure, so you have to cover it loosely and pop it into the refrigerator. I insist it chills for a minimum of four hours, but honestly, if you can leave it overnight, the slices come out much cleaner and firmer.
Once it’s set solid, get creative with the top! This is the time to really decorate it for your gathering. I love topping mine with roughly chopped Reese’s cups—the little pops of milk chocolate and peanut butter are divine. If you prefer something simpler, a light sprinkle of mini chocolate chips melts just enough on the creamy surface to be gorgeous. Slice it cold, and enjoy the easiest, creamiest success you’ve had all week!
Tips for the Most Perfect Creamy Peanut Butter Pie
Listen, even though this is technically a no-bake recipe, attention to detail is what separates a good filling from a truly fantastic **Creamy Peanut Butter Pie**. The first non-negotiable rule I have—and I learned this the hard way hitting that mixer paddle against frozen chunks—is that your cream cheese *must* be completely, wonderfully softened. If it’s cold, your filling will be bumpy, and that ruins the smooth experience we’re going for.
Also, let’s talk peanut butter strategy. While this recipe calls for creamy for that classic texture, don’t be afraid to mix it up! I often use half creamy and half crunchy peanut butter. Just don’t go 100% crunchy, or you lose that signature melt-in-your-mouth feel of this **peanut butter pie**. Lastly, remember that this is one of the best **make ahead desserts** out there. Don’t stress about making it the day of your event. It actually tastes better the second day! You can find tons of other reliable sweets over on our dessert recipes page.
Variations on the Classic Peanut Butter Pie
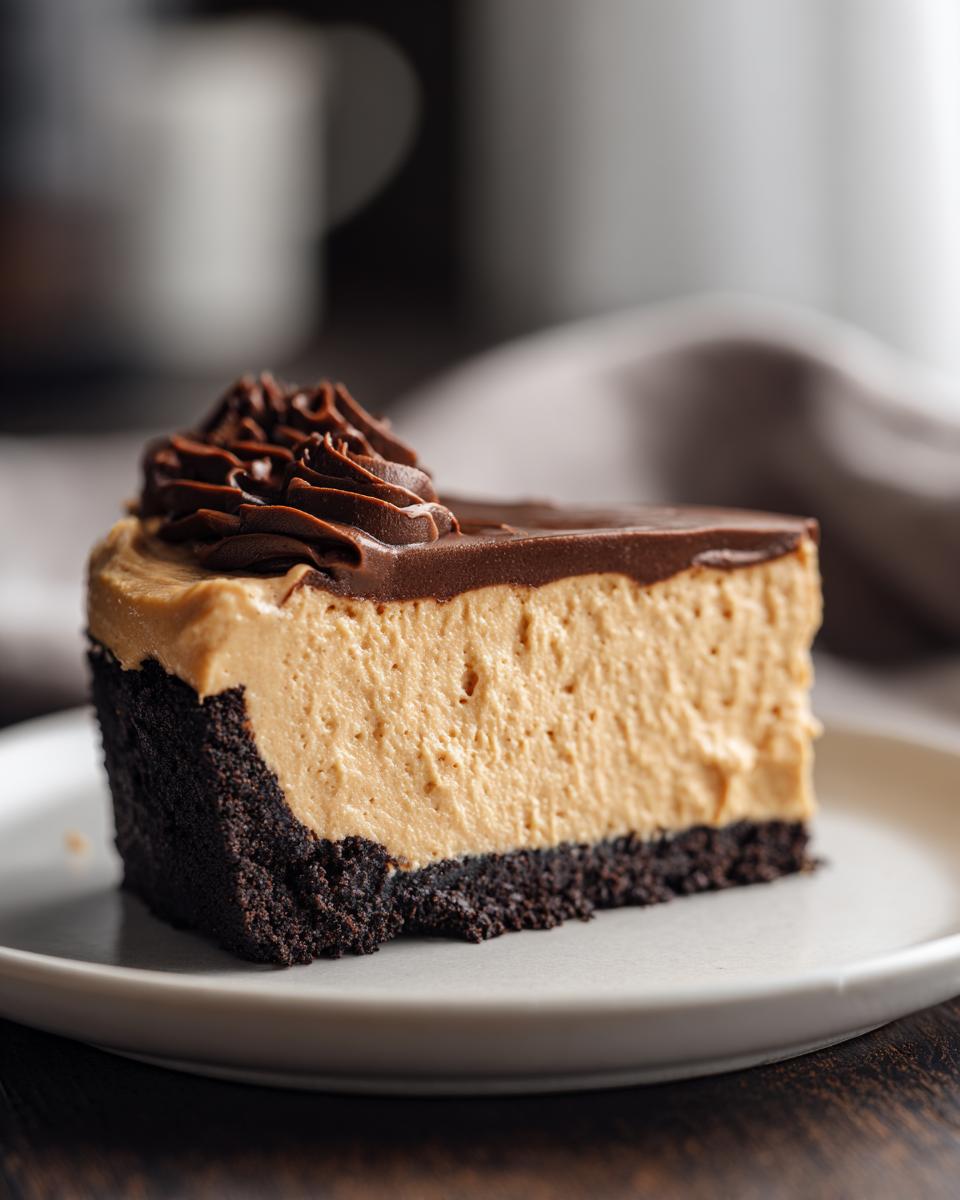
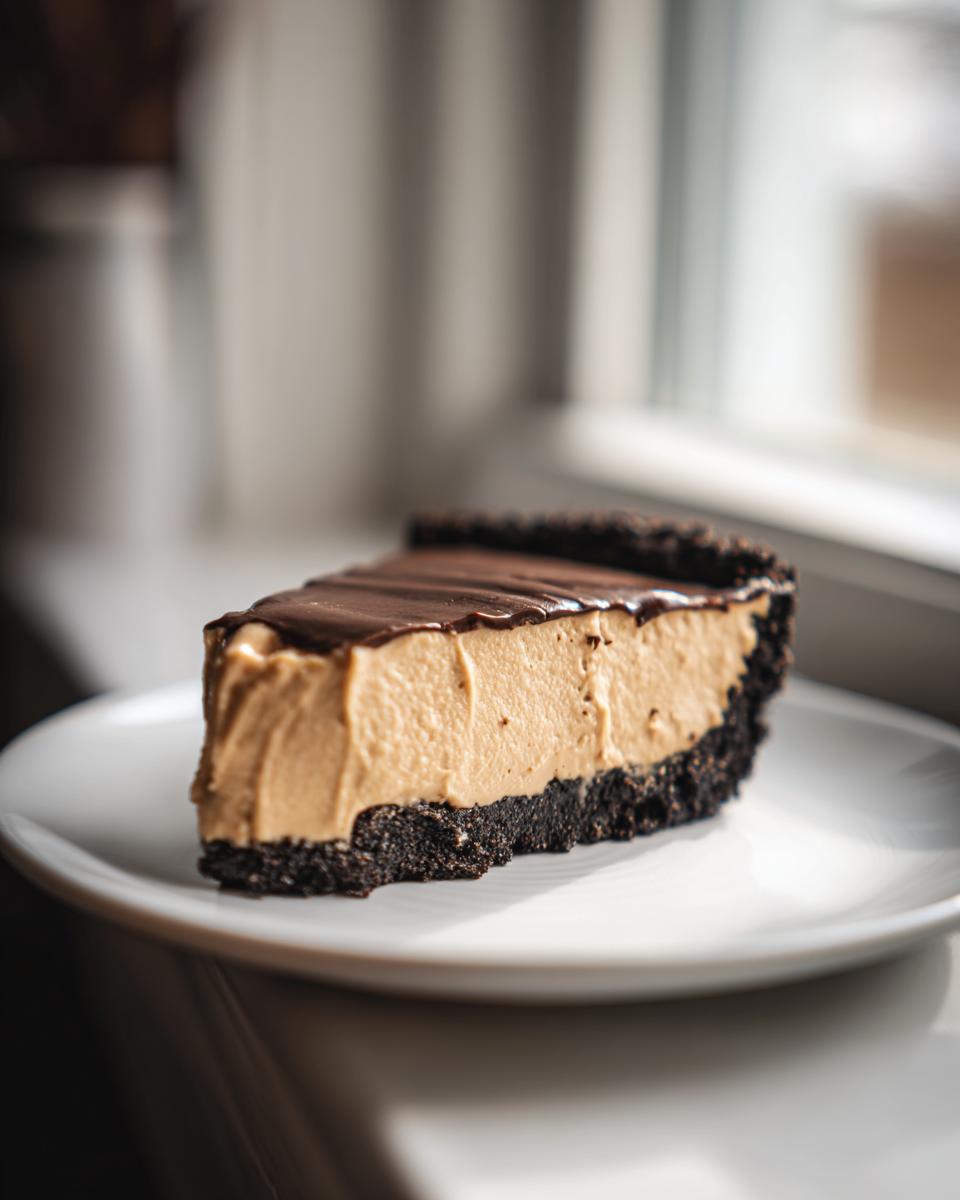
The beauty of grabbing a foundation like this **peanut butter pie** is how easily you can dress it up! If you’re looking for incredible **Peanut Butter Dessert Ideas** that go beyond the basic, I’ve got you covered. My favorite tweak right now is turning it into a **Chocolate Peanut Butter Pie**.
Right after you spread the creamy filling into the crust, but *before* you chill it, take about half a cup of your favorite chocolate chips or some chopped-up peanut butter cups and sprinkle them over the top. If you want true decadence (and who doesn’t?), you can pour a thin, warm layer of chocolate ganache over the filling. It sets up beautifully while the pie chills, giving you incredible pockets of flavor.
For those who love that classic bite of a Reese’s, chopping up a few extra cups and folding them directly into the filling—alongside the whipped topping—gives you a **Reese’s Peanut Butter Pie** experience in every single spoonful. Experimenting with these little additions is what keeps baking fun. Don’t forget to browse our main dessert recipes for even more inspiration!
Serving Suggestions for Your Peanut Butter Pie
When you finally pull that perfectly chilled **peanut butter pie** out of the fridge, you want it to look as amazing as it tastes. Because this dessert is so rich and intensely flavored, contrast is your best friend! I love serving a slice alongside something light and maybe a little tart—fresh raspberries or a few sliced strawberries really cut through the sweetness, which is awesome.
If you aren’t into fruit, a little dusting of unsweetened cocoa powder right over the top just before slicing adds a gorgeous visual pop. And forget the water; this pie begs for a strong cup of coffee on the side! It’s the ultimate crowd-pleaser, making it a surefire hit for any upcoming **potlucks** or family dinners. If you need great appetizer ideas to go along with your desserts, check out my favorite appetizers and snacks!
Storage and Make Ahead Desserts: Keeping Your Peanut Butter Pie Fresh
The best part about this **peanut butter pie** is that it’s basically begging you to make it ahead of time! Seriously, this is one of those magical **make ahead desserts** that tastes even better the next day, which is a dream when you’re hosting guests. You can whip this up the day before a big event, and then just concentrate on the rest of your feast.
When it comes to storage, you need to keep it covered, but not too tightly, in the refrigerator. If you wrap that plastic wrap right down on top of the filling, you might mess up your beautiful topping or even cause condensation. Just lay a piece of plastic wrap loosely over the top of the whole pie. This keeps out fridge smells while allowing the air circulation needed so the crust doesn’t get weird.
Trust me, this **easy peanut butter pie** holds up incredibly well! It stays perfectly firm and creamy for up to three full days in the fridge. That makes it one of the most reliable **quick dessert** options in my whole rotation. If you’re planning a big brunch soon, maybe check out my favorite easy breakfast and brunch recipes too!
Frequently Asked Questions About This Easy Peanut Butter Pie
I know when you’re whipping up a favorite like this, questions pop up fast! Don’t let anything stop you from enjoying this **Easy Peanut Butter Pie**. Here are a few things people ask me most often about getting the texture just right and dealing with timing.
Can I use crunchy peanut butter in this Creamy Peanut Butter Pie?
That’s a great question! We call for creamy because we are aiming for that supremely smooth texture, but you absolutely have a tasty option here. If you love a little extra crunch, just swap out half of your creamy peanut butter for crunchy. So, use half a cup of creamy and half a cup of crunchy. It gives you that nice texture variation while keeping the bulk of the filling wonderfully smooth—a real winner!
How long does the No Bake Peanut Butter Pie need to chill?
This is crucial, so listen up! While the instructions say a minimum of four hours to get it set enough to cut, I always recommend prepping this **No Bake Peanut Butter Pie** the day before you plan to serve it. If you can let it sit in the fridge overnight, it firms up to perfection. Plus, knowing a dessert is done ahead of time is one of the biggest stress relievers!
Is this recipe similar to an Old Fashioned Peanut Butter Pie?
That’s an interesting distinction! This recipe right here is our modern, super-fast, no-bake version that relies on cream cheese and whipped topping for that airy texture. A true **Old Fashioned Peanut Butter Pie** usually involves baking a custard-style filling—which is great, but takes way longer! If you ever want to try that baked style, I have a recipe for that too, though I usually keep up with my simpler brunch recipes for busy mornings.
Nutritional Estimates for Your Peanut Butter Pie Slice
I always get asked about this part, and look, I’m a home cook, not a dietitian! But since we are all about being smart in the kitchen, I want to give you a little idea of what’s in a slice of this amazing **peanut butter pie**. Keep in mind, these numbers are just estimates based on the standard ingredients we used when testing this recipe.
If you switch out the crust, use reduced-fat cream cheese, or load up on the mini Reese’s cups, those numbers are definitely going to change! For the record, this estimate is based on one standard slice serving size.
- Serving Size: 1 slice
- Calories: 450
- Sugar: 30g
- Fat: 30g
- Protein: 10g
- Carbohydrates: 40g
So yes, it’s an indulgent treat, but totally worth it! Enjoy every single bite of this **no bake dessert**!
PrintEasy No-Bake Creamy Peanut Butter Pie
Make this simple, creamy No-Bake Peanut Butter Pie using accessible ingredients. It features a rich filling and requires no oven time, making it a quick dessert solution.
- Prep Time: 20 min
- Cook Time: 0 min
- Total Time: 4 hr 20 min
- Yield: 8 servings 1x
- Category: Dessert
- Method: No Bake
- Cuisine: American
- Diet: Vegetarian
Ingredients
- 1 (9 inch) pre-made graham cracker crust or Oreo crust
- 1 cup creamy peanut butter
- 8 ounces cream cheese, softened
- 1 cup powdered sugar
- 1 teaspoon vanilla extract
- 1 (8 ounce) container frozen whipped topping, thawed (like Cool Whip)
- Optional topping: Chocolate chips or mini peanut butter cups
Instructions
- In a large bowl, beat the softened cream cheese until smooth.
- Add the creamy peanut butter and powdered sugar to the cream cheese. Beat until fully combined and smooth.
- Stir in the vanilla extract.
- Gently fold in the thawed whipped topping until no white streaks remain. Do not overmix.
- Spoon the peanut butter filling evenly into the prepared pie crust. Smooth the top with a spatula.
- Cover the pie loosely with plastic wrap. Chill in the refrigerator for at least 4 hours, or until firm.
- Before serving, top with chocolate chips or chopped peanut butter cups, if desired. Slice and serve cold.
Notes
- For an Oreo crust, crush 24 chocolate sandwich cookies and mix with 6 tablespoons of melted butter. Press into the pie plate.
- If you prefer a richer flavor, use half creamy peanut butter and half crunchy peanut butter in the filling.
- This pie is best made ahead of time; it holds well in the refrigerator for up to three days.
Nutrition
- Serving Size: 1 slice
- Calories: 450
- Sugar: 30
- Sodium: 350
- Fat: 30
- Saturated Fat: 10
- Unsaturated Fat: 20
- Trans Fat: 0
- Carbohydrates: 40
- Fiber: 2
- Protein: 10
- Cholesterol: 45