
Oh my gosh, are you having one of those moments? You know, when all you can crave is that sweet, crunchy, slightly-tropical seafood appetizer that usually costs a fortune when you order out? Stop right there! You absolutely do not need to schedule another evening around expensive takeout. I’ve engineered the perfect solution, just like Leo would—streamlining the process to solve that dinner dilemma.
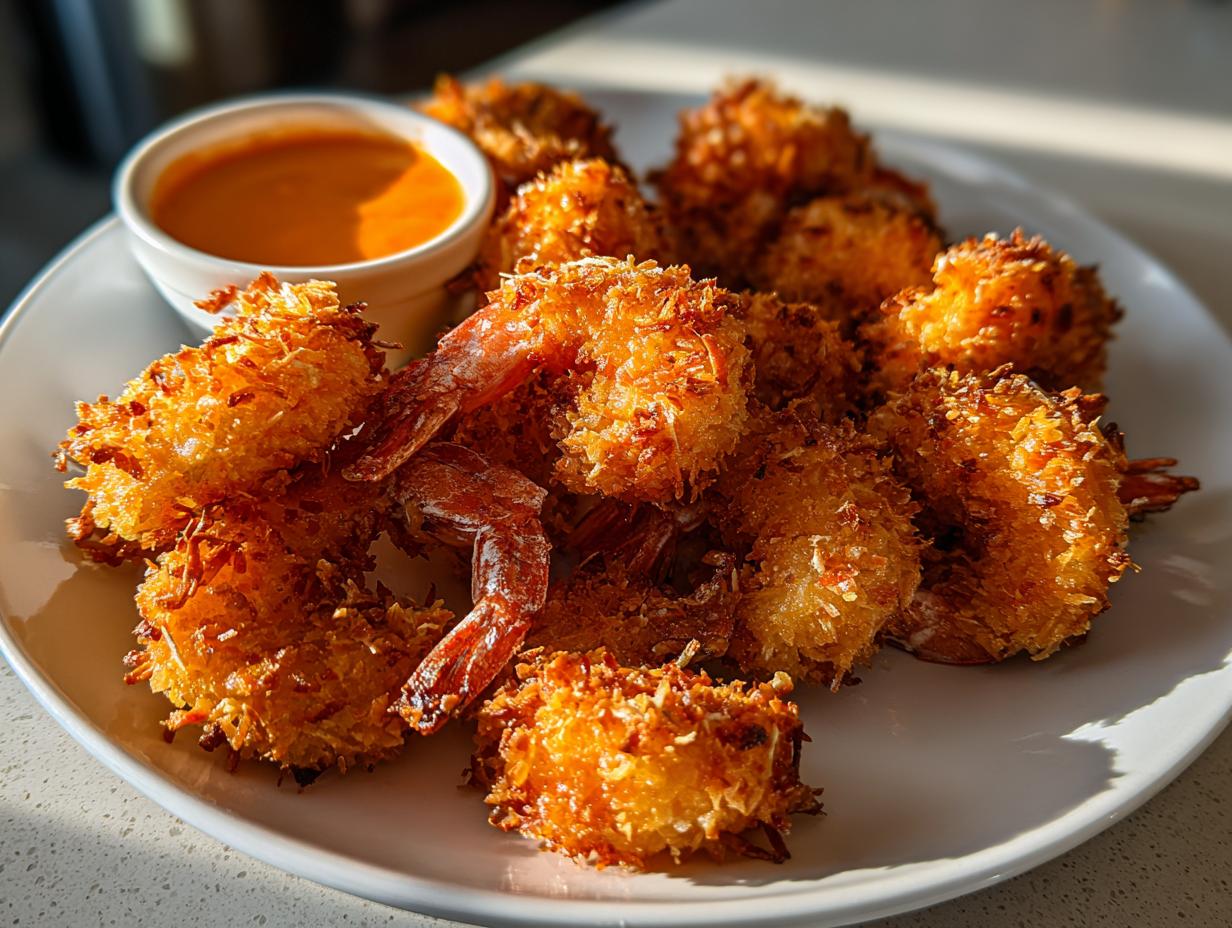
Forget those soggy disappointments you sometimes get! This right here is my Copycat Crispy Fried Coconut Shrimp recipe, and I promise you, the secret ingredient that changes everything is mixing in Panko breadcrumbs. Trust me, this one step guarantees maximum audible crunch every single time you make it, making it the ultimate coconut shrimp experience right in your own kitchen.
- Why This Copycat Coconut Shrimp Recipe Works Every Time
- Essential Ingredients for Your Homemade Coconut Shrimp
- Step-by-Step Instructions: How to Make Coconut Shrimp
- Tips for the Best Coconut Shrimp Recipe Success
- Coconut Shrimp Variations: Air Fryer Coconut Shrimp and Baked Options
- Serving Suggestions for Your Coconut Shrimp Appetizer
- Storage and Reheating Instructions for Leftover Coconut Shrimp
- Frequently Asked Questions About Making Coconut Shrimp
- Estimated Nutritional Data for Coconut Shrimp
- Share Your Crispy Coconut Shrimp Creations
- Estimated Nutritional Data for Coconut Shrimp
- Share Your Crispy Coconut Shrimp Creations
Why This Copycat Coconut Shrimp Recipe Works Every Time
Look, I’m not a chef, I’m just someone who likes to stop wasting money on soggy fried seafood! My approach, channeling that project manager mindset Leo talks about, is all about efficiency and proven results. That’s why this restaurant style coconut shrimp recipe never fails. We aren’t leaving that beautiful crunch to chance; we’re engineering it!
If you want truly crispy coconut shrimp that stands up to a dunk in sauce, you need to skip anything that promises ‘easy’ by only using plain coconut flakes. That method leads to falling scales and sad shrimp, and we’re just not doing that here. Pop over to quick and easy dinners later, but right now, we focus on the crunch!
Achieving Maximum Crunch with Panko Coconut Shrimp
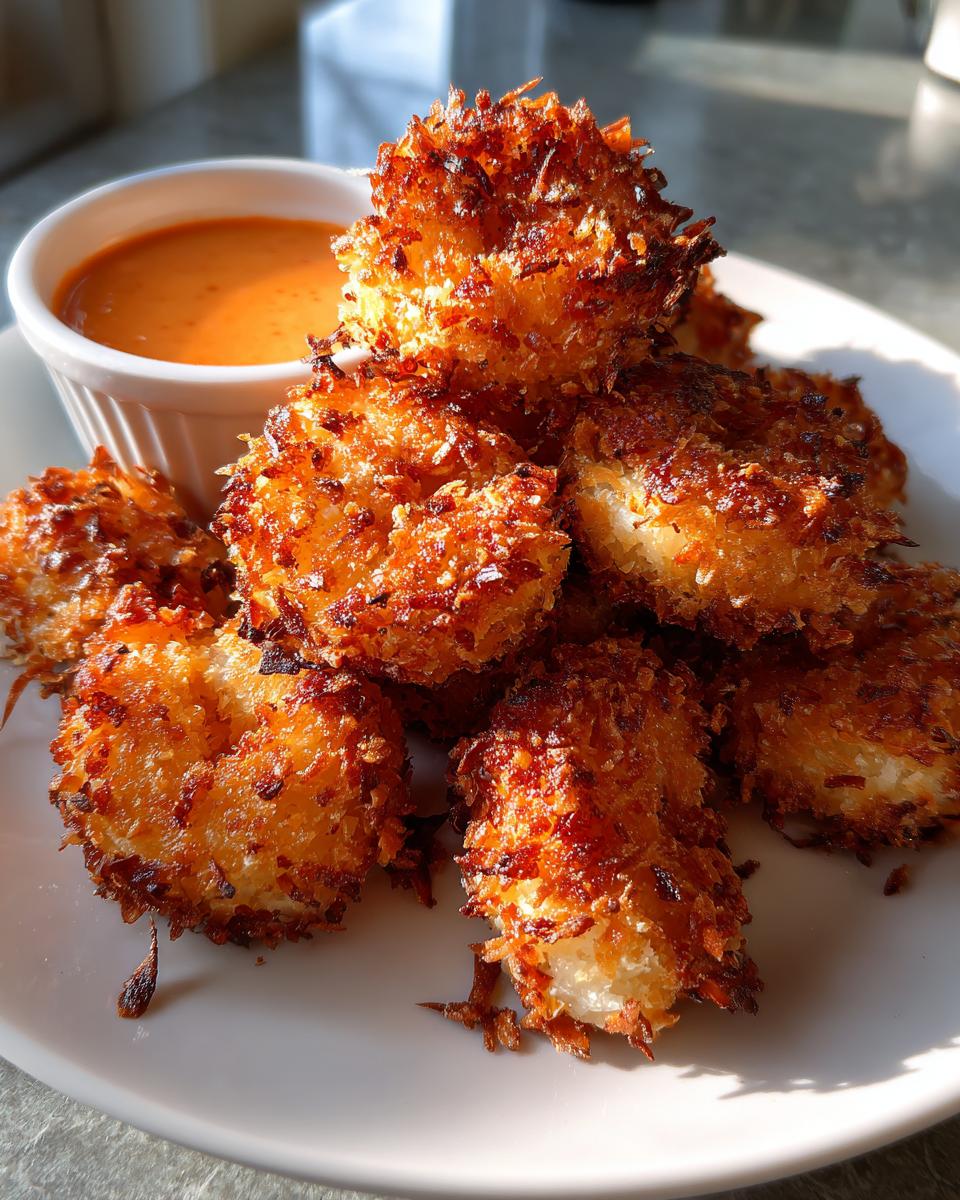
This is pure science, people! Sweetened shredded coconut gives you that classic tropical vibe, but it burns fast and doesn’t offer much structural integrity. Panko breadcrumbs, however, are those big, airy Japanese flakes that create incredible surface area for crisping up in the hot oil. When I mix them 50/50—a full cup of each—the coconut provides the flavor, and the panko provides the shatteringly crisp exterior. It’s the perfect combination that holds together beautifully.
The Perfect Balance: Tropical Flavor Profile
We want that vacation vibe, right? The sweetness from the coconut has to be perfectly counterbalanced by the savory shrimp and the bright acidity in the sauce we make later. This recipe is designed specifically to hit that sweet spot, making it the ultimate tropical shrimp appetizer. It feels decadent, but because we nailed the breading, it’s actually quite straightforward. It just tastes like a million bucks!
Essential Ingredients for Your Homemade Coconut Shrimp
Okay, gathering your supplies is where we bring the project manager attitude to the forefront. We need everything laid out and prepped before that oil even thinks about getting hot. Good prep means no scrambling later, which is key to a successful fried dish. Remember, before anything else, make sure your pound of large shrimp is peeled, deveined, and most importantly, patted completely dry. Seriously, dry shrimp is the secret handshake for crispy coatings!
Shrimp and Breading Components for Crispy Coconut Shrimp
For that amazing coating that stays put, you need our three-stage breading station. You’ll need:
- One pound of large shrimp (the bigger the better!)
- One cup of all-purpose flour, seasoned simply with a teaspoon of salt and half a teaspoon of black pepper.
- Two large eggs, beaten well—this is our sticky glue!
- One cup of sweetened shredded coconut. Don’t skimp here; this is where the tropical flavor comes from.
- One cup of Panko breadcrumbs. I can’t stress this enough—Panko is what delivers the crunch!
Ingredients for the Sweet Chili Mayo Coconut Shrimp Dipping Sauce
The sauce is non-negotiable; it pulls the whole experience together by cutting through the richness of the fried crust. You’ll whisk these together while your oil preheats:
- Half a cup of good quality mayonnaise—use the kind you like because it’s the base!
- A quarter cup of sweet chili sauce. This is your sweet heat element.
- One tablespoon of fresh lime juice. Seriously, use fresh. That zing from fresh juice is essential to balance the mayonnaise richness.
- One teaspoon of granulated sugar, just to enhance that sweetness if your chili sauce is on the milder side.
Step-by-Step Instructions: How to Make Coconut Shrimp
Alright, we have our ingredients organized—that’s the toughest part done! Now we move into execution. Think of this as setting up a tiny, efficient production line for incredible flavor. Getting the oil temperature right is non-negotiable if you want that golden, crunchy perfection without grease. It’s important to work quickly but methodically here, okay?
First things first: Get about two inches of vegetable oil heating up in a deep skillet or a Dutch oven. We need this baby holding steady right at 350°F (175°C). While that’s warming up, we assemble our breading station. Remember, we’ve got three shallow dishes lined up and ready for action.
Setting Up the Breading Station for Perfect Coconut Shrimp Coating
This three-dish system is how we ensure everything sticks and we build layers of flavor and texture. Once your shrimp are bone-dry, you just follow the flow:
- Flour first: Dredge each piece of shrimp in the seasoned flour mixture. Don’t just coat it; make sure you shake off any loose clumps. We just want a light, dusty layer.
- Egg wash next: Dip that floured shrimp right into the beaten eggs. Let the extra egg drip off—too much egg makes a cakey crust, and we want crispness!
- Coat firmly in the mix: This is critical! Press the shrimp firmly into that third dish containing the Panko and coconut mix. You need to physically push the coating onto the shrimp so it adheres well. This technique really helps when trying to make homemade coconut shrimp that rivals the restaurants.
Once they are coated, arrange them on a baking sheet. And don’t forget that dipping sauce we mixed up earlier—give it one last whisk while the oil comes to temperature.
Frying Technique for Crunchy Fried Shrimp
When that oil hits 350°F, it’s go time! Lower the shrimp in carefully, in batches. Don’t ever overcrowd the pan—if you drop too many shrimpy friends in at once, the oil temperature plummets, and suddenly, you’re boiling them instead of crisping them. That’s a recipe for soggy failure!
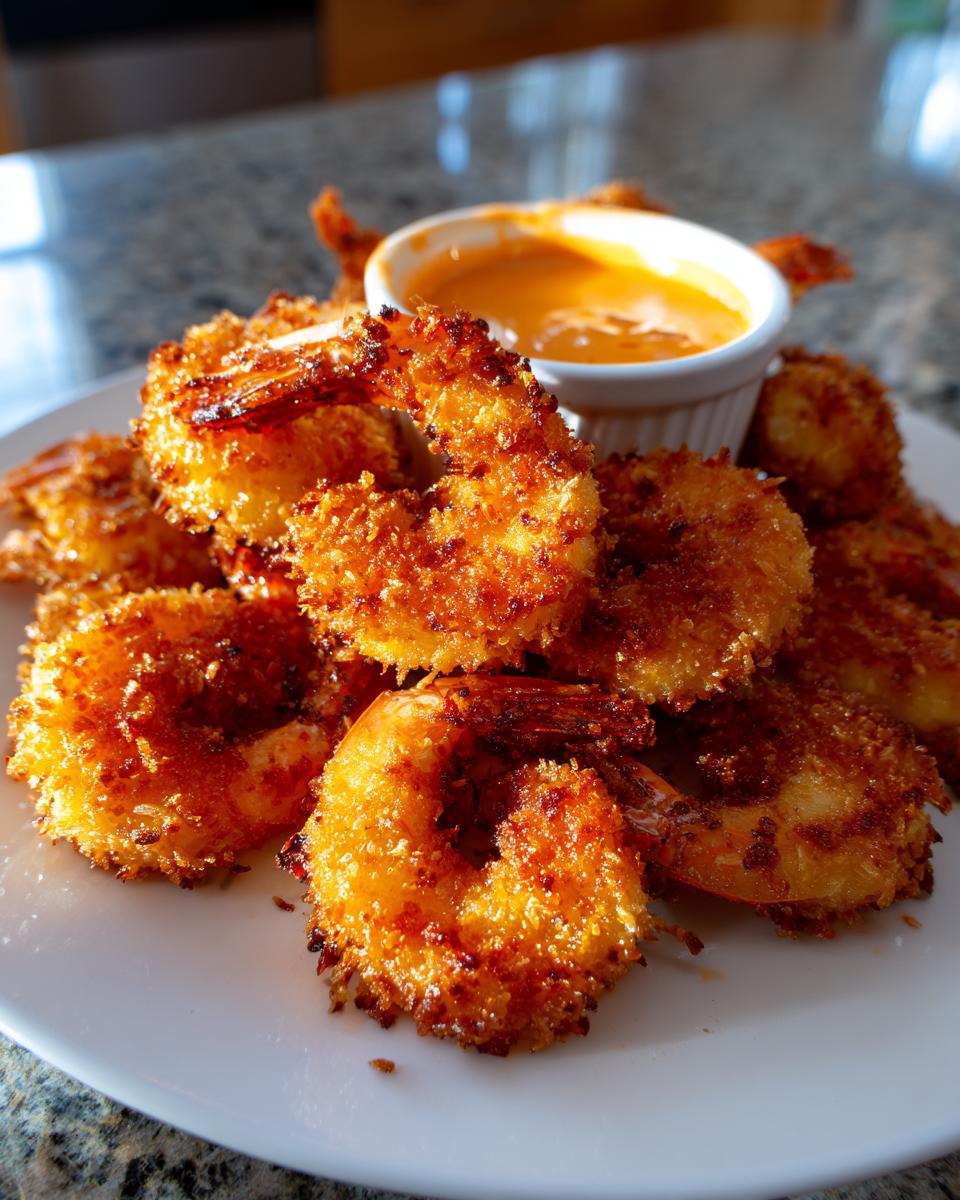
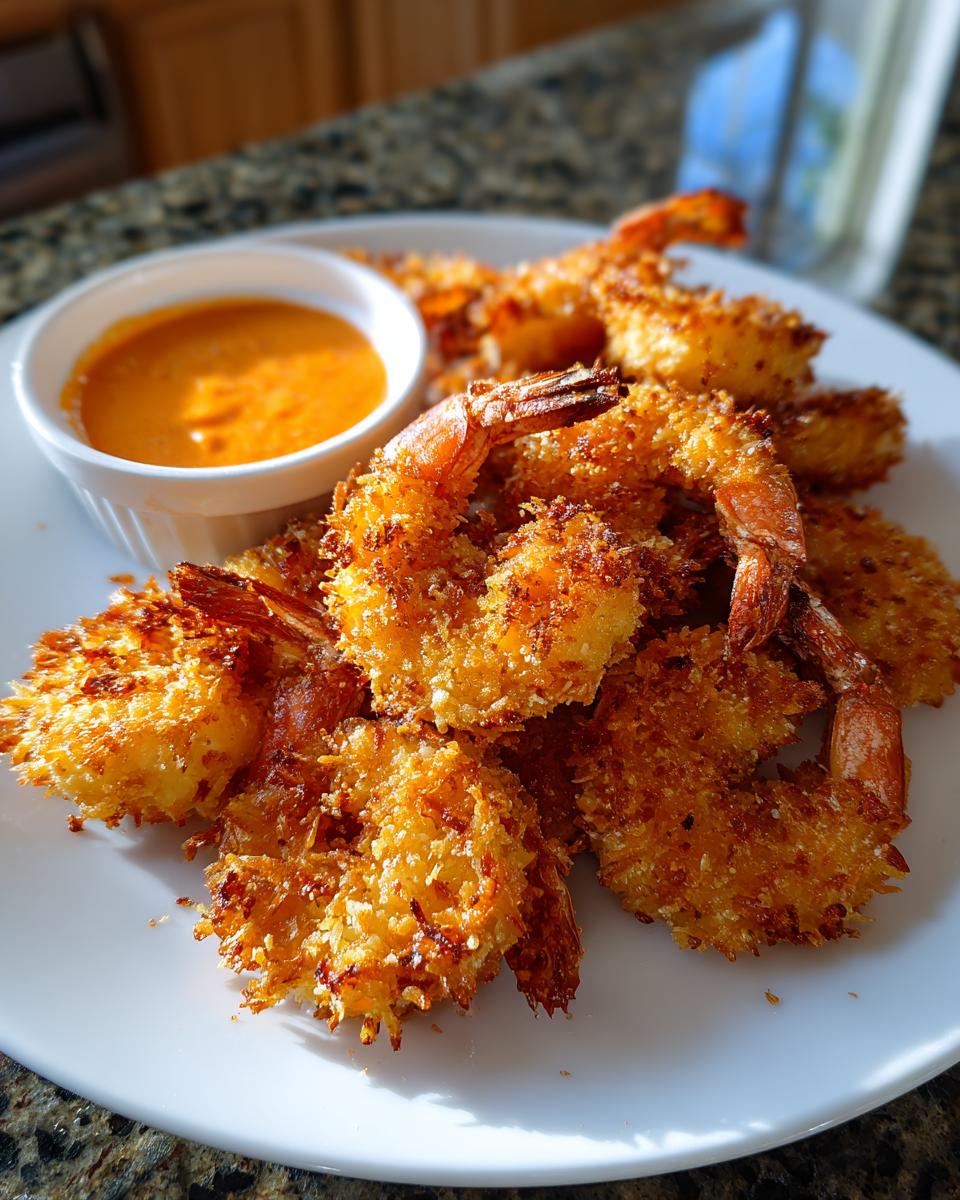
Fry them for just about 2 to 3 minutes per side. You’re looking for that deep, beautiful golden-brown color you see in the best photos. Once they look perfect, use a slotted spoon to lift them straight out and put them immediately onto a wire rack that’s sitting over a paper towel. That rack is important because it lets the air circulate and drains off all the excess oil, keeping that crust beautifully crunchy fried shrimp texture we worked so hard for. Serve immediately with that coconut shrimp appetizer dipping sauce!
Tips for the Best Coconut Shrimp Recipe Success
You’ve set up your station and you’re ready to fry, but sticking to a few key habits will elevate this from good to unbelievable. Based on all the times I’ve watched people—myself included, early on—mess up the texture, it almost always comes down to two things: moisture control and oil temperature management. Pay attention to these details, and you’ll finally nail that restaurant-style result.
Crucial Step: Drying Shrimp Before Breading
I mentioned this before, but I need to say it again, louder this time: Pat those shrimp dry! Imagine you’re trying to put tape on a wet windowpane—it just slides around, right? That’s exactly what happens with your seasoned flour and egg wash when the shrimp are damp. Moisture on the surface of the shrimp actively fights against your breading sticking. Use paper towels, press gently but thoroughly over every single surface, and don’t move to the flour until you are confident they are as dry as can be. This is the single most important step for preventing coating fallout while frying.
Making the Sweet Chili Mayo Dipping Sauce Ahead of Time
Don’t wait until the shrimp are frying to mix up that amazing dip! The best part of this **homemade coconut shrimp** experience is having zero tasks left once the hot oil is ready. Whisking the mayo, chili sauce, lime, and sugar together first lets all those flavors—the sweet, the sour, the creamy—marry beautifully. When you mix it even 15 minutes ahead of time, it tastes sharper and more integrated. Plus, it means you can focus 100% on carefully dropping your batches into the oil without juggling bowls.
Coconut Shrimp Variations: Air Fryer Coconut Shrimp and Baked Options
Look, I absolutely love deep-fried food—that’s what delivers that incredible, crackly texture you get at a real seafood shack—but having options is non-negotiable in a modern kitchen, especially when we’re talking about making this a regular weeknight option, not just a party snack. If you’re trying to cut down on oil but still crave that tropical crunch, I’ve got you covered with foolproof instructions for both the oven and the air fryer.
We keep the exact same breading station because, remember, that Panko-coconut mix is our secret weapon, no matter how we cook it! When you switch methods, you just need to adjust the heat and time to ensure you get things golden brown before the shrimp overcooks. If you’re looking for faster ways to put dinner on the table, check out some other quick and easy dinners inspiration after you finish these crispy bites!
Making Amazing Air Fryer Coconut Shrimp
The air fryer is fantastic for this because it circulates the heat so well, mimicking that deep-fry effect without submerging the shrimp in oil. For the Air Fryer Coconut Shrimp, you’re going to preheat the basket to 375°F (190°C). Lay those breaded shrimp in a single layer; you might have to work in batches, but don’t stack them or they’ll steam instead of crisping!
Toss the coated shrimp *very* lightly with a quick spray of cooking oil—just enough to help them brown up nicely. They cook fast! Pop them in for about 8 to 10 minutes total, flipping them halfway through so you get even color development. They come out surprisingly crunchy, I promise!
Baking Coconut Shrimp Recipe Instructions
If you don’t have an air fryer, the standard oven works great, too, but you need higher heat to encourage that crust to get crispy fast. For my Baked Coconut Shrimp Recipe, set your oven preheat to a hot 400°F (200°C).
Place the breaded shrimp on a wire rack set inside a baking sheet. Seriously, use the rack! If they sit right on the sheet pan, the bottoms will steam and get soggy—we hate soggy! Bake them for about 12 to 15 minutes. You’ll want to flip them over gently around the 7-minute mark to make sure both sides get golden brown and perfectly cooked through. Total time is a little longer than the air fryer, but the results are still way better than takeout!
Serving Suggestions for Your Coconut Shrimp Appetizer
So, you’ve got a beautiful pile of golden, perfectly crunchy shrimp sitting on a wire rack, and that sweet chili mayo is looking perfect. Now what? Presentation instantly takes your simple snack and turns it into an impressive spread, whether you’re having people over or just making it a fun weeknight meal. Don’t just dump them on a plate; we want maximum impact!
Since we engineered this recipe to be the ultimate coconut shrimp appetizer, think about what flavors pair well with that sweet and tropical crunch. The main goal here is contrast: something acidic, something fresh, and something green to make those golden shells really pop visually.
Plating and Presentation Tips
When you’re serving these up, skip the standard flat dish. Grab a tiered stand if you have one, or even a long, narrow platter. Arrange the shrimp standing up slightly, almost like they are lined up for a little tropical parade. Place a small, colorful ramekin right in the middle, heaped high with that luscious dipping sauce. That centerpiece sauce is what people grab for first!
For garnish, I always keep a couple of key items handy. A little sprinkle of fresh, finely chopped cilantro over the top adds a surprising pop of color and freshness against the fried texture. Then, slice up a lime or two into wedges. People love being able to squeeze that extra hit of acid right over the shrimp just before dipping—it really wakes up the sweetness.
Pairing Options for a Lighter Dinner
If you’re moving past just an appetizer and want to turn this into a light seafood dinner, you need some simple, fresh sides. The rich frying process means we should stick to bright, clean flavors that don’t weigh down the meal. I usually suggest a simple slaw or a light salad. A crisp Napa cabbage slaw, dressed lightly with rice vinegar and a touch of sesame oil, contrasts beautifully with the sweet crunch.
Another great choice is quick steamed or lightly sautéed green beans, maybe with a little slivered almond for texture. You can find tons of easy salad ideas over on the appetizers and snacks page, but truthfully, anything light and fresh lets the crispy coconut shrimp truly star as the main event. Keep the sides simple, and let that crunch do the talking!
Storage and Reheating Instructions for Leftover Coconut Shrimp
Okay, so you actually managed to have leftovers? Wow, that’s a testament to how good these are, because typically, they disappear the second they leave the wire rack! But hey, if you’ve got some crispy perfection left over, we have to treat them right. The biggest mistake people make with any fried food is reheating it in the microwave—don’t do it! That heat steams the breading, and we worked way too hard for that soggy outcome.
For me, treating leftovers means giving them a quick revival so they taste almost as good as fresh. We need dry, circulating heat, which means the oven or the air fryer are your best friends here. Even if you’re just reheating two or three shrimp, the effort is worth it to keep that glorious crunch!
The Best Way to Reheat for Maximum Crispness
If you’re aiming for that very first-bite texture, pulling out the oven or the air fryer is the way to go. You want to mimic the initial cooking process without getting the oil involved again. My preferred method, especially if I have a decent batch to reheat, is the conventional oven. Set it to about 375°F (190°C).
While the oven heats up, lay your leftover coconut shrimp out on a baking sheet lined with parchment paper or, even better, place them on a wire rack set inside the sheet. That rack lets that hot air swirl right underneath them, hitting all sides evenly. Pop them in for about 8 to 10 minutes. Check them around the 6-minute mark—you’re just looking to bring them back up to temperature and crisp that crust; they should already be golden, so don’t let them sit too long or you’ll end up with rubbery shrimp!
Using the Air Fryer for Quick Reheating
If you’re only reheating a handful and you want it done in five minutes flat, the air fryer is faster, hands down. Set your fryer basket to 370°F (about 188°C). Just like with the oven, lay the shrimp in a single layer—no overlapping! They’ll be perfect and crunchy in about 4 to 5 minutes. Because the air fryer is so intense, you might want to check them a little earlier than you think, maybe a quick shake at the 3-minute mark.
Storing the Dipping Sauce
Now, the good news about that sweet chili mayo is that it stores beautifully! Keep whatever sauce is left in an airtight container in the refrigerator. Because it’s mayonnaise-based, it will firm up a bit when chilled. When you’re ready to eat the leftovers, just pull that sauce out 15 minutes before serving to let it soften up slightly. It stays good for about 4 or 5 days, which is perfect for snacking on the rest of the week!
Frequently Asked Questions About Making Coconut Shrimp
I know sometimes when you look at a recipe, you still have a few tiny doubts running through your head—especially when frying is involved! I’ve gathered up the most common things people ask me when they’re trying to make this easy coconut shrimp at home for the first time. Hopefully, this clears everything up so you feel totally confident starting your own batch of homemade coconut shrimp!
Can I use unsweetened coconut for this coconut shrimp recipe?
You absolutely can use unsweetened coconut if that’s what you have, but you need to remember that unsweetened changes the flavor profile—it won’t give you that signature sweet tropical pairing we’re aiming for. If you must substitute, I strongly recommend adding about two teaspoons of granulated sugar directly into the coconut mixture. Better yet, go ahead and bump up the sugar in the dipping sauce by an extra teaspoon or two. We need that sweetness to balance the savory shrimp, so make sure you adjust somewhere!
What is the best dipping sauce besides sweet chili mayo?
Oh gosh, I love experimenting with the sauce almost as much as the shrimp itself! While the sweet chili mayo is my tried-and-true favorite, you simply *have* to try it with a good quality orange marmalade thinned out with a tiny splash of lime juice. It creates this gorgeous, slightly tart, super glossy glaze that is totally different but equally addictive—perfect for cutting through the fried goodness. If you like heat, add a tiny dash of hot sauce to that marmalade mix. Trust me, keep a batch of both sauces ready!
How do I prevent the coconut shrimp from getting soggy?
This goes back to those execution tips we talked about, but it’s worth reviewing because it’s the number one complaint! Prevention starts before frying: those shrimp **must** be patted bone-dry. During cooking, the key is draining them properly. Do not let them sit in a bowl or on paper towels alone! They need air circulation. Always transfer them immediately from the oil onto a wire rack set over a paper towel, like we discussed in the frying section. That lets the bottom surface breathe and drain instead of sitting in its own oil. If you’re reheating leftovers, promise me you’ll use the oven or air fryer, never the microwave!
Estimated Nutritional Data for Coconut Shrimp
Since we are frying these guys in a bit of oil to get that unbeatable crunch, the nutrition facts are going to reflect that a little more than if we baked them. Please remember these numbers are just estimates based on the full recipe using the frying method outlined. If you use the air fryer, you’ll notice lower fat content, naturally!
- Serving Size: Approximately 5 shrimp
- Calories: 380
- Fat: 22 grams
- Carbohydrates: 28 grams
- Protein: 18 grams
This is a fun, decadent appetizer, so enjoy it! We count calories another day!
Share Your Crispy Coconut Shrimp Creations
Seriously, I want to see these beauties! I put so much effort into engineering this perfect crunch, and I absolutely love seeing when it works for you in your own kitchen. When you make this batch of restaurant style coconut shrimp, please come back here and leave a rating—I always check the 5-star reviews first!
And while you’re at it, tell me in the comments which dipping sauce variation you went with! Did you stick to the Sweet Chili Mayo, or did you try that orange marmalade idea? Don’t be shy about sharing photos on social media—just tag us so we can marvel at your perfectly golden, crunchy work! If you have any other questions or if you want to share feedback on streamlining your own dinner project, you can always reach out via the contact page. Happy cooking, everyone!
Estimated Nutritional Data for Coconut Shrimp
Since we are frying these guys in a bit of oil to get that unbeatable crunch, the nutrition facts are going to reflect that a little more than if we baked them. Please remember these numbers are just estimates based on the primary frying method outlined below. If you use the air fryer or bake them, you’ll notice lower fat content, naturally!
- Serving Size: Approximately 5 shrimp
- Calories: 380
- Fat: 22 grams
- Carbohydrates: 28 grams
- Protein: 18 grams
This is a fun, decadent appetizer, so enjoy it! We count calories another day!
Share Your Crispy Coconut Shrimp Creations
Seriously, I want to see these beauties! I put so much effort into engineering this perfect crunch, and I absolutely love seeing when it works for you in your own kitchen. When you make this batch of restaurant style coconut shrimp, please come back here and leave a rating—I always check the 5-star reviews first! That number helps other busy folks know they can trust this streamlined method.
And while you’re at it, tell me in the comments which dipping sauce variation you wound up going with! Did you stick to the Sweet Chili Mayo, or did you try that orange marmalade idea I threw out there? Don’t be shy about sharing photos on social media—just tag us so we can marvel at your perfectly golden, crunchy work! If you have any other questions or if you want to share feedback on streamlining your own dinner project, you can always reach out via the contact page. Happy cooking, everyone!
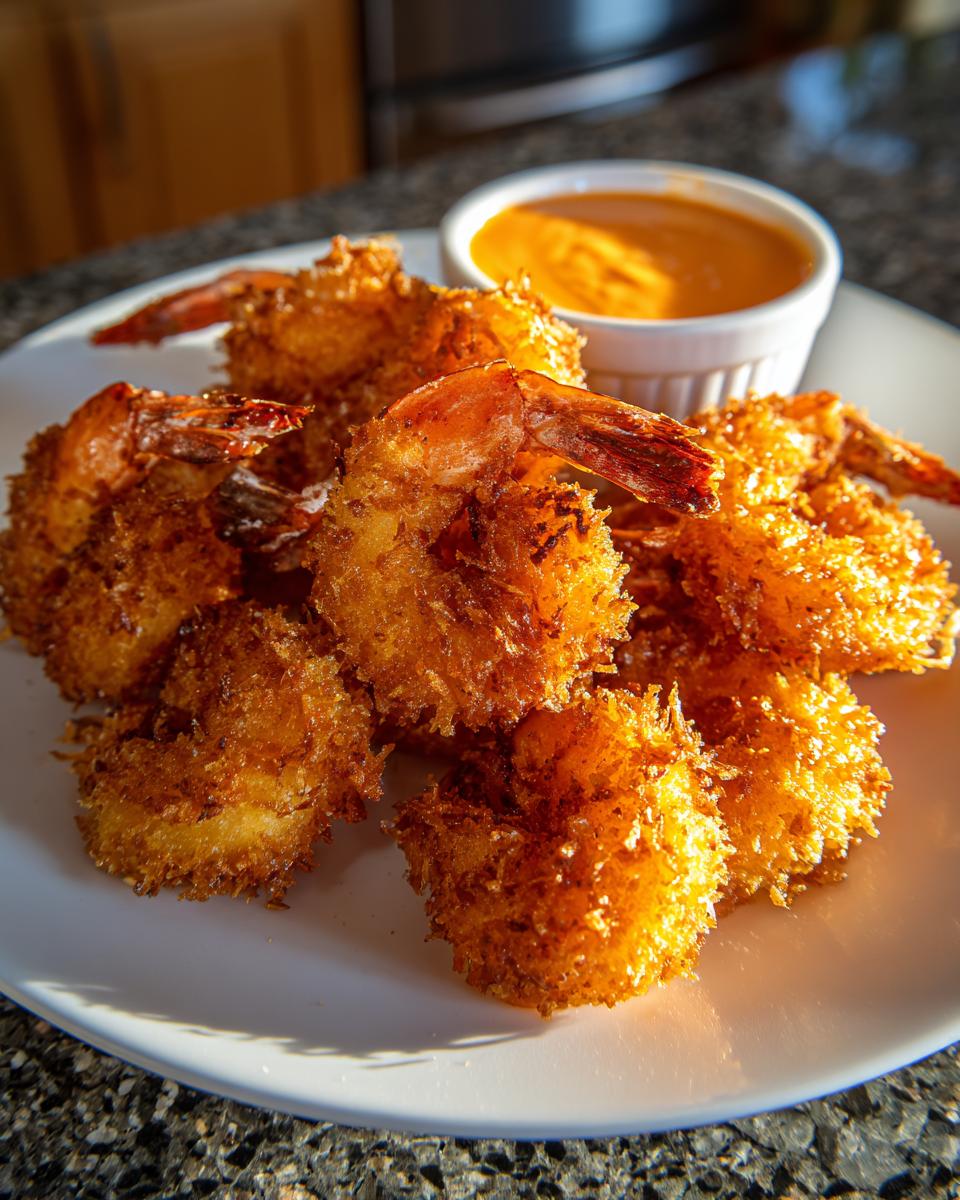
PrintCopycat Crispy Fried Coconut Shrimp with Sweet Chili Mayo Dipping Sauce

Make restaurant-style crispy coconut shrimp at home. This recipe uses a panko and coconut crust for maximum crunch and includes a simple, balanced sweet chili mayonnaise dipping sauce.
- Prep Time: 20 min
- Cook Time: 15 min
- Total Time: 35 min
- Yield: 4 servings 1x
- Category: Appetizer
- Method: Frying
- Cuisine: American
- Diet: Vegetarian
Ingredients
- 1 lb large shrimp, peeled and deveined
- 1 cup all-purpose flour
- 2 large eggs, beaten
- 1 cup sweetened shredded coconut
- 1 cup panko breadcrumbs
- 1 teaspoon salt
- 1/2 teaspoon black pepper
- Vegetable oil, for frying
- For the Dipping Sauce:
- 1/2 cup mayonnaise
- 1/4 cup sweet chili sauce
- 1 tablespoon lime juice
- 1 teaspoon sugar
Instructions
- Prepare the shrimp by patting them completely dry with paper towels.
- Set up a standard breading station with three shallow dishes. Place flour seasoned with salt and pepper in the first dish. Place beaten eggs in the second dish. Mix the shredded coconut and panko breadcrumbs in the third dish.
- Working with one shrimp at a time, dredge it first in the flour mixture, shaking off excess.
- Dip the floured shrimp into the egg wash, allowing excess to drip off.
- Press the shrimp firmly into the coconut-panko mixture to coat evenly on all sides. Place coated shrimp on a baking sheet.
- Prepare the dipping sauce by whisking together the mayonnaise, sweet chili sauce, lime juice, and sugar in a small bowl until smooth. Set aside.
- Heat about 2 inches of vegetable oil in a deep skillet or Dutch oven to 350°F (175°C).
- Carefully place shrimp into the hot oil in batches, ensuring not to overcrowd the pan. Fry for 2 to 3 minutes per side, until golden brown and cooked through.
- Remove the fried shrimp with a slotted spoon and place them on a wire rack set over a paper towel-lined tray to drain excess oil.
- Serve the hot, crispy coconut shrimp immediately with the sweet chili mayo dipping sauce.
Notes
- For a lighter option, you can bake these at 400°F (200°C) for 12-15 minutes, flipping halfway, or use an air fryer at 375°F (190°C) for 8-10 minutes.
- Use large or jumbo shrimp for the best texture.
- If you prefer a less sweet sauce, reduce the sugar or use less sweet chili sauce.
Nutrition
- Serving Size: 5 shrimp
- Calories: 380
- Sugar: 15
- Sodium: 550
- Fat: 22
- Saturated Fat: 10
- Unsaturated Fat: 12
- Trans Fat: 0.5
- Carbohydrates: 28
- Fiber: 2
- Protein: 18
- Cholesterol: 150