
There’s nothing quite like the taste of fresh garden produce, and when summer hits its peak, it’s salsa season! My friend Leo, who’s all about making life simpler in the kitchen, totally gets it. He’d tell you that preserving that vibrant garden flavor shouldn’t be complicated. That’s why I’m so excited to share this amazing homemade salsa recipe. It’s been safely tested for water-bath canning, so you can enjoy that fresh-from-the-garden goodness all year long. Plus, you get to play with the texture and spice level to make it exactly how YOU like it!
- Why You'll Love This Homemade Salsa
- Essential Ingredients for Your Homemade Salsa
- Step-by-Step Guide to Making Homemade Salsa for Canning
- Tips for the Perfect Chunky Homemade Salsa
- Understanding Safe Canning Practices for Tomato Salsa
- Frequently Asked Questions About Homemade Salsa
- Nutritional Information for Homemade Salsa
- Share Your Homemade Salsa Creations!
Why You’ll Love This Homemade Salsa
Seriously, this recipe is a keeper! Here’s why you’ll flip:
- Super Easy: It’s straightforward to put together, even if you’re new to canning.
- Incredible Flavor: Fresh ingredients mean a taste that store-bought stuff just can’t match.
- Canning Confidence: It’s been tested for water-bath canning, so you know it’s safe!
- Totally Customizable: Make it chunky or smooth, mild or fiery – it’s your salsa, your rules!
Essential Ingredients for Your Homemade Salsa
Alright, let’s talk about what goes into making this amazing homemade salsa. Using fresh, good-quality stuff is key here – it’s what makes all the difference, especially when you’re canning. Trust me, you want those vibrant flavors to shine through!
Here’s what you’ll need:
- 6 cups peeled, cored, and chopped tomatoes (This is about 3 pounds, so grab a good bunch!)
- 1 cup chopped onions (Roughly one medium onion will do the trick!)
- 1 cup chopped green bell peppers (About one large pepper, seeded and chopped up.)
- 1/2 cup chopped jalapeño peppers (This is about 2-3 peppers. If you don’t want it super spicy, go ahead and remove the seeds and membranes!)
- 4 cloves garlic, minced (Nobody likes a big chunk of garlic!)
- 2 tablespoons lime juice (Fresh is always best for that bright zing!)
- 1 teaspoon ground cumin (For that classic salsa earthiness.)
- 1 teaspoon dried oregano (Adds a lovely aromatic note.)
- 1/2 teaspoon salt (Or adjust to your taste – you can always add more later!)
- 1/4 teaspoon cayenne pepper (This is totally optional, but if you like it HOT, go for it!)
Step-by-Step Guide to Making Homemade Salsa for Canning
Alright, let’s get this show on the road! Making your own homemade salsa for canning is super rewarding, and honestly, not as tricky as you might think. Just take it one easy step at a time, and you’ll have jars of pure deliciousness ready to go. Safety first, always, when we’re canning!
Preparing Your Canning Supplies
First things first, get your gear ready! You’ll want your water bath canner filled and heating up. Make sure your jars, lids, and bands are sparkling clean and sterilized so everything is safe and sound for your homemade salsa.
Combining and Simmering Your Homemade Salsa
Now for the yummy part! Grab a nice big pot and toss in all those chopped tomatoes, onions, bell peppers, and jalapeños. Add in the minced garlic, lime juice, cumin, oregano, salt, and that optional cayenne if you’re feeling brave! Give it all a good stir to bring those amazing flavors together. Then, bring it to a rolling boil over medium-high heat. Once it’s bubbling away, turn the heat down to low and let it simmer for 10 minutes. This little simmer time is gold – it lets all those garden-fresh flavors really meld together beautifully before we can them.
Filling and Processing Jars for Safe Canning
Okay, time to get these beauties into jars! Ladle that hot salsa carefully into your hot jars, leaving about a half-inch of space at the top (that’s called headspace, and it’s important!). Poke around with a little spatula or chopstick to get rid of any sneaky air bubbles. Wipe the rim of each jar super clean with a damp paper towel, put on your sterilized lids and bands, and tighten them just fingertip tight. Now, carefully lower the jars into your canner and process them in that boiling water for 15 minutes. This is crucial for making sure your safe canning salsa stays safe and sound. Once they’re done, carefully lift them out and let them cool undisturbed on a wire rack for 12 to 24 hours. You’ll hear those satisfying little pings as they seal!
Tips for the Perfect Chunky Homemade Salsa
Making sure your homemade salsa is just right is all about a few little tricks. If you love that satisfyingly chunky texture, just keep chopping everything to your preferred size – I like visible pieces of pepper and tomato! If you’re more of a smooth salsa person, here’s a little secret: grab your food processor, pulse some of the tomatoes (but not all!) until they’re just broken down, and then stir them into the main batch. It gives you that smoother consistency without losing too much of that lovely fresh texture. And for the spice level? It’s all in those jalapeños! For less heat, just be generous with removing the seeds and white ribs. You can always add a pinch more cayenne pepper at the end if you want that extra kick!
Understanding Safe Canning Practices for Tomato Salsa
When it comes to canning things like water bath tomato salsa, safety is hands-down the most important ingredient. Tomatoes can be a bit tricky because their acidity can vary, and we really need to make sure it’s high enough to prevent nasty stuff like botulism from growing. That’s why this recipe is specifically designed with the right amount of acid – from the tomatoes themselves and that little bit of lime juice – to make sure it’s perfectly safe for water-bath canning. Using the water-bath method ensures everything reaches a high enough temperature to kill off unwanted microbes. Seriously, don’t mess with this part; using a tested recipe like this one is your best bet for awesome, safe canning salsa all year round!

Frequently Asked Questions About Homemade Salsa
Got questions about whipping up your own delicious salsa? I get it! Canning can feel a little daunting at first, but it’s totally doable. Here are a few things people often ask.
Can I make this salsa less spicy?
Absolutely! If you’re not a fan of a fiery kick, just be sure to remove all the seeds and white membranes from your jalapeño peppers before chopping. You can also use fewer jalapeños or even swap them out for milder green bell peppers if you prefer.
How long does homemade salsa last when canned?
When you properly can your homemade salsa using this tested recipe and the water-bath method, it should last for about 12 to 18 months. Always make sure the lids are sealed tightly before storing it in a cool, dark place. Once opened, keep it in the fridge!
What if my jars don’t seal?
Oops! Don’t toss it! If a jar didn’t seal properly after cooling, just store it in the refrigerator and enjoy it within a few weeks. For any canning questions or issues, you can always reach out to your local extension office or check out the NCHFP website!
Nutritional Information for Homemade Salsa
Just for a general idea, a 1/4 cup serving of this delicious homemade salsa usually shakes out to about 25 calories. You’re looking at around 5g of carbs, 1g of fiber, and 1g of protein. It’s pretty low in fat and sodium, too. Remember, these numbers are just estimates and can change a bit depending on the exact size of your veggies!
Share Your Homemade Salsa Creations!
I just love hearing from you all! Did you make this amazing homemade salsa? Please, please, please leave a comment below and let me know how it turned out. I’d be absolutely thrilled if you shared your creations and maybe even a photo of your canned salsa on social media – tag us so we can see!
PrintHomemade Water-Bath Salsa
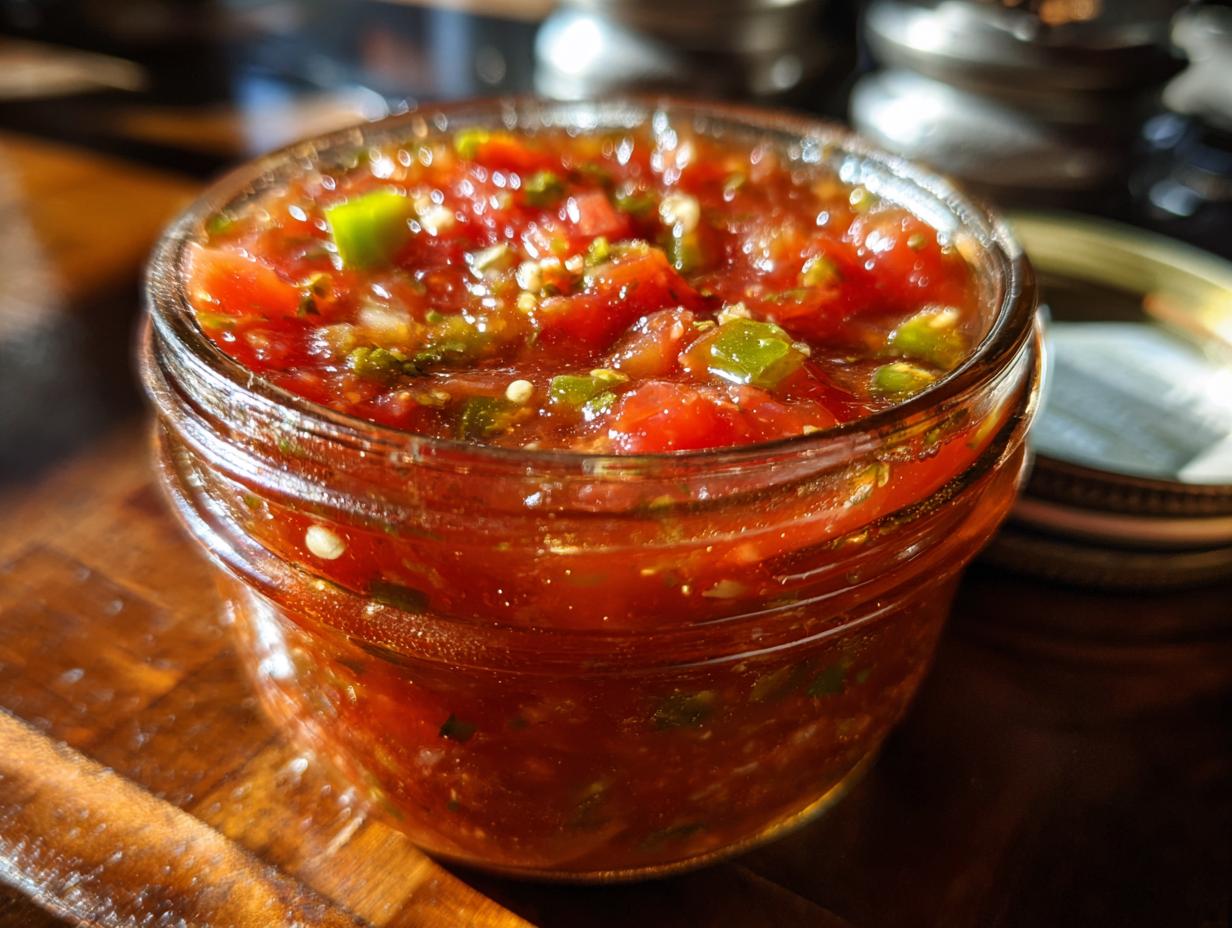
A safe and tested water-bath canning recipe for delicious homemade salsa, perfect for preserving your garden’s bounty. Customize the texture and spice level to your preference.
- Prep Time: 30 min
- Cook Time: 25 min
- Total Time: 55 min
- Yield: About 6 pints 1x
- Category: Preserves
- Method: Water Bath Canning
- Cuisine: American
- Diet: Vegetarian
Ingredients
- 6 cups peeled, cored, and chopped tomatoes (about 3 lbs)
- 1 cup chopped onions (about 1 medium)
- 1 cup chopped green bell peppers (about 1 large)
- 1/2 cup chopped jalapeño peppers (about 2-3, seeds removed for less heat)
- 4 cloves garlic, minced
- 2 tablespoons lime juice
- 1 teaspoon ground cumin
- 1 teaspoon dried oregano
- 1/2 teaspoon salt, or to taste
- 1/4 teaspoon cayenne pepper (optional, for extra heat)
Instructions
- Prepare your water bath canner, jars, lids, and bands. Ensure everything is clean and sterilized.
- In a large pot, combine the chopped tomatoes, onions, green bell peppers, jalapeño peppers, and minced garlic.
- Add the lime juice, cumin, oregano, salt, and cayenne pepper (if using).
- Stir everything together well.
- Bring the mixture to a boil over medium-high heat, stirring occasionally.
- Once boiling, reduce the heat to low and simmer for 10 minutes, stirring occasionally. This allows the flavors to meld.
- Ladle the hot salsa into hot canning jars, leaving 1/2 inch headspace. Remove air bubbles.
- Wipe the jar rims clean and place the lids and bands on.
- Process the jars in the boiling water bath canner for 15 minutes (adjust for altitude if necessary).
- Remove the jars from the canner and let them cool on a wire rack for 12-24 hours. Check for seals.
Notes
- For a smoother salsa, you can pulse some of the tomatoes in a food processor before adding them to the pot.
- Adjust the amount of jalapeño peppers and remove seeds for your desired spice level.
- Always follow safe canning practices to ensure your salsa is safe for consumption.
- This recipe is designed for water-bath canning, ensuring the acidity is safe.
Nutrition
- Serving Size: 1/4 cup
- Calories: 25
- Sugar: 4g
- Sodium: 150mg
- Fat: 0g
- Saturated Fat: 0g
- Unsaturated Fat: 0g
- Trans Fat: 0g
- Carbohydrates: 5g
- Fiber: 1g
- Protein: 1g
- Cholesterol: 0mg