
Let’s be honest, how many times have you bought a bottle of sweet chili sauce only to find it’s either way too sweet or packed with additives you can’t pronounce? That ends today. As the founder of Dishicious, I look at recipes like projects that need streamlining, and bottled condiments are the perfect candidate for optimization. I’ve engineered this recipe so you can whip up the most authentic, balanced homemade sweet chili sauce in under 30 minutes. It hits that perfect spicy, sweet, and tangy trifecta every single time. This isn’t fussy cooking; this is smart cooking. If you need quick meals that taste incredible, check out my collection of quick easy dinners—the philosophy is exactly the same!
- Why This DIY Sweet Chili Sauce Recipe Works Every Time
- Gathering Ingredients for Your Homemade Sweet Chili Sauce
- How to Prepare Authentic Asian Dipping Sauce Recipe: Step-by-Step
- Tips for Success When Making Sweet Chili Sauce From Scratch
- Storage and Shelf Life for Your Homemade Sweet Chili Sauce
- Serving Suggestions: How to Use Homemade Sweet Chili Sauce
- Answering Common Questions About How to Make Chili Sauce at Home
- Estimated Nutritional Snapshot for Homemade Sweet Chili Sauce
- Share Your Homemade Sweet Chili Sauce Success
Why This DIY Sweet Chili Sauce Recipe Works Every Time
When I tackle a sauce, I use my project manager brain: strip away everything non-essential. This recipe for DIY sweet chili sauce isn’t guesswork; it’s engineered for reliable results. We focus only on the core components needed for that vibrant, fresh flavor that store-bought jars simply can’t replicate.
- You control the heat—no surprises!
- No reliance on stabilizers or weird preservatives.
- Proven ingredient ratios that stop thinning or seizing.
Flavor Balance: Sweet, Spicy, and Tangy Perfection
The effectiveness here is all about the vinegar ratio. We use both white and rice vinegar to build depth. The sugar isn’t just for sweetness; it balances the acidity perfectly. This interaction delivers what I guarantee is the best homemade sweet chili dipping sauce you’ll ever taste—bright, complex, and addictive.
Speed and Simplicity of Our Easy Sweet Chili Sauce From Scratch
The beauty of this process is the efficiency. Total time clocks in right around 25 minutes, start to finish. We use a direct simmer and thicken with a slurry—no complicated reductions needed. If you are looking for an easy sweet chili sauce from scratch that delivers massive flavor fast, this is your winner.
Gathering Ingredients for Your Homemade Sweet Chili Sauce
When you’re making a sauce from scratch, clarity on ingredients is everything. Unlike a soup where you can hide adjustments later, the components in this homemade sweet chili sauce really shine through, which is why we need precision. I’ve laid out exactly what you need below—and yes, the prep work matters immensely for the final texture and infusion process.
- 1 cup of plain water
- 1 cup of granulated sugar
- 1/2 cup white vinegar (for structure)
- 1/4 cup rice vinegar (for that authentic tang)
- 4 cloves of garlic, minced very fine
- 2 tablespoons of fresh ginger, grated
- 4 to 6 red Thai chilies, thinly sliced (we’ll talk heat control in a second!)
- 1 tablespoon of cornstarch
- 2 tablespoons of very cold water (to make the slurry)
- 1 teaspoon of salt
Ingredient Notes and Heat Adjustment for Homemade Sweet Chili Sauce
The secret to making this the Thai sweet chili sauce recipe no preservatives version that tastes just right is locking in that subtle acidity from the rice vinegar. Don’t skip it! Now, about the heat: if you want less fire, you must scrape out all the seeds from those Thai chilies before slicing them. If you want that real punch, leave them in! I find that using exactly five chilies with the seeds in gives a fantastic, manageable warmth.
How to Prepare Authentic Asian Dipping Sauce Recipe: Step-by-Step
Alright, this is where the project manager in me loves to see the process flow perfectly. We’re moving from raw ingredients to a vibrant, syrupy authentic Asian dipping sauce recipe using one saucepan. Keep your stirring spoon handy, because precision pays off here. The goal is building flavor layers efficiently, and we do that by letting the aromatics hang out in the sweet-and-sour base first.
If you’re looking for more quick recipes like this, check out my guide on quick homemade Asian sauces—they follow the same efficient principles!
Infusing Flavor: Simmering the Homemade Sweet Chili Sauce Base
First, combine your water and both vinegars with the sugar until it dissolves over medium heat. Once it simmers, toss in your flavor bombs: the minced garlic, grated ginger, and those sliced chilies. Now, you must let this mixture gently simmer for a solid 10 minutes on low heat. Don’t rush this part! This slow infusion is absolutely crucial; it transfers all that wonderful fresh heat and aromatic depth into the liquid base.
Thickening the Sauce and Final Seasoning
While that simmers, quickly mix your cornstarch with the cold water to make a slurry—it needs to be lump-free. After the 10 minutes are up, slowly pour that slurry into your simmering sauce while stirring constantly. Keep stirring! It’ll go from thin liquid to that perfect, glossy syrup in just a minute or two. Once thickened, kill the heat, stir in your salt, taste it, and adjust that sweet/tangy balance if needed. That’s literally it!
Tips for Success When Making Sweet Chili Sauce From Scratch
When I first started optimizing this sweet chili sauce from scratch process, I ran into one major snag: the texture when cooled. You’ve simmered it, it looked perfect—syrupy and glossy—but when you went to use it the next day, it was like firm jelly! That happens if you don’t let the cornstarch slurry cook long enough to activate fully. Make sure you stir constantly for that extra minute after adding the slurry until you see it really start clinging to the back of your spoon.
The other crucial check I always perform is ensuring every grain of sugar is dissolved before you even think about adding the chilies. If sugar crystals remain, they can sometimes interfere with the final texture or give you little gritty spots. I actually stop the heat slightly before bringing it to a full boil when dissolving the sugar, just to ensure full integration. This diligence is why this sauce works so well as a dipping sauce for your next batch of spring rolls—check out my condiment recipes for spring rolls for pairing ideas!
Storage and Shelf Life for Your Homemade Sweet Chili Sauce
Okay, you’ve made this incredible, fresh sauce, so naturally, you need to know how to keep it perfect. Since this homemade sweet chili sauce doesn’t have the commercial stabilizers, the storage guidelines are slightly different than that big squeeze bottle you’re used to. Follow these simple sweet chili sauce storage tips, and you’ll keep that flavor bright.
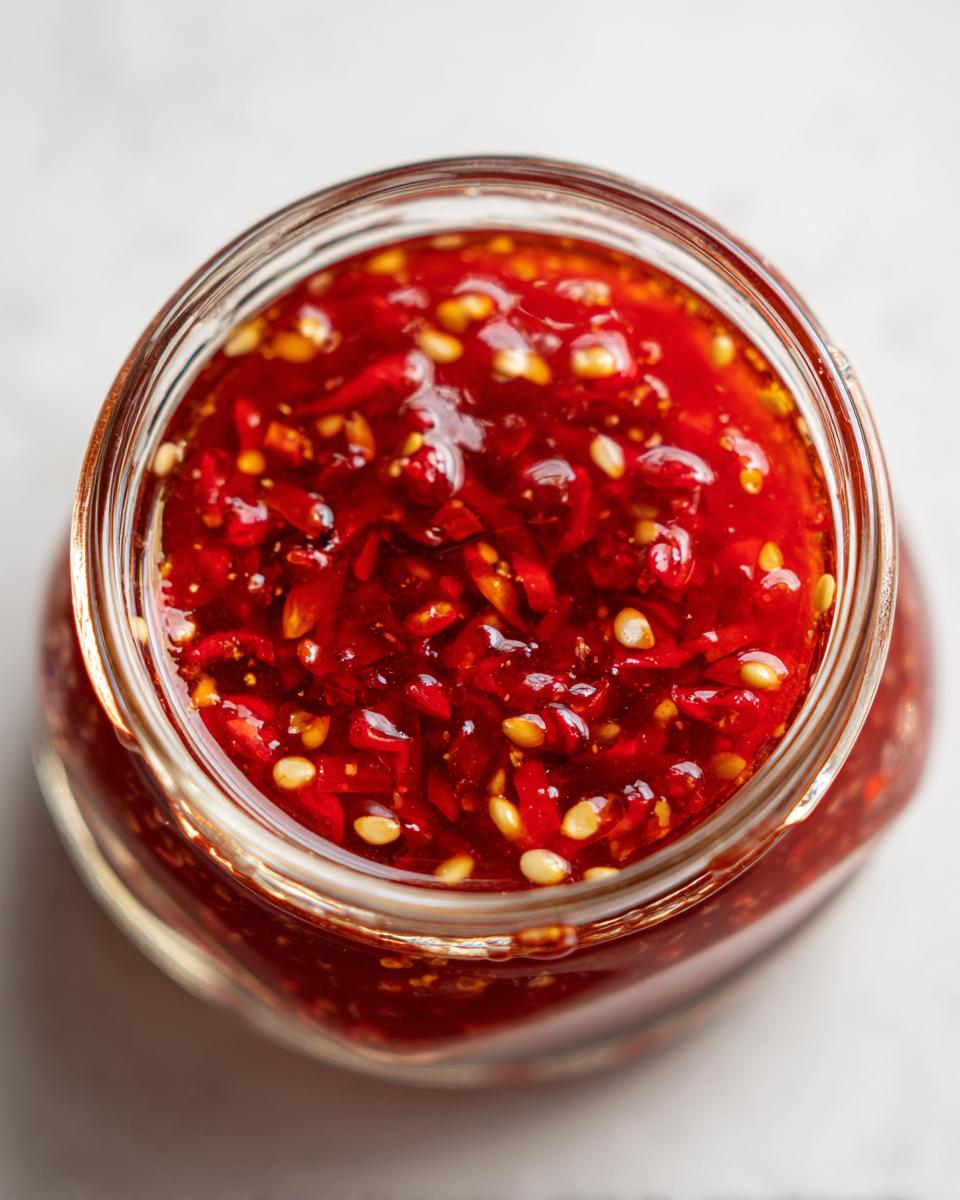
Transfer the entire batch once it’s cooled completely into an airtight jar or container—glass works best. Pop it straight into the refrigerator. You can expect this sauce to stay wonderfully vibrant and ready to use for up to three weeks. Seriously, three weeks of perfect dipping sauce right there in your fridge—worth the 25 minutes of effort!
Serving Suggestions: How to Use Homemade Sweet Chili Sauce
Now that you’ve mastered this homemade sweet chili sauce, the real question is what culinary project you’re going to tackle first? It’s incredibly versatile, far beyond just spring rolls. I often use a batch just to spruce up leftovers. Seriously, a drizzle over roasted vegetables completely changes the game.
For a fast weeknight win, think about using it as a sticky homemade glaze for chicken—whether you bake it, grill it, or pan-sear it. It caramelizes beautifully. If you are looking for a main dish inspiration that pairs well with this kind of flavor profile, you absolutely have to try my recipe for baked ranch chicken, and just use this sweet chili sauce as your finishing glaze instead of what the recipe calls for. That contrast between savory ranch and sweet spice? Incredible.
Answering Common Questions About How to Make Chili Sauce at Home
Whenever I launch a new, simplified recipe, I always anticipate the same troubleshooting questions popping up. That’s smart kitchen management, right? It saves everyone time later! I’ve gathered the most common ones regarding this how to make chili sauce at home project below. Keep them handy!
Can I make this Thai sweet chili sauce recipe no preservatives?
Absolutely! That’s one of the main reasons we’re making this. Because we use vinegar and sugar, which are natural preservatives, this is effectively a Thai sweet chili sauce recipe no preservatives version. However, remember context: it won’t last six months on the shelf like the grocery store stuff. Keep it refrigerated, and enjoy it within three weeks for peak freshness.
What is the best substitute for Thai chilies in this DIY sweet chili sauce recipe?
If you can’t find those small Thai chilies, don’t stress! For a similar heat profile in your DIY sweet chili sauce recipe, try using two to three seeded serrano peppers. If you really struggle with fresh heat, use diced jalapeños mixed with a tiny pinch of cayenne pepper flakes. It won’t have the exact fruity note, but it nails the heat level.
Can I make a low-carb version of homemade sweet chili sauce?
That’s a great question, especially for folks watching their sugar intake. Yes, you can adapt this! Since the sugar is essential for thickening and flavor, you’ll need to replace it with a granulated zero-calorie sweetener—like erythritol or monk fruit blend—when you go to dissolve it in Step 1. Just be aware that it might require a slightly different cornstarch measurement because sugar affects viscosity differently than sweeteners do when heated.
Estimated Nutritional Snapshot for Homemade Sweet Chili Sauce
As a project manager, I always like clear data, even when we’re dealing with something homemade! Keep in mind these numbers are estimates based on standard ingredient volumes for our homemade sweet chili sauce. You’re looking at about 75 calories per two-tablespoon serving. The best part? Zero fat and zero cholesterol, since we aren’t using any oils or animal products here. It’s mostly sugar coming from the recipe components, so certainly enjoy this in moderation, though it’s much better than the commercial stuff!
- Serving Size: 2 tablespoons
- Calories: 75
- Sugar: 17g
- Sodium: 150mg
- Fat: 0g
If you are focusing on lower carb options, remember that sweetener swap we discussed earlier in the FAQs? That helps cut the sugar substantially. For main dishes that fit better into a lower-carb plan, you should definitely look over my keto chicken parmesan recipe for inspiration!
Share Your Homemade Sweet Chili Sauce Success
Alright, project complete! Now it’s your turn to report back. I need to know if this was a 5-star success for you. Go ahead and rate the recipe and drop a comment below—tell me exactly how you tweaked that heat level or what delicious thing you dipped in it first. I always enjoy seeing how you apply these efficient techniques!
For more on the Dishicious philosophy, feel free to check out our About Page anytime.
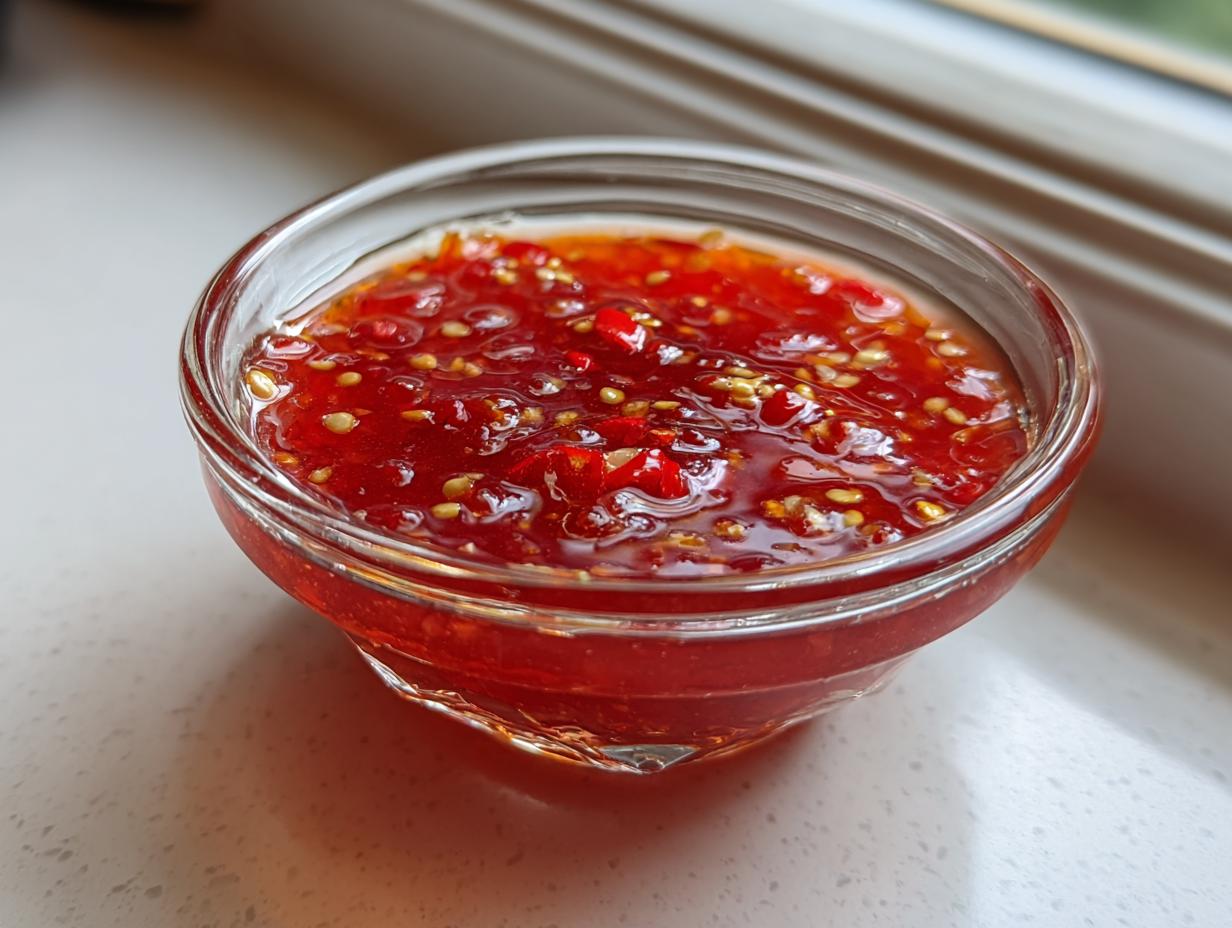
PrintEasy Homemade Sweet Chili Sauce From Scratch
Make authentic Thai sweet chili sauce at home without preservatives. This recipe balances sweet, spicy, and tangy flavors for a perfect dipping sauce.
- Prep Time: 10 min
- Cook Time: 15 min
- Total Time: 25 min
- Yield: About 1.5 cups 1x
- Category: Condiment
- Method: Stovetop Simmering
- Cuisine: Asian
- Diet: Vegetarian
Ingredients
- 1 cup water
- 1 cup granulated sugar
- 1/2 cup white vinegar
- 1/4 cup rice vinegar
- 4 cloves garlic, minced
- 2 tablespoons fresh ginger, grated
- 4–6 red Thai chilies, thinly sliced (adjust for heat preference)
- 1 tablespoon cornstarch
- 2 tablespoons cold water (for slurry)
- 1 teaspoon salt
Instructions
- Combine the 1 cup water, sugar, white vinegar, and rice vinegar in a medium saucepan. Bring the mixture to a simmer over medium heat, stirring until the sugar dissolves completely.
- Add the minced garlic, grated ginger, and sliced chilies to the simmering liquid. Reduce the heat to low and let it gently simmer for 10 minutes to allow the flavors to infuse.
- In a small bowl, whisk together the cornstarch and 2 tablespoons of cold water to create a slurry.
- Slowly pour the cornstarch slurry into the simmering sauce while continuously stirring. Continue to cook for 1-2 minutes until the sauce thickens to a syrupy consistency.
- Stir in the salt. Taste the sauce and adjust sweetness (add more sugar) or tanginess (add more rice vinegar) if needed.
- Remove the sauce from the heat and let it cool completely. The sauce will thicken further as it cools.
- Transfer the finished sweet chili sauce to an airtight container for storage.
Notes
- For a milder sauce, remove the seeds from the chilies before slicing. For a spicier sauce, use more chilies or add a pinch of red pepper flakes.
- This sauce is excellent as a glaze for chicken, a dipping sauce for spring rolls, or mixed into stir-fries.
- Store the sauce in the refrigerator. It keeps well for up to three weeks.
Nutrition
- Serving Size: 2 tablespoons
- Calories: 75
- Sugar: 17g
- Sodium: 150mg
- Fat: 0g
- Saturated Fat: 0g
- Unsaturated Fat: 0g
- Trans Fat: 0g
- Carbohydrates: 19g
- Fiber: 0g
- Protein: 0g
- Cholesterol: 0mg