
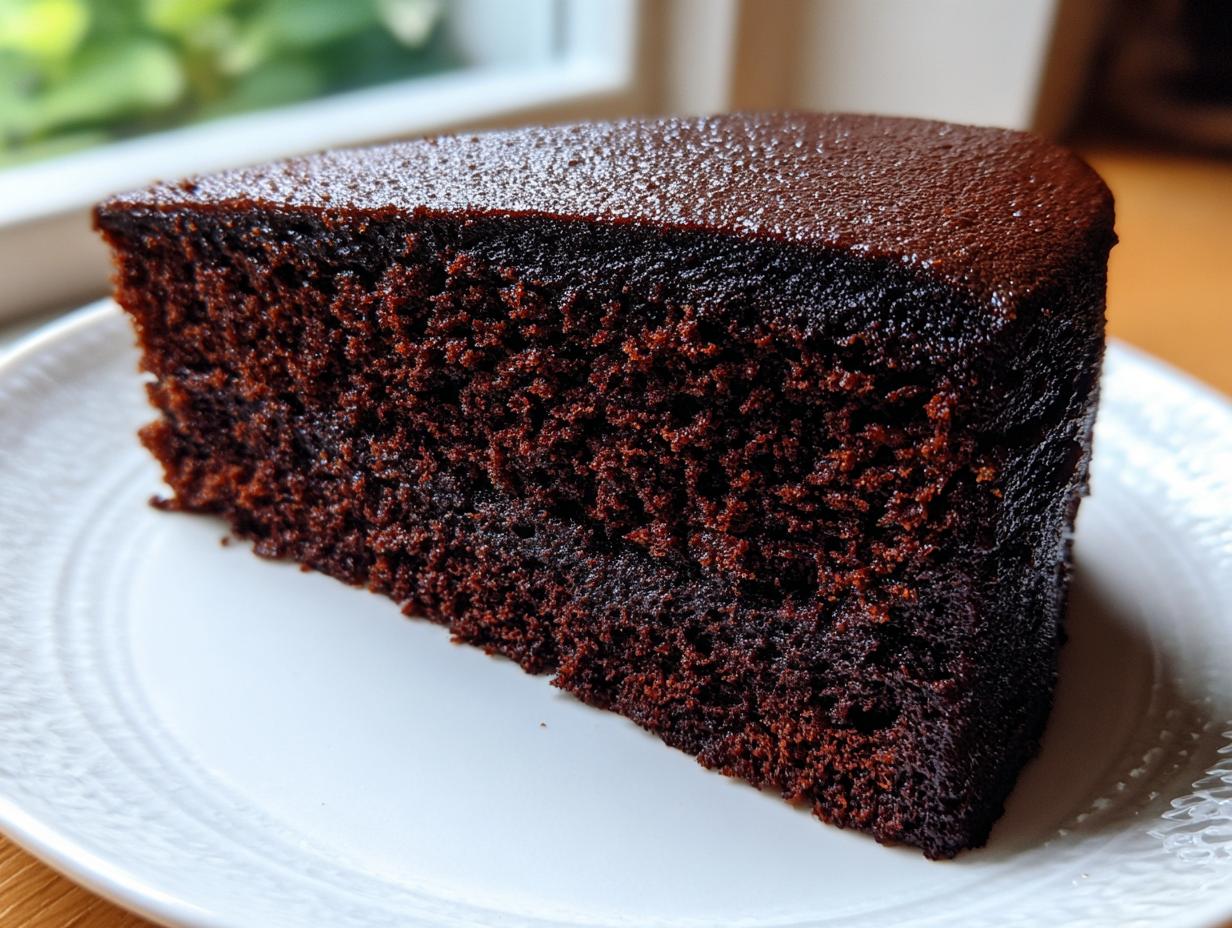
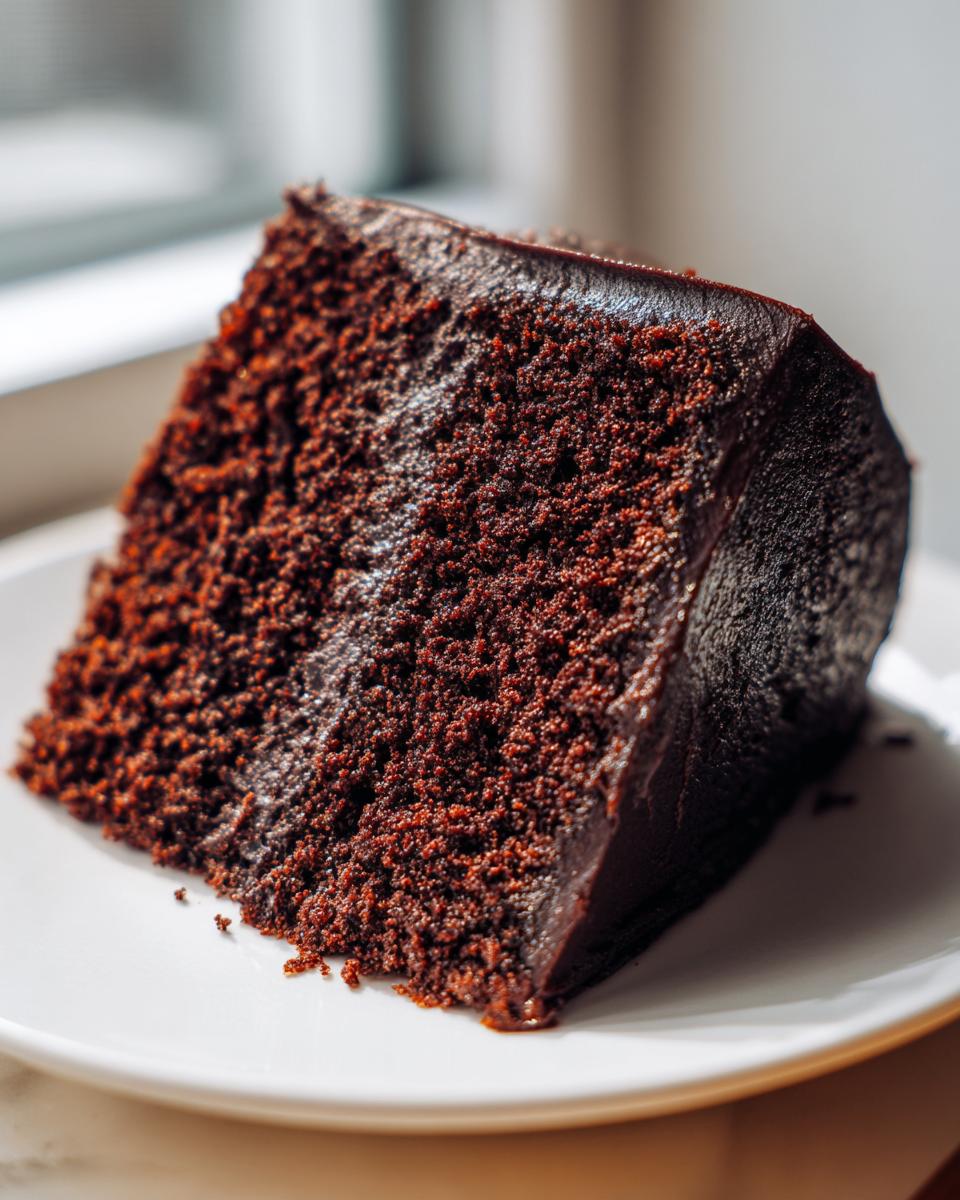
When you hit a huge milestone—graduation, a big anniversary, finally finishing that massive project—you need a dessert that measures up. Forget those dry, crumbly sponges that fall apart when you try to stack them! I engineered this specific recipe because I needed a deep, dark chocolate cake base that was sturdy enough to handle a towering layer cake design for big parties, but melt-in-your-mouth moist on the inside. That’s the goal here: ultimate indulgence built on reliable structure. This is my absolute favorite moist devil’s food cake base. As the founder of Dishicious, I treat baking like serious project management. We focus only on the essential engineering steps that guarantee success without wasting your time. For more intensely rich chocolate options, check out my guide on the chocolate fudge cake. This dark chocolate cake isn’t complicated; it’s just smart, streamlined baking for when it really matters.
- Why This Moist Devil's Food Cake is Your Milestone Essential
- Ingredients for the Ultimate Moist Devil's Food Cake
- Equipment Needed for Your Moist Devil's Food Cake Project
- Step-by-Step Instructions to Master Your Moist Devil's Food Cake
- Tips for the Perfect Celebration Layer Cake Using Moist Devil's Food Cake
- Troubleshooting Common Moist Devil's Food Cake Issues
- Serving Suggestions for Your Dark Chocolate Cake
- Storage and Reheating Instructions for Moist Devil's Food Cake
- Frequently Asked Questions About Making This Moist Devil's Food Cake
Why This Moist Devil’s Food Cake is Your Milestone Essential
When you’re planning a party that matters, you can’t risk a weak cake. This recipe delivers on two fronts that most chocolate cake recipes miss. It’s deeply satisfying to eat but doesn’t collapse under pressure. You can trust this base to hold heavy frosting and high tiers. I learned early on that celebration baking needs reliability, which is why I focused so heavily on this structure. Learn more about my streamlined approach over on the About Me page.
- It provides the intense, dark flavor profile that screams ‘special occasion.’
- It’s engineered to stay unbelievably moist for days, meaning you can bake ahead of time!
Engineered for Structure and Supreme Moisture
The secret to getting that perfect, sturdy crumb while keeping the interior tender is the interplay between the buttermilk and the hot coffee. The acidity in the buttermilk tenderizes the crumb perfectly, and the hot coffee blooms the cocoa powder for that deep color and rich flavor. This combination ensures the final moist cake recipe can handle even the thickest layer of buttercream without weeping or crumbling.
Ingredients for the Ultimate Moist Devil’s Food Cake
Since we are managing this project for a big event, being crystal clear on the ingredients is step one. You need reliable output, which starts with accurate measurements. Notice that the liquids—the buttermilk and the coffee—need to be correct for the chemical reaction to work just right. Remember, room temperature eggs mix in smoother, creating a more uniform texture. High-quality cocoa powder is absolutely non-negotiable here if you want that deep, dark chocolate color we’re aiming for in this dark chocolate cake.
Here’s the breakdown of what you need for two 9-inch rounds. If you’re looking for a similar rich cake base, check out my plain moist chocolate cake recipe, too!
- 2 cups all-purpose flour
- 2 cups granulated sugar
- 3/4 cup unsweetened cocoa powder (use the best dark one you can find!)
- 2 teaspoons baking soda
- 1 teaspoon baking powder
- 1 teaspoon salt
- 1 cup buttermilk, room temperature
- 1/2 cup vegetable oil
- 2 large eggs, room temperature
- 1 teaspoon vanilla extract
- 1 cup hot brewed coffee (this is crucial!)
Equipment Needed for Your Moist Devil’s Food Cake Project
Just like any worthwhile project, having the right tools ready before you start mixing saves so much hassle later. We aren’t going to hunt down specialty gear; we are sticking to the basics that get the job done reliably. Having everything staged on the counter minimizes mid-bake panic, which is when mistakes happen!
For this layer cake base, make sure you have these on hand:
- Two 9-inch round cake pans. Don’t skimp here—consistent pan size is key for even baking!
- A standard electric mixer, either hand-held or a stand mixer.
- Measuring cups and spoons (accurate liquid and dry measures).
- A large mixing bowl, big enough to handle all the initial dry whisking.
- Parchment paper. This is my non-negotiable insurance policy against sticking.
- A wire cooling rack.
Being organized with your equipment means you can focus entirely on the technique once the ingredients start combining. For more ideas on streamlining your kitchen workflow, take a look at my tips for quick and easy dinners—the same principles apply to getting this cake done efficiently!
Step-by-Step Instructions to Master Your Moist Devil’s Food Cake
Alright, let’s get this project started! Baking a perfect moist devil’s food cake is all about following a proven sequence. We mix things in stages to control the gluten development, which is essential if you want that tenderness in a sturdy chocolate cake. Don’t rush the mixing times, or you risk activating too much gluey structure, and we want tender, not tough!
Preparing Pans and Dry Ingredients
First things first: get your oven to 350°F (175°C). While that’s heating up, prep those pans completely. Grease them, flour them, and then cut and place parchment paper circles on the bottom of your two 9-inch pans. This step is your failsafe for a clean release. Now, grab your biggest bowl and whisk together all the dry stuff: flour, sugar, cocoa, baking soda, baking powder, and salt. Whisking them means you don’t have to sift later, saving you time!
Mixing the Moist Cake Recipe Batter
Next, add the room-temperature buttermilk, the oil, the eggs, and the vanilla right into those dry ingredients. Turn your mixer on medium speed and beat this for a solid two minutes. It should look mostly combined. Now for the magic step: carefully pour in that hot brewed coffee. Mix this on **low speed** until it’s just incorporated. I stress low speed here—we don’t want to whip air into the coffee; we just want it blended so the batter gets incredibly thin and dark. That thinness is exactly what leads to a super moist cake recipe.
Baking and Cooling the Moist Devil’s Food Cake Layers
Divide the thin batter evenly between your prepared pans. Bake them for about 30 to 35 minutes. You’re looking for that wooden pick inserted right in the center to come out perfectly clean. Don’t even think about touching them for at least 10 minutes after they come out of the oven! This rest period is critical to let the structure set. Invert them onto a wire rack after those ten minutes to cool completely before you even think about frosting. For more chocolatey goodness, you can jump over to my chocolate meringue pie recipe if you need a dessert palate cleanser!
Tips for the Perfect Celebration Layer Cake Using Moist Devil’s Food Cake
Look, this moist devil’s food cake is sturdy, but we need to treat it right before we build our party masterpiece. The biggest efficiency tip I have? Leveling. Once those layers are totally cool, wrap them tightly in plastic wrap and pop them in the freezer for 30 minutes. Seriously, chill them! They become much firmer and easier to slice perfectly level without crumbles taking over your counter. This small pause in the project timeline saves you massive headaches later when you are applying frosting.
When you take them out, use a long serrated knife to carefully level the tops if necessary. Don’t apply that heavy buttercream until the cakes are cool all the way through. If you’re using a heavy filling, like my reliable chocolate frosting, a thin crumb coat followed by a firm chill is the key to keeping that tall layer cake looking sharp for the big event.
Troubleshooting Common Moist Devil’s Food Cake Issues
Sometimes when you manage a recipe like a project, you see weird results if you slip up on a step. The most common thing my readers panic about is the batter: yes, it should look thin! That hot coffee makes it very liquidy, so don’t go adding extra flour.
If your finished devil’s food cake turns out tough or chewy, I can almost guarantee you overmixed that batter once the coffee went in. That develops too much gluten. Remember, low speed until just combined!
If the cake sinks in the center, it usually means the oven wasn’t quite ready, or you cracked the door open too soon. We stick to the 30-minute minimum before checking the center with a pick!
Serving Suggestions for Your Dark Chocolate Cake
Because this dark chocolate cake has such deep, intense flavor, you want pairings that really stand up to it on a big presentation piece. For a milestone celebration, presentation is everything, right? We need maximum visual impact alongside that incredible taste.
My top recommendation is always a bright, tangy contrast. Forget sugary fluff! A rich cream cheese frosting works beautifully; the slight tang cuts through the richness of the cocoa perfectly. You can find my foolproof recipe for that here.
If you want fruit, lean toward tartness. Fresh raspberries or a homemade sour cherry compote is amazing layered between the tiers or dolloped around the base. It just pops against the deep brown color! We want it to look elegant on that special cake stand, not too fussy, but definitely worthy of the big achievement you’re celebrating.
Storage and Reheating Instructions for Moist Devil’s Food Cake
Since this is a celebration cake, you might need to bake it ahead of time, which is great because this moist cake recipe holds up well. If you have unfrosted layers, wrap each one tightly in plastic wrap, making sure there are zero air gaps, and freeze them. They stay perfect for weeks that way!
Once frosted, keep your finished layer cake tightly covered at cool room temperature—don’t refrigerate it unless your filling absolutely demands cold temps, as the cold actually dries out cake faster. Pop it out about an hour before serving, and it will be as moist as the day you baked it!
Frequently Asked Questions About Making This Moist Devil’s Food Cake
When you run into questions, I like to have simple, project-focused answers ready to go. We aren’t looking for complicated chemistry here; we just need reliable results for your big chocolate cake! For more reliable options, you can always check out my main assortment of dessert recipes.
Can I skip the hot coffee and use hot water instead?
Honestly, try not to. The hot coffee is what blooms the cocoa powder, deepening the color and intensifying the overall chocolate experience—that’s what gives us the true dark chocolate cake flavor profile. If you absolutely cannot use coffee, use hot water, but your final cake will be slightly lighter in color and less complex in flavor. It’ll still be a moist cake recipe, just not *as* good.
Can I use regular milk instead of buttermilk?
You can, but you lose acidity that helps tenderize the crumb. My workaround, if you don’t have buttermilk on hand for this moist devil’s food cake, is easy. Take one cup of regular milk and stir in one tablespoon of white vinegar or lemon juice. Let it sit on the counter for five minutes until it curdles slightly. That creates an instant substitute!
Can this recipe be adapted for cupcakes?
Absolutely! This is a great way to batch-prep for a party. Line muffin tins with paper liners and fill them about two-thirds full. The baking time will drop considerably, usually around 18 to 22 minutes at 350°F. Cupcakes are easier to serve at big events, too, since you don’t have to worry about slicing a giant layer cake.
What is the trick to achieving that signature dark color?
It comes down to two things we already discussed: high-quality cocoa powder—look for Dutch-processed if possible—and using hot liquids (the coffee). The heat releases the maximum flavor pigment from the cocoa.
PrintMoist Devil’s Food Cake for Milestone Celebrations
A deep, dark chocolate cake base that is very moist and sturdy enough for layering in a large celebration cake.
- Prep Time: 20 min
- Cook Time: 35 min
- Total Time: 55 min
- Yield: 12 servings 1x
- Category: Dessert
- Method: Baking
- Cuisine: American
- Diet: Vegetarian
Ingredients
- 2 cups all-purpose flour
- 2 cups granulated sugar
- 3/4 cup unsweetened cocoa powder
- 2 teaspoons baking soda
- 1 teaspoon baking powder
- 1 teaspoon salt
- 1 cup buttermilk, room temperature
- 1/2 cup vegetable oil
- 2 large eggs, room temperature
- 1 teaspoon vanilla extract
- 1 cup hot brewed coffee
Instructions
- Preheat your oven to 350°F (175°C). Grease and flour two 9-inch round cake pans. Line the bottoms with parchment paper circles.
- In a large bowl, whisk together the flour, sugar, cocoa powder, baking soda, baking powder, and salt.
- Add the buttermilk, oil, eggs, and vanilla extract to the dry ingredients. Beat with an electric mixer on medium speed for two minutes.
- Carefully pour the hot coffee into the batter and mix on low speed until just combined. The batter will be thin.
- Divide the batter evenly between the prepared cake pans.
- Bake for 30 to 35 minutes, or until a wooden pick inserted into the center comes out clean.
- Let the cakes cool in the pans for 10 minutes before inverting them onto a wire rack to cool completely.
Notes
- For the best structure in a layer cake, ensure the cakes are completely cool before leveling or frosting.
- Use high-quality cocoa powder for the deepest dark chocolate flavor.
- This recipe makes a perfect base for a graduation party layer cake.
Nutrition
- Serving Size: 1 slice
- Calories: 350
- Sugar: 45g
- Sodium: 300mg
- Fat: 17g
- Saturated Fat: 3g
- Unsaturated Fat: 14g
- Trans Fat: 0g
- Carbohydrates: 48g
- Fiber: 3g
- Protein: 5g
- Cholesterol: 45mg