


Okay, so you know those moments when you’re rushing out the door, or maybe just craving something *good* but don’t have time for a whole baking project? Yeah, I’ve been there! That’s exactly why I fell in love with these no bake trail mix bars. Seriously, they’re a lifesaver. My whole thing at Dishicious is making delicious food super doable, and these bars are the poster child for that. They’re perfect for stuffing into a lunchbox, grabbing for a hike, or just having ready for that afternoon slump. No oven required, minimal cleanup – just pure snacking brilliance. I remember spending ages trying to find a snack that was actually filling and tasted great without a million complicated steps, and *bam*, these bars were the answer!
- Why You'll Love These No Bake Trail Mix Bars
- Essential Ingredients for Your No Bake Trail Mix Bars
- Expert Tips for Perfect No Bake Trail Mix Bars
- Step-by-Step Guide to Making Your No Bake Trail Mix Bars
- Ingredient Notes and Substitutions for Your Recipe
- Storing and Reheating Your No Bake Trail Mix Bars
- Frequently Asked Questions about No Bake Trail Mix Bars
- Estimated Nutritional Information
Why You’ll Love These No Bake Trail Mix Bars
Honestly, these bars check all the boxes! Here’s why they’re about to become your new go-to:
- Super Speedy: Ready in about 15 minutes of active time.
- Effortless: No baking means no fuss, and hardly any dishes!
- Totally Customizable: Swap out ingredients to fit what you have or what you love.
- Lunchbox & Hike Friendly: They hold up great and are the perfect grab-and-go snack.
- Dietary Friendly: Easy to make gluten-free with just one simple swap.
Essential Ingredients for Your No Bake Trail Mix Bars
Alright, let’s get down to business with what you’ll need for these amazing no bake trail mix bars. I’ve tried to keep it super simple, using stuff you probably already have in your pantry or can grab on a quick trip. Think of this as your starter pack, but remember, we’re all about making it your own later!
For a batch that perfectly fits an 8×8 inch pan, you’re going to want:
- 1 cup rolled oats: These are the backbone of our bars, giving them that classic chewy granola bar feel. Make sure they’re rolled oats, not instant!
- 1/2 cup chopped nuts: Almonds, walnuts, pecans – whatever you like! Give them a rough chop so they’re not too big, but you still get that satisfying crunch.
- 1/4 cup seeds: Sunflower or pumpkin seeds work wonderfully here. They add a little extra nutrition and a nice texture.
- 1/4 cup mini chocolate chips: Because, well, chocolate! Mini chips melt just a bit into the bars and add that perfect sweet surprise.
- 1/4 cup honey: This is our primary binder! Honey adds sweetness and helps everything stick together. You can totally use maple syrup if you prefer, but honey gives it a lovely flavor.
- 1/4 cup almond butter: Creamy or crunchy, it doesn’t matter! Almond butter adds richness and helps bind everything too. Peanut butter is a fantastic swap here, too!
- 1 teaspoon vanilla extract: Just a little splash to really make all those flavors pop.
- A pinch of salt: Don’t skip this! It balances all the sweetness and really brings out the nutty, chocolatey goodness.
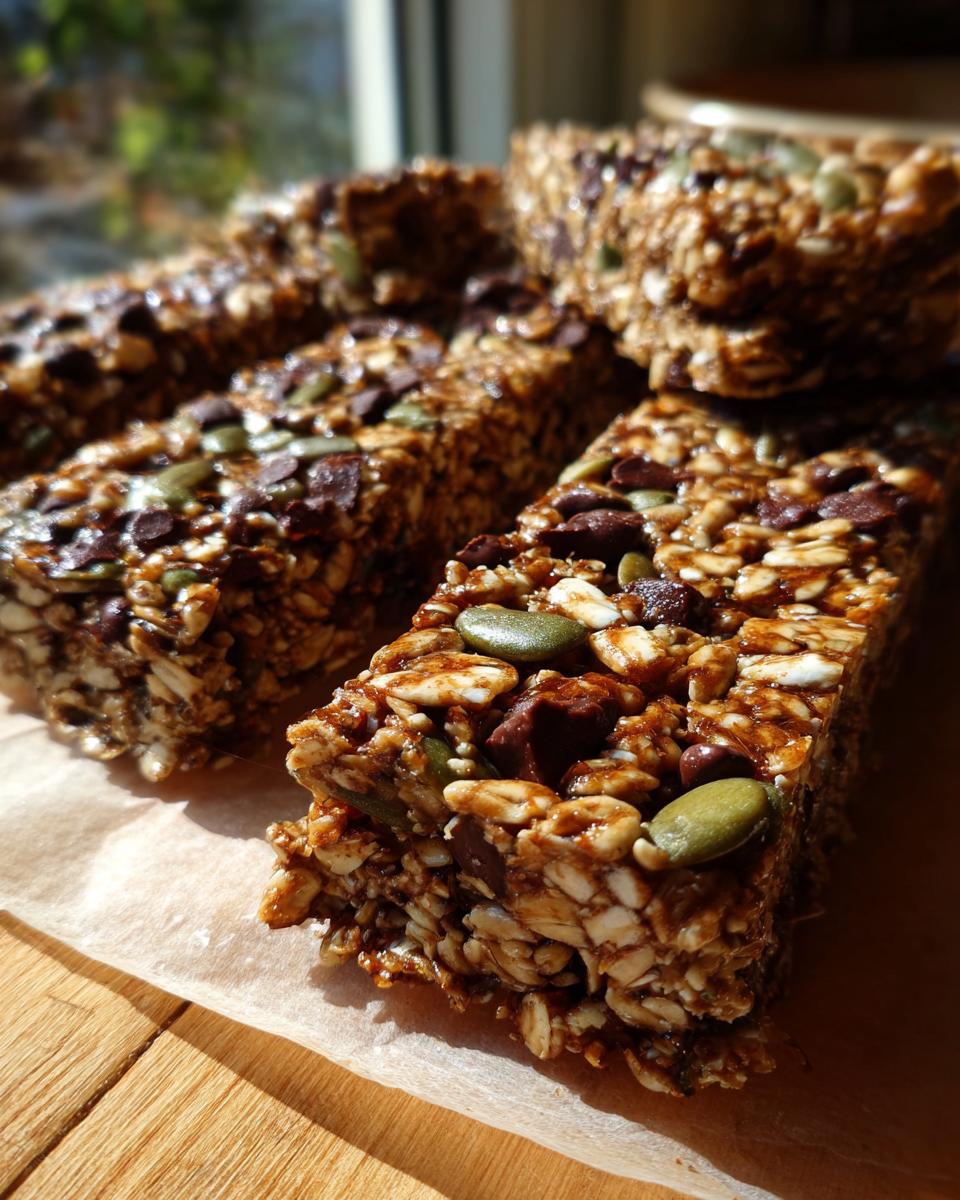
Expert Tips for Perfect No Bake Trail Mix Bars
Okay, so you’ve got your ingredients ready – awesome! Now let’s talk about how to make these no bake trail mix bars absolutely perfect. It’s all about a few little tricks that make a big difference, trust me. This is where you really nail that satisfying, sliceable bar that doesn’t crumble when you look at it!
Achieving the Right Texture in Your Trail Mix Bars
This is seriously the most important part for sturdy bars. When you spread that glorious mixture into your pan, you *have* to press it down, and I mean *really* press it. Use the back of a spoon, a spatula, or even just your hands (maybe wet them a tiny bit if it’s sticky!) to pack it in there good and tight. You want it to be dense. If you don’t press firmly, you’ll end up with crumbly bars that fall apart. We want bars that hold their shape, whether they’re heading to a lunchtime lunchbox or a mountain trail!
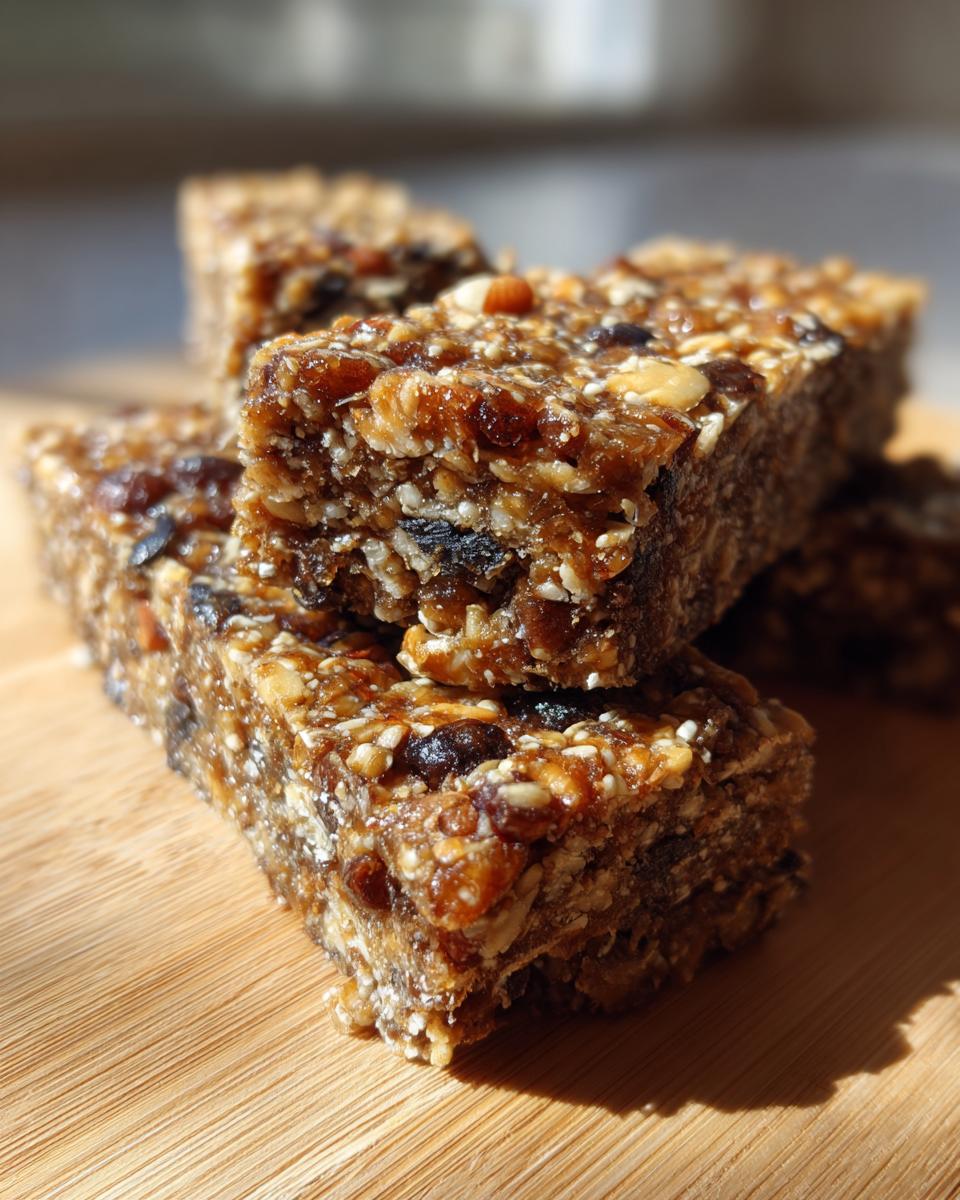
Customizing Your No Bake Trail Mix Bars
The beauty of these homemade granola bars is how easy they are to switch up! Don’t have almond butter? Go for peanut butter, cashew butter, or even sunflower seed butter for a nut-free option. Feeling adventurous? Mix in some dried cranberries or raisins for a little chew and tartness. You could also add a sprinkle of shredded coconut or some chia seeds if you like. For the chocolate chips, you can even do white chocolate or dark chocolate chips. Just remember, whatever you add, make sure the wet-to-dry ratio stays roughly the same so they set up nicely!
Step-by-Step Guide to Making Your No Bake Trail Mix Bars
Alright, let’s get these no bake trail mix bars into the pan and chilling! It’s a pretty straightforward process, but paying attention to a couple of details will make all the difference between a crumbly mess and perfectly sliceable bars.
Preparing the Pan and Dry Ingredients
First things first, grab an 8×8 inch baking pan. This size is great because it gives you nice, thick bars, not those thin little things. Line it with parchment paper, letting the sides hang over a bit – this makes lifting them out SO much easier later. Seriously, don’t skip the parchment!
Creating the Binding Mixture for No Bake Bars
Now for the magic sticky stuff! In a microwave-safe bowl, combine your honey and almond butter. Pop it in the microwave for about 30 seconds. You want it warm enough to stir easily and become smooth, almost like a runny sauce. Give it a good stir until it’s all blended. If you need another quick zap, that’s fine, but don’t let it boil!
Combining Wet and Dry Ingredients for Trail Mix Bars
Pour that warm, gooey honey-almond butter mixture right into your bowl with the oats, nuts, seeds, and chocolate chips. Add in your vanilla extract and that crucial pinch of salt. Now, get in there and mix, mix, mix! You want to make sure absolutely *everything* is coated. Really work it until no dry bits are hiding. This is what makes sure your no bake bars stick together.
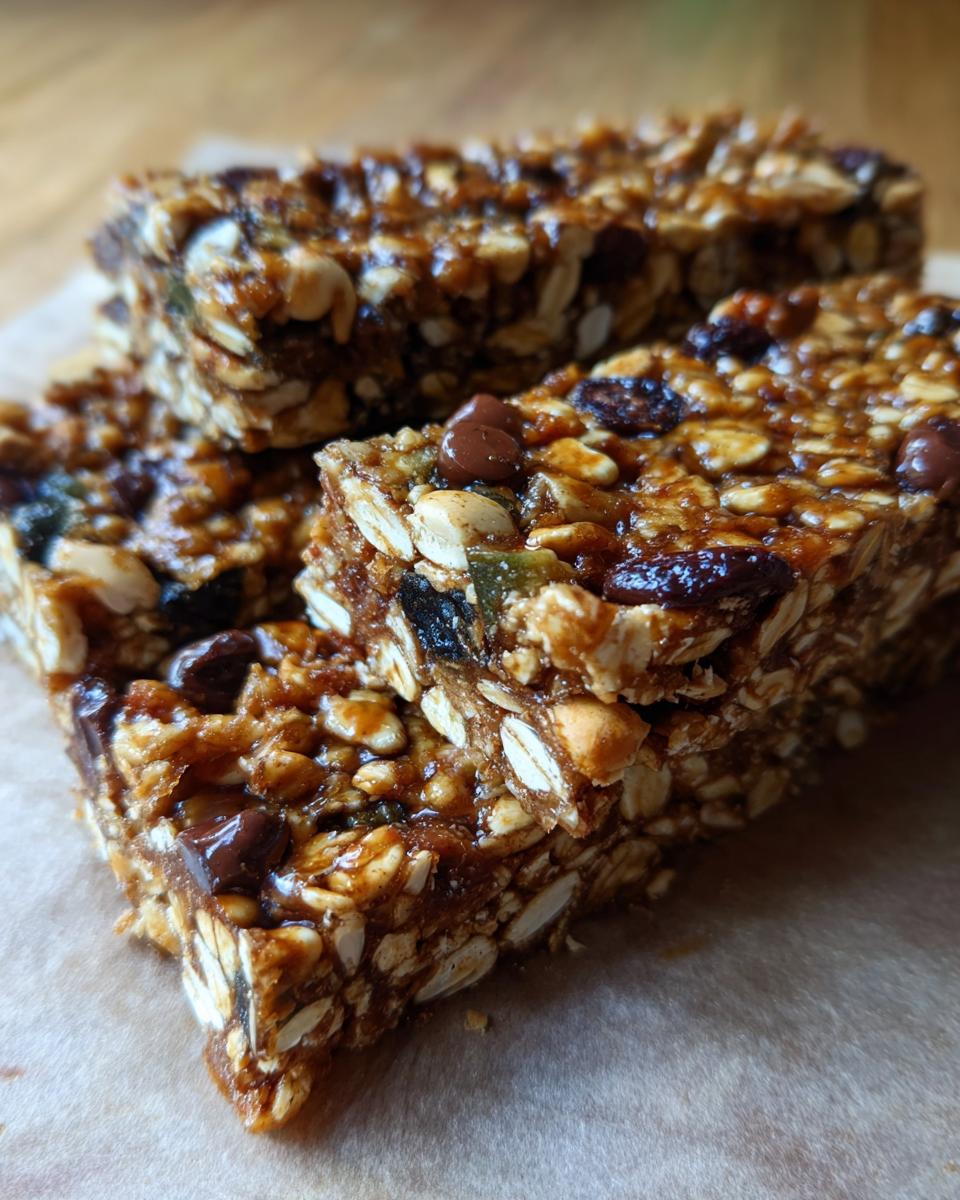
Chilling and Cutting Your Homemade Granola Bars
Time to get these into the pan and pressed down *firmly*. Seriously, pack that mixture in there good! Once it’s flat and solid looking, slide the pan into the fridge. Let them chill for at least an hour, or until they’re nice and firm to the touch. Then, just lift the whole thing out using the parchment paper, put it on a cutting board, and slice into bars. Easy peasy!
Ingredient Notes and Substitutions for Your Recipe
So, let’s chat about these ingredients for your no bake trail mix bars! The recipe is pretty flexible, which is awesome. If you don’t have almond butter, don’t even stress! Good old peanut butter works like a charm and gives them a totally different, but equally delicious, vibe. For the nuts and seeds, really, anything goes. Pecans, walnuts, cashews, even sunflower seeds or pepitas – whatever you have in your pantry or whatever’s on sale. Just make sure they’re chopped up a bit so they don’t overwhelm each bite.
And the oats! For that gluten-free goal, you’ll want to grab certified gluten-free rolled oats. It’s a super simple swap that makes these accessible for everyone. Honey is great for binding and sweetness, but maple syrup is a fantastic vegan alternative if that’s your jam. Just remember, the binder is key to making sure these hold together, so don’t go too light on the honey or nut butter!
Storing and Reheating Your No Bake Trail Mix Bars
Okay, so you’ve made these amazing no bake trail mix bars and now you want them to last, right? Easy peasy! The best way to keep these beauties fresh is to pop them into an airtight container. I usually just use a good old plastic container or even a freezer bag. Store them in the refrigerator – this is key to keeping them firm and preventing them from getting too soft, especially if it’s warm out.
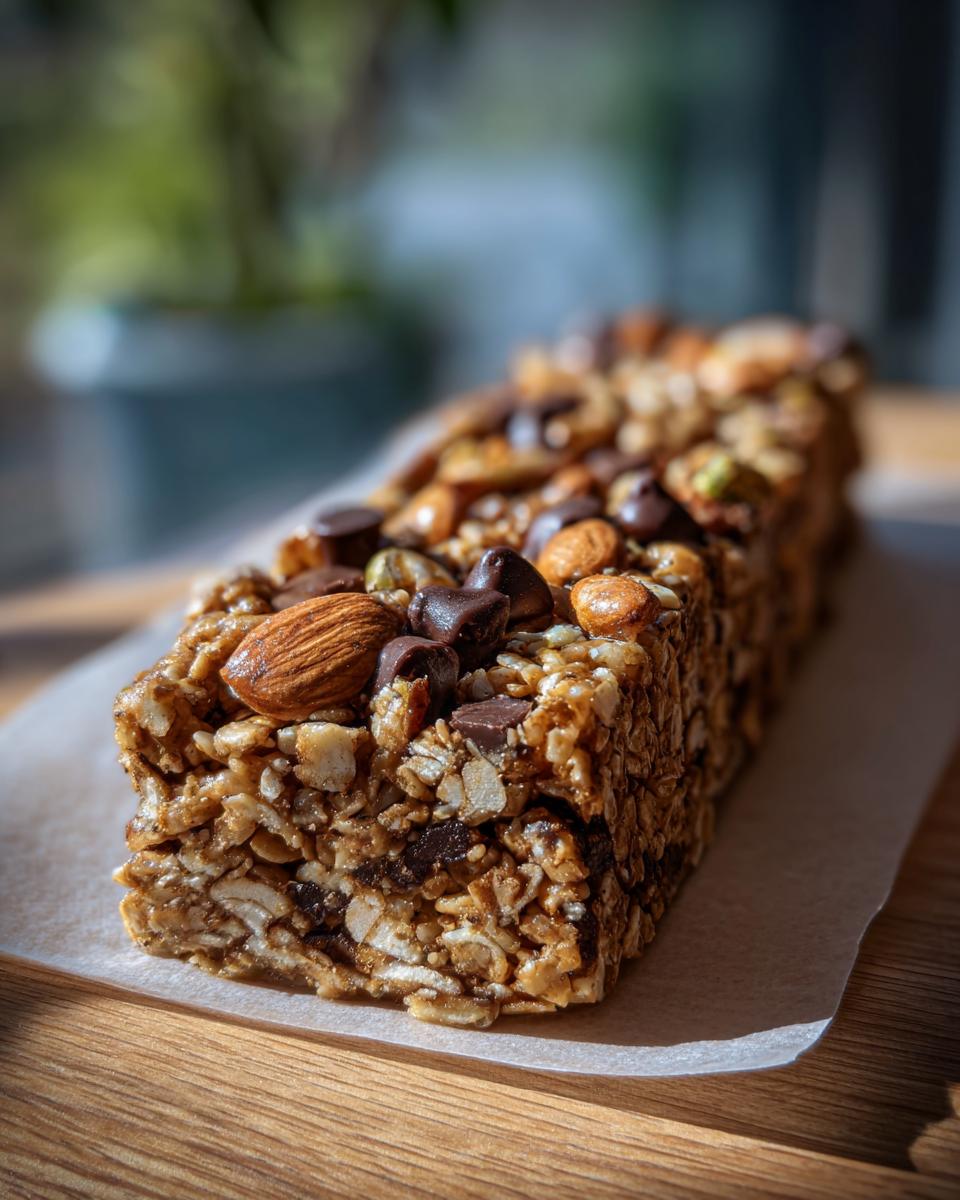
In the fridge, they’ll stay perfectly delicious for about a week. They’re pretty sturdy, so they hold up great for packed lunches or snacks on the go. Since they’re no-bake, there’s really no need to reheat them, but if you ever wanted them slightly softer, a few seconds in the microwave *might* do it, but honestly, they’re best straight from the cold!
Frequently Asked Questions about No Bake Trail Mix Bars
Got questions about whipping up these awesome no bake trail mix bars? I totally get it! It’s always good to know the little details. Here are a few things folks often ask:
Can I make these bars vegan?
Absolutely! To make these healthy snack bars vegan-friendly, just swap out the honey for maple syrup or agave nectar. Both work great as binders and add a lovely sweetness. Make sure your chocolate chips are dairy-free too!
How long do no bake granola bars last?
These homemade granola bars will stay fresh and delicious in the refrigerator for about a week. I like to keep them in an airtight container so they don’t absorb any fridge smells. They’re pretty sturdy, so they’ll hold up well for snacks throughout the week.
What kind of oats are best for no bake bars?
For these no bake granola bars, you’ll definitely want to use old-fashioned rolled oats. They give the bars that perfect chewy texture. Avoid instant oats, as they tend to get a bit mushy and won’t hold the bars together as well. And remember, if you need them to be gluten-free, just grab certified gluten-free rolled oats!
Can I use peanut butter instead of almond butter?
Oh, for sure! Peanut butter is a fantastic substitution for almond butter in these kid friendly snacks. In fact, many people prefer it! The flavor profile will change slightly, but it works just as well to bind everything together. You could also try cashew butter or sunflower seed butter for different flavor twists.
Estimated Nutritional Information
Just a heads-up, the numbers below are pretty much estimates, okay? Because we’re all about customizing these no bake trail mix bars, the exact breakdown can change depending on what nuts, butter, or mix-ins you decide to throw in. But generally, one bar comes in around 200 calories, with about 12g of fat, 5g of protein, and 20g of carbs. You’ll get a decent 3g of fiber and about 15g of sugar, mostly from the honey and chocolate chips. They’re a pretty balanced little treat!
PrintNo Bake Trail Mix Bars
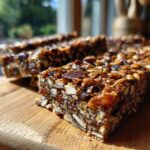
Easy no bake trail mix bars packed with oats, nuts, seeds, and chocolate. Perfect for meal prep, lunchboxes, and hikes.
- Prep Time: 15 min
- Cook Time: 0 min
- Total Time: 1 hour 15 min
- Yield: 12 bars 1x
- Category: Snacks
- Method: No Bake
- Cuisine: American
- Diet: Vegetarian
Ingredients
- 1 cup rolled oats
- 1/2 cup chopped nuts (almonds, walnuts, or pecans)
- 1/4 cup seeds (sunflower or pumpkin seeds)
- 1/4 cup mini chocolate chips
- 1/4 cup honey
- 1/4 cup almond butter
- 1 teaspoon vanilla extract
- Pinch of salt
Instructions
- Line an 8×8 inch baking pan with parchment paper.
- In a large bowl, combine rolled oats, chopped nuts, seeds, and chocolate chips.
- In a separate microwave-safe bowl, combine honey and almond butter. Microwave for 30 seconds, stir until smooth.
- Stir vanilla extract and salt into the honey-almond butter mixture.
- Pour the wet ingredients over the dry ingredients and mix well until everything is evenly coated.
- Press the mixture firmly and evenly into the prepared baking pan.
- Chill in the refrigerator for at least 1 hour, or until firm.
- Lift the parchment paper to remove the bars from the pan. Cut into desired bar shapes.
Notes
- For a gluten-free option, use certified gluten-free oats.
- You can substitute peanut butter for almond butter.
- Add dried fruit like raisins or cranberries for extra flavor.
- Store bars in an airtight container in the refrigerator for up to a week.
Nutrition
- Serving Size: 1 bar
- Calories: 200
- Sugar: 15g
- Sodium: 50mg
- Fat: 12g
- Saturated Fat: 3g
- Unsaturated Fat: 9g
- Trans Fat: 0g
- Carbohydrates: 20g
- Fiber: 3g
- Protein: 5g
- Cholesterol: 0mg