
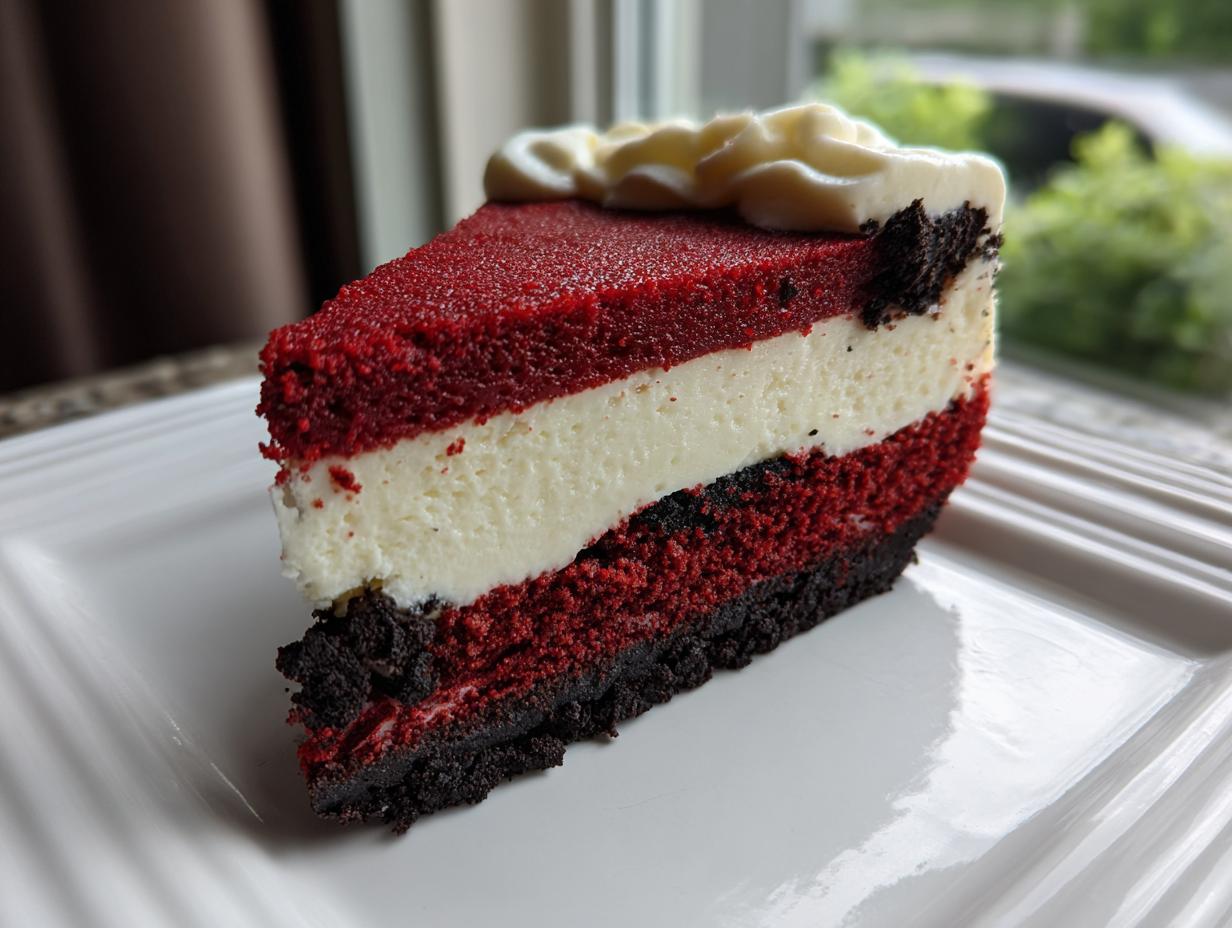
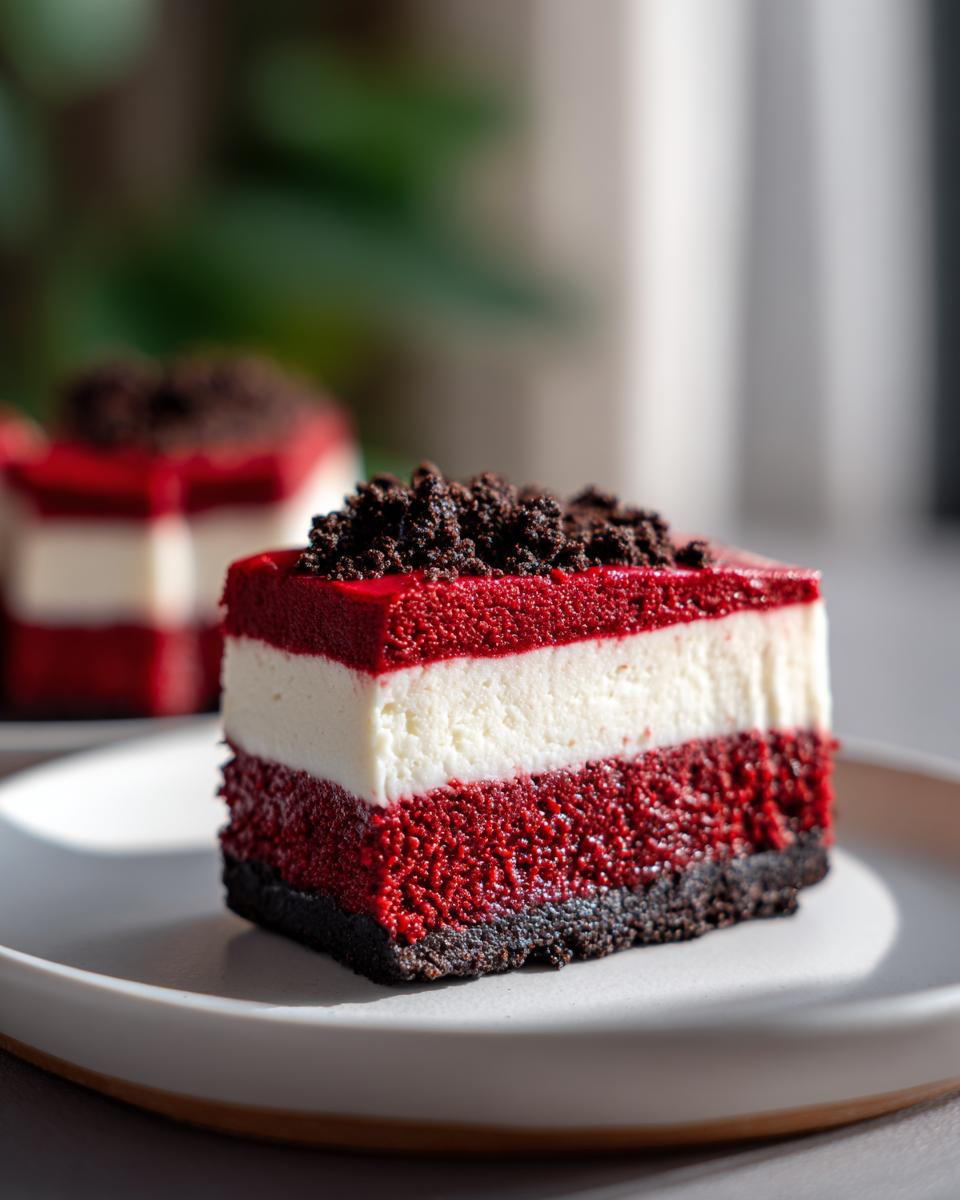
If you’re looking for a dessert that makes every photo look professional—something rich, dramatic, and utterly satisfying—you’ve landed in the right spot. We’re tackling the ultimate showstopper: the red velvet cheesecake. This isn’t just one dessert; it’s a triple threat: a crunchy Oreo crust, a deeply flavored red velvet base, and that signature silky cheesecake filling draped over the top. Honestly, big, complex desserts used to give me pause. But as the founder of Dishicious, I approach baking like a project, streamlining everything so you get maximum decadent payoff with minimum stress. This recipe is engineered for success, proving that the best cheesecake ever doesn’t need to take all day.
- Why This Red Velvet Cheesecake Recipe is a Showstopper Dessert
- Gathering Your Ingredients for Red Velvet Cheesecake
- Step-by-Step Instructions for Your Red Velvet Cheesecake Recipe
- Tips for Making the Best Cheesecake Ever
- Variations on the Classic Red Velvet Cheesecake
- Serving Suggestions for Your Velvety Sweet Treat
- Storage and Reheating for Your Homemade Cheesecake
- Frequently Asked Questions About Red Velvet Cheesecake
- Nutritional Estimates for This Rich Dessert Combinations
- Share Your Festive Baking Projects
Why This Red Velvet Cheesecake Recipe is a Showstopper Dessert
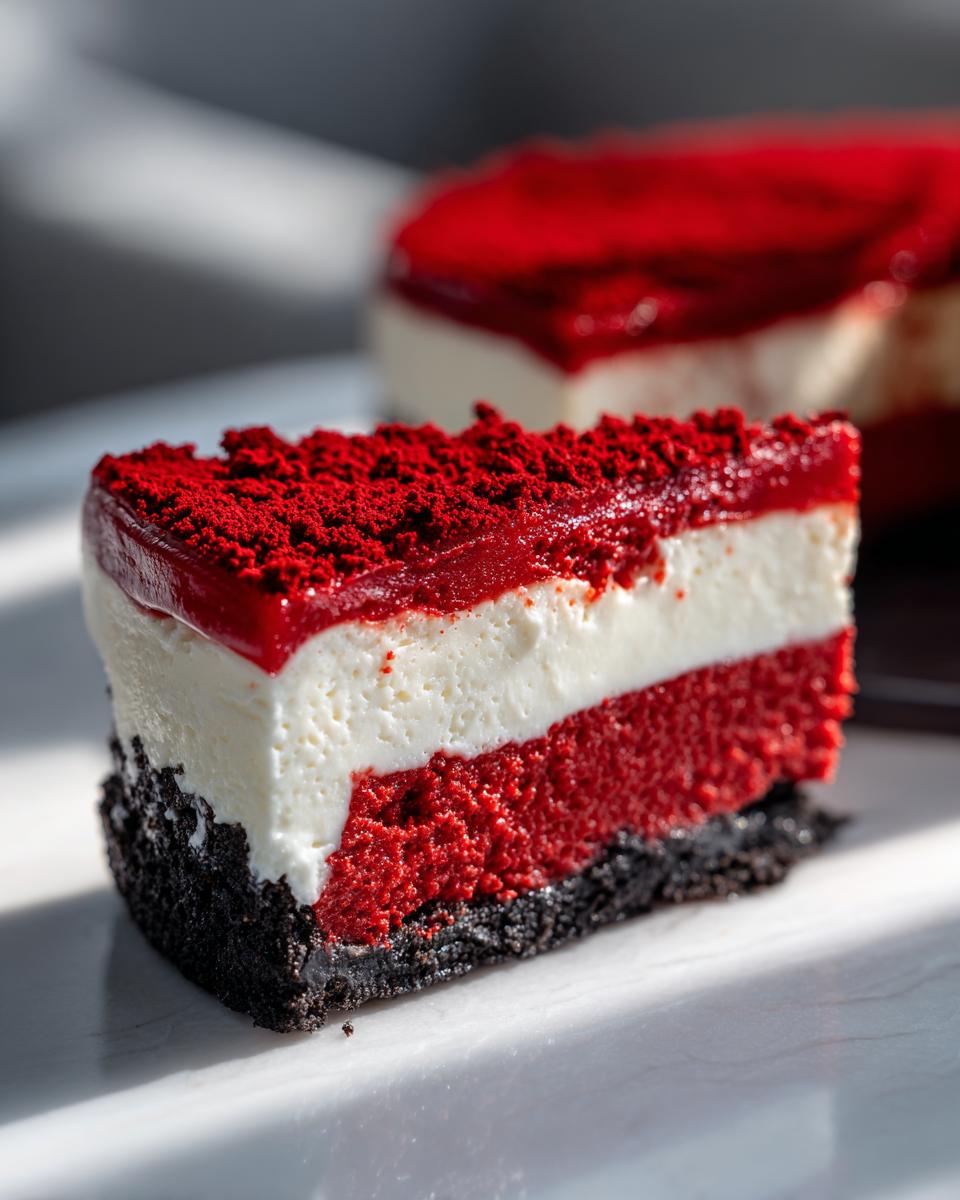
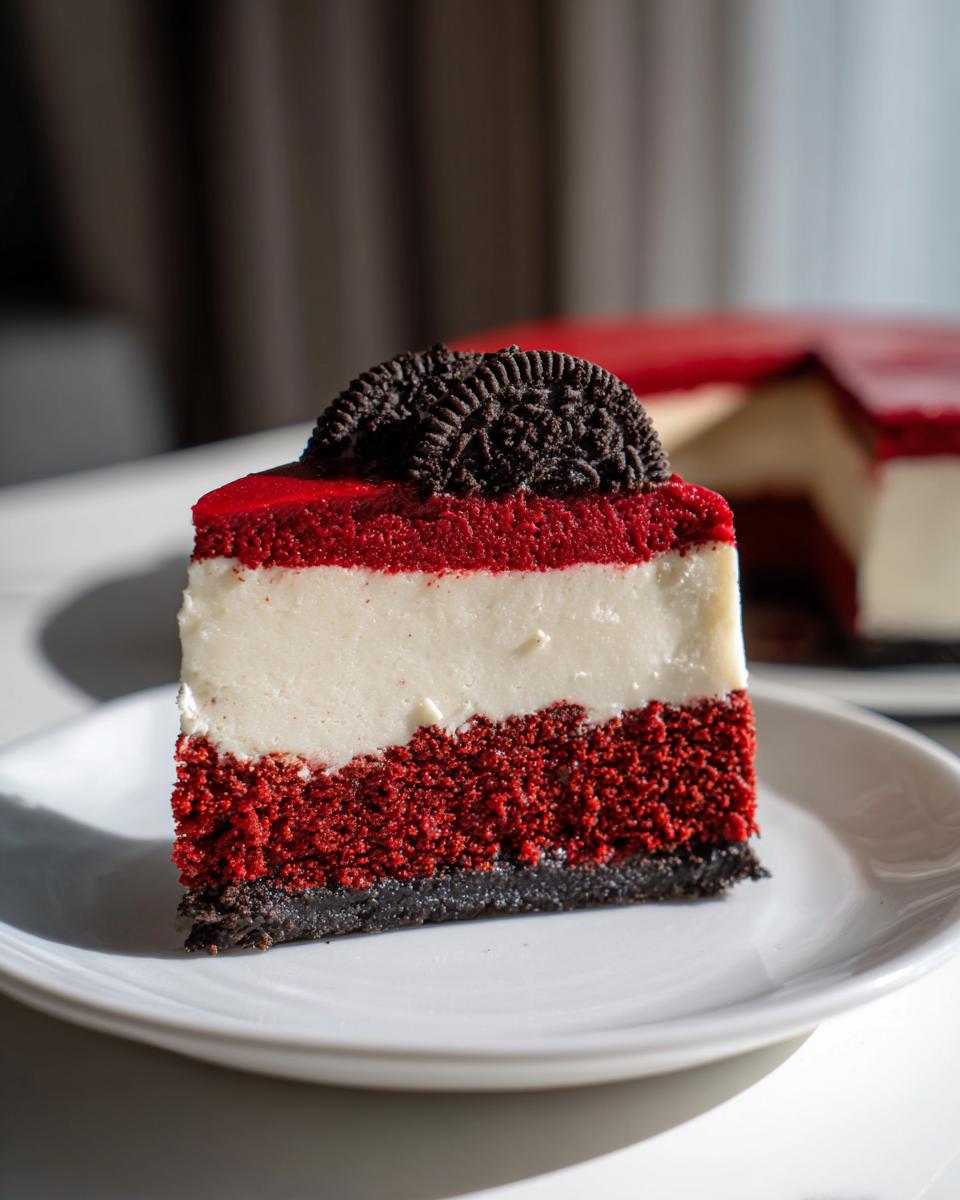
Let’s be real: sometimes you just need a dessert that walks into the room and stops the conversation. That’s what this red velvet cheesecake does. It nails the visuals—that deep, vibrant red contrasted with pristine white filling is just stunning for any holiday dessert, especially Valentine’s Day or Christmas.
But it’s not just about looks. The flavor fusion here is what seals the deal. You get the slight cocoa tang from the red velvet layer fighting beautifully against that cool, creamy red velvet cheesecake layer. From a project management perspective, this recipe is brilliant because we use the cake mix shortcut for the base; that means we save time on structure, but we spend that saved time ensuring the cheesecake filling is impossibly smooth. Trust me, the crunch of the Oreo crust underneath makes this a true showstopper dessert that you’ll want to bookmark. You can see how other bakers are making their own twists on layered desserts like this here.
Gathering Your Ingredients for Red Velvet Cheesecake
Okay, this is where we lay the groundwork for our beautiful tower of flavor. Because this recipe involves three distinct layers—the crust, the cake mix base, and the cheesecake filling—it’s crucial that we nail down our ingredients list right now. I’ve organized everything below so you know exactly what needs to be room temperature (like that cream cheese!) and what needs special treatment. Remember, using the red velvet cake mix is my efficiency hack here; it gives us that instant, undeniable flavor base without all the mixing hassle. Don’t skip the step of making sure your cream cheese is fully softened—that’s the ticket to avoiding lumps!
For the Oreo Crust Cheesecake Base
- 1 package (14.3 oz) Oreo cookies, crushed
- 6 tablespoons unsalted butter, melted
For the Creamy Red Velvet Cheesecake Layer
- 1 box red velvet cake mix (plus eggs, oil, and water as directed)
- 16 oz cream cheese, softened
- ⅔ cup granulated sugar
- 1 teaspoon vanilla extract
- 2 large eggs
For the Whipped Topping
- 1 cup heavy whipping cream
- 4 tablespoons powdered sugar
Step-by-Step Instructions for Your Red Velvet Cheesecake Recipe
This is where the project management skills really kick in. We’re layering three components here, so timing matters, but I promise it’s just a flow chart once you get moving. The key to a beautiful, uncracked cheesecake is managing the temperature—we go high briefly, then low, and then we do a slow cool-down. Think of it like gently bringing a very important package to its final destination!
Preparing the Base and Crust
First things first: Preheating! Get your oven fired up to 350°F (175°C) and grease that 9-inch springform pan thoroughly. Now, let’s tackle the cake batter. Mix your red velvet cake mix following the package directions exactly, but here’s a little tweak I use: substitute the required water amount with 1 cup of just plain water. We aren’t using the oil or eggs yet for this base—we just want that red cake flavor layer set before the cheesecake goes on. Pour that bright red batter into your prepared pan.
Next, the crunch factor! For the Oreo crust, just toss those crushed cookies right into a bowl with the 6 tablespoons of melted butter. Mix it until it looks like wet sand. Press that firmly right onto the bottom of the cake batter layer. We give this initial layer a quick bake—15 minutes—to help it set up. When that timer goes off, pull it out just long enough to reduce your oven temperature down to 325°F (160°C). Don’t hang around; we don’t want that base cooling too much.
Creating the Decadent Cheesecake Filling
This filling needs to be utterly smooth to deliver that gourmet feel. Grab your large bowl. Beat the softened cream cheese and the granulated sugar together until there are absolutely no lumps left; this is step one for smoothness. Then, mix in your vanilla extract. Now, the eggs. This is critical for texture: add those 2 large eggs one at a time. Don’t just dump them in! Mix until the first one is just incorporated before adding the second. Over-mixing the eggs adds too much air, and that air causes cracks later, trust me on this one. We want creamy red velvet, not foamy red velvet.
Baking and Cooling for a Perfect Red Velvet Cheesecake
Carefully pour that beautifully smooth cream cheese mixture directly over the warm, partially baked red velvet layer in the pan. Pop it gently into the oven now set at 325°F (160°C). It needs to bake for about 45 to 55 minutes. You’re looking for the edges to be firmly set, maybe a little puffed, but the very center should still have a tiny bit of movement—just a slight jiggle, like Jell-O.
The biggest expert tip to avoid a catastrophic crack in your homemade cheesecake comes next. Turn the oven off completely, but DO NOT take the cheesecake out. Prop the oven door open just a tiny crack using a wooden spoon or a rolled-up towel. Let it sit in that slowly cooling environment for a full hour. This slow transition is what our expert bakers use to keep the integrity of the filling. After that hour, take it out, let it cool completely on the counter, and then wrap it up tight for the fridge. It needs at least 4 hours, but overnight is honestly always better for the structure.
Finishing Touches: Whipped Topping
Once your red velvet cheesecake is completely chilled, it’s time for the fluffy crowning glory. In a separate, clean bowl, combine the heavy whipping cream and the powdered sugar. You want to beat this until you get stiff peaks. I look for peaks that stand straight up when you lift the whisk—no drooping allowed! Spread that glorious whipped topping evenly over the top of the chilled cake, or pipe it decoratively if you’re feeling fancy. This topping is best added right before you plan on serving, or it can start weeping a little. If you want to dive deeper into baking techniques that simplify things, check out resources like this guide, or see how others handle the cake layer here.
Tips for Making the Best Cheesecake Ever
Look, even with the perfect flow chart, baking can throw you a curveball. That’s why I always bake with a backup plan built in. If you’re aiming for the title of best cheesecake ever, cracking is your enemy number one. Remember that slow cooling process we went through in the oven? That’s 80% of the battle solved right there. But even if the top gets a tiny fissure, don’t panic! Our whipped topping is totally opaque, so it will cover any cosmetic flaws perfectly.
If you’re worried about that crust getting mushy underneath all that creamy goodness, I have a neat efficiency trick, which you can read about in more detail here. Try briefly pre-baking the crust by itself for about 8 minutes before you pour in the cake batter. It creates a slight barrier. Also, make sure your butter is fully incorporated into the crumbs; you don’t want dry pockets of Oreos absorbing moisture from the batter later on. It’s all about controlling the variables!
Variations on the Classic Red Velvet Cheesecake
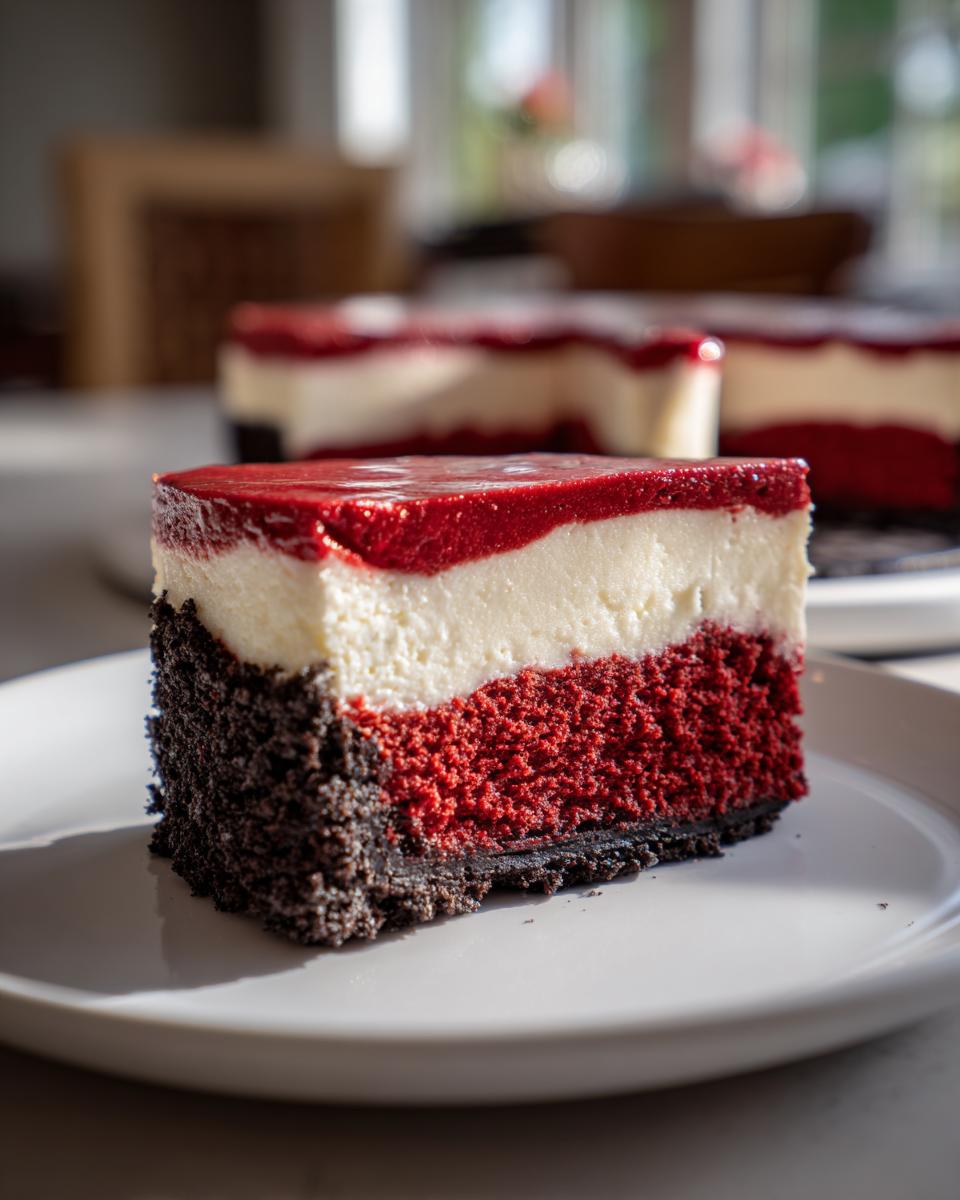
Part of my philosophy here at Dishicious is efficiency, and sometimes efficiency means customizing the workflow based on what you prefer. While this recipe uses the cake batter as the base layer, you can totally switch that up if you want a more distinct, thicker flavor separation. This is where those dramatic Layered Cheesecake designs come into play, often called ‘Knock You Naked’ style desserts.
For that true separation where the cake layer is fully cooked before the cheesecake goes on, you bake the red velvet base entirely first—maybe 25 to 30 minutes—let it cool completely, and *then* pour the cheesecake filling on top before baking again. It’s an extra step, but it keeps the two layers completely distinct. You can check out a fantastic example of that layered style over here.
Now, I know some people look at the ingredient list and immediately start thinking about substitutions. Our recipe relies on that traditional cream cheese structure because it’s what delivers that unbelievable smooth texture. If you are looking specifically for Cream Cheese Alternatives, you’ll find some interesting takes out there, like using ingredients based on tofu or cashews, which you can research in other spots online. However, for this specific recipe, I highly recommend sticking with the full-fat cream cheese and butter combo. It’s the most reliable path we have mastered for that rich, decadent flavor profile you are seeking.
Serving Suggestions for Your Velvety Sweet Treat
This red velvet cheesecake is already a powerhouse dessert, so you don’t need a million extra things on the plate, which keeps cleanup easy! Because this is such a rich combination, I like to serve it simply. A slice cut cleanly, topped with that fluffy whipped cream from the top, is often enough to satisfy anyone looking for a beautiful slice of heaven.
If you’re presenting this for a major event—say, it’s your main Birthday Cheesecake centerpiece—you can add a little drizzle of dark chocolate ganache right before serving for an extra touch of elegance. It pops magically against the red and white. It shines just as brightly as a featured item for all your holiday desserts, too. If you want inspiration on pairing it with coffee or perhaps a wine selection, you can always find great pairing ideas by checking out resources like this baker’s page. Honestly, though, just cut, serve, and watch faces light up!
Storage and Reheating for Your Homemade Cheesecake
Since this is such a dense, rich dessert, it actually keeps brilliantly, which helps you plan ahead for those big festive baking projects. You absolutely must chill this puppy for a minimum of 4 hours, but I always tell people to plan on chilling it overnight—it solidifies that cheesecake layer perfectly. Once fully set, it’s good covered tightly in the fridge for up to five days. Now, about that gorgeous whipped topping: if you want to prep the whole thing a day ahead, here’s my strategy as a project manager: bake and chill the cheesecake entirely, but keep the heavy whipped cream and powdered sugar separate. Whip that cream right before you serve and spread it on top. That keeps the topping looking light and glorious, maximizing the look of your homemade cheesecake.
Frequently Asked Questions About Red Velvet Cheesecake
I always get questions after people see photos of this dessert—it looks like a massive project, right? But honestly, once you break it down, it’s totally manageable. Here are the biggest things people ask me when they’re planning to tackle their first batch of this beautiful red velvet cheesecake.
Can I make this Oreo Crust Cheesecake ahead of time?
Absolutely, you should make it ahead of time! This is one of those desserts that actually improves significantly after chilling. While you can serve it after the minimum 4 hours in the fridge, I highly, highly recommend letting it chill overnight. That time allows the flavors to fully meld together, making the entire texture incredibly cohesive. Plus, it frees up your schedule for the actual day you plan to serve it!
How do I achieve that deep **Deep Red Desserts** color?
The color relies a lot on the quality of the cake mix you select, so look for one with good reviews or a strong reputation for color payoff. If you mix it up and you feel like it’s looking a little pale—maybe more pink than deep crimson—I do have a little enhancement trick. You only need a few drops, but adding about 3 to 5 drops of concentrated red gel food coloring directly into your cream cheese filling mixture will boost that red hue beautifully. Just use the gel kind, not the liquid eyedropper stuff, or you’ll change the consistency!
Is this recipe considered **Easy Cheesecake Baking**?
That’s a fair question, considering we have three distinct stages: the crust, the cake layer, and the cheesecake. If we were making a cheesecake entirely from scratch—mixing flour, cocoa, buttermilk, and coloring the batter—I would call it advanced. But because we’re leaning on that high-quality red velvet cake mix for the bottom layer, we’ve streamlined half the work. So, I’d put this in the slightly “Intermediate” basket. If you can confidently make an easy cookie crust and handle basic creaming of ingredients, you can absolutely nail this red velvet cheesecake recipe. It requires patience more than complex skill. If you want to see my streamlined approach, you can check out how I keep things simple here.
Nutritional Estimates for This Rich Dessert Combinations
Okay, let’s talk numbers for a second. We focus on flavor here, but I know some of you are tracking macros or keeping an eye on sugar, so I did the breakdown for this rich dessert combination.
Keep in mind that these numbers are estimates based on the exact brands and standard measurements I used when testing this batch—your results might vary slightly, especially depending on your cake mix brand. But this gives you a solid ballpark figure:
- Calories: Approximately 450 per slice
- Fat: Around 30g
- Carbohydrates: About 40g
- Protein: Roughly 6g
It’s definitely a satisfying slice, so you know you’re getting your money’s worth in richness! If you want to see another baker’s take on a similar indulgence, check out some of the tips shared over at this resource.
Share Your Festive Baking Projects
Now that you’ve mastered the construction of this absolute showstopper, I’m dying to know how it turned out in your kitchen! Creating these red velvet cheesecake recipes is a lot of back-and-forth testing on my end here in Chicago, but the real magic happens when you all make them. This dessert is built for showing off during festive baking projects, so please don’t be shy!
If you followed the steps and ended up with that perfect creamy texture, please scroll down and leave a rating for the recipe. Even a quick 1-to-5-star rating tells me exactly how well the streamlining process worked for you. If you had any hiccups or brilliant moments of genius while assembling it, drop a comment below! I read every single one because that feedback loop is how I keep optimizing these recipes for you.
And please, if you took a picture of your gorgeous, deep red creation—especially if you used one of the layered methods we talked about—tag me on social media! We need to see that beautiful contrast between the Oreo crust and the velvety filling. You can find me online, and you can check out how other talented bakers are styling their holiday treats over here. I want to celebrate your success! Don’t forget to save this recipe for later using the button above, perhaps checking out some brownie alternatives for next time!
PrintDecadent Red Velvet Oreo Cheesecake

Make this showstopper Red Velvet Oreo Cheesecake. It combines rich red velvet flavor with a creamy cheesecake layer over a crunchy Oreo crust for a truly decadent dessert perfect for any celebration.
- Prep Time: 30 min
- Cook Time: 60 min
- Total Time: 90 min
- Yield: 12 servings 1x
- Category: Dessert
- Method: Baking
- Cuisine: American
- Diet: Vegetarian
Ingredients
- 1 box red velvet cake mix (plus eggs, oil, and water as directed)
- 1 package (14.3 oz) Oreo cookies, crushed
- 6 tablespoons unsalted butter, melted
- 16 oz cream cheese, softened
- ⅔ cup granulated sugar
- 1 teaspoon vanilla extract
- 2 large eggs
- 1 cup heavy whipping cream
- 4 tablespoons powdered sugar
Instructions
- Preheat your oven to 350°F (175°C). Grease a 9-inch springform pan.
- Prepare the red velvet cake base: Mix the red velvet cake mix according to package directions, substituting the required water with 1 cup of water. Pour the batter into the prepared springform pan. Set aside.
- Prepare the Oreo crust: In a small bowl, mix the crushed Oreo cookies with the melted butter until fully combined. Press this mixture firmly onto the bottom of the cake batter in the springform pan.
- Bake the cake layer for 15 minutes. Remove from the oven and let it cool slightly while you prepare the cheesecake filling. Reduce the oven temperature to 325°F (160°C).
- Prepare the cheesecake layer: Beat the softened cream cheese and granulated sugar together in a large bowl until smooth. Mix in the vanilla extract. Beat in the eggs one at a time, mixing just until combined after each addition.
- Gently pour the cream cheese mixture over the partially baked red velvet layer.
- Bake at 325°F (160°C) for 45 to 55 minutes, or until the edges are set and the center has only a slight jiggle.
- Turn off the oven, prop the door open slightly, and let the cheesecake cool inside the oven for 1 hour. This prevents cracking.
- Remove the cheesecake from the oven and cool completely on a wire rack. Then, chill in the refrigerator for at least 4 hours, or preferably overnight.
- Prepare the whipped topping: In a separate bowl, beat the heavy whipping cream and powdered sugar until stiff peaks form.
- Spread or pipe the whipped topping over the chilled cheesecake before serving.
Notes
- For a smoother cheesecake layer, let your cream cheese come to full room temperature before mixing.
- To prevent the crust from becoming soggy, you can briefly pre-bake the crust alone for 8 minutes before adding the cake batter.
- If you want a layered effect (like a Knock You Naked style), bake the cake layer fully, let it cool, then pour the cheesecake batter on top and bake as directed.
Nutrition
- Serving Size: 1 slice
- Calories: 450
- Sugar: 35g
- Sodium: 320mg
- Fat: 30g
- Saturated Fat: 18g
- Unsaturated Fat: 12g
- Trans Fat: 0.5g
- Carbohydrates: 40g
- Fiber: 1g
- Protein: 6g
- Cholesterol: 95mg