
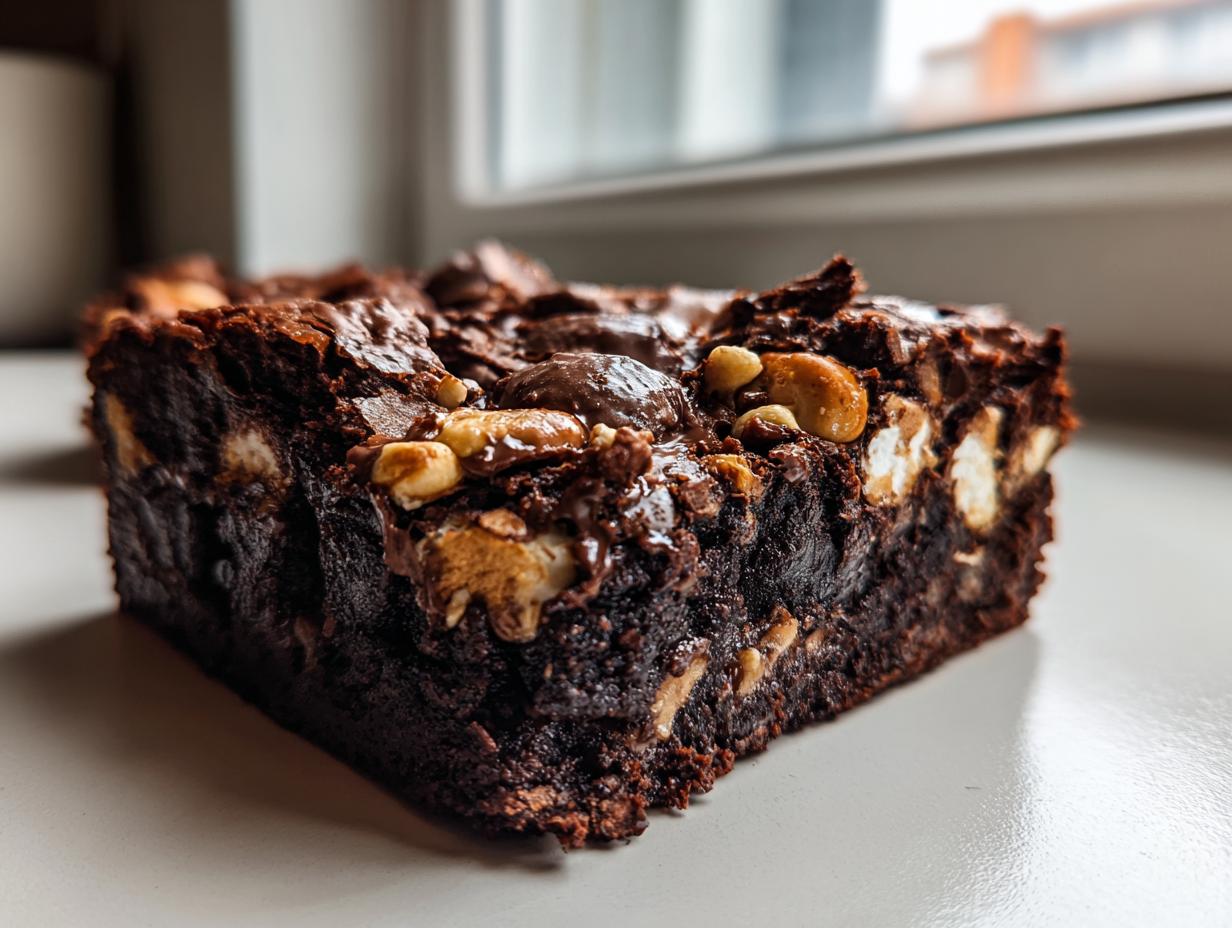
Forget those thin, cakey chocolate squares you sometimes see. We’re talking about pure, unadulterated texture-packed indulgence here. If your idea of a perfect treat involves a deeply fudgy brownie base that collapses satisfyingly but doesn’t crumble, studded with gooey, melted marshmallows and crunchy nuts, then you’ve found your blueprint. This Rocky road brownie recipe strips away all the fuss—no complicated double boilers, no guessing games. As the founder of Dishicious, I approach baking like a project manager: isolate the high-impact elements. Here, that means maximizing the chocolate and texture payoff while keeping the steps ruthlessly efficient. In under an hour of active time, you get these seriously loaded brownies that look like they took all day. Trust me, this setup works right out of the gate.
- Why This Rocky Road Brownie Recipe Works Every Time
- Essential Ingredients for Your Loaded Brownies
- Step-by-Step Instructions for Perfect Rocky Road Brownies
- Expert Tips for Next-Level Rocky Road Brownies
- Ingredient Substitutions for Your Rocky Road Brownies
- Serving Suggestions for These Dessert Bars
- Storage and Reheating of Fudgy Brownies
- Frequently Asked Questions About Rocky Road Brownies
- Estimated Nutritional Data for Rocky Road Brownies
Why This Rocky Road Brownie Recipe Works Every Time
When I engineer a recipe, the goal is absolute predictability. You shouldn’t have to cross your fingers when you put a pan in the oven. These chocolate brownies are designed to be reliable winners, regardless of how busy your schedule is. The beauty of this method is that it respects your time but still delivers that incredible visual impact and texture layering people crave.
- Peak output with minimal process time, clocking in at under an hour of prep and bake combined.
- The texture is guaranteed: dense, moist, and intensely chocolatey every single time.
- It handles the mix-ins—nuts and marshmallows—without turning into a sloppy mess.
If you’re looking for more guaranteed wins just like this one, check out my full collection of dessert recipes. They follow the same efficient philosophy.
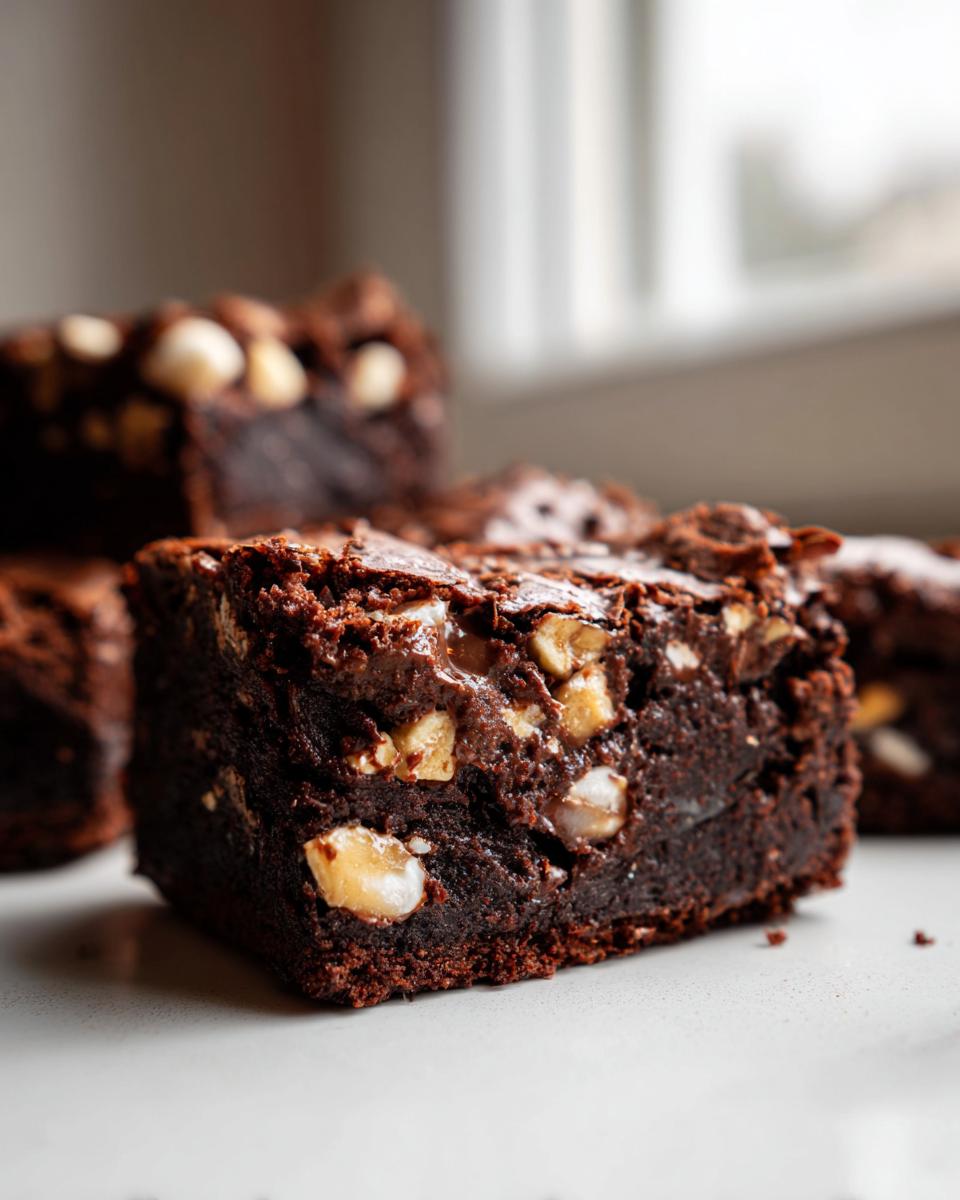
Achieving the Perfect Fudgy Brownie Base
The secret to that sublime, almost undercooked fudgy interior, rather than a dry, cakey crumb, lies way back in the ingredient loading. We push the fat-to-flour ratio way up here—lots of butter and sugar balanced against just the right amount of flour and leavening. This structure inhibits excessive gluten development, which is what causes cakey results. More fat equals pure, dense, delicious fudge.
Essential Ingredients for Your Loaded Brownies
When you’re making something this texturally rich, the ingredients have to be exactly right. I list everything out because in baking, measurement precision is key if you want reliable results. We aren’t hunting for specialty items here; everything in this list is what you should find readily available on your next grocery run. Notice the two types of sugar—that’s intentional for flavor complexity.
For the base, we need a full cup of good unsalted butter, melted first, which speeds things up considerably. Then we hit it with both granulated and light brown sugar. The heavy dose of eggs brings the richness. When it comes to the dry goods, use the best cocoa powder you can find. I can’t stress this enough: if you skimp on the cocoa, your chocolate brownies will taste thin. Half a teaspoon of baking powder is an absolute maximum—we want fudge, not lift!
Finally, the rocks in our road: chocolate chips, nuts (I love pecans here), and the star of the show, two full cups of mini marshmallows. We distribute those marshmallows carefully during the layering process, but you need them all ready to go for these intensely loaded brownies.
- 1 cup (2 sticks) unsalted butter
- 1 cup granulated sugar
- 1 cup packed light brown sugar
- 4 large eggs
- 1 teaspoon vanilla extract
- 1 cup all-purpose flour
- 3/4 cup unsweetened cocoa powder (high quality!)
- 1/2 teaspoon salt
- 1/2 teaspoon baking powder
- 1 cup semi-sweet chocolate chips
- 1 cup chopped walnuts or pecans
- 2 cups mini marshmallows
Step-by-Step Instructions for Perfect Rocky Road Brownies
This is where the project management really pays off—we move fast, but we’re methodical about protecting that fudgy texture. We skip the mixer here entirely; a saucepan and some good old-fashioned whisking get the job done faster, cleaner, and better for this batter type. If you’re looking for quick flavor wins for other meals this week, you can see how I apply similar efficiency to dinner planning right here.
Preparing the Pan and Oven Setup
First things first: Preheat your oven to 350°F (175°C). Don’t try to rush this step by putting the pan in before it hits temp! Grab a 9×13 inch pan. I insist you line it with parchment paper, making sure you leave an overhang on the sides. That overhang is your handle for lifting the entire slab out later—absolute game-changer for clean squares. Give that paper a quick, light grease, just in case.
Mixing the Fudgy Rocky Road Brownie Batter
Melt your butter gently in a saucepan over low heat, then take it off the burner. Whisk in both sugars until they dissolve a bit into that warm butter. Now, beat in your eggs, one by one, followed by the vanilla. Keep stirring until it looks cohesive. In a separate bowl, whisk your flour, cocoa, salt, and baking powder—that’s your dry team. Add the dry mix to the wet ingredients slowly. Stop mixing the absolute second you don’t see any more flour streaks. I mean it: Do not overmix! Fold in your chocolate chips and nuts gently now.
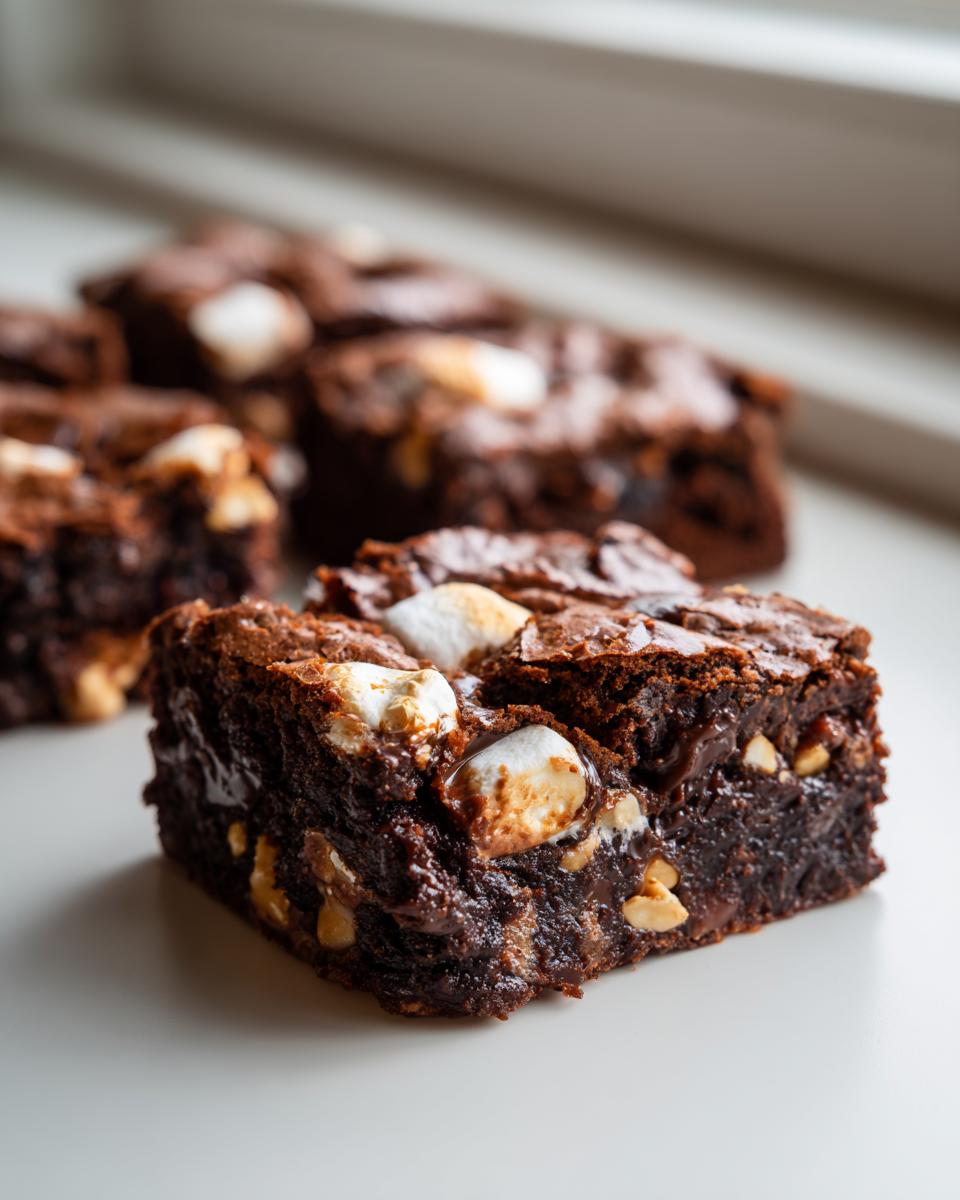
Layering and Baking Your Rocky Road Brownies
Time to build! Spread exactly half of that gorgeous batter into your prepared pan. Now, sprinkle one cup of those mini marshmallows evenly over that first layer. Gently dollop the remaining batter over the marshmallows—try to cover them completely, but don’t stir hard! Sprinkle the final cup of marshmallows right on top. Bake it for 30 to 35 minutes. The sign of success isn’t a clean toothpick; it’s when the toothpick comes out with a few moist crumbs attached. Let those amazing dessert bars cool completely before you even think about cutting them.
Expert Tips for Next-Level Rocky Road Brownies
I’ve refined this process hundreds of times, and I can tell you exactly what pushes these from good to absolutely unforgettable. Since we’re focusing on efficiency without sacrificing quality, knowing these little details makes all the difference. I remember trying to speed through the mixing one time without letting the butter cool slightly after melting it, and the result? The marshmallows blended right into the batter messily. Stick to the cooling/mixing sequence, and avoid that rookie mistake.
Ingredient Quality Matters for Chocolate Brownies
If your goal is deeply satisfying, intensely chocolatey flavor layered into these chocolate brownies, you need good cocoa. That 3/4 cup of cocoa powder isn’t playing around; it’s the backbone of the flavor profile. I always grab the highest quality unsweetened powder I can find because anything less tastes thin and dusty.
Now for the fudge factor: if you want them extra, extra fudgy—which I highly recommend—pull them out about two minutes early. Keep an eye on that toothpick test; you want moist crumbs clinging to it, not wet batter, but don’t wait for them to come out perfectly clean. Also, if you happen to be whipping up a batch of my classic fudgy cosmic brownies, the logic here is similar—control the bake time for maximum moisture.
Finally, an alternative texture hack: if you swap the all-purpose flour for bread flour, you get a chewier bite, which is fantastic for these loaded brownies, though it slightly increases the density. Always a trade-off to consider!
Ingredient Substitutions for Your Rocky Road Brownies
Look, I know sometimes you’re out of something or dealing with allergies. It happens. The great thing about this efficient structure is that it can handle minor adjustments, but you have to know the trade-off, especially if you want to keep these glorious fudgy brownies fudgy. If you’re out of walnuts or pecans, use almonds, or even pretzels if you want an extra salty crunch. Just keep the total nut volume the same.
The one area where you have to be careful is the flour. If you swap out the all-purpose flour for something like almond flour or oat flour, you are automatically leaning toward cakey territory because those flours behave differently under heat. Stick to bread flour for chewier results, or stick to the AP flour for that perfect dense center. If someone has a nut allergy, just omit them entirely; the texture difference isn’t catastrophic, especially when you have those gooey marshmallows involved. For more easy swapping wisdom, take a look at my thoughts on no-bake bars.
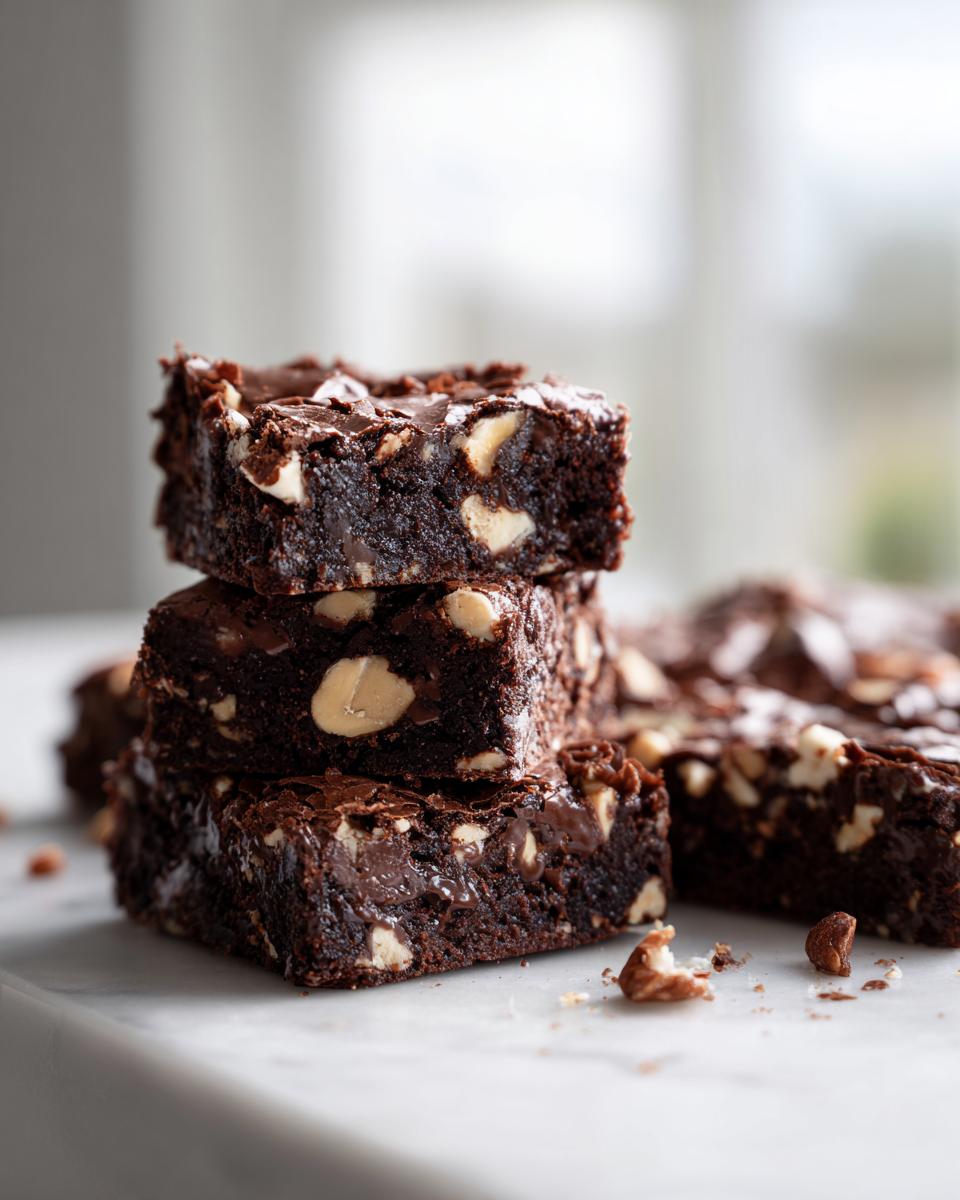
Serving Suggestions for These Dessert Bars
Once these Rocky road brownies have cooled completely in the pan—and trust me, waiting is the hardest part—it’s presentation time. Since these are intensely rich, you don’t need much to serve them up spectacularly. For an easy weeknight treat, a simple cut into squares is perfect, maybe with just a light dusting of powdered sugar for contrast. For company, however, you step it up.
I always treat these dessert bars like individual chocolate lava cakes. A scoop of high-quality vanilla bean ice cream melting slowly against the warm brownie edge? Unreal. Alternatively, a simple, strong cup of black coffee cuts through the richness perfectly. If you need more ideas for entertaining, I’ve got a whole methodology for planning your spread over at my appetizers and snacks page.

Storage and Reheating of Fudgy Brownies
We put so much effort into achieving that perfect, cloud-like marshmallow top and ultra-fudgy interior, so we need to store these right! Since these are such rich, chocolate brownies, they actually keep quite well, primarily because of all that butter and sugar acting as preservatives. If you’re leaving them on the counter, seal them up tight in an airtight container at room temperature. They’ll stay fantastic for about three to four days.
Now, here’s the catch with the marshmallows: if your kitchen is even slightly humid, those gooey tops can get a little tacky after day two. To combat that, try putting a small square of wax paper between each layer before you stack them in the container. That stops them from gluing themselves together.
Reheating is simple, but you have to be cautious. I definitely don’t recommend microwaving these for long, or you risk turning that beautiful fudge center into molten lava that just leaks out everywhere. If you want to serve one slightly warm, zap it for just 8 to 10 seconds. That’s enough to soften the chocolate chips inside without making a huge mess. For longer storage, these freeze like a dream; just wrap the cooled squares tightly in plastic wrap first.
Frequently Asked Questions About Rocky Road Brownies
I know when you’re making something as decadent as this, questions pop up. That’s normal! As a home cook who values efficiency, I’ve answered the most common process issues right here. If you’ve got a specific question about ingredients or ratios for these chocolate brownies, feel free to check out my general dessert recipes FAQ page too.
Can I use different nuts in my rocky road brownies?
Absolutely. Walnuts or pecans are my favorite texture balance, but if you have an allergy or just prefer something else, swap in an equal measure of slivered almonds or even chopped peanuts. If you skip the nuts entirely, you just get a purely marshmallow-and-chocolate experience, which is still fantastic!
How do I prevent the marshmallows from burning on top?
This is key for keeping your visual appeal high! By layering one cup in the middle and one cup on top, you give the bottom ones a chance to melt gently under the top layer of batter. The key is watching that 30-minute mark. If you see them browning too fast, pull the pan forward in the oven, or loosely tent it with foil for the last five minutes. Don’t over-bake!
Are these loaded brownies suitable for freezing?
Yes, these loaded brownies freeze surprisingly well, but you have to plan ahead slightly. If you freeze them *after* cutting, make sure to place wax paper between the layers to stop that gooey marshmallow from welding everything together. Even better: bake them, let them cool completely, and then freeze them *before* you add that final top layer of marshmallows. You can thaw them and bake the last marshmallows on top later if you want that fresh-out-of-the-oven look.
Estimated Nutritional Data for Rocky Road Brownies
If you’re tracking things, it’s smart to know what you’re working with when you’re making something this intensely satisfying. Because these are such rich fudgy brownies loaded with butter, sugar, nuts, and chocolate, they definitely lean toward the indulgent side. I always advise people that baking smarter means knowing the exact yield your recipe produces, which is why I structured this one for 24 squares.
Keep in mind these numbers are just estimates based on the standard ingredient measurements I detailed above. Your actual count could shift based on the brand of cocoa or the specific nuts you use. But this gives you a reliable baseline for these incredible dessert bars.
| Nutrient | Amount (Per 1 Square) |
|---|---|
| Serving Size | 1 square |
| Calories | 250 |
| Fat | 15g |
| Saturated Fat | 8g |
| Trans Fat | 0g |
| Cholesterol | 55mg |
| Sodium | 80mg |
| Carbohydrates | 28g |
| Sugar | 25g |
| Fiber | 1g |
| Protein | 3g |
See? Worth every single bite. The high sugar content is what helps keep those marshmallows gooey and those chocolate brownies moist for days!
PrintFudgy Rocky Road Brownies
Make texture-packed chocolate brownies loaded with crunchy nuts and gooey marshmallows. This recipe delivers high-impact indulgence with minimal effort.
- Prep Time: 15 min
- Cook Time: 35 min
- Total Time: 50 min
- Yield: 24 servings 1x
- Category: Dessert
- Method: Baking
- Cuisine: American
- Diet: Vegetarian
Ingredients
- 1 cup (2 sticks) unsalted butter
- 1 cup granulated sugar
- 1 cup packed light brown sugar
- 4 large eggs
- 1 teaspoon vanilla extract
- 1 cup all-purpose flour
- 3/4 cup unsweetened cocoa powder
- 1/2 teaspoon salt
- 1/2 teaspoon baking powder
- 1 cup semi-sweet chocolate chips
- 1 cup chopped walnuts or pecans
- 2 cups mini marshmallows
Instructions
- Preheat your oven to 350°F (175°C). Line a 9×13 inch baking pan with parchment paper, leaving an overhang on the sides for easy removal. Lightly grease the paper.
- In a medium saucepan over low heat, melt the butter. Remove from heat.
- Whisk the granulated sugar and brown sugar into the melted butter until combined.
- Beat in the eggs one at a time, mixing well after each addition. Stir in the vanilla extract.
- In a separate bowl, whisk together the flour, cocoa powder, salt, and baking powder.
- Gradually add the dry ingredients to the wet ingredients, mixing only until just combined. Do not overmix.
- Fold in the semi-sweet chocolate chips and chopped nuts.
- Spread half of the batter evenly into the prepared pan.
- Sprinkle 1 cup of the mini marshmallows evenly over the batter layer.
- Top with the remaining batter, spreading gently over the marshmallows.
- Sprinkle the remaining 1 cup of marshmallows over the top layer.
- Bake for 30 to 35 minutes, or until a toothpick inserted near the center comes out with moist crumbs attached, not wet batter.
- Let the brownies cool completely in the pan on a wire rack before lifting them out using the parchment overhang.
- Cut into squares.
Notes
- For extra fudgy brownies, slightly underbake them by about 2 minutes.
- Use high-quality cocoa powder for the best chocolate flavor.
- If you prefer a chewier texture, use bread flour instead of all-purpose flour.
Nutrition
- Serving Size: 1 square
- Calories: 250
- Sugar: 25
- Sodium: 80
- Fat: 15
- Saturated Fat: 8
- Unsaturated Fat: 7
- Trans Fat: 0
- Carbohydrates: 28
- Fiber: 1
- Protein: 3
- Cholesterol: 55