
When summer hits and we’re planning those outdoor cookouts or days at the park, the last thing I want is a dessert that requires plates and tiny forks. Who has time for that mess? That’s where my mission, the very core of Dishicious, kicks in: efficiency, reliability, and maximum flavor impact. I’m Leo Grant, and I engineered these Strawberry rhubarb bars to be the ultimate portable snack.
Forget floppy pie crusts; this recipe is designed to hold its shape rock solid from my Chicago kitchen straight to your picnic blanket. We use a sturdy oat crumb base and topping that locks everything in place. This isn’t just baking; it’s project management applied to fruit and flour so you get reliable, delicious dessert bars every single time. You just mix, press, bake, and go!
- Why These Strawberry Rhubarb Bars Are Your Go-To Summer Treat
- Essential Ingredients for Sturdy Strawberry Rhubarb Bars
- Step-by-Step Instructions for Perfect Strawberry Rhubarb Bars
- Pro Tips for Structurally Sound Strawberry Rhubarb Bars
- Variations for Your Strawberry Rhubarb Bars
- Serving Suggestions for These Dessert Bars
- Storage and Transport for Portable Summer Treats
- Frequently Asked Questions About Strawberry Rhubarb Bars
- Nutritional Estimate for These Fruit Snacks
Why These Strawberry Rhubarb Bars Are Your Go-To Summer Treat
Honestly, trying to transport pie filling in a car is just asking for trouble. That’s why I developed these Strawberry rhubarb bars to be the robust solution for all your summer grazing needs. They are built to last, which is exactly what you want when you’re packing up for the day.
Perfectly Portable Picnic Food
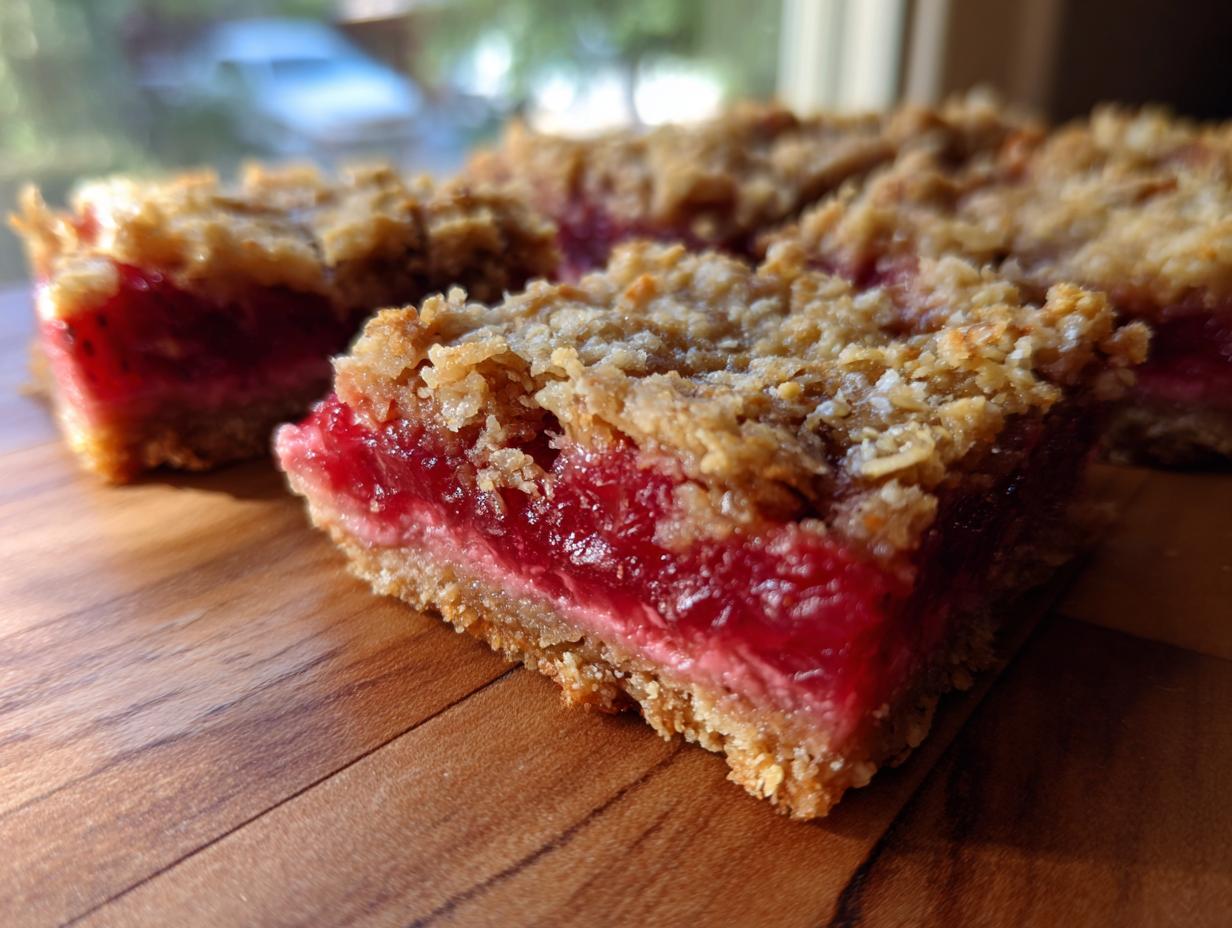
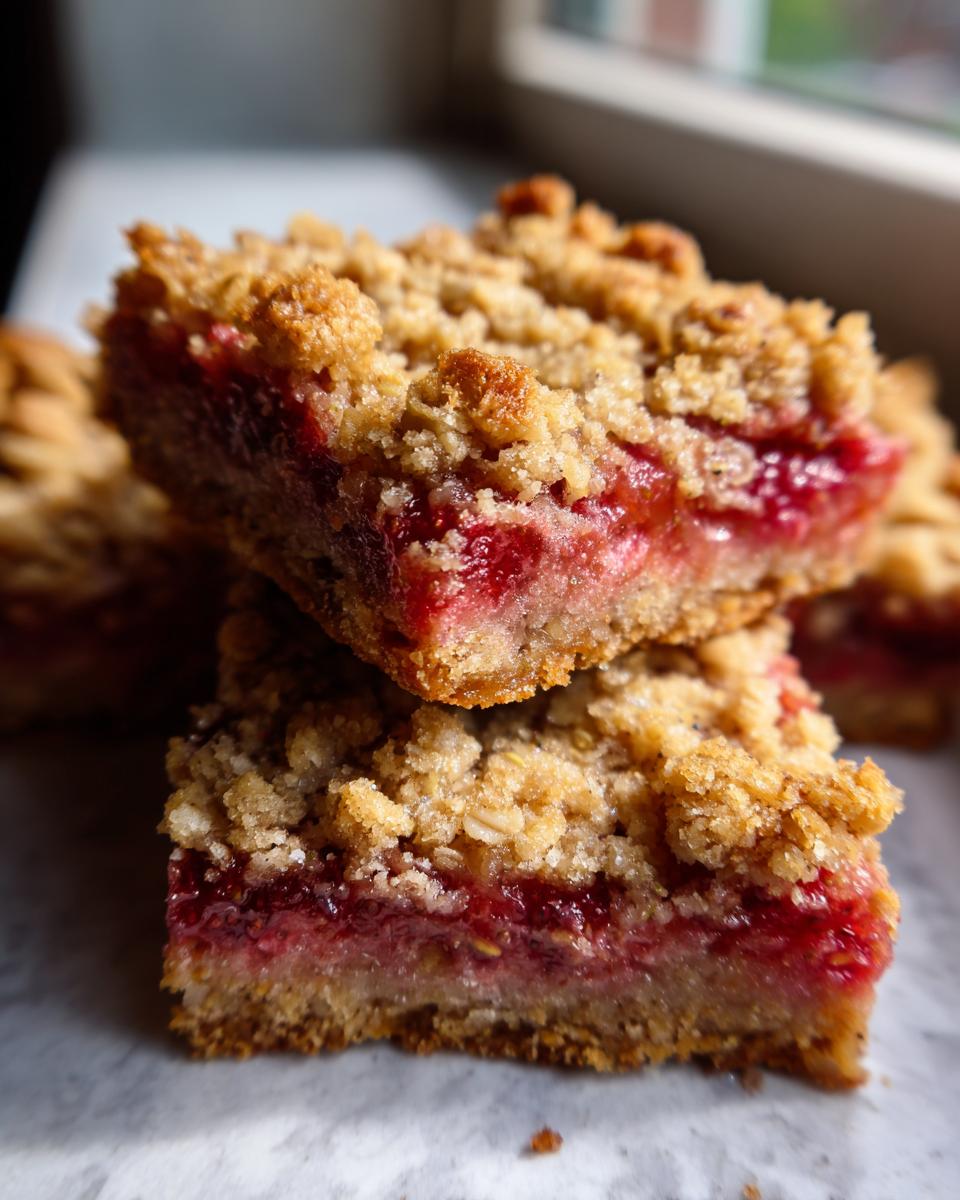
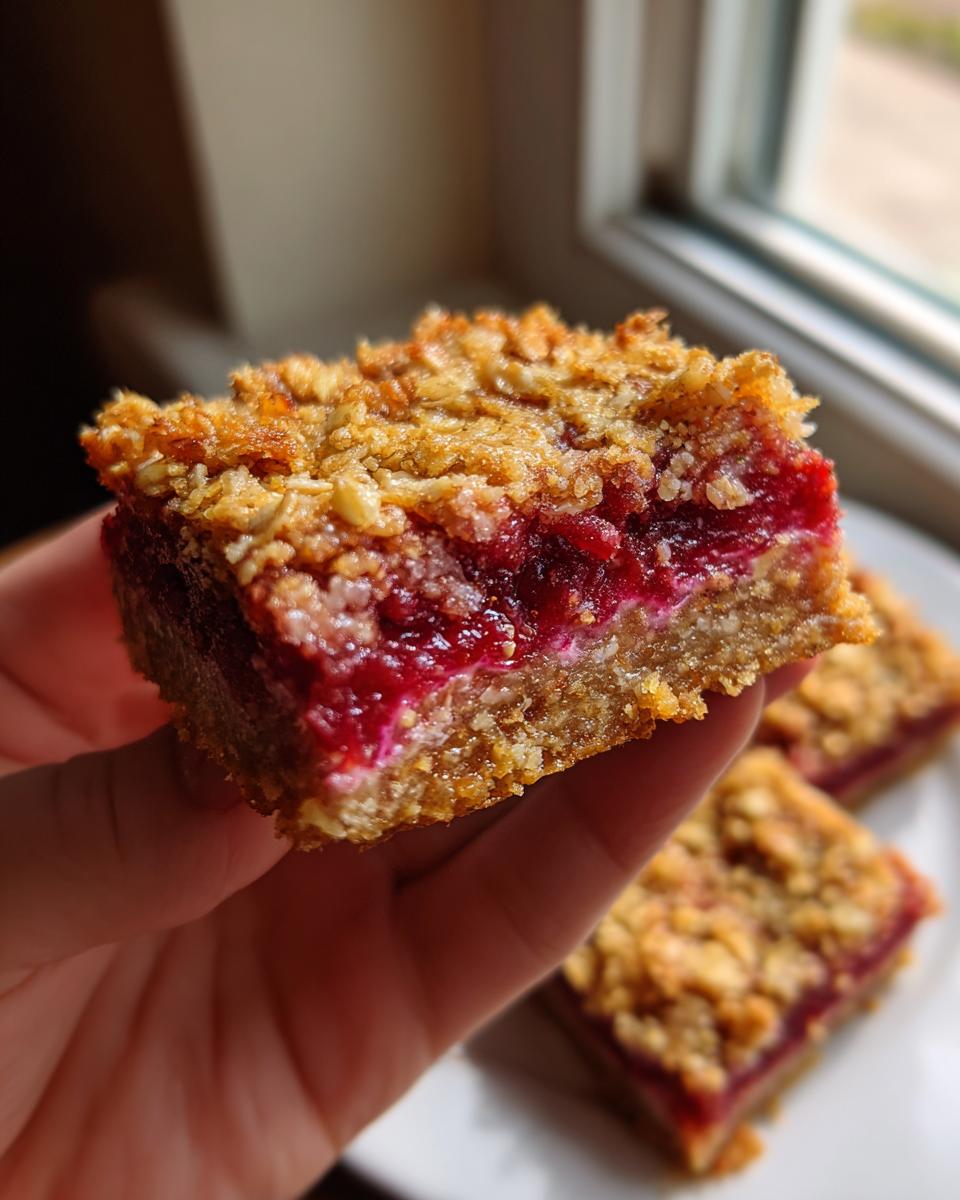
These bars hold their shape—seriously! You can stack them, pack them, and they won’t weep or collapse. They are the ultimate picnic food because you just grab and go. No plates needed for these fantastic fruit snacks.
Simple, Reliable Layered Dessert Bars
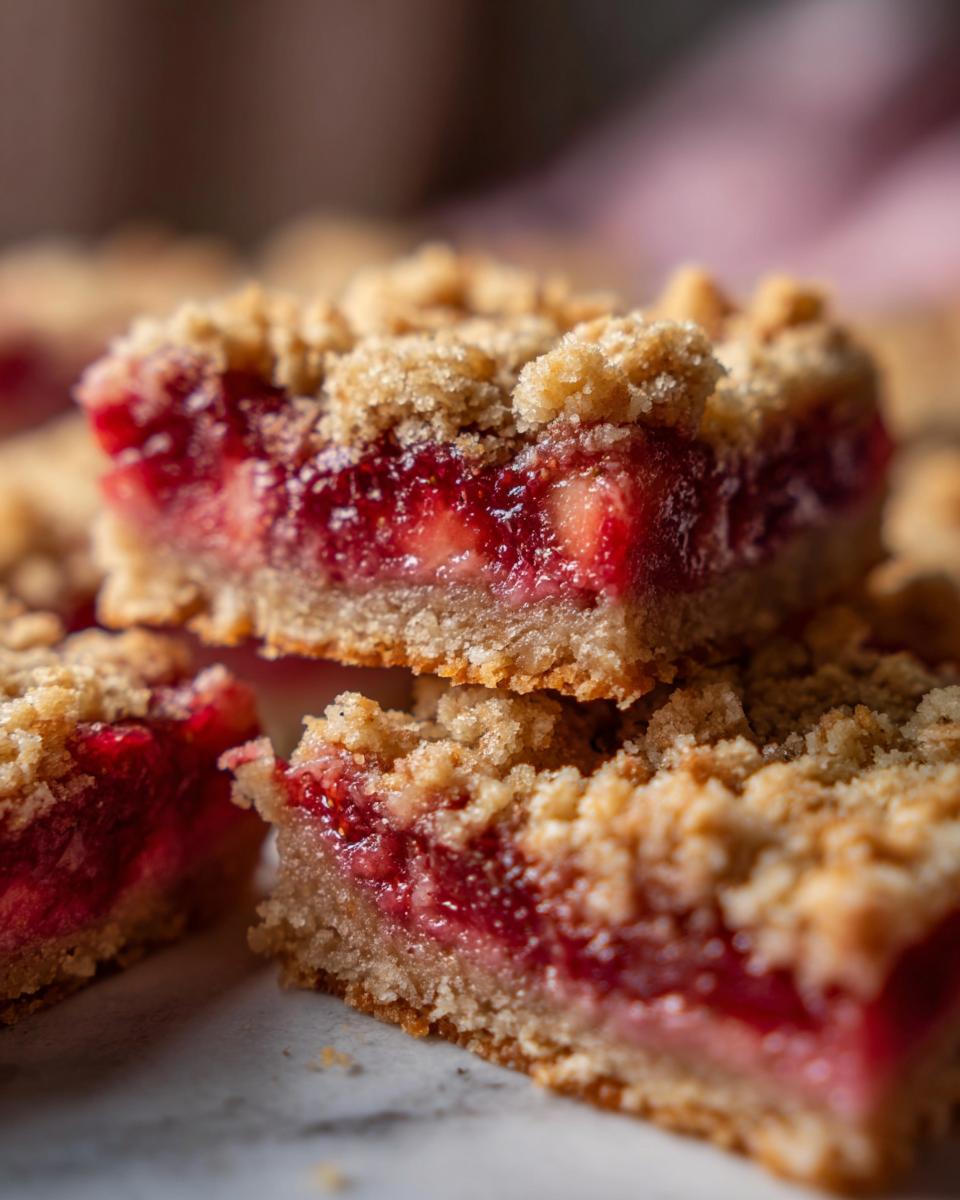
We only have two main components here: a buttery oat base and a slightly tart fruit filling, topped with more of that base crumbled over the top. This is efficiency at its best. It’s a straightforward, two-layer system that guarantees delicious results without complicated assembly.
Essential Ingredients for Sturdy Strawberry Rhubarb Bars
Okay, let’s talk ingredients. Since our goal here is structural integrity for easy transport, we need precision. I treat the ingredient list like my blueprint—every component has a job to do to ensure these bars don’t turn into a puddle when they get warm. We are building a reliable foundation, and that starts with exactly what we put in the bowls. I’ve listed everything you need below, making sure you know exactly how it should look before it hits the oven!
Crust and Crumble Components
- 1 1/2 cups all-purpose flour
- 1/2 cup rolled oats (for texture and structure, don’t skip these!)
- 1/2 cup packed light brown sugar
- 1/2 teaspoon salt
- 1/2 cup (1 stick) cold unsalted butter, cut into small pieces (make sure it’s cold!)
The Flavorful Strawberry Rhubarb Filling
This is where the seasonal magic happens. We need the fruit to set up nicely, so the cornstarch is key for keeping everything contained. Don’t be shy with the lemon zest; it brightens everything up!
- 1 1/2 cups fresh rhubarb, chopped
- 1 1/2 cups fresh strawberries, hulled and quartered
- 1/2 cup granulated sugar
- 2 tablespoons cornstarch (this is our setting agent!)
- 1 teaspoon lemon zest
Step-by-Step Instructions for Perfect Strawberry Rhubarb Bars
This is where the project management really pays off! We’re working in layers, and the order matters if you want really sturdy dessert bars that don’t disintegrate when you try to move them. My method focuses on getting that base tightly packed so it can handle the wet fruit filling without turning soggy. Don’t rush this; think of it like setting the foundation for a perfectly engineered little tray bake. Once you get the hang of the rhythm—base, filling, crumble—you’ll be making these all summer long. Trust me, the small steps here make a huge difference in the final, portable product!
Preparing the Pan and Crust Base
First things first, get that oven hot and ready at 375 degrees F. Now, for the 8×8 inch pan, you absolutely need that parchment paper with an overhang on two sides. This is your built-in handle later! For the crust, whisk together your flour, oats, brown sugar, and salt in a medium bowl. Then, toss in that cold butter you cut up. Use a pastry blender or, if you’re like me sometimes, just your fingertips to work the butter in until you have coarse, pea-sized crumbs. Take two-thirds of that mixture and press it down firmly and evenly into the bottom of your prepared pan. Press it tight!
Assembling the Strawberry Rhubarb Filling
In a totally separate bowl—this keeps things clean—we’re mixing the fruit. Gently combine your chopped rhubarb, those quartered strawberries, the granulated sugar, the cornstarch (remember, our stabilizer!), and the lemon zest. Toss this all around until every piece of fruit looks glistening and coated. Now, spread this glorious, colorful fruit mixture right on top of that packed crust layer. Keep it level!
Finishing, Baking, and Cooling the Strawberry Rhubarb Bars
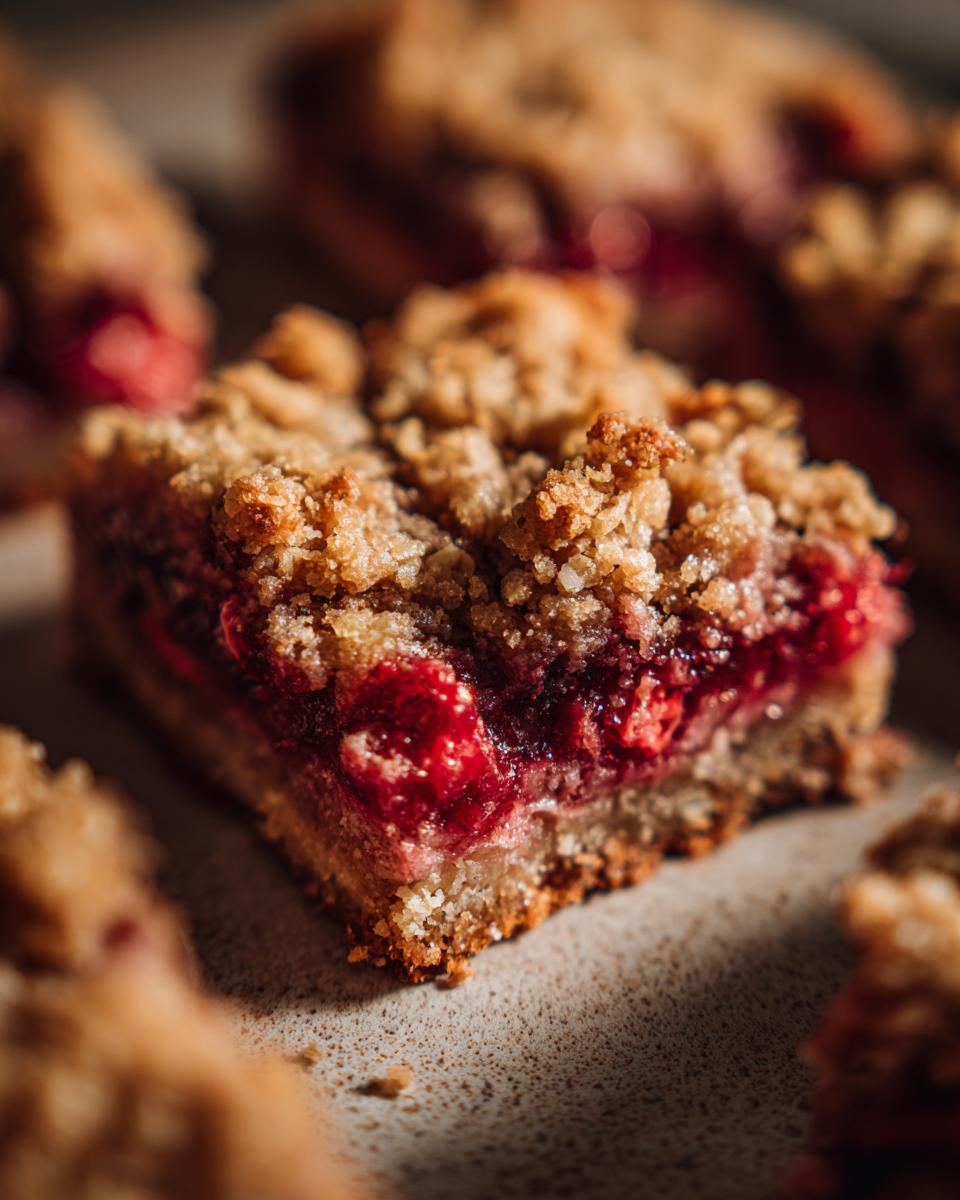
Take the final one-third of your crumb mixture and just crumble it loosely right over the fruit layer. No need to press this top part down! Pop the whole pan into the oven for about 40 to 45 minutes. You’re looking for a golden brown top and you should see the fruit bubbling away underneath—that means the cornstarch has activated. Here’s the hardest part: You must let these cool completely, and I mean *completely*, on a wire rack before you even think about lifting them out. If you cut them warm, they’ll fall apart!
Pro Tips for Structurally Sound Strawberry Rhubarb Bars
I know the instructions say to cool them completely, but if you really want these Strawberry rhubarb bars to perform perfectly as dessert bars on a road trip, you need to take the sturdiness up a notch. This next step turns a good bar into a traveling champion. It’s the final engineering fix, and trust me, it works!
The Critical Cooling and Chilling Step
Once your bars are fully cooled down on the counter (give them time!), slide the whole thing—still in the pan—into the fridge. Chilling them for at least one full hour is the secret weapon. When they are cold, the butter in the base and the cooked fruit filling firm up so much better. You can cut perfectly clean squares that won’t crumble when you go to pack them up. This step is non-negotiable for transport!
Adjusting Sweetness for Strawberry Rhubarb
Rhubarb is famously tart, right? You have to taste your fruit mixture before you top it. If your batch is leaning heavy on the sour side, don’t hesitate! Just mix in one extra tablespoon of granulated sugar right into the fruit. This balances the tartness perfectly against the sweet, buttery crust and makes sure these fruit snacks are sweet enough for everyone.
Variations for Your Strawberry Rhubarb Bars
Look, while this specific recipe for Strawberry rhubarb bars is fantastic, I understand we use seasonal produce, right? The beauty of this reliable structure means you can swap out the fruit easily. It’s all about keeping that same texture from the crust and crumble intact, which is the core of making great fruit snacks.
Swapping Fruit Bases in These Fruit Snacks
If you can’t find good rhubarb, or maybe you just want something different next time, try a 50/50 mix of blueberries and raspberries instead. You might need to adjust the sugar slightly based on how tart your berries are, but the measurement for the fruit and cornstarch stays exactly the same. That dual-layer bar structure is incredibly forgiving!
Serving Suggestions for These Dessert Bars
When you’re heading out, the best way to serve these dessert bars is completely plain, right out of the container! They are engineered to be self-sufficient picnic food. But when you’re back home and feeling a little nostalgic, treat yourself!
Best Ways to Enjoy Your Strawberry Rhubarb Bars
If you’re eating them fresh from the oven (after they cool, of course!), they are incredible with a scoop of good vanilla bean ice cream that melts right into the tart fruit. Sometimes, I just dust mine with a tiny bit more powdered sugar if I’m feeling fancy. Either way, they are fantastic!
Storage and Transport for Portable Summer Treats
So, you’ve followed my chilling advice, and now your amazing Strawberry rhubarb bars are firm and ready to go. The final project phase is getting them to the party intact! Remember, we worked hard to make these strong, so let’s not spoil it now by packing them wrong. Proper storage is just as important as the initial bake when dealing with these delicious fruit snacks.
Keeping Strawberry Rhubarb Bars Fresh
Make sure they are totally cold—no warmth at all—before you wrap them up tightly. At room temperature, these are good for about two to three days because of the sugar content. If you need them to last longer, keep them wrapped tightly in the fridge, where they’ll be great for up to a week. If you’re prepping for a *very* busy summer, wrap individual squares tightly in plastic wrap and then toss them into a freezer bag. They freeze beautifully!
Frequently Asked Questions About Strawberry Rhubarb Bars
I know once you get into a recipe, a few questions always pop up. That’s normal! When you’re aiming for that perfect, reliable structure we talked about—the kind that makes these ideal fruit snacks—details matter. Here are the things I get asked most often about achieving the best results with these Strawberry rhubarb bars.
Can I use frozen rhubarb or strawberries in these fruit snacks?
You can, but you have to manage the water content. Frozen fruit releases a ton of extra liquid when it thaws, and that liquid is the enemy of a sturdy crust! If you must use frozen, please thaw them completely first, and then drain them really well in a colander. Even better, pat them dry with a paper towel. We need that cornstarch to set the fruit, not fight a puddle!
What makes these different from standard strawberry rhubarb pie?
It all comes down to structure! Standard pie filling is lovely, but it needs a plate. These dessert bars use that oat and brown sugar mixture for both the bottom and the top. This doubles down on the crunch and stability, making them perfect picnic food that you can pack right next to some sandwiches without worry.
Can these dessert bars be made ahead of time?
Absolutely, and I encourage it! They taste just as good, if not better, the next day once the flavors have settled. If you bake them, let them cool completely, and then pop them into the fridge overnight—remember my chilling tip!—that final chill time makes them incredibly easy to slice cleanly, which is what ensures they travel perfectly.
Nutritional Estimate for These Fruit Snacks
Look, when I design these recipes, I’m focused on flavor and structure first—keeping things simple and delicious. I’m not a nutritionist, so please treat these numbers as a close ballpark estimate based on standard ingredient databases for what goes into these fruit snacks. They are a treat, meant for easy snacking, not necessarily for counting every little calorie on picnic day!
- Serving Size: 1 bar
- Calories: 195
- Sugar: 15g
- Sodium: 65mg
- Fat: 9g
- Saturated Fat: 5g
- Unsaturated Fat: 4g
- Trans Fat: 0g
- Carbohydrates: 27g
- Fiber: 2g
- Protein: 3g
- Cholesterol: 20mg
Since we’re using real butter and oats, you get that satisfying richness. Enjoy these wonderful Strawberry rhubarb bars as the perfect summer treat you deserve!
PrintSturdy Strawberry Rhubarb Bars for Picnics

Make these portable strawberry rhubarb bars. They are a reliable, layered fruit snack perfect for packing for summer events.
- Prep Time: 20 min
- Cook Time: 45 min
- Total Time: 65 min
- Yield: 16 servings 1x
- Category: Dessert
- Method: Baking
- Cuisine: American
- Diet: Vegetarian
Ingredients
- 1 1/2 cups all-purpose flour
- 1/2 cup rolled oats
- 1/2 cup packed light brown sugar
- 1/2 teaspoon salt
- 1/2 cup (1 stick) cold unsalted butter, cut into pieces
- 1 1/2 cups fresh rhubarb, chopped
- 1 1/2 cups fresh strawberries, hulled and quartered
- 1/2 cup granulated sugar
- 2 tablespoons cornstarch
- 1 teaspoon lemon zest
Instructions
- Preheat your oven to 375 degrees F. Line an 8×8 inch baking pan with parchment paper, leaving an overhang on two sides for easy removal.
- In a medium bowl, combine the flour, rolled oats, brown sugar, and salt for the crust.
- Cut in the cold butter using a pastry blender or your fingers until the mixture resembles coarse crumbs.
- Press two-thirds of this crumb mixture evenly into the bottom of the prepared pan to form the base layer.
- In a separate bowl, mix the chopped rhubarb, strawberries, granulated sugar, cornstarch, and lemon zest until the fruit is coated.
- Spread the fruit mixture evenly over the crust layer in the pan.
- Crumble the remaining one-third of the crust mixture over the top of the fruit filling.
- Bake for 40 to 45 minutes, or until the topping is golden brown and the filling is bubbly.
- Let the bars cool completely in the pan on a wire rack before lifting them out using the parchment overhang.
- Cut into squares for your picnic food.
Notes
- For extra sturdy bars that travel well, chill the entire pan of cooled bars for at least one hour before slicing.
- If your rhubarb is very tart, you may add one extra tablespoon of granulated sugar to the fruit mixture.
Nutrition
- Serving Size: 1 bar
- Calories: 195
- Sugar: 15
- Sodium: 65
- Fat: 9
- Saturated Fat: 5
- Unsaturated Fat: 4
- Trans Fat: 0
- Carbohydrates: 27
- Fiber: 2
- Protein: 3
- Cholesterol: 20