
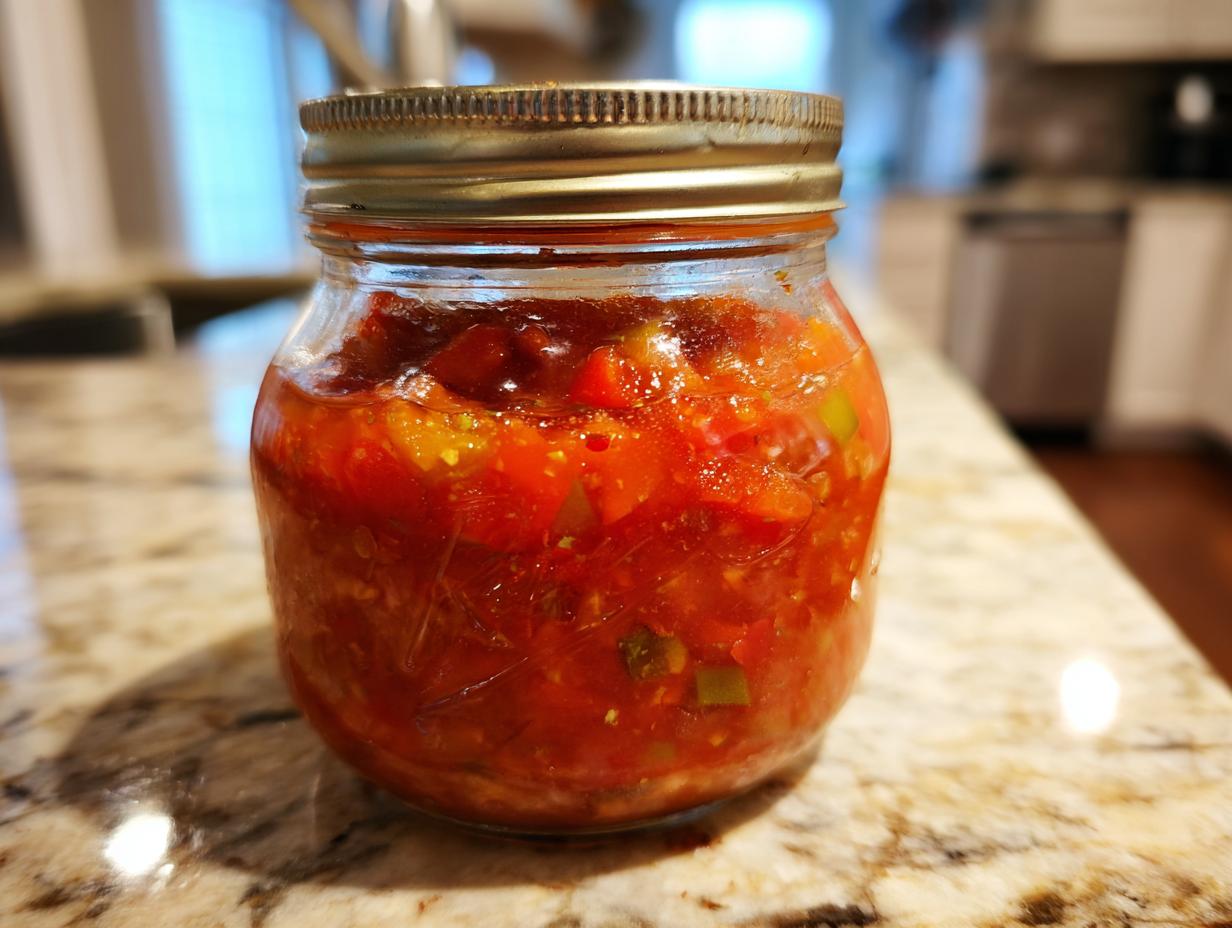
Okay, so you’ve got an abundance of garden tomatoes, right? What do you do with all those juicy beauties before they go to waste? The answer is simple, and trust me, it’s going to make you feel like a kitchen superhero: you make salsa! This tomato salsa canning recipe is a total game-changer. Forget those bland, store-bought jars; we’re talking vibrant, flavorful salsa that screams summer sunshine, all year long. Plus, it’s the most thoughtful gift you can whip up for friends and family.
You know, when I started Dishicious, it wasn’t in some fancy test kitchen. It was in my small Chicago apartment because I was *tired* of spending my evenings stressed out or just grabbing takeout. I wanted that amazing home-cooked meal feeling without the fuss. This salsa recipe is exactly what I’m talking about – it’s all about taking that gorgeous garden bounty and turning it into something shelf-stable, delicious, and totally doable. We’ve tested this recipe over and over so you can be sure it’s reliable, even if you’re new to canning. Getting that confident, joyful feeling in the kitchen? That’s what it’s all about for us here.
- Why You'll Love This Tomato Salsa Canning Recipe
- Essential Ingredients for Your Homemade Canned Salsa
- Step-by-Step Guide to Your Tomato Salsa Canning Recipe
- Tips for Success with Your Garden Tomato Salsa
- Ingredient Notes and Substitutions for Safe Canning Salsa
- Storage and Reheating Instructions for Pantry Salsa Jars
- Frequently Asked Questions About Tomato Salsa Canning
- Estimated Nutritional Information
- Share Your Homemade Canned Salsa Creations!
Why You’ll Love This Tomato Salsa Canning Recipe
Seriously, you’re going to be obsessed with this homemade canned salsa. Here’s why:
- Super Easy to Make: Even if you’re totally new to canning, this recipe is straightforward. We’ve broken it down so you can feel confident and end up with delicious results every time. It’s a fantastic salsa canning for beginners project!
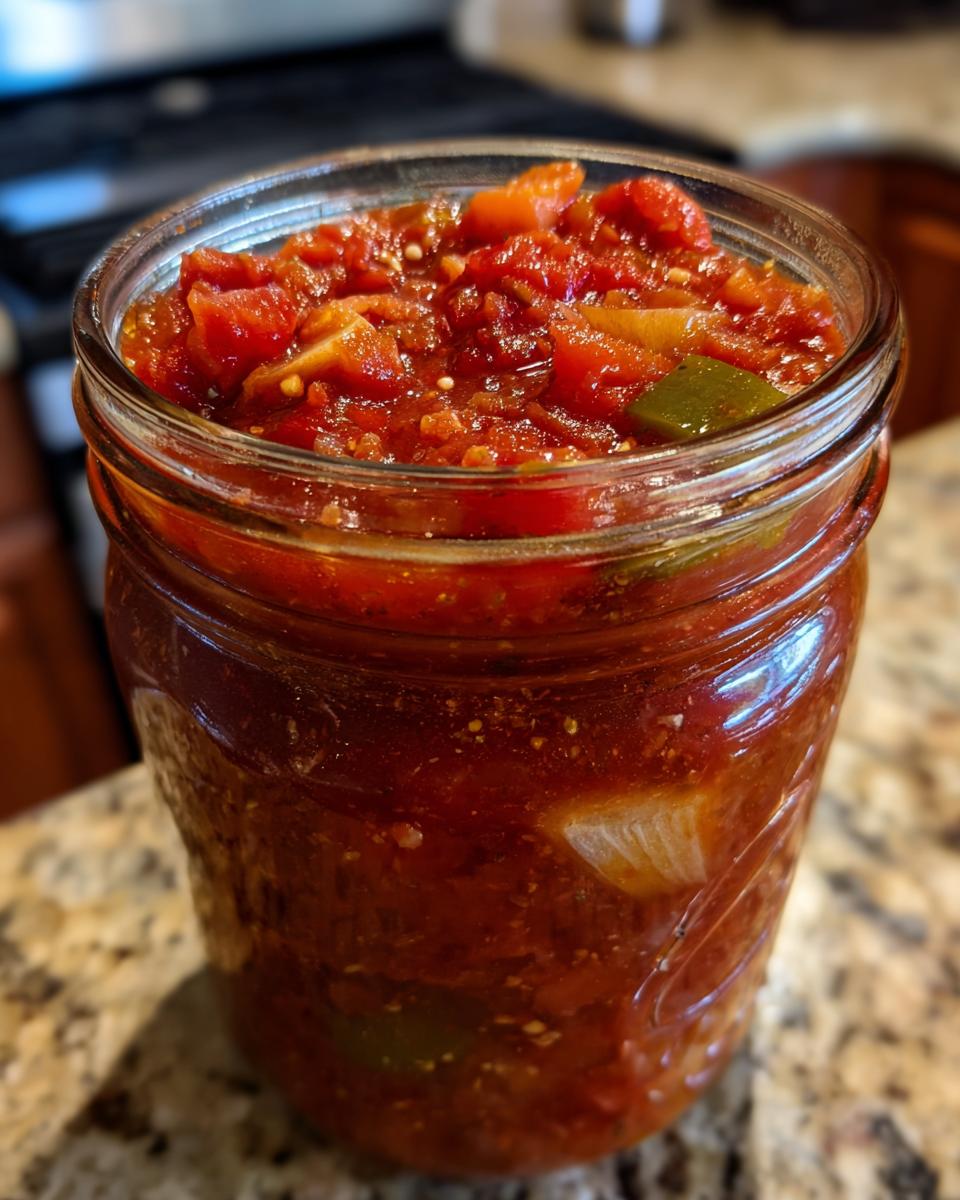
- Incredible Flavor: Forget those watery store-bought kinds. This recipe captures the fresh, bright taste of garden tomatoes, perfectly balanced with onion, peppers, and spices. It’s your garden’s best flavor, bottled up!
- Preserves That Freshness: Turn your peak-season tomatoes into shelf stable salsa you can enjoy all year, from cozy winter nights dipping chips to summer BBQs. It’s the ultimate pantry upgrade.
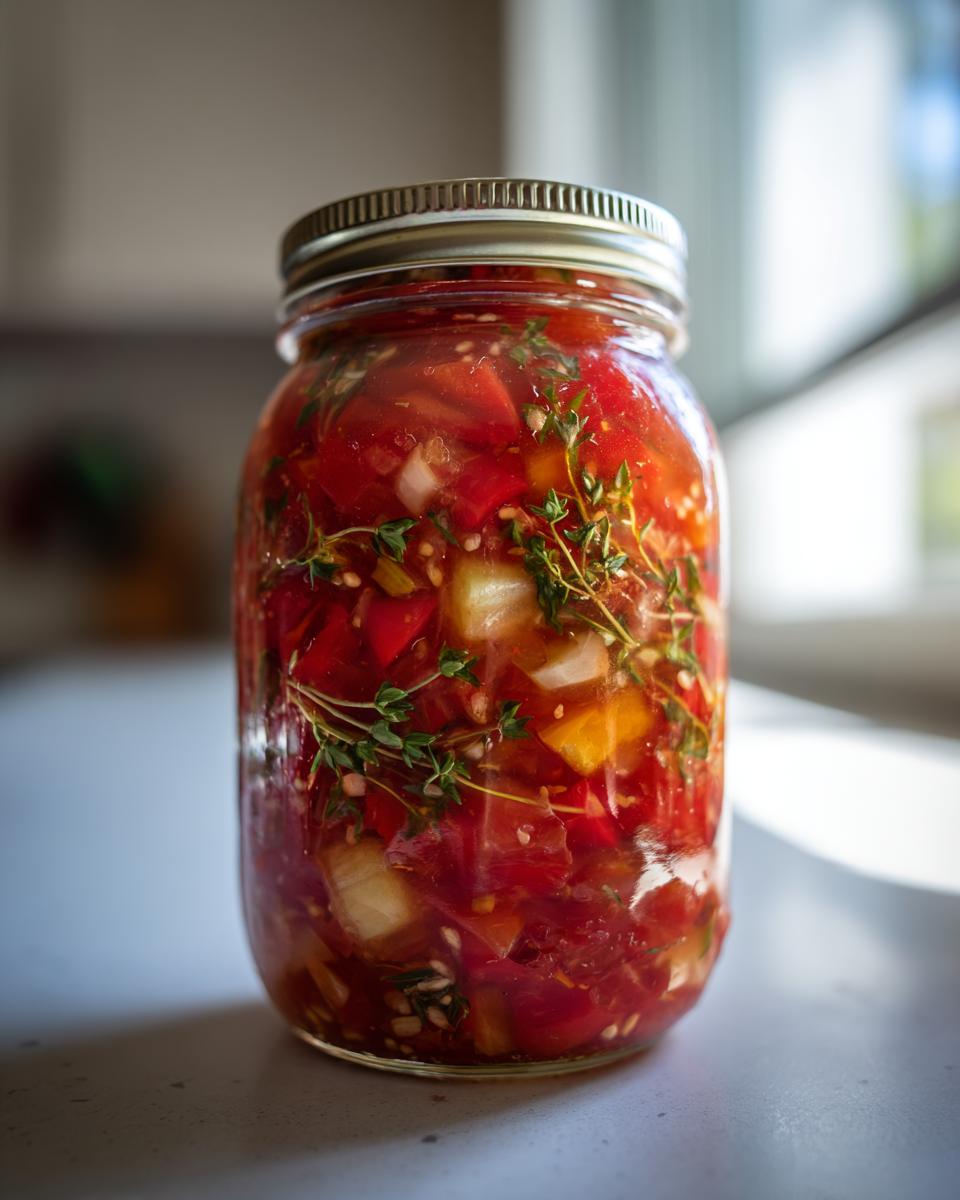
- Perfectly Versatile: Use it for dipping, as a base for chili, spooned over tacos, or even as a flavorful addition to scrambled eggs. This garden tomato salsa is a kitchen staple.
- Makes Amazing Gifts: Who wouldn’t love a jar or two of delicious, homemade salsa? It’s the perfect way to share your harvest and show someone you care.
Essential Ingredients for Your Homemade Canned Salsa
Alright, let’s talk about what you’ll need to make this amazing tomato salsa canning recipe. It’s pretty straightforward, and the key is using fresh, good-quality stuff. Trust me, the better your ingredients, the better your finished salsa will be!
First up, you’ll need about 16 cups of ripe tomatoes. I always go for Roma or other paste tomatoes because they have less water and more thick tomatoey goodness. Make sure you peel and core them, then just give ’em a rough chop. You’ll need somewhere around 8 pounds of these beauties.
Next, for that lovely base flavor: 1 cup of chopped onions (that’s about one big one), and about half a cup of chopped green bell peppers (around one medium pepper). You can chop these up pretty fine, or if you like bigger chunks, go for it! And for the garlic lovers, mince up about 4 cloves. Yum!
Now, for the heat! If you like a little kick, you’ll want about a quarter cup of chopped jalapeño peppers. I usually take the seeds out unless I’m feeling *extra* brave. You can totally skip these if you like mild salsa. But wait, there’s more heat! If you want it *really* spicy, you can add about a quarter teaspoon of cayenne pepper. Just a pinch will do!
For the seasonings that make it really sing: 2 tablespoons of fresh lime juice (this is super important for canning safety and flavor!), 1 teaspoon of salt, 1 teaspoon of dried oregano, and about half a teaspoon of ground cumin. These are the magic flavors that turn plain tomatoes into proper salsa!
Step-by-Step Guide to Your Tomato Salsa Canning Recipe
Alright, let’s get down to business! Making your own safe canning salsa is incredibly satisfying, and following these steps will make sure your jars seal up tight and are safe to enjoy for months to come. Don’t worry, it’s not as intimidating as it sounds – just take it one step at a time!
Preparing Your Water Bath Canner and Jars
First things first, grab your big water bath canner. Fill it up with enough water so that your jars will be covered by at least an inch once they’re inside. Get that simmering away over medium heat. While the water’s heating up, wash all your jars, lids, and bands really well. You want everything sparkling clean before you start filling those jars. This step is super important for making sure your salsa is safe to eat later on!
Combining and Simmering the Salsa Ingredients
Now for the fun part! Dump all those chopped tomatoes, onions, peppers, garlic, lime juice, salt, oregano, cumin, and any extra cayenne into a *really* big pot. Give it all a good stir to combine. Pop that pot over medium-high heat and bring it to a rolling boil. Once it’s bubbling away, turn the heat down just a little and let it simmer for about 10 minutes. Stir it every now and then. This little simmer helps all those flavors get to know each other and also thickens up the salsa just a bit.
Filling and Sealing Jars for Shelf Stable Salsa
Okay, time to fill those clean jars! Carefully ladle the hot salsa into your sterilized jars. You want to leave about a half-inch of space at the very top of the jar – this is called headspace, and it’s crucial for creating a good seal. Grab a damp paper towel and wipe the rims of the jars really well. Any little bit of salsa on the rim can stop the lid from sealing properly. Pop on your sterilized lids and screw on the bands until they’re just fingertip tight. Don’t crank ’em down super hard!
Water Bath Processing for Your Tomato Salsa Canning Recipe
Now we’re going to process those jars to make them shelf-stable. Gently place your filled jars into that simmering water bath canner using a jar lifter. Make sure they’re resting on the rack and are covered by at least an inch of water. Once the water comes back to a full rolling boil, start timing! For altitudes up to 1,000 feet, you’ll process them for 15 minutes. Make sure you check any canning charts for your specific altitude if you’re higher up – adjusting the time is really important for safety! After the 15 minutes are up, turn off the heat under the canner, but leave the jars in the hot water for another 5 minutes with the lid on. This helps them adjust slowly and prevents siphoning.
Cooling and Checking Seals on Your Canned Salsa
Carefully lift those hot jars out of the canner with your jar lifter and place them on a towel-lined counter. Give them some space – don’t let them touch each other! Now, the hard part: waiting! Let them sit undisturbed for a good 12 to 24 hours. You might hear some satisfying pings as the lids seal. After they’ve cooled completely, give each lid a gentle press in the center. If it doesn’t pop up and down, it’s sealed! If a lid *hasn’t* sealed, don’t panic! Just pop that jar in the fridge and use it up within a few weeks. Your sealed jars can hang out in a cool, dark place for up to a year!
Tips for Success with Your Garden Tomato Salsa
Alright, let’s talk about making this garden tomato salsa not just good, but *spectacular*! Think of me like Leo Grant, the founder here at Dishicious – I love to find those little tweaks that make a big difference without adding a ton of work. It’s all about optimizing, right? So, here are a few pointers to get your salsa canning just right.
First off, ingredient quality is HUGE. Seriously, use the ripest, most flavorful tomatoes you can find. Roma or plum tomatoes are usually my go-to because they’re less watery and have that nice, thick texture we want. If your tomatoes aren’t super flavorful, don’t be afraid to boost it a bit with a nice, quality tomato paste (though not in this specific recipe, just a general tip for tomato dishes!). Also, fresh never frozen peppers make a difference, so try to get those as fresh as possible.
Spice level? That’s totally personal! As the recipe notes, you can adjust the jalapeños and add cayenne. My personal trick is to taste the salsa *before* ladling it into jars. Remember, flavors can concentrate a bit during processing, so aim for a taste that’s just right for you *now*. If you’re nervous about heat, start with fewer jalapeños and you can always add a pinch of red pepper flakes to your serving bowl later. It’s all about control and getting it perfect for *your* pantry!
Achieving a good seal is key for shelf stable salsa. Make sure you’re wiping those jar rims *super* clean. Even a tiny bit of tomato pulp or juice can mess with the seal. And don’t overtighten those bands – fingertip tight is all you need. When you take them out of the canner, resist the urge to tighten them! Let them do their thing. A good seal means you’ve successfully made homemade canned salsa that’s ready for its pantry debut.
Ingredient Notes and Substitutions for Safe Canning Salsa
Let’s quickly chat about the ingredients for this tomato salsa canning recipe. Sometimes, you might not have exactly what the recipe calls for, and that’s okay! But with canning, we have to be a little careful, especially about acidity, because it keeps things safe. So, here are a few notes to help you out.
Tomatoes: The recipe calls for peeled, cored, and chopped ripe tomatoes. Roma or plum varieties are usually best because they have less water and more pulp, giving you a thicker salsa. If you’re using a different type, like beefsteak, your salsa might turn out a bit more watery. You can let it simmer a little longer to thicken, just keep an eye on it! Don’t use damaged or bruised tomatoes, though; pick the best ones you can find!
Lime Juice: This is NOT optional for safety! Bottled lime juice is actually recommended because it’s consistent in its acidity. If you use fresh limes, make sure you get enough juice; roughly 2 tablespoons of fresh lime juice for every pint jar is a good rule of thumb. Never substitute with lemon juice or vinegar for the lime juice in this recipe, as it will change the acidity balance that’s crucial for safe canning salsa.
Peppers: Feel free to play with the peppers! If you can’t find jalapeños, a serrano pepper will give you more heat, or a poblano will give you less. Just remember, the goal is flavor and some heat, but we’re not adding tons of liquid here. For the best results and proper acidity, stick to fresh peppers in the amounts listed.
Storage and Reheating Instructions for Pantry Salsa Jars
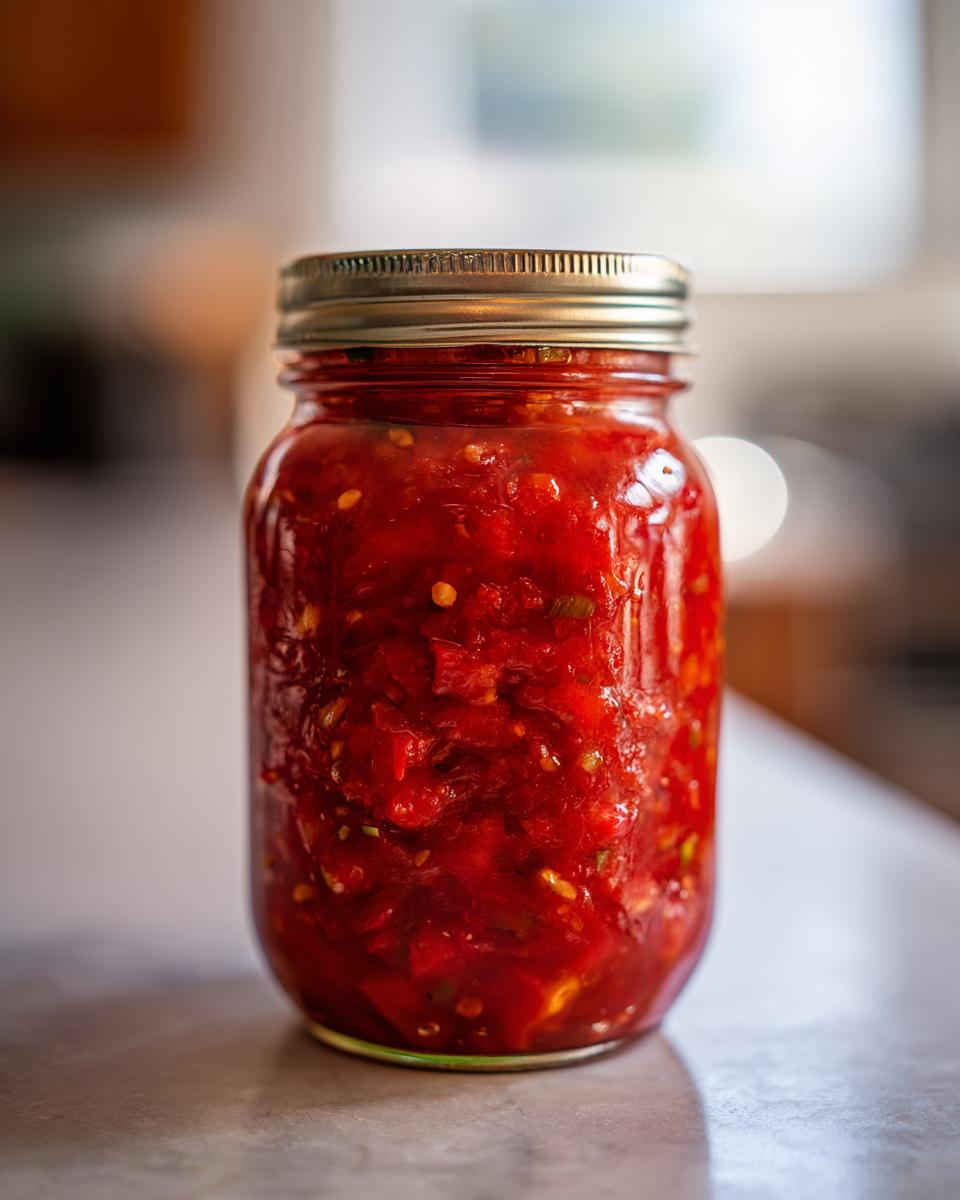
So, you’ve gone through the whole process, checked those seals, and now you’ve got these beautiful jars of homemade canned salsa ready to go! Storing them properly is the last step to making sure they stay delicious for as long as possible. Think of these jars as little treasure chests of flavor waiting to be unlocked!
Keep your sealed jars in a cool, dark place. A pantry or a basement shelf is perfect. You want to avoid really steamy kitchens or spots right next to the stove where the temperature can jump around a lot. When stored like this, your salsa should be good for about a year. Honestly, mine never lasts that long because it’s just too good!
When you’re ready to enjoy your pantry salsa jars, just unscrew the lid. If it’s been a while, give it a little sniff to make sure everything smells fresh. You can eat it cold right out of the jar – perfect for dipping tortilla chips or topping your tacos. The flavors are usually even better after a day or two in the fridge after opening, but it’s totally up to you!
Frequently Asked Questions About Tomato Salsa Canning
Got questions about making your own tomato salsa canning recipe? I get it! Canning can seem a little daunting at first, but once you get the hang of it, it’s seriously rewarding. Here are a few things people often ask me about making shelf stable salsa.
Can I use fresh tomatoes for this recipe?
Absolutely! In fact, using fresh, ripe tomatoes is exactly what this recipe is all about! The ripest, most flavorful tomatoes you can get from your garden or farmer’s market will make the best homemade canned salsa. Just make sure you peel, core, and chop them as the recipe suggests. Using really good quality tomatoes is half the battle!
How long does this canned salsa last?
When you’ve properly processed your jars and they’ve sealed correctly, your garden tomato salsa will keep beautifully in a cool, dark place for up to a year. Honestly, the flavor is usually best within the first 6-8 months, but they stay good for a nice long while! Just make sure to check the seals before you open them, and if anything looks or smells off, it’s best to discard it.
What if my jars don’t seal?
Oh, don’t worry if a jar doesn’t seal – it happens to the best of us! It just means that jar isn’t shelf-stable anymore. The easiest thing to do is to pop that jar in the refrigerator. You can use it up within a couple of weeks, and it will still taste just as delicious! Just make sure to keep track of it so you don’t forget about it.
Can I use different types of peppers?
You sure can! This is a great place to get creative with your tomato salsa canning recipe. If you like it spicier, go ahead and add more jalapeños or even a hotter pepper like a habanero (but use those with caution!). If you prefer it mild, you can omit the jalapeños altogether and just use bell peppers. Just remember that the goal is flavorful salsa, and while peppers add flavor, we’re not adding a ton of liquid with them, which is important for safe canning.
Estimated Nutritional Information
Just so you know, the nutritional info for homemade stuff can change based on exactly what you use, but here’s a rough idea for a 1/4 cup serving of this amazing tomato salsa canning recipe:
- Calories: About 25
- Fat: 0g
- Protein: 1g
- Carbohydrates: 6g
- Sodium: Around 250mg (depending on your salt!)
- Sugar: 4g (natural sugars from the veggies!)
These are just estimates, but they give you a good idea of what you’re enjoying. It’s pretty darn healthy!
Share Your Homemade Canned Salsa Creations!
Okay, now it’s YOUR turn to shine! Have you made this amazing tomato salsa canning recipe? I’d absolutely LOVE to hear about it! Was it a hit at your family BBQ? Did you gift some jars and get rave reviews? Drop a comment below, tell me how it turned out, and rate this recipe – your feedback helps others feel confident giving it a try! If you snapped any pictures of your beautiful pantry salsa jars, I’d be thrilled if you shared them on social media and tagged us. Let’s inspire each other!
PrintCanned Tomato Salsa Recipe
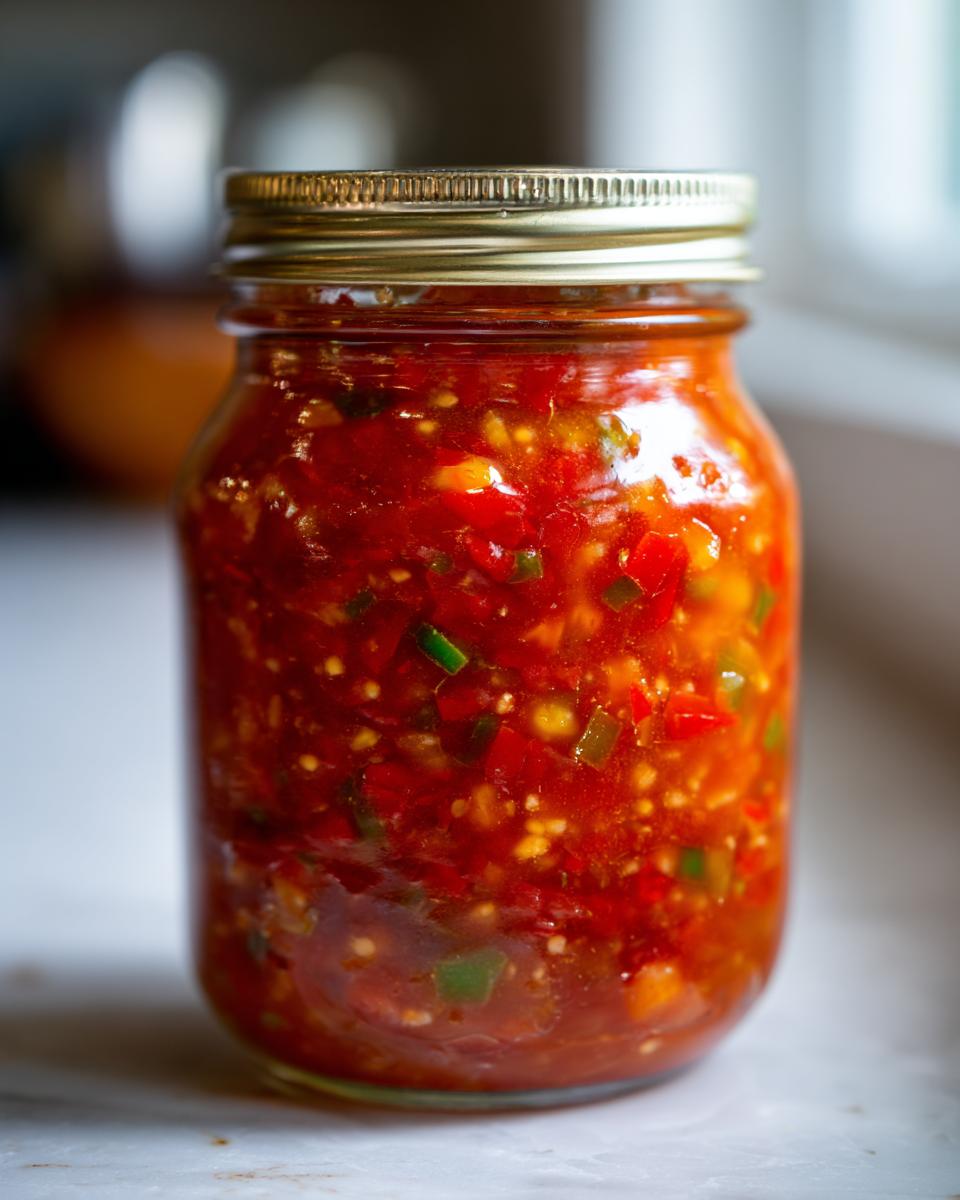
Preserve your garden tomatoes into shelf-stable, flavorful salsa for year-round enjoyment.
- Prep Time: 30 min
- Cook Time: 25 min
- Total Time: 55 min
- Yield: Approximately 7 pint jars 1x
- Category: Preserves
- Method: Water Bath Canning
- Cuisine: American
- Diet: Vegetarian
Ingredients
- 16 cups peeled, cored, and chopped ripe tomatoes (about 8 lbs)
- 1 cup chopped onions (about 1 large)
- 1/2 cup chopped green bell peppers (about 1 medium)
- 1/4 cup chopped jalapeño peppers (optional, for heat)
- 4 cloves garlic, minced
- 2 tablespoons lime juice
- 1 teaspoon salt
- 1 teaspoon dried oregano
- 1/2 teaspoon ground cumin
- 1/4 teaspoon cayenne pepper (optional, for extra heat)
Instructions
- Prepare your water bath canner by filling it with enough water to cover the jars by at least 1 inch, and bring it to a simmer. Wash and sterilize your canning jars, lids, and bands.
- In a large pot, combine the chopped tomatoes, onions, green bell peppers, jalapeño peppers (if using), garlic, lime juice, salt, oregano, cumin, and cayenne pepper (if using).
- Stir everything together and bring the mixture to a boil over medium-high heat. Reduce heat and simmer for 10 minutes, stirring occasionally.
- Ladle the hot salsa into the sterilized jars, leaving 1/2 inch of headspace.
- Wipe the rims of the jars with a clean, damp cloth to remove any residue.
- Place the sterilized lids on the jars and screw on the bands until fingertip tight.
- Carefully place the filled jars into the simmering water bath canner, ensuring they are covered by at least 1 inch of water.
- Process the jars in the boiling water bath for the recommended time: 15 minutes for altitudes up to 1,000 feet. Adjust processing time for higher altitudes as per canning guidelines.
- Turn off the heat, remove the canner lid, and let the jars sit in the hot water for 5 minutes.
- Carefully remove the jars from the canner using a jar lifter and place them on a towel-lined counter to cool undisturbed for 12-24 hours.
- Check the seals after 12-24 hours. If a lid has not sealed, refrigerate the salsa and consume within a few weeks. Properly sealed jars can be stored in a cool, dark place for up to a year.
Notes
- For a smoother salsa, you can pulse the ingredients in a food processor before simmering.
- Adjust the amount of jalapeño and cayenne pepper to control the spice level.
- Always follow tested canning recipes for safety.
- Consider using a high-quality meal planning service to help you use your canned goods efficiently.
Nutrition
- Serving Size: 1/4 cup
- Calories: 25
- Sugar: 4g
- Sodium: 250mg
- Fat: 0g
- Saturated Fat: 0g
- Unsaturated Fat: 0g
- Trans Fat: 0g
- Carbohydrates: 6g
- Fiber: 1g
- Protein: 1g
- Cholesterol: 0mg