
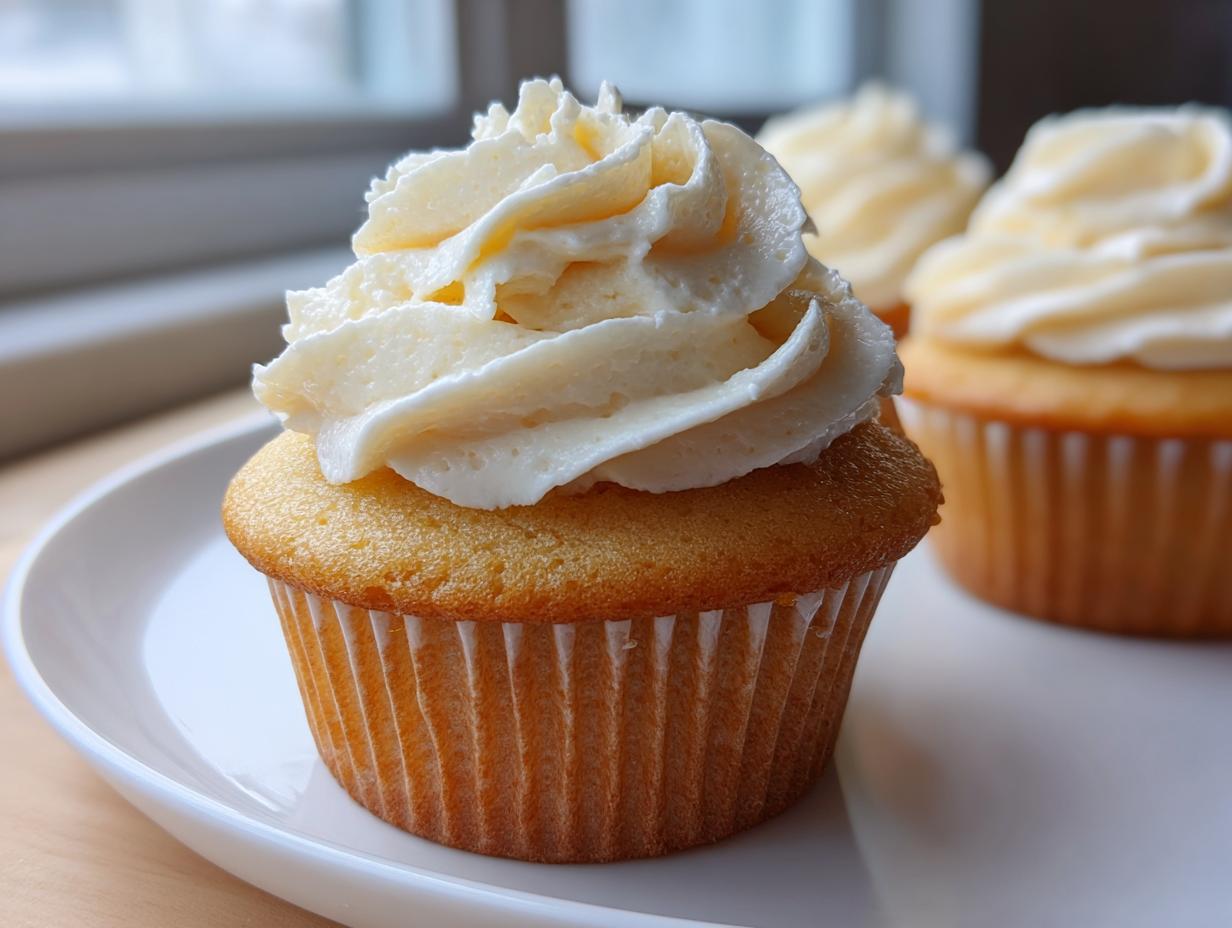
When a big event rolls around—like a graduation party—you need baking that performs. You can’t afford guesswork; you need reliability that looks fantastic on a platter. That’s why I developed the ultimate easy baking sequence for perfect **vanilla cupcake with buttercream**. We’re talking about unbelievably moist vanilla cupcakes crowned with a frosting that holds its shape, even if the party runs long. This method isn’t about following a chef’s whim; it’s about smart engineering. As someone who treats the kitchen like a project manager, I ensure every step here is optimized so you get maximum flavor payoff with zero kitchen stress. Trust me, these are the celebration desserts you’ll keep coming back to.
- Why This Vanilla Cupcake with Buttercream Is Your Go-To Celebration Dessert
- Essential Ingredients for Moist Vanilla Cupcakes and Stable Buttercream Frosting
- Step-by-Step Instructions for Perfect Vanilla Cupcake with Buttercream
- Tips for Success: Achieving the Best Vanilla Cupcake with Buttercream
- Making Vanilla Cupcakes with Buttercream for a Graduation Party
- Ingredient Notes and Substitutions for Vanilla Cupcakes
- Storage and Reheating Instructions for Vanilla Cupcake with Buttercream
- Frequently Asked Questions About Vanilla Cupcakes
- Serving Suggestions for Your Vanilla Cupcake with Buttercream
Why This Vanilla Cupcake with Buttercream Is Your Go-To Celebration Dessert
When you’re organizing something big, you need ingredients that cooperate. My approach to baking treats this like a project: efficiency and stability are key! These cupcakes deliver flavor without fragility.
- Moisture Locked In: The cake crumb stays tender for days, which is huge for party planning.
- Frosting That Stands Tall: This stable buttercream frosting won’t weep or wilt during cutting and serving.
- Simple Elegance: It’s the perfect blank canvas; easy to execute but looks incredible for any celebration dessert.
Essential Ingredients for Moist Vanilla Cupcakes and Stable Buttercream Frosting
Getting the right component list is half the battle won! When I map out a baking project, I make sure every ingredient is accounted for, right down to the temperature it needs to be. For these vanilla cupcakes, you need quality basics, especially for the butter. For the best emulsion and the lightest crumb, always let your butter and eggs come up to room temperature first—I usually pull mine out about an hour before I start mixing.
For the Vanilla Cupcakes
- 1 1/2 cups all-purpose flour
- 1 1/2 teaspoons baking powder
- 1/2 teaspoon salt
- 1/2 cup unsalted butter, softened
- 1 cup granulated sugar
- 2 large eggs (room temperature is best!)
- 1 teaspoon vanilla extract
- 1/2 cup milk (room temperature works best here too)
For the Buttercream Frosting
This is where the stability comes from, so precision matters. You MUST sift the powdered sugar for the smoothest buttercream frosting possible; lumps are not part of this project plan!
- 1/2 cup unsalted butter, softened
- 3 cups powdered sugar, sifted
- 1 teaspoon vanilla extract
- 2 tablespoons milk or heavy cream
If you want to check out other key components for great baking, I have a go-to list over at my detailed vanilla cupcake guide.
Step-by-Step Instructions for Perfect Vanilla Cupcake with Buttercream
Okay, let’s get this into the production pipeline. Baking this involves a few distinct stages, but none of them are complicated if you stick to the sequence. The goal here is perfect texture, and that starts the second you turn on the oven.
Preparing and Baking the Moist Vanilla Cupcakes
First thing: Preheat your oven to 350°F (175°C) and get those 12 paper liners set up in your tin. Next, whisk your dry stuff—flour, baking powder, and salt—in one bowl. Now for the core magic: In your big bowl, beat that softened butter and sugar together until it’s properly light and fluffy. I look for that color change, which usually takes a solid 3 minutes with the mixer. Add your eggs, one at a time, then the vanilla.
Here’s the critical non-overmixing step (Step 5): Add your dry mixture alternately with the milk, always starting and finishing with the dry ingredients. You mix *just* until you don’t see streaks of flour left. Seriously, stop there! Overmixing turns our moist vanilla cupcakes into hockey pucks. Scoop the batter into your liners (two-thirds full is the magic spot) and bake them for about 18 to 20 minutes. They’re done when a toothpick slides right out clean!
Making the Stable Buttercream Frosting
While those are cooling, we tackle the topping. Start by beating that second half-cup of soft butter until it’s super creamy. Now, you have to add that sifted powdered sugar slow—one cup at a time—on low speed so you don’t end up wearing it. Once it’s incorporated, toss in the vanilla and the two tablespoons of milk/cream. Crank the speed up to medium-high and let it whip now! You need about 3 to 5 minutes here until it’s genuinely light and fluffy. This high-speed whipping is what makes the buttercream frosting stable enough to hold up all day.
Assembling Your Vanilla Cupcake with Buttercream
Do not rush this part! If you try to put frosting on a warm cupcake, you’re going to get soup, and your whole project fails. Let those vanilla cupcakes cool completely on a wire rack. Once they are stone cold, you can load up your piping bag or grab your offset spatula. If you’re looking for more tips on making sure your baking comes out right, check out my guide on easy baking methods!
Tips for Success: Achieving the Best Vanilla Cupcake with Buttercream
Baking is really just streamlined chemistry, right? If you treat these steps like checkpoints in a project, you eliminate all variables. My goal is always 100% success, so here are the non-negotiables from my testing phase.
First, you heard me mention it earlier, but I need to stress it again: room temperature ingredients. If your butter is too cold, it won’t cream properly. If your eggs are fridge-cold, they shock the batter and can cause a grainy texture. Let them sit out. Patience in this initial setup is what makes this recipe count as easy baking later on.
Next up is troubleshooting the frosting. If you forgot to sift your powdered sugar (oops!), don’t panic. If you notice lumps forming while beating the buttercream frosting, just stop the mixer, scrape down the bowl, and turn the mixer to the lowest possible speed. Beat it slowly for another minute; that grinding action usually breaks up the small clumps. If it’s still lumpy, you can quickly sift the entire batch of frosting through a fine-mesh sieve. It takes five minutes but saves your whole presentation.

If you’re worried about the frosting holding up outside, remember that note I included about stability? For genuinely hot outdoor parties, pull back on the liquid in the frosting to just one tablespoon of milk or cream. It will be much stiffer, which is great for piping sharp designs, and it helps the cupcakes survive the afternoon sun. For these kinds of helpful scheduling and modification tips, I often refer back to my brunch and lighter fare guides, as they often require similar stability checks.
Making Vanilla Cupcakes with Buttercream for a Graduation Party
When you’re planning a graduation party, timing is everything, and logistics can be a headache. Nobody wants to transport cupcakes across town only to find the frosting has melted into a sad puddle before the speeches even start. That’s exactly why we prioritized that stable buttercream in this recipe structure. Because it’s dense and reliable, you can pipe intricate designs—maybe even using school colors with gel food coloring—and they stay put.
These look incredibly festive straight out of the box, too. A simple sprinkle of metallic or colored sugar right after piping makes them look way more complicated than they actually are. If you need to transport them, place the completely cooled cupcakes snugly into a sturdy carrier—the stable frosting helps prevent them from bumping into each other. Once you’ve checked my guide for quick and easy meals, maybe you can plan the party menu around these reliable sweets!
Ingredient Notes and Substitutions for Vanilla Cupcakes
Look, recipes are just blueprints, right? And sometimes you’re missing one small thing, or maybe you need the batter to be a little richer than planned. I always keep a small contingency plan ready in my notes. For this recipe, the biggest variables are usually in the liquids, both for the cake and the frosting.
When you are whipping up that buttercream frosting, I specifically listed milk or heavy cream for those two tablespoons of liquid. If you are baking on a really hot day or need it to go onto a cake that will sit out for hours, switch that milk out for heavy cream. Using cream makes the final frosting just a touch thicker and more resilient—it stiffens up nicely as it sets, which is great for holding those high piped peaks.
Now, for the actual vanilla cupcakes—what if you don’t have milk? Don’t run to the store! I tested this extensively. If you have yogurt or sour cream on hand, you can make a quick substitute: take your 1/2 cup of milk and stir in just one teaspoon of distilled white vinegar or lemon juice. Let that sit for about five minutes until it looks slightly curdled—that’s making us instant buttermilk! Buttermilk adds a wonderful slight tang that pairs beautifully with the vanilla, and it reacts great with the baking powder for an extra gentle lift. It’s an easy switch that truly elevates the crumb, and you can find more great tips over at the main Dishicious page.
Storage and Reheating Instructions for Vanilla Cupcake with Buttercream
Once you’ve put all that project management effort into making these perfect for your graduation party, you’ve got to store them right. Keeping them fresh guarantees they taste just as amazing on day two as they did while you were decorating them. The biggest question I get is whether to refrigerate them, and honestly, the answer depends on your frosting.
If you used the standard recipe with milk in your buttercream frosting, you should be fine storing them at cool room temperature, covered loosely, for up to two days. Think of an airtight container, but don’t seal it completely tightly, or you risk trapping condensation against that beautiful piping work. Keep them away from direct sunlight or any warm spots—no near the window!
If you are using the heavier cream version for maximum stability, refrigeration is safer, especially if it’s humid outside. But here’s the catch: cold temperatures make the cake part a little firm. When you pull these gorgeous vanilla cupcakes with buttercream out of the fridge, you must let them sit on the counter for at least 45 minutes before serving. That time allows the butter in both the cake and the frosting to soften back up, restoring that signature moist texture. Always let them come to room temperature before anyone takes a bite!
Frequently Asked Questions About Vanilla Cupcakes
When you’re managing a big baking schedule, you need quick answers to troubleshoot potential timeline hits. Don’t stress if you have a few questions pop up mid-project. Here are the common issues I dealt with while engineering this simple, perfect batch of **vanilla cupcakes**.
Can I make the cake batter ahead of time?
My recommendation? No, not really. While you can keep your dry ingredients measured out, the cake batter itself needs to be baked fresh—straight from mixer to oven—to get that perfect crumb. Once the wet and dry ingredients combine, chemical reactions start immediately. If you let the **vanilla cupcakes** batter sit too long, the baking powder starts to lose its lift, and you’ll end up with a less airy structure. It defeats the purpose of aiming for max moisture!
How do I get my buttercream frosting very stiff for piping?
This is easy to adjust during the final mixing stage. If your **buttercream frosting** looks a little soft for those sharp, tall piping designs you want for your celebration dessert, you have two immediate fixes. The fastest fix is to add a quarter-cup more of your sifted powdered sugar and mix it in slowly. The other option, especially if you are whipping it on high speed and it still seems slouchy, is to use less liquid next time—maybe use only 1 tablespoon of milk instead of 2. A stiffer frosting always outperforms a softer one for detailed decoration.
For other reliable quick fixes related to party prep, I keep a running list of helpful tips for appetizers and snacks that can also be done ahead of time.
Serving Suggestions for Your Vanilla Cupcake with Buttercream
Once these beauties are frosted, they really sing on their own, but every great celebration dessert deserves a little flair! I love setting the plate with a few fresh raspberries or blueberries piled next to the cupcake—the tartness cuts the sweetness perfectly. Alternatively, grab some edible glitter or metallic sprinkles for that extra festive graduation pop. And of course, you absolutely need a fresh pot of coffee brewing! If you want to know more about the philosophy behind making simple quality work, check out the About Us page.
PrintMoist Vanilla Cupcakes with Stable Buttercream Frosting
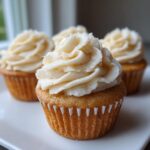
Follow this straightforward recipe to make moist vanilla cupcakes topped with a reliable, stable buttercream perfect for any celebration, like a graduation party.
- Prep Time: 20 min
- Cook Time: 20 min
- Total Time: 40 min
- Yield: 12 servings 1x
- Category: Dessert
- Method: Baking
- Cuisine: American
- Diet: Vegetarian
Ingredients
- 1 1/2 cups all-purpose flour
- 1 1/2 teaspoons baking powder
- 1/2 teaspoon salt
- 1/2 cup unsalted butter, softened
- 1 cup granulated sugar
- 2 large eggs
- 1 teaspoon vanilla extract
- 1/2 cup milk
- 1/2 cup unsalted butter, softened (for frosting)
- 3 cups powdered sugar, sifted (for frosting)
- 1 teaspoon vanilla extract (for frosting)
- 2 tablespoons milk or heavy cream (for frosting)
Instructions
- Preheat your oven to 350°F (175°C). Line a 12-cup muffin tin with paper liners.
- In a medium bowl, whisk together the flour, baking powder, and salt. Set this dry mixture aside.
- In a large bowl, beat the softened butter and granulated sugar with an electric mixer until light and fluffy, about 3 minutes. This step is key for texture.
- Beat in the eggs one at a time, mixing well after each addition. Stir in the vanilla extract.
- Gradually add the dry ingredient mixture to the wet ingredients, alternating with the milk, beginning and ending with the dry ingredients. Mix only until just combined; do not overmix.
- Divide the batter evenly among the 12 cupcake liners, filling each about two-thirds full.
- Bake for 18 to 20 minutes, or until a toothpick inserted into the center comes out clean. Let the cupcakes cool in the pan for 5 minutes before transferring them to a wire rack to cool completely.
- To make the buttercream frosting, beat the 1/2 cup of softened butter until creamy.
- Gradually add the sifted powdered sugar, one cup at a time, mixing on low speed until incorporated.
- Add the vanilla extract and 2 tablespoons of milk or cream. Beat on medium-high speed until the frosting is light and fluffy, about 3 to 5 minutes. Add a tiny bit more liquid if the frosting is too stiff.
- Once the cupcakes are completely cool, pipe or spread the buttercream frosting onto each cupcake.
Notes
- For the best texture, bring your butter and eggs to room temperature before starting the batter.
- Sifting the powdered sugar prevents lumps in your final buttercream.
- If you need a very stable frosting for warm weather, reduce the milk/cream in the frosting to 1 tablespoon.
Nutrition
- Serving Size: 1 cupcake
- Calories: 350
- Sugar: 45g
- Sodium: 150mg
- Fat: 17g
- Saturated Fat: 10g
- Unsaturated Fat: 7g
- Trans Fat: 0g
- Carbohydrates: 48g
- Fiber: 1g
- Protein: 4g
- Cholesterol: 55mg