
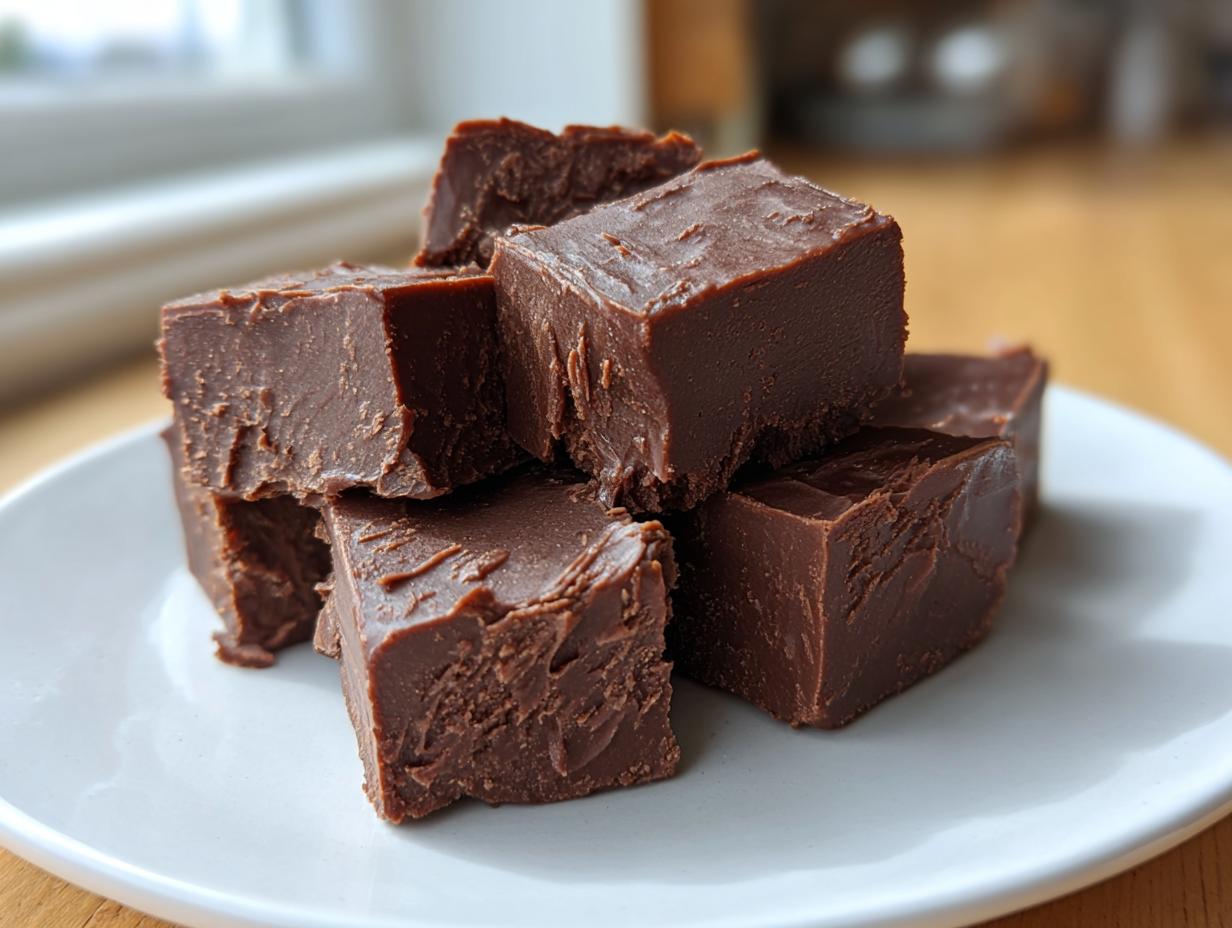
Let’s be honest, when springtime hits—graduation parties, unexpected thank-you needs, teacher appreciation—we need gifts that look handcrafted but don’t eat up our entire weekend. That’s exactly the problem I solved when I engineered this **dark chocolate fudge**. Forget complicated steps; this is pure, efficient dessert creation. We’re using only three core ingredients to hit that luxurious, creamy texture everyone craves. If you believe, like I do, that cooking should be a project flawlessly executed with minimal steps, you’re going to love this. It delivers maximum impact for minimal kitchen time, making it the quintessential make-ahead favor for any spring occasion.
- Why This Three-Ingredient Dark Chocolate Fudge is Your Go-To Dessert Gift
- Gathering Ingredients for Rich Chocolate Dark Chocolate Fudge
- Step-by-Step Instructions for Perfect Homemade Fudge
- Tips for Success When Making Dark Chocolate Fudge
- Make-Ahead and Storage for Your Dessert Gifts
- Serving Suggestions for This Easy Candy
- Estimated Nutritional Data for Dark Chocolate Fudge
- Frequently Asked Questions About Homemade Fudge
- Share Your Experience Making Dark Chocolate Fudge
Why This Three-Ingredient Dark Chocolate Fudge is Your Go-To Dessert Gift
This isn’t just any recipe; it’s a masterclass in efficiency, which is why I stand by it for all my gifting needs. When you need a **rich chocolate** treat ready for a deadline, complexity is the enemy. This hits every mark for the busy home cook.
- It’s Effortless: You literally only need three things that most pantries already have. No running to specialty stores, I promise.
- Make-Ahead Champion: This **homemade fudge** sets up beautifully in the fridge. You can make it Tuesday for a Friday event and it will still taste incredible.
- Seriously Foolproof: There’s no candy thermometer involved, and there are very few steps where you can actually mess it up, provided you watch the heat.
If you check out our full collection of reliable dessert recipes, you’ll see this fudge is the simplest in the bunch.
Efficiency: The Project Manager Approach to Making Dark Chocolate Fudge
As a project manager, I look for the critical path, and for baking, that means cutting out non-essential steps. Using just sweetened condensed milk and two kinds of chocolate chips eliminates the need to temper or cream butter. This streamlined approach guarantees massive flavor payoff without demanding hours of monitoring or cleanup. It’s the ultimate optimized recipe!
Perfect for Gifting: Presentation Ideas for Your Easy Candy
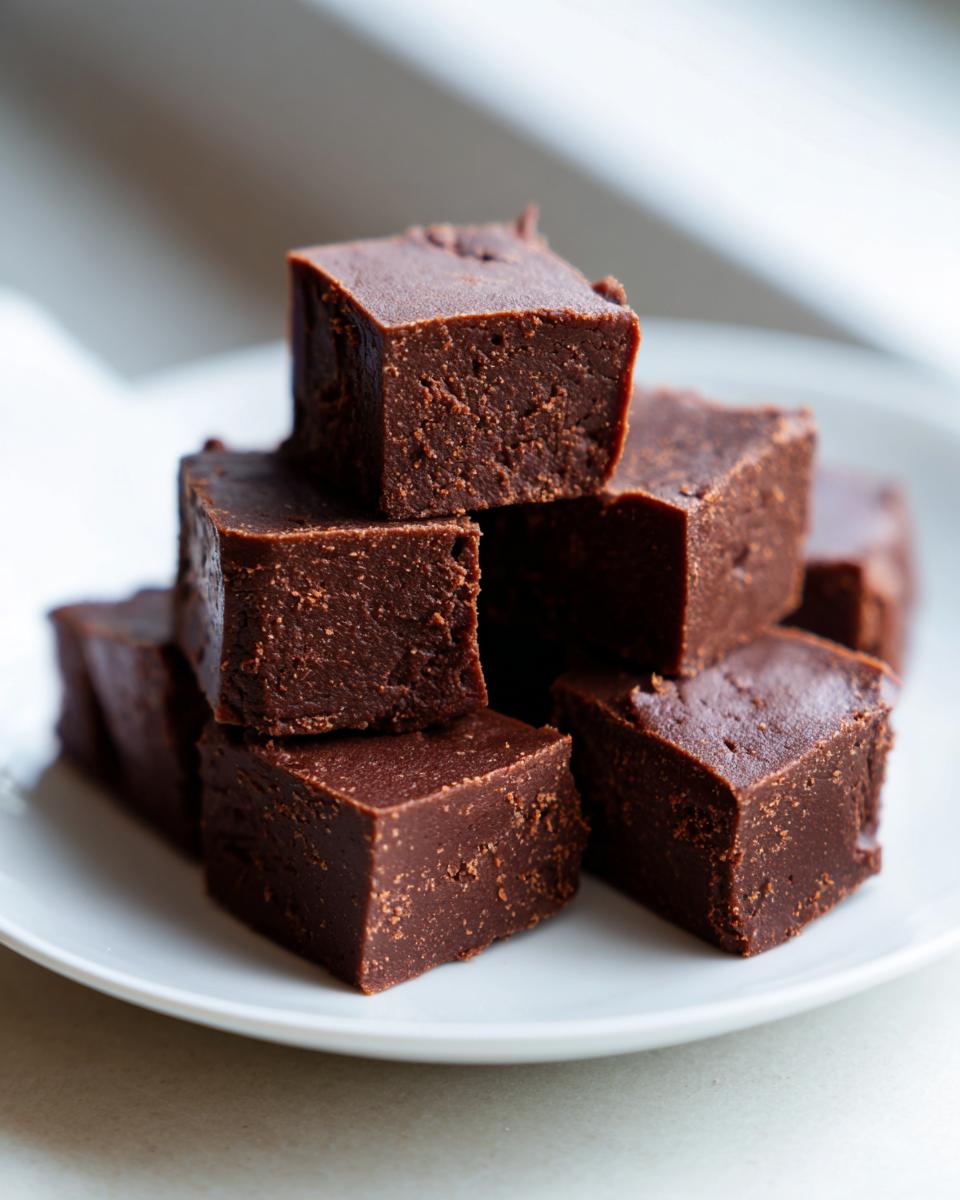
This **chocolate fudge** is durable, which is key for favors. Because it sets so firmly, you can cut clean, elegant squares. I often tuck four or five pieces into a tiny cellophane bag and tie it with a piece of simple twine or a nice graduation ribbon. It looks thoughtful without having taken you all day. It’s the perfect small thank-you gesture.
Gathering Ingredients for Rich Chocolate Dark Chocolate Fudge
When we get down to the core components of any Dishicious recipe, we keep the list radically short. For this **rich chocolate** fudge, you only need the three crucial elements to achieve that deep, dense texture. Remember, precision here matters because there aren’t many other components to hide behind. Get these items right, and you’ve already won the battle!
- 1 (14 ounce) can sweetened condensed milk
- 2 cups semi-sweet chocolate chips
- 1 cup dark chocolate chips
That’s it. You see? No heavy cream, no butter you need to set out early, just the essentials to create fantastic **homemade fudge**.
Ingredient Notes and Substitutions for Dark Chocolate Fudge
The combination of chips is what locks in that perfect balance of sweetness and deep cocoa flavor. We need both semi-sweet and dark chips to balance out the extreme sweetness of the condensed milk.
If you are working for someone who really doesn’t love that deep, dark flavor, you can absolutely swap out the dark chocolate chips for an equal amount of milk chocolate chips. Just know that the resulting treat will be sweeter and slightly softer, so it might not hold up as firmly for gifting right away. For the deep, satisfying cocoa punch though, stick with the original dark version. These few items are the entire framework for your **easy candy**!
Step-by-Step Instructions for Perfect Homemade Fudge
Okay, time to execute. Since this is a three-ingredient recipe, we can’t rely on slow technique to hide mistakes. We need speed and precision, which I love because it means getting to the finished product faster. We’ll rely heavily on that parchment paper setup to ensure we don’t wrestle this gooey goodness out of the pan later. Just follow these streamlined steps, and you’ll have your **chocolate fudge** ready for the fridge in under ten minutes. The payoff when you finally cut those squares is seriously worth it.
Prep: Lining the Pan for Easy Dark Chocolate Fudge Removal
Grab your 8×8 inch pan first. Lay down a sheet of parchment paper, making sure you leave a generous overhang on two opposite sides. Think of these overhangs as handles. Once the fudge is set, these handles are what you’ll grab to lift the entire slab out cleanly. Don’t skip this—it’s critical for presentation!
Melting the Dark Chocolate Fudge Base
Get your saucepan—a heavy bottom one is best to spread the heat out—and add the condensed milk and both chips. Set the heat to medium-low; this is where you must be vigilant. You need to stir constantly with a rubber spatula. Keep scraping the sides and bottom until everything is totally melted and smooth, looking like liquid silk. Watch closely: if it ever looks like it’s about to bubble aggressively, pull it off the heat immediately. Boiling ruins the texture of this **easy candy**.
Once it’s smooth, remove it from the heat instantly. Pour that glossy mixture into your prepared pan and spread it level. Now, patience is the project manager’s hardest lesson: you have to let it chill in the refrigerator for at least three solid hours for it to firm up enough to cut neatly.
- If you want to see the whole flow for the pouring and cutting elements, check out the visual guide here.
Tips for Success When Making Dark Chocolate Fudge
Even with only three ingredients, we’re aiming for that perfectly smooth, melt-in-your-mouth texture—that’s what separates a so-so batch from the **rich chocolate** experience people expect from great **homemade fudge**. My goal here is to prevent common failures caused by rushing the process. Remember, efficiency doesn’t mean carelessness! Stay focused during that brief melting stage, and you’ll nail the texture every time. We want smooth, not grainy!
Troubleshooting Common Dark Chocolate Fudge Issues
Nine times out of ten, if your fudge isn’t perfect, it’s an issue of heat control or insufficient chilling. If your mixture starts getting that gritty or grainy look while melting, that means you overheated it, and the condensed milk started crystallizing. If that happens, kill the heat immediately, stir like crazy off the burner, and hope the residual heat smooths it out before you pour. Don’t try to reheat it!
If your fudge simply won’t set after three hours, two things are usually culprits: either you stirred too long after taking it off the heat (which introduces too much air and messes with the density), or you didn’t use enough dark chocolate relative to the condensed milk. If you find chilling isn’t quite firming it up enough for cutting, just give it an extra hour in the back of the fridge. Getting those clean squares for your snack gifts depends entirely on that chill time!
Make-Ahead and Storage for Your Dessert Gifts
When you’re planning favors for graduation or teachers, timing is everything. This is why I rely on this **dark chocolate fudge** so heavily—it thrives when made ahead of time! True to my streamlined philosophy, you can cook this entire batch in about five minutes and have it ready to box up days later. It’s designed for advanced planning.
Once you’ve cut your squares, the storage method matters for keeping that texture perfectly creamy. You have two options depending on when you need them. If you’re gifting them within three or four days, an airtight container at cool room temperature is just fine. Make sure you separate the layers with wax or parchment paper so they don’t stick together. If you have a large batch and need them to last for a couple of weeks until party time, the refrigerator is your best friend.
Keeping them chilled keeps them firm, which is excellent for transport, but remember that cold fudge can sometimes taste a bit duller. The best practice here is to pull the container out about 30 minutes before you present them. That little bit of warming brings the flavor right back up to that intense, **rich chocolate** level. It’s just as reliable as those no-bake peanut butter bars we make, and it keeps beautifully. Don’t stress about the timeline; this fudge is on your side!
- For more make-ahead magic, take a look at these easy no-bake peanut butter bars; they share this same make-ahead advantage.
Serving Suggestions for This Easy Candy
Since this **dark chocolate fudge** is so simple, the presentation is really where you make it shine as a thoughtful gift. If you’re handing these out as thank-yous, I love placing just two squares in a tiny, clear cellophane bag tied with a vibrant ribbon. It looks crisp and intentional. For graduation parties, use them to bulk up a small gift basket.
They pair wonderfully next to a bag of gourmet coffee beans or maybe some homemade shortbread cookies—another simple treat you can whip up quickly. Because the flavor is so intense, they satisfy perfectly alongside a rich cup of coffee, maybe even early in the day. If you need quick, impressive additions to your brunch spreads, these single-bite bites are ideal.
Estimated Nutritional Data for Dark Chocolate Fudge
When I develop these streamlined recipes, I aim for maximum impact balanced with accessibility. Knowing the basic nutritional breakdown is just part of responsible project management in the kitchen. You need to know what you’re actually handing out, especially if it’s for a gift!
The data below is calculated based on the specific ingredients used—namely the sweetened condensed milk and the combination of semi-sweet and dark chocolate chips. Since we are working with high-quality ingredients here, this **dark chocolate fudge** is certainly decadent, but the small, controlled serving size keeps things reasonable.
Please keep in mind that these figures are estimates based on standard US product averages. If you swap out the type of chocolate, of course, the final count will shift slightly. But for planning purposes, this should give you a very good baseline for your **homemade fudge** portions.
- Serving Size: 1 square
- Calories: 150
- Fat: 8g (5g Saturated Fat)
- Carbohydrates: 19g (18g Sugar)
- Protein: 2g
- Sodium: 30mg
It’s a pure hit of **rich chocolate** energy! Remember, since these are small, single-serving **dessert gifts**, they fit perfectly into a busy lifestyle even when treated as an indulgence.
Frequently Asked Questions About Homemade Fudge
I know when you’re looking for an **easy candy** recipe, you want absolute clarity so you don’t waste your precious time. Dealing with **chocolate fudge** is usually intimidating, but because this version is so streamlined, we usually avoid the big mistakes. Still, a couple of questions always pop up when people are planning these for their dessert gifts.
Can I skip the refrigeration step for this dark chocolate fudge?
You really, really shouldn’t skip the refrigeration, even if you’re impatient! The texture of this **dark chocolate fudge** relies on that chilling process to harden up the fats and stabilize the structure from the condensed milk. If you try to cut it warm or room temperature, it won’t be fudge; it’ll just be a very thick, gooey chocolate sauce that will make a huge mess. Three hours is the minimum time needed to get those clean, satisfying squares.
What is the best way to cut the fudge into neat squares?
This is a fantastic question for presentation! Once the fudge layer is completely firm, don’t even think about reaching for a regular dull knife. The secret to clean, professional-looking squares is heat. Get your knife—a long, thin one works best—and run it under very hot water for about 30 seconds. Quickly dry the blade totally, and then make your first cut. The heat melts the fudge slightly on the blade edge, allowing for a perfect slice. For best results, wipe the blade clean and re-heat it between every single cut. That’s how you get that flawless edge on your **rich chocolate** bars.
Is this dark chocolate fudge recipe suitable for freezing?
Yes, this **homemade fudge** actually freezes exceptionally well, which is great news for batch prepping favors weeks ahead of time! Once you have cut the squares, place them in an airtight, freezer-safe container. You must place parchment or wax paper between the layers, though, or face a giant block of stuck-together fudge later. It stays great for up to three months in the freezer. If you’re worried about space, just wrap small stacks tightly in plastic wrap before putting them in the container. It’s one more reason why this is such an efficient recipe!
If you want more foolproof recipes that keep well, you might want to check out some quick, easy dinners that also minimize cleanup!
Share Your Experience Making Dark Chocolate Fudge
The project is complete! You’ve streamlined your schedule, avoided a complicated recipe, and now you have gorgeous, intensely **rich chocolate** favors ready to go. That’s the Dishicious philosophy in action, plain and simple.
Now that you’ve experienced how easy this batch of **dark chocolate fudge** was, I really want to know what you thought. Did you use ribbons? Did you pair it with coffee? Did you opt for milk chocolate instead of dark? Hit that rating button below and let me know how this **easy candy** performed for your deadlines.
If you had any tweaks that made the process even slicker for you, please feel free to drop a comment. Or, if you need to send me a quick note about your fantastic presentation results, you can reach out via the contact page. Happy gifting, I know those **dessert gifts** will be a huge hit!
PrintThree-Ingredient Dark Chocolate Fudge for Gifting
Make this rich, creamy, dark chocolate fudge using only three ingredients. It is a perfect make-ahead dessert gift for spring occasions like graduation or thank-yous.
- Prep Time: 10 min
- Cook Time: 5 min
- Total Time: 3 hours 15 min
- Yield: About 36 small pieces 1x
- Category: Dessert
- Method: Stovetop
- Cuisine: American
- Diet: Vegetarian
Ingredients
- 1 (14 ounce) can sweetened condensed milk
- 2 cups semi-sweet chocolate chips
- 1 cup dark chocolate chips
Instructions
- Line an 8×8 inch baking pan with parchment paper, leaving an overhang on the sides for easy removal.
- Place the sweetened condensed milk and both types of chocolate chips in a medium, heavy-bottomed saucepan.
- Heat the mixture over medium-low heat, stirring constantly until the chocolate is completely melted and the mixture is smooth. Do not let it boil.
- Remove the pan from the heat immediately once smooth.
- Pour the fudge mixture into the prepared pan and spread it evenly.
- Refrigerate for at least 3 hours, or until firm enough to cut.
- Use the parchment overhang to lift the fudge out of the pan. Cut into small squares for your dessert gifts.
Notes
- For a polished presentation, place the fudge squares in small cellophane bags and tie with a ribbon for a ready-made thank-you favor.
- You can substitute the dark chocolate chips with milk chocolate chips if you prefer a sweeter profile.
- This easy candy sets up well, making it ideal for preparing several days before you need it.
Nutrition
- Serving Size: 1 square
- Calories: 150
- Sugar: 18g
- Sodium: 30mg
- Fat: 8g
- Saturated Fat: 5g
- Unsaturated Fat: 3g
- Trans Fat: 0g
- Carbohydrates: 19g
- Fiber: 1g
- Protein: 2g
- Cholesterol: 10mg