
When that craving hits for something intensely salty and perfectly sweet, you deserve an immediate win, right? Forget waiting around for ovens to preheat or complicated techniques. We’re delivering pure, unadulterated **peanut butter fudge**, and we’re doing it the Dishicious way. This recipe is non-negotiable when you need quick homemade sweets. When I—Leo Grant—approach a dessert like this, I treat it like a project: strip away everything unnecessary to keep the core flavor shining. That means you get an incredibly smooth, rich peanut-forward candy without any baking stress. It sets up beautifully, delivers that salty-sweet indulgence every time, and fits perfectly into a busy schedule. If you love this streamlined approach, check out my guide on easy no-bake peanut butter bars too. Trust me, this is the ultimate shortcut to dessert success.
- Why This Peanut Butter Fudge is Your New Go-To Easy Candy
- Ingredients for the Best Peanut Butter Fudge
- Equipment Needed for Your Peanut Butter Fudge Project
- Step-by-Step Instructions to Make Peanut Butter Fudge
- Tips for Perfect Peanut Butter Fudge Every Time
- Storage and Make-Ahead Options for Peanut Butter Fudge
- Serving Suggestions for This Easy Candy
- Frequently Asked Questions About Peanut Butter Fudge
- Estimated Nutritional Profile for Peanut Butter Fudge
Why This Peanut Butter Fudge is Your New Go-To Easy Candy
When I designed this recipe, I cut out all the complicated steps that usually frustrate people trying to make homemade sweets. This isn’t messy baking; it’s smart assembly. It’s engineered for maximum payoff with minimal actual kitchen time. Check out the streamlined benefits:
Zero Baking Required for Perfect Peanut Butter Fudge
Seriously, zero heat involved! The 2 hours and 15 minutes total time is almost entirely hands-off chilling time. You spend maybe 15 minutes actively mixing, and then the fridge does the hard work to set up this amazing easy candy. It really is that simple to get a batch of fantastic dessert snacks ready.
Achieving That Signature Smooth Peanut Butter Fudge Texture
We beat the butter until it’s light and fluffy *before* adding anything else. This creaming step is crucial! It guarantees a silky mouthfeel in the final product—no grit, no graininess. You get that pure, ultra-smooth peanut butter texture we all crave in great pb recipes.
Ingredients for the Best Peanut Butter Fudge
Because this is a no-bake project, ingredient quality and specific prep matter a lot. Remember, we aren’t hiding anything behind oven heat! Make sure your butter is truly softened, not melted, and definitely sift that powdered sugar—no one wants lumpy fudge. You’ll need:
- 1 cup unsalted butter, softened
- 4 cups powdered sugar, sifted
- 1 cup creamy peanut butter (use the standard stuff, not the oily natural kind for this one!)
- 1 teaspoon vanilla extract
- 1/2 teaspoon salt
Equipment Needed for Your Peanut Butter Fudge Project
Approaching this as a project means making sure you have all your tools lined up before you start mixing. When everything is ready to go, the actual assembly phase flies by. If you skip the prep, you’ll end up scrambling later, and that’s how lumps sneak into your smooth fudge!
For this specific batch of **peanut butter fudge**, you just need standard kitchen gear. I find having everything within arm’s reach makes the process almost meditative. You won’t need any fancy candy thermometers, which is the best part.
- A sturdy electric mixer (handheld or stand mixer works great for creaming).
- One large mixing bowl.
- An 8×8 inch baking pan.
- Parchment paper—this is non-negotiable for easy removal!
- A flexible spatula for smoothing the top of the mixture.
Step-by-Step Instructions to Make Peanut Butter Fudge
This is where the project management pays off—everything moves fast once you start, so have your pan ready! We are moving from assembling ingredients to creating this perfect texture in about 15 minutes. Follow these sequences closely, and you’ll nail this batch of pb recipes.
Preparing the Pan and Creaming the Base for Peanut Butter Fudge
First thing’s first: get your 8×8 pan lined with parchment paper. Make sure you leave an overhang on two sides; that’s your handle for lifting the finished fudge out later. That’s step one done! Next, grab that softened butter and use your electric mixer to whip it in a large bowl until it looks light and creamy. Don’t rush this; we’re incorporating air right from the start for that smooth final texture.
Incorporating Dry Ingredients and Achieving Smooth Peanut Butter Fudge
Keep your mixer speed low! You need to gradually add the 4 cups of sifted powdered sugar. If you dump it all in, you’ll coat your entire kitchen in white dust—ask me how I know! Once that’s just mixed in, it’s time for the bulk flavor: the peanut butter, vanilla, and salt. Now, crank that speed up to medium and beat it until the mixture becomes uniformly smooth and gorgeous. This is the moment your salty-sweet indulgence comes together.
Setting and Cutting Your Homemade Sweets
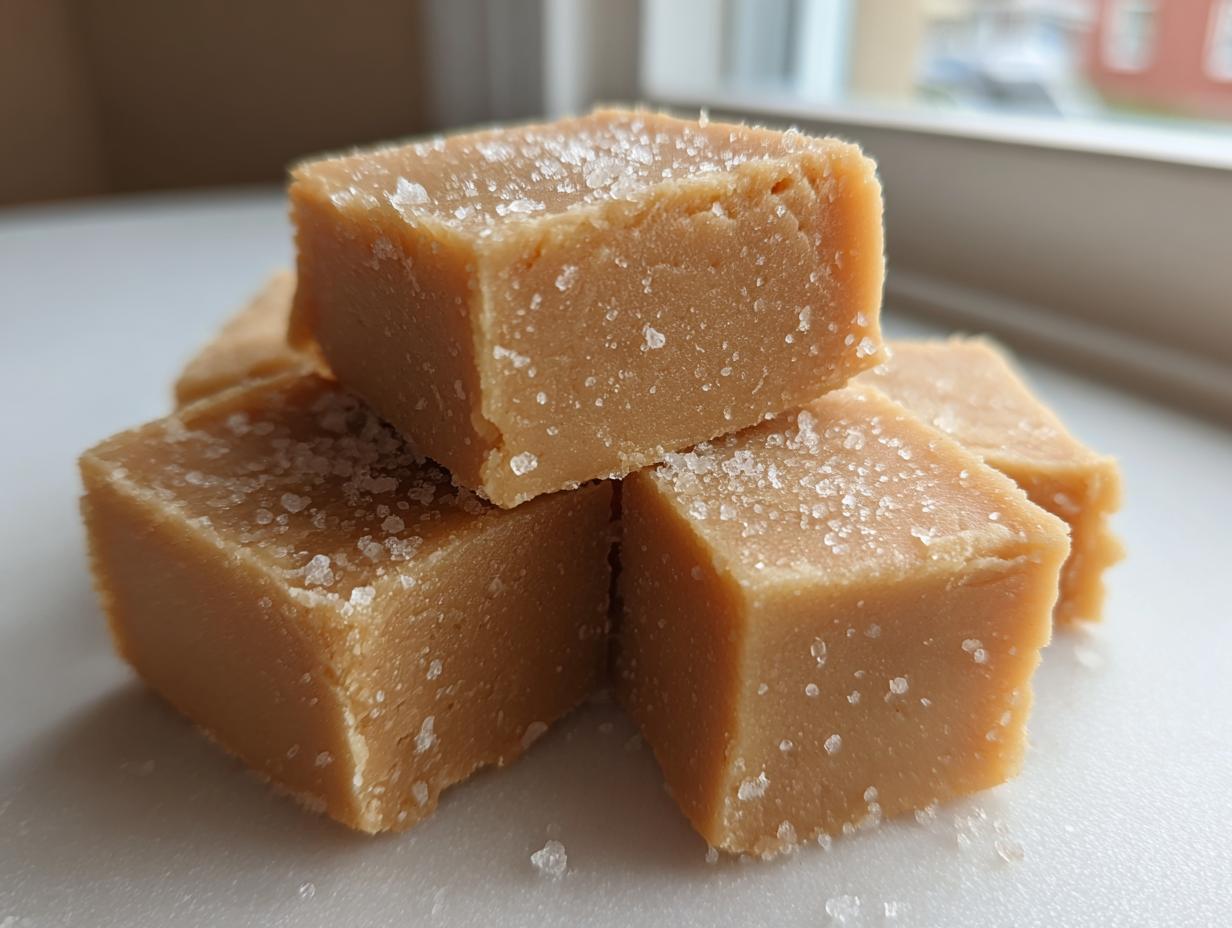
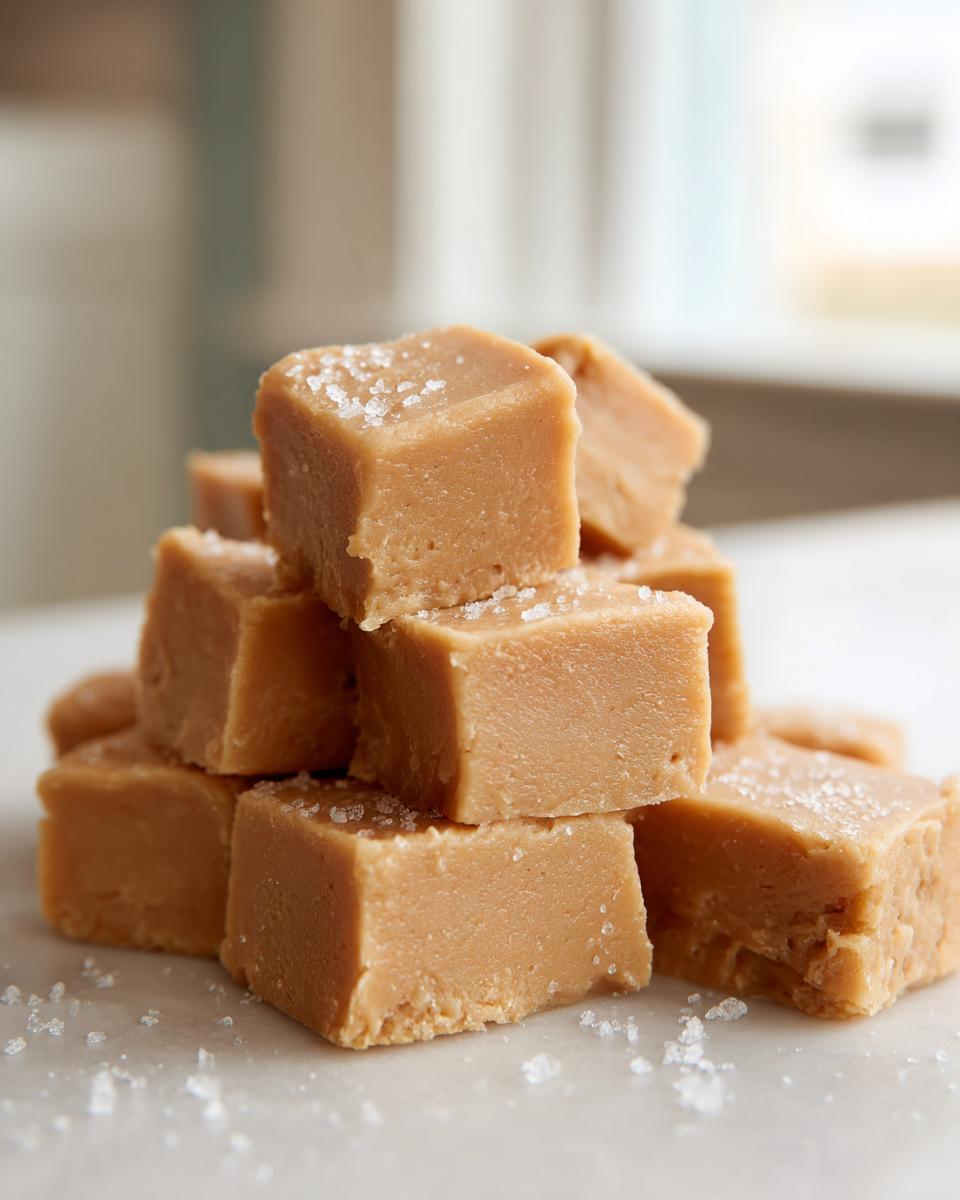
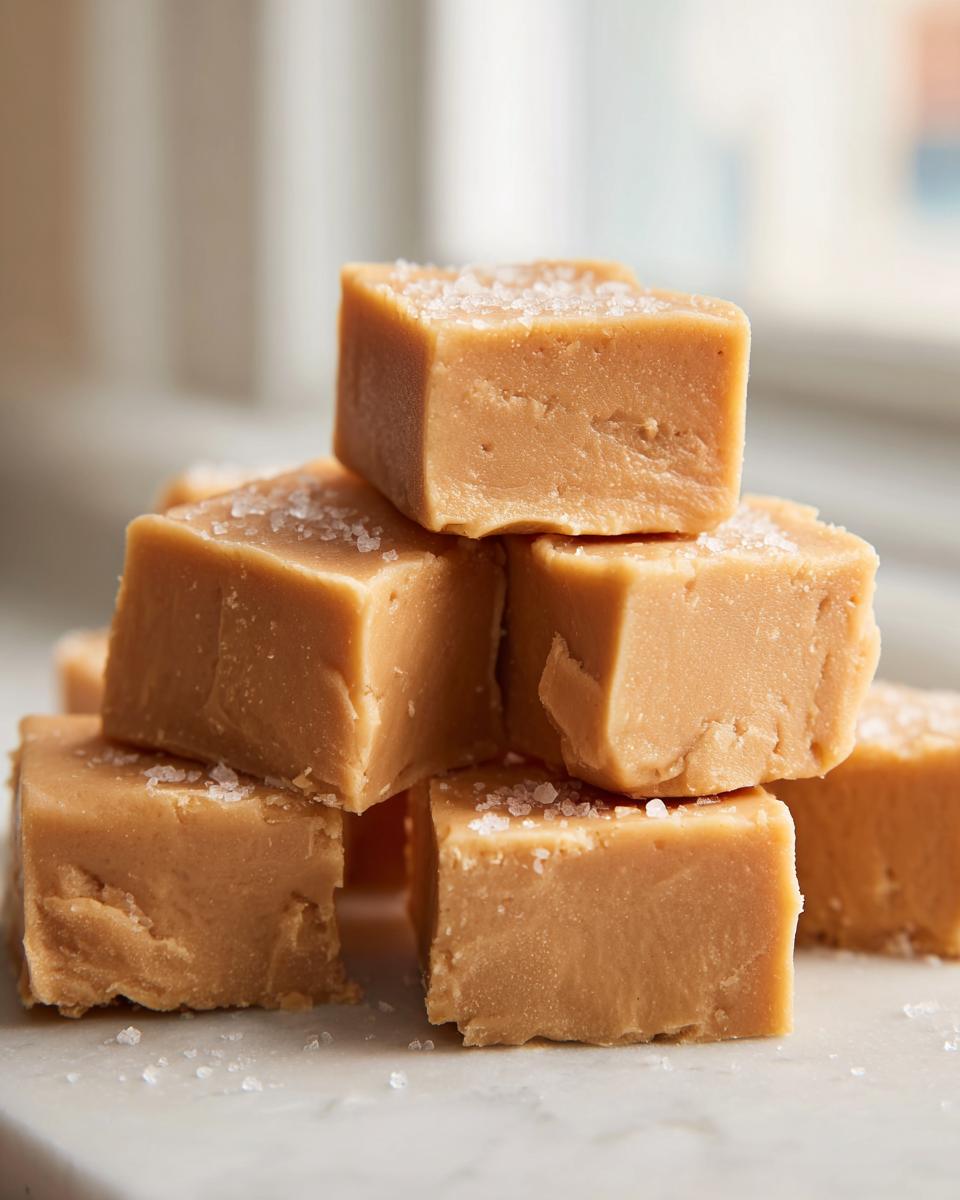
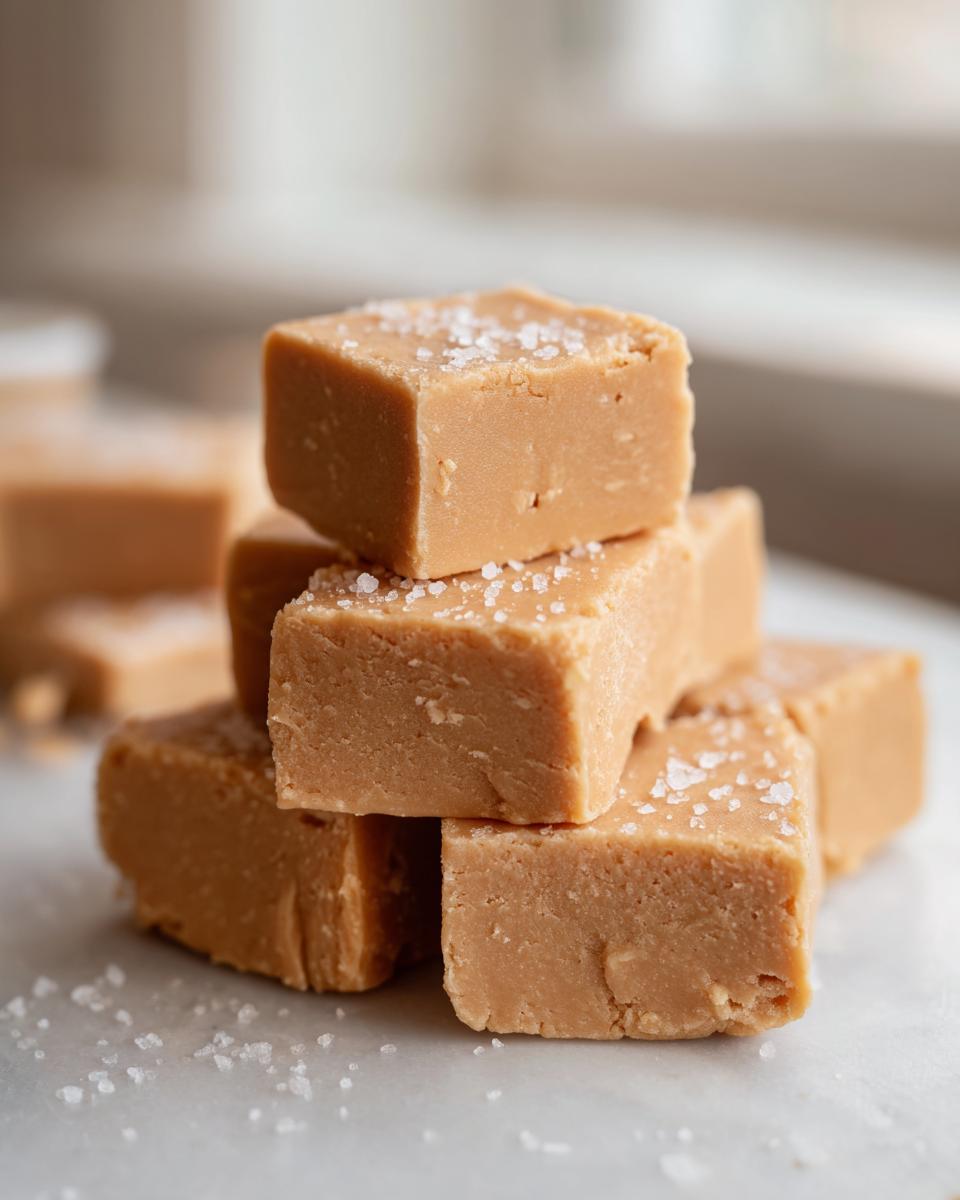
Press the entire mixture firmly and evenly into your prepared pan. Use a spatula to smooth the top—this ensures those pretty cuts later. If you want that extra pop of saltiness, sprinkle a pinch of flaky sea salt right over the top now. Then, it goes into the fridge. It needs at least 2 hours to firm up enough! Once it’s rock solid, use the parchment overhang to lift it out, and slice into those perfect squares of **homemade sweets**.
Tips for Perfect Peanut Butter Fudge Every Time
Look, making this **peanut butter fudge** perfectly is less about following steps blindly and more about inspecting your ingredients before you start. Since this is a no-bake project, the quality of what goes *in* dictates what comes *out*. My project management approach means prepping for potential failure points right at the start. You want that legendary smooth texture for these dessert snacks, so pay attention here.
Managing Peanut Butter Consistency in Your Peanut Butter Fudge
For the absolute smoothest result, stick to regular, creamy peanut butter. If you are determined to use natural peanut butter—the kind that separates in the jar—you have to stir it exceptionally well first. I mean, really mix it until the oil is fully reincorporated. If you just scoop the thick part without stirring, your fudge will end up oddly grainy or greasy in spots. We need that oil blended in properly before it hits the butter.
The Importance of Sifting for Smooth Fudge
I cannot stress this enough: sift your powdered sugar. It seems like an extra step, but if you don’t, those hard little chunks of sugar won’t dissolve into the butter and peanut butter mixture. When you go to cut that beautiful, chilled block, you’ll find tiny, hard pockets instead of that desirable melt-in-your-mouth texture. Sifting is our insurance policy for guaranteed smooth fudge.
Storage and Make-Ahead Options for Peanut Butter Fudge
One of the best parts of this **easy candy** is how well it stores. Unlike baked goods, this **peanut butter fudge** is actually *better* the next day once it has fully settled in the fridge. This makes it an incredible make-ahead dessert if you’re planning a party or just prepping snacks for the week. If you look at my schedule optimization charts, desserts that hold well are always the top priority!
You have two main options for storage, depending on how soon you plan to eat them. If you plan on demolishing the pan in a couple of days, leaving them on the counter is fine. For longer enjoyment, the fridge is your friend. You can find more great time-saving recipes in my guide to easy breakfast and brunch ideas, too!
- Room Temperature: Store the cut squares in an airtight container at room temperature for up to one week. Keep them out of direct sunlight or any super warm spots, especially if your kitchen runs hot.
- Refrigerated Storage: I prefer refrigerating mine because I like the slightly firmer bite. Store them in an airtight container for longer storage, easily lasting two to three weeks. They travel well this way, too.
Serving Suggestions for This Easy Candy
So you’ve successfully made the best **peanut butter fudge** on the block. Now what? While one square is absolutely perfect on its own for that quick salty-sweet fix, sometimes you want to elevate these **homemade sweets** just a bit. Since the flavor profile here is so intensely peanut-forward, we want pairings that either cut through the richness or lean into that salty indulgence.
I find that smaller portions are often better with fudge, as it’s so satisfying! If you’re serving these during a gathering, try setting up a little station. You can even check out my recipe for easy fudge pie if you want something rich but different!
- A Simple Coffee Pairing: A strong, black coffee or a plain Americano is the ideal counterpart. The bitterness cleanses the palate from the sweet, rich fat of the fudge.
- The Chocolate Contrast: Since this is pure peanut butter, pairing it with a small bite of high-quality dark chocolate (70% cacao or higher) really plays up that salty-sweet dynamic.
- Fruit for Freshness: For a lighter feel, serve a square alongside crisp apple slices or tart raspberries. The acidity balances the density perfectly.
- Finishing Touch: If you skipped the sea salt before chilling, consider dusting the top of the cut pieces right before serving with a few flakes of Maldon salt. It’s a visual cue that emphasizes the indulgence!
Frequently Asked Questions About Peanut Butter Fudge
When you’re simplifying a dessert down to its core components, questions about tiny details always pop up. That’s fine! That’s how we fine-tune the system and ensure every batch of these homemade sweets works flawlessly. Here are the things I get asked most about making this **easy candy**.
Can I use crunchy peanut butter in this peanut butter fudge?
You absolutely can, but you need to know what you’re signing up for! If you use crunchy, you won’t get that signature, luxurious smoothness we worked so hard to achieve by beating the butter base. You’ll get peanut butter pieces suspended in the fudge, which is fine if that’s what you prefer, but it won’t be the melt-in-your-mouth texture I engineered this recipe for.
How long does it take for the peanut butter fudge to set?
The minimum chilling time is 2 hours, and I recommend sticking to that! If your kitchen is particularly warm, or if you used slightly warmer peanut butter, it might need closer to 3 hours. Always test it by pressing gently—if it still feels gooey and sticks to your finger, it needs more time in the cold. Don’t try to rush this!
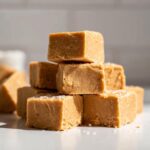
What is the best way to cut the peanut butter fudge cleanly?
The easiest way is to ensure it’s stone-cold from the fridge. Then, use a large kitchen knife that you’ve dipped in hot water and quickly wiped dry between each cut. The hot blade melts through the fat content just enough to glide right through, giving you those really sharp, clean edges you see in professional photos. No messy crumbs!

Estimated Nutritional Profile for Peanut Butter Fudge
As the strategist behind these recipes, I always include the numbers, even though they aren’t the main focus! When you’re whipping up indulgent **peanut butter fudge**, keeping track of the scale is important. Since this is loaded with butter and sugar—the backbone of any great classic candy—it is decidedly a treat, not a health food. I factored in standard grocery store brands for these calculations.
You can see right away that this is rich, dense goodness. If you are looking for something with a higher protein count, I actually have a fantastic cottage cheese ice cream recipe that might scratch that itch, but for pure, simple indulgence, this fudge is the ticket.
Keep in mind that these figures are estimates based on the ingredients listed and assume you get exactly 36 small squares out of your batch. If you cut bigger pieces, the numbers scale right up!
- Serving Size: 1 square
- Calories: 180
- Fat: 11g (Saturated Fat: 4g)
- Carbohydrates: 19g
- Sugar: 18g
- Protein: 3g
- Sodium: 75mg
Easy Peanut Butter Fudge Recipe
Make this simple, salty-sweet peanut butter fudge without baking. It sets up smooth and delivers pure peanut flavor for a quick homemade sweet treat.
- Prep Time: 15 min
- Cook Time: 0 min
- Total Time: 2 hours 15 min
- Yield: 36 small squares 1x
- Category: Dessert
- Method: No-Bake
- Cuisine: American
- Diet: Vegetarian
Ingredients
- 1 cup unsalted butter, softened
- 4 cups powdered sugar, sifted
- 1 cup creamy peanut butter
- 1 teaspoon vanilla extract
- 1/2 teaspoon salt
Instructions
- Line an 8×8 inch baking pan with parchment paper, leaving an overhang on two sides for easy removal.
- In a large bowl, beat the softened butter until creamy using an electric mixer.
- Gradually add the sifted powdered sugar, mixing on low speed until combined.
- Add the peanut butter, vanilla extract, and salt. Increase the mixer speed to medium and beat until the mixture is smooth and fully incorporated.
- Press the fudge mixture evenly into the prepared baking pan. Smooth the top with a spatula.
- Refrigerate for at least 2 hours, or until firm enough to cut.
- Lift the fudge out of the pan using the parchment overhang. Cut into small squares.
Notes
- For an extra salty-sweet flavor, sprinkle a pinch of flaky sea salt over the top before chilling.
- If your peanut butter is natural and separated, stir it well before measuring.
- Store leftover peanut butter fudge in an airtight container at room temperature for up to one week, or refrigerated for longer storage.
Nutrition
- Serving Size: 1 square
- Calories: 180
- Sugar: 18
- Sodium: 75
- Fat: 11
- Saturated Fat: 4
- Unsaturated Fat: 7
- Trans Fat: 0
- Carbohydrates: 19
- Fiber: 0
- Protein: 3
- Cholesterol: 15