
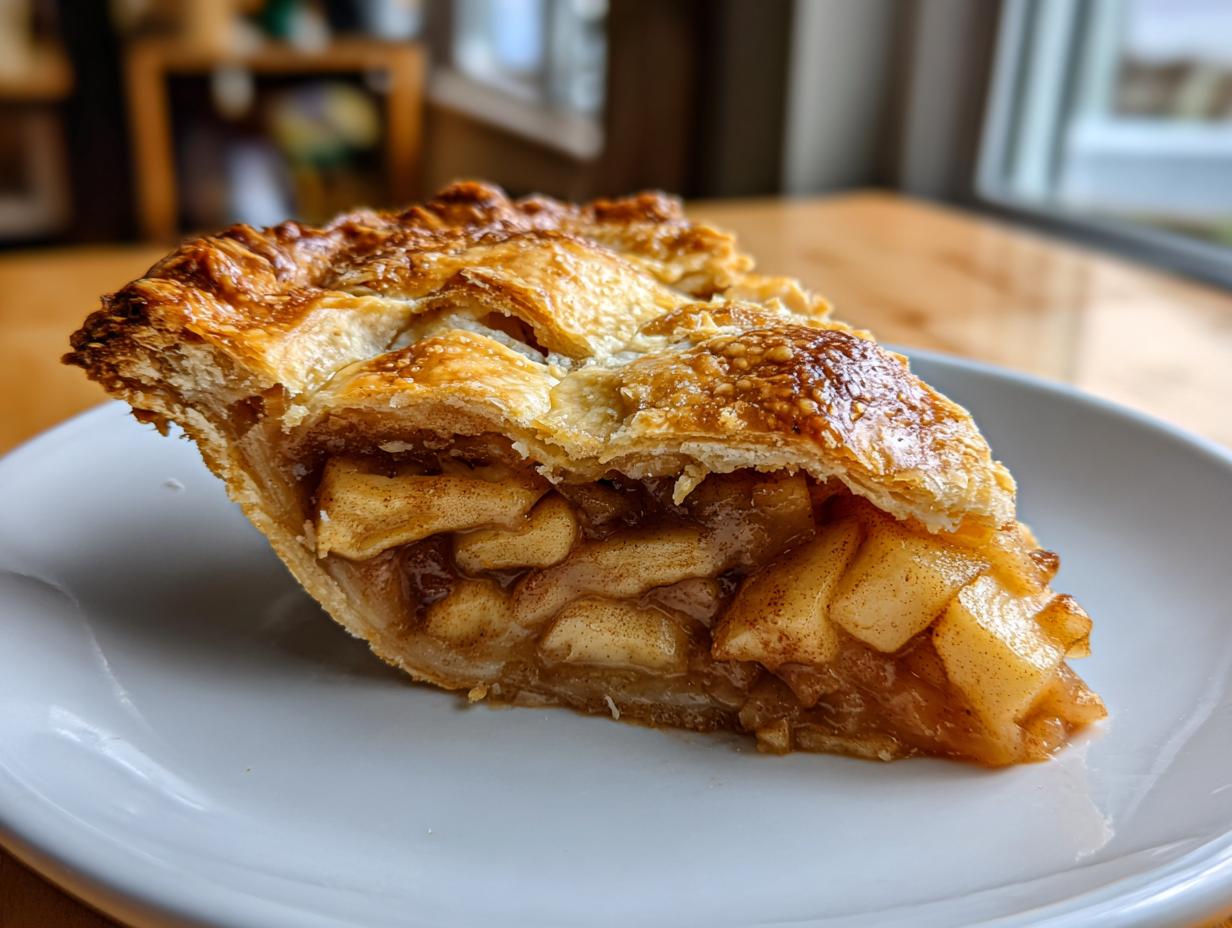
You know that feeling? That deep, satisfying warmth you only get from true comfort food? For me, nothing hits that spot quite like a perfect slice of homemade apple pie. Forget the fussy, overly complicated versions—this is it. This is the definitive, foolproof recipe for a classic homemade apple pie, boasting a ridiculously flaky, buttery crust wrapped around a spiced, tender filling. When my founder, Leo Grant, started this whole blog, it was about taking complex things and systematizing them for maximum flavor with minimum stress. This pie is the perfect example of that streamlined approach working exactly as intended. Trust me, this one is a keeper for every single holiday and family gathering!
- Why This Classic Apple Pie Recipe Works Every Time
- Ingredients Needed for Your Homemade Apple Pie
- Step-by-Step Instructions for the Traditional Apple Pie
- Tips for Success: Mastering Your Apple Pie Baking
- Variations: Beyond the Classic Apple Pie
- Serving Suggestions for Your Warm Apple Dessert
- Storage and Reheating Instructions for Leftover Apple Pie
- Frequently Asked Questions About Making Apple Pie
- Estimated Nutritional Data for This Apple Pie
- Share Your Classic Apple Pie Success
Why This Classic Apple Pie Recipe Works Every Time
Look, I’ve made enough pies to know what separates a good one from the absolute best homemade apple pie. It’s about precision where it counts, treating the crust and filling as two separate, spectacular components. When you follow these steps, you’re building confidence in your baking that comes from knowing the *why* behind the technique. This approach is why our apple cake is so reliable, and it works just as well here!
- The crust structure is non-negotiable; we aim for shatteringly flaky layers.
- The filling is perfectly balanced—never too runny, never too sweet.
- Baking times are scientifically tested to handle that high-moisture apple load.
Achieving the Perfect Flaky Pie Crust Tutorial
The absolute number one thing you need for a legendary crust is cold, cold, cold ingredients. Seriously, if your butter feels soft at all before you roll it out, put the whole thing back in the fridge! That cold butter melting in the hot oven is what creates all those beautiful steam pockets that make the crust so flaky for your flaky pie crust tutorial. We stick to the butter pie crust recipe method and always go for that amazing double crust apple pie look.
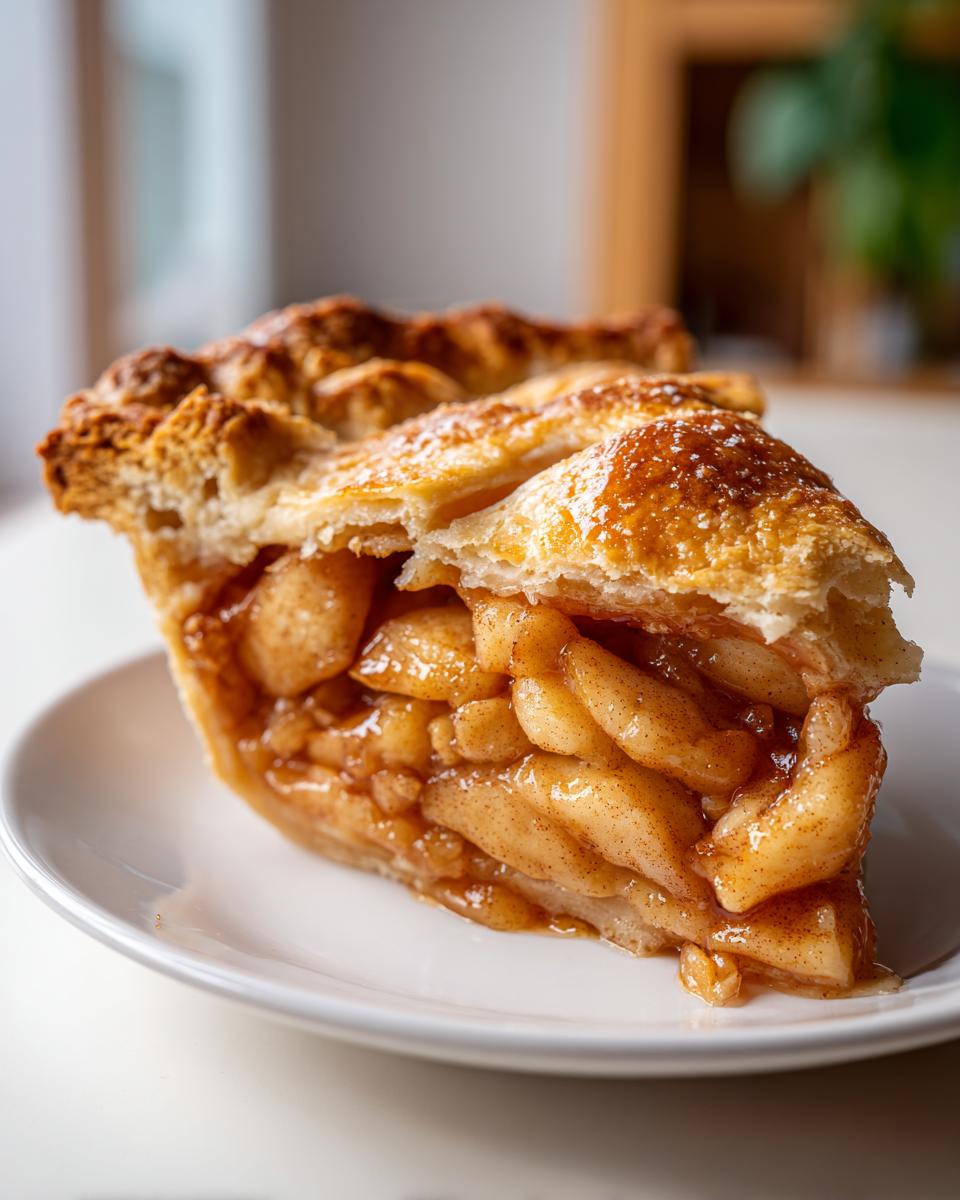
The Best Apple Pie Filling: Apple Selection and Spice Balance
For the filling, we definitely rely on Granny Smith apples! They have that necessary tartness to cut through the sweetness we add, and they hold their shape without turning into applesauce when baked. We use just enough flour—not too much—to thicken the juices released by the apples when baking. That combination of sugar, cinnamon, and a touch of nutmeg makes it smell like pure fall heaven when it’s bubbling away. If you want to see another reliably delicious use of cinnamon, check out the recipe I found over at The Food Charlatan!
Ingredients Needed for Your Homemade Apple Pie
Okay, let’s get organized! I’m a firm believer that good baking starts with having every single measurement right there on the counter before the mixer even starts. Getting organized is part of Leo’s whole efficient philosophy here at Dishicious. You won’t need anything too crazy, but precision makes the difference between an ‘okay’ pie and the one that gets begged for at every Thanksgiving pie recipes gathering. If you love these flavors, you might want to try mixing up some apple cinnamon overnight oats for breakfast!
Pastry and Apple Components for the Apple Pie
Since this is a classic, we are going all-in with a double crust apple pie. You’ll need enough pastry dough for both the bottom and the top—whether that’s your favorite homemade recipe or a really good store-bought version! For the fruit itself, you need about 6 to 8 medium apples. I swear by Granny Smith apple pie mixes because they give us that tart bite, but Honeycrisp works marvels too if you like a slightly sweeter base. Don’t forget that tablespoon of lemon juice; it keeps those beautiful slices from turning yucky brown while you mix everything else together.
Spices and Sweeteners for the Cinnamon Apple Dessert Filling
This is where the magic happens! For the sweetness, we use 3/4 cup of granulated sugar alongside 1/4 cup of packed brown sugar. That brown sugar adds that lovely molasses note we talked about. To thicken it up, we mix in 2 tablespoons of flour. Then, for that quintessential warm flavor, you need 1 teaspoon of cinnamon and 1/4 teaspoon of nutmeg. Oh, and one last little touch of richness: those little dots of 1 tablespoon of unsalted butter spread over the top of the filling before capping it off—that’s crucial for flavor!
Step-by-Step Instructions for the Traditional Apple Pie
Okay, now for the actual execution! This is where Leo’s methodical approach really helps—we follow the plan, and the payoff is amazing. Baking a perfect traditional apple pie is all about timing the heat correctly and making sure that filling knows exactly where it belongs inside that gorgeous pastry shell. If you’re looking for another great example of perfectly timed baking, check out my recipe for easy baked apples!
Preparing the Crust and Assembling the Apple Pie
First things first: get that bottom crust settled into your 9-inch pie plate. If you made your dough fresh, make absolutely sure it’s still chilled stiff! Next, you need to prep that fruit mixture. Peel, core, and slice up those apples into about 1/4-inch pieces—I like to keep them slightly chunky. Toss them gently with all your sugars, flour, spices, and lemon juice right in a big bowl until they look lovely and coated. Pile that entire apple tower right into the bottom crust. Then, sprinkle those little butter dabs right over the top of the fruit. Now for the cap! Lay down your second crust, trim everything neatly, and then—this is important for a tight seal—crimp those top and bottom edges together firmly. You need a solid seal on this double crust apple pie so none of that lovely juice escapes prematurely.
Baking Temperatures and Setting the Apple Pie Filling
We don’t just bake this pie at one temperature; we trick it into being perfect! Start it hot: 425°F (220°C) for the first 15 minutes. This blast of heat sets that flaky pie crust tutorial and starts the cooking process fast. Then, you absolutely must drop the temperature down to 375°F (190°C) and keep going for another 40 to 50 minutes. Watch the edges; if they start getting too dark, loosely drape some foil over them halfway through. The final, most important step happens *after* it comes out of the oven. You need patience! Let this glorious pie cool down on a wire rack for a full two hours. I know it smells incredible, but that resting time lets the juices thicken up, which is the secret to having the best apple pie filling that doesn’t just run all over the plate when you slice it. For more advice on getting that perfect traditional bake, you can see some great tips at Walking on Sunshine Recipes.
Tips for Success: Mastering Your Apple Pie Baking
Even with a great recipe, little things can trip you up when you’re baking with apples. Leo is always stressing about avoiding pitfalls, and that means tackling the two biggest fears: a soggy bottom and a crust that won’t release. For that crust, remember my note earlier: keep everything cold! If you’re using parchment in the bottom of the pan like I sometimes do for insurance, make sure it’s tucked down close to the dough so it doesn’t stick up and burn. If the filling looks like it’s bubbling aggressively but the crust center still looks pale, I sometimes slide a preheated pizza stone underneath the pie plate. That direct heat really helps set that bottom crust quickly and prevents sogginess. Honestly, the cooling rack is your best friend—don’t rush that part!
If you want to practice your crust skills without the pressure of a full pie, try diving into our recipe for easy yeast bread sometime soon!
Variations: Beyond the Classic Apple Pie
While this traditional double-crust version is my heart and soul, I absolutely love experimenting when the season calls for more fall baking ideas! You mentioned Dutch Apple Pie in your notes, and that’s a fantastic next step. All you have to do is ditch the top crust and instead make a quick crumble topping using flour, brown sugar, butter, and maybe even some rolled oats for extra crunch. It turns the whole thing into a beautiful, rustic dessert.
Another delicious twist I’ve tested out that everyone raves about is using maple syrup instead of some of the white sugar in the filling—it perfectly complements the cinnamon! Honestly, there are so many ways to play with these core apple dessert recipes. If you want to try a different baked apple format, you should check out my recipe for apple fritter bread sometime!
If you’re really feeling inspired, you can peek at how The Food Charlatan handles their Dutch Apple Pie for topping inspiration!
Serving Suggestions for Your Warm Apple Dessert
Okay, the hardest part is over: you’ve waited the two hours, and now you’re ready to pull out a perfect slice! Honestly, this apple pie shines brightest when served warm, not piping hot, which lets the spices really bloom. My standard go-to, which is never going to fail you, is a generous scoop of really good vanilla bean ice cream on the side. The cold creaminess contrasts perfectly with that warm apple dessert filling.
Another great option, especially if you’re serving a crowd, is fresh, lightly sweetened whipped cream—it keeps things lighter. If you’re feeling fancy for the holidays, try whipping a tiny bit of cinnamon into the cream base! For anything else savory or creamy, I usually turn to my recipe for easy creamy garlic sauce, but for pie, we keep it sweet!
Storage and Reheating Instructions for Leftover Apple Pie
Oh, if there are leftovers—which is rare in my house!—you need to know how to treat this beautiful homemade apple pie right. You definitely don’t want a mushy crust the next day. For storage, I cover the pie loosely with foil and actually leave it on the counter for maybe two days; the sugar content helps preserve it. If you have to keep it longer than that, pop it into the fridge, but bring it back to room temperature before serving.
The secret to amazing reheated pie? Skip the microwave! Pop a slice onto a baking sheet and warm it up in a 350°F oven for about 10 minutes. That little blast of heat crisps the crust right back up beautifully. It’s honestly like making it fresh all over again!
Frequently Asked Questions About Making Apple Pie
I get so many questions about this recipe, especially from folks who are just starting their journey into homemade baking! It’s the natural place to ask because we want this amazing apple pie to come out perfect for you, just like it helped Leo realize cooking could be streamlined and efficient. Below are the things I hear most often when people are getting ready to bake this classic dessert.
Can I use store-bought crust for this apple pie recipe?
Oh, absolutely! I totally get that sometimes you just need a quick homemade pie, and using a high-quality store-bought crust gets you there fast. It lets you focus all your energy on getting that amazing filling right. While I still believe nothing beats the texture of our homemade, buttery pastry—that’s the foundation of our flaky pie crust tutorial—using pre-made is perfectly fine. Many folks search specifically for the apple pie with store bought crust method, and it still tastes fantastic!
What apples are best for the apple pie filling?
If you only remember one thing about the fruit, remember this: balance! I always recommend a mix, but if you only grab one type, go for Granny Smith apples. They stay firm and slightly tart, which really cuts through the sweetness of the sugar and keeps your best apple pie filling from turning into mush. If you like a slightly sweeter pie, mix in some Honeycrisp or Gala with your Granny Smiths. That’s why we specifically mention the Granny Smith apple pie method; they are reliable bakers!
How do I prevent the bottom crust of my apple pie from being soggy?
Soggy bottoms are the bane of every baker’s existence, I swear! The simple fix here involves two parts. First, make sure you dotted those little pieces of butter right on top of the apple filling before you put the top crust on—that fat creates a slight barrier. But the real secret, especially if you’re worried about moisture, is that two-step baking temperature we discussed! Starting hot at 425°F really sets that bottom crust quickly before the juices have time to fully liquefy. If you’re still nervous, you can always quickly brush the bottom crust with one egg white (just the white!) before filling it; it creates a waterproof seal. You can even look at how we treat pastry when making our sourdough discard pie crusts for sealing tips.
Need more tips on finding reliable recipes? Check out the methods shared over at Feed Grump!
Estimated Nutritional Data for This Apple Pie
Now, I know most of us aren’t baking this classic apple pie strictly for the nutrition label, right? It’s pure comfort food, meant to be enjoyed with a big scoop of ice cream! But since we like to approach everything methodically here at Dishicious, I’ve pulled the standard estimates right from my ingredient list. This is based on an 8-slice yield, meaning one slice of this buttery, spiced delight comes out to roughly:
- Calories: 450 (per slice)
- Total Fat: 24g (14g of that is the glorious saturated fat from the butter—don\’t skimp!)
- Carbohydrates: 60g
- Protein: 4g
- Sugar: 35g
- Fiber: 3g
Please remember, this is just an estimate based on standard ingredient measurements. If you use extra thick slices of apple or decide to double the sprinkle sugar on top, your numbers will shift! If you’re looking for another delicious, easier-to-track recipe, you might want to check out my recipe for easy high-protein breakfast cookies, which I track religiously!
Share Your Classic Apple Pie Success
Well, that’s it! You’ve officially tackled what I consider the pinnacle of fall baking ideas: the homemade, flaky-crusted apple pie. I really, truly hope that the smell of that cinnamon filling is filling your kitchen right now. Now, I want to hear all about it!
Did the crust shatter perfectly? Were your apples tender? I live for the feedback, so please—don’t be shy! Jump down to the comments below and tell me how it went.
If you ended up making any fun tweaks—maybe you added a splash of bourbon to the apples or went for that Dutch topping—snap a picture and share it! Tag me on social media so I can see your stunning handiwork. If you ran into any tricky spots or maybe need a different kind of recipe advice, don’t hesitate to reach out using the contact page. Happy baking, friends!
PrintClassic Homemade Apple Pie with Flaky Buttery Crust

Bake a traditional double crust apple pie featuring a flaky, buttery crust and a warm, cinnamon-spiced filling made with tender apples. This recipe delivers pure comfort food perfect for holidays or family gatherings.
- Prep Time: 30 min
- Cook Time: 65 min
- Total Time: 1 hour 35 min
- Yield: 8 servings 1x
- Category: Dessert
- Method: Baking
- Cuisine: American
- Diet: Vegetarian
Ingredients
- Pastry for 9-inch double-crust pie (store-bought or homemade)
- 6–8 medium apples (Granny Smith or Honeycrisp recommended)
- 3/4 cup granulated sugar
- 1/4 cup packed brown sugar
- 2 tablespoons all-purpose flour
- 1 teaspoon ground cinnamon
- 1/4 teaspoon ground nutmeg
- 1 tablespoon lemon juice
- 1 tablespoon unsalted butter, cut into small pieces
- 1 egg (for egg wash)
- 1 tablespoon milk (for egg wash)
Instructions
- Prepare your pie crusts. If making homemade, prepare the dough and chill it according to your recipe. Place one crust into a 9-inch pie plate. Trim the edges.
- Peel, core, and slice the apples into 1/4-inch thick pieces.
- In a large bowl, combine the sliced apples, granulated sugar, brown sugar, flour, cinnamon, nutmeg, and lemon juice. Toss gently until the apples are evenly coated.
- Pour the apple mixture into the bottom pie crust. Dot the top of the filling with the small pieces of butter.
- Place the second pie crust over the filling. Trim the top crust edges and crimp the top and bottom crusts together to seal. Cut several slits in the top crust to allow steam to escape.
- For the egg wash, whisk the egg and milk together in a small bowl. Brush the top crust lightly with the egg wash. Sprinkle lightly with extra sugar if desired.
- Bake the pie at 425°F (220°C) for 15 minutes.
- Reduce the oven temperature to 375°F (190°C) and continue baking for 40 to 50 minutes, or until the crust is golden brown and the filling is bubbling. If the crust edges brown too quickly, cover them loosely with foil.
- Remove the pie from the oven and let it cool on a wire rack for at least 2 hours before slicing. This allows the filling to set.
Notes
- For a truly flaky pie crust, keep all your dough ingredients cold during preparation.
- Use a mix of sweet and tart apples for the best flavor balance in your apple pie filling.
- Serve this warm apple dessert with vanilla ice cream or fresh whipped cream.
Nutrition
- Serving Size: 1 slice
- Calories: 450
- Sugar: 35g
- Sodium: 250mg
- Fat: 24g
- Saturated Fat: 14g
- Unsaturated Fat: 10g
- Trans Fat: 0g
- Carbohydrates: 60g
- Fiber: 3g
- Protein: 4g
- Cholesterol: 45mg