
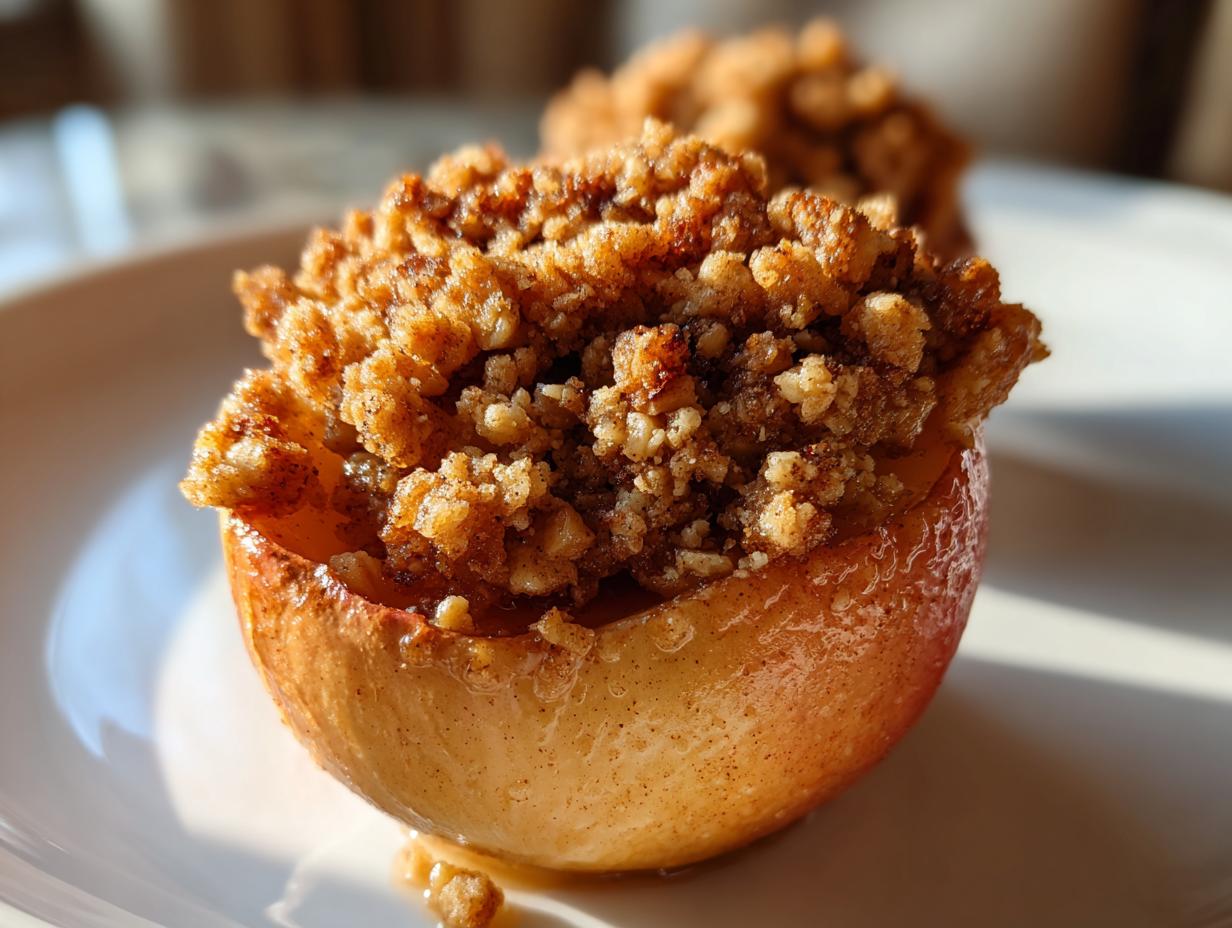
Oh my gosh, you know that feeling when the air gets crisp and you just crave something warm, sweet, and incredibly cozy? That’s exactly why I need a delicious, reliable **baked apple** recipe on file at all times. Forget those complicated layered desserts that steal your whole night! Here at Dishicious, we’re all about efficiency—getting maximum flavor reward for minimum kitchen effort. That’s why this recipe stands out: it’s the Classic Easy Baked Apples Recipe, loaded up with a simple cinnamon oat crumble. It gives you that perfect tender apple paired with a satisfying, lightly crisp topping. Trust me, this is the foolproof recipe you’ll pull out every single autumn. We believe good food should fit your busy life, and this recipe proves it spectacularly.
- Why This is the Best Baked Apple Recipe You Will Make
- Ingredients for Classic Easy Baked Apples Recipe
- How to Make Baked Apples: Step-by-Step Oven Instructions
- Variations: From Oatmeal Baked Apples to Healthy Baked Apples
- Serving Suggestions for Your Warm Apple Dessert
- Storage and Reheating Instructions for Baked Apples
- Troubleshooting Common Baked Apple Issues
- Estimated Nutritional Data for Baked Apple
- Share Your Favorite Fall Apple Dessert
Why This is the Best Baked Apple Recipe You Will Make
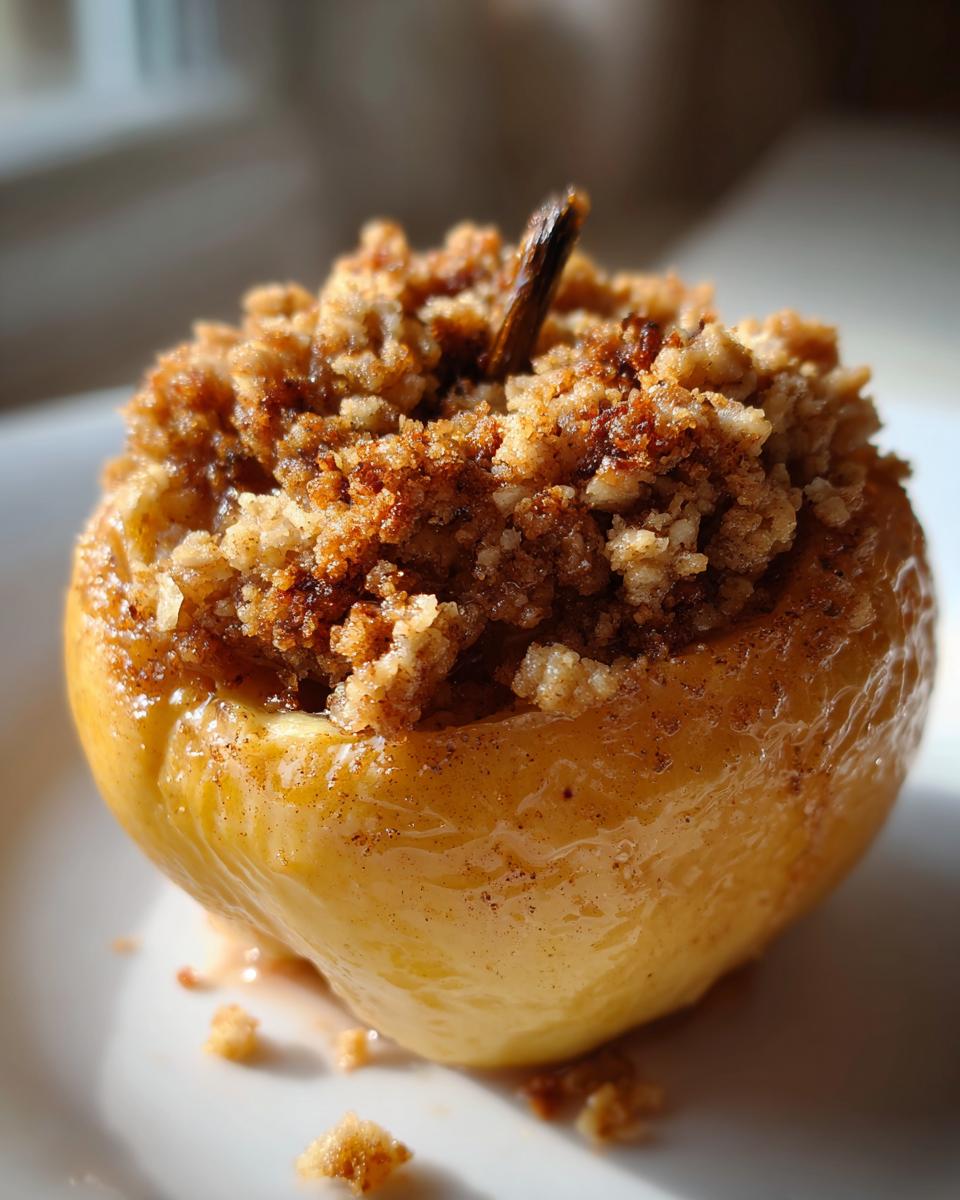
I’ve tested so many ways to make baked apples, and honestly, most just turn into mush or have a dry, sad topping. Our goal here is that perfect paradox: unbelievably tender baked apples that still hold their shape, paired with a crumble that actually stays crisp! That’s efficiency in action, right? This easy baked apples recipe nails the texture every time because the water in the pan creates steam, protecting the apple underneath while the topping toasts up perfectly. If you want less cleanup and more flavor payoff, this is your winner. For similar streamlined sweets, check out my quick apple crumble next!
Key Benefits of Our Baked Apple Dessert
- It’s outrageously simple—mostly hands-off baking time means you can relax!
- The filling hits all the right notes: warmth from cinnamon and just a little depth from the nutmeg.
- This is pure comfort food desserts material; it smells like your childhood, guaranteed.
- Because we use firm apples, you get that beautiful texture without worrying about a collapsed fruit.
Ingredients for Classic Easy Baked Apples Recipe
Okay, let’s talk about what you actually need, because simplicity starts right here! You’re only looking at a handful of items for this fantastic baked apple experience. The star, of course, is the apples—we need 4 large, firm ones. For the **cinnamon sugar apples** crumble topping, you’ll need rolled oats, a little bit of flour, brown sugar for that deep molasses flavor, and our essential spices: cinnamon and nutmeg. Don’t skip the cold butter, please! It keeps the crumble light and crumbly, which is key. Remember, we’re building layers of flavor here, it’s not just one bowl thrown together.
Notes on Apple Selection and Substitutions
This is where some people trip up when learning how to make baked apples, but I have the cheatsheet for you! You absolutely must grab firm apples. I always reach for Honeycrisp because they hold their shape beautifully, or Granny Smith if you like a little tartness to cut through the sweetness. If you find yourself wanting a really soft apple, almost like applesauce inside the skin? Go ahead and peel them before you core them. That extra layer of skin is what stops them from collapsing too fast!
How to Make Baked Apples: Step-by-Step Oven Instructions
Alright, let’s get these beautiful apples into the oven! First things first, we need the oven preheated to 375°F (that’s 190°C). While it’s heating up, lightly grease a small baking dish—just a little bit of oil or butter works great to stop any sticking. Now for the coring bit, which is crucial for a good baked apple. You want to scoop out the seeds and a little bit of the apple flesh right in the middle, but here’s my pro tip: Don’t cut through the very bottom! Leave about a half-inch wall down there so your sweet crumble filling doesn’t just leak out into the pan. Make sure that crumble mixture—which you should have already mixed up—is packed firmly into that hollowed-out space.
Once your babies are stuffed, set them gently into that prepared baking dish. Then comes the secret trick that keeps our oven baked apples from drying out: Carefully pour about a quarter cup of *hot* water into the bottom of the dish, making sure it stays *around* the apples, not sloshing into the filling. That water magically creates steam, keeping the apple flesh nice and moist while everything else bakes. Pop that whole setup into your preheated oven.
Achieving Tender Baked Apples
The baking process takes about 35 to 45 minutes, but listen, every oven is different, and every apple size varies! The true test for tender baked apples isn’t the clock; it’s the fork. You need to pierce the side of the apple near the bottom—if the fork slides in easily with just a little bit of gentle pressure, they are done! If you feel any real resistance, just let them go another five minutes. We want soft fruit, not raw fruit. Once they’re tender, pull them out, maybe drizzle that optional maple syrup over the top, and maybe check out my Dutch baby apple pancake for another fun fruity baking idea!
Variations: From Oatmeal Baked Apples to Healthy Baked Apples
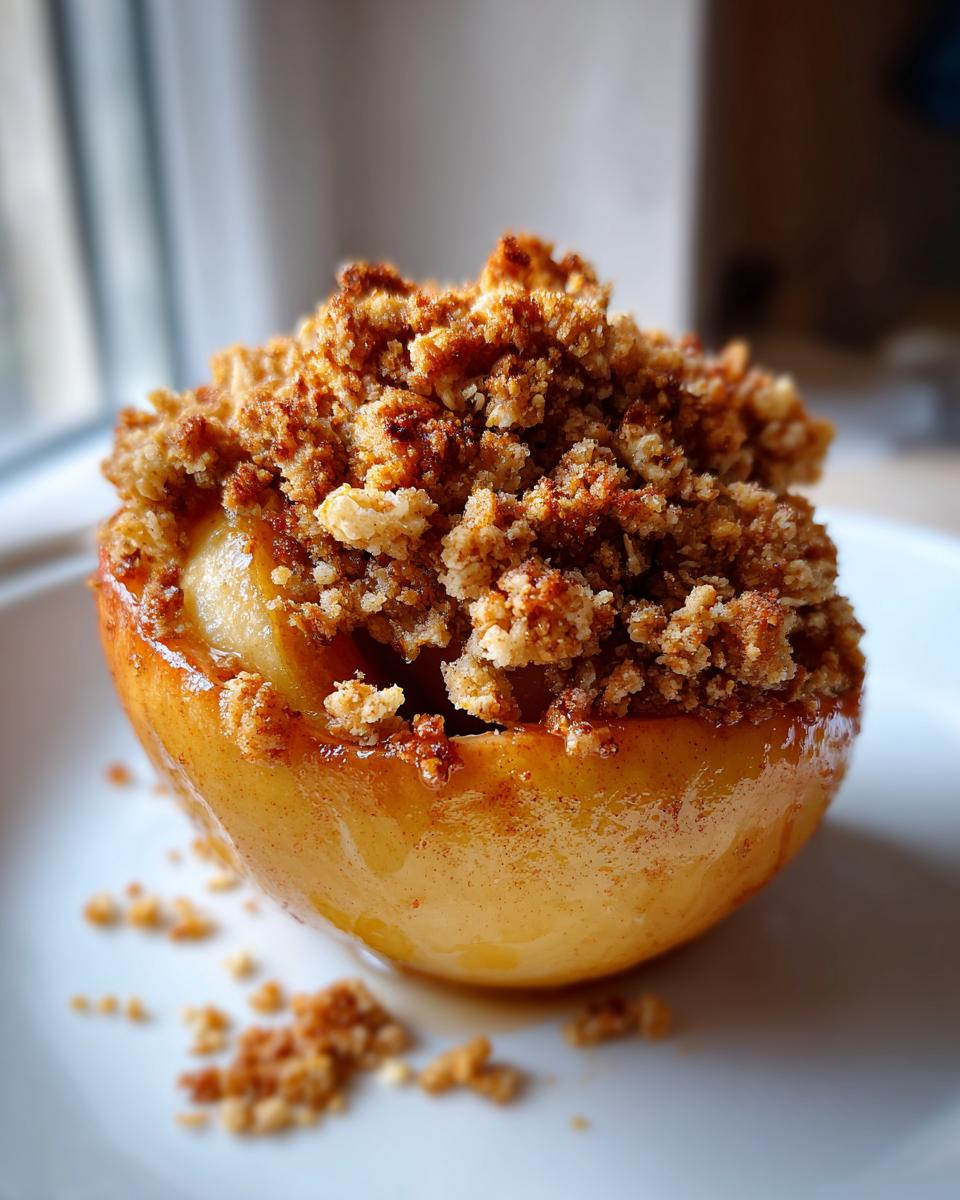
The beauty of this basic **baked apple** structure is how easily you can customize it! If you want something extra decadent, just lean into the “crisp” aspect. To make these more like apple crisp baked apples, simply double the crumble topping ingredients and pile it high—seriously pile it! That extra topping gets wonderfully crunchy against the soft fruit underneath. On the flip side, if you’re looking for healthy baked apples, this recipe is a great base. You should definitely swap that brown sugar for less of it, or try pure maple syrup instead. I also find that taking half the butter out of the topping and replacing it with a spoonful of unsweetened applesauce keeps the texture mostly okay while cutting down on fat. For inspiration on healthy fruit dishes, you can check out what my friends over at The Clean Eating Couple are making!
Ideas for Stuffed Baked Apples Fillings
While our oat crumble is my personal favorite for texture, you absolutely can switch up what you are stuffing inside those hollowed-out fruits to create different kinds of great stuffed baked apples.
- Try adding chopped walnuts or pecans mixed into the filling for extra crunch!
- For a totally different take, mix in some chopped dried apricots and cranberries for chewy sweetness.
- If you’re feeling fancy, you can drop half a teaspoon of softened cream cheese right on top of the crumble before baking. It melts beautifully!
Don’t forget to try my bright apple feta salad once you’re done with all the heavy desserts!
Serving Suggestions for Your Warm Apple Dessert
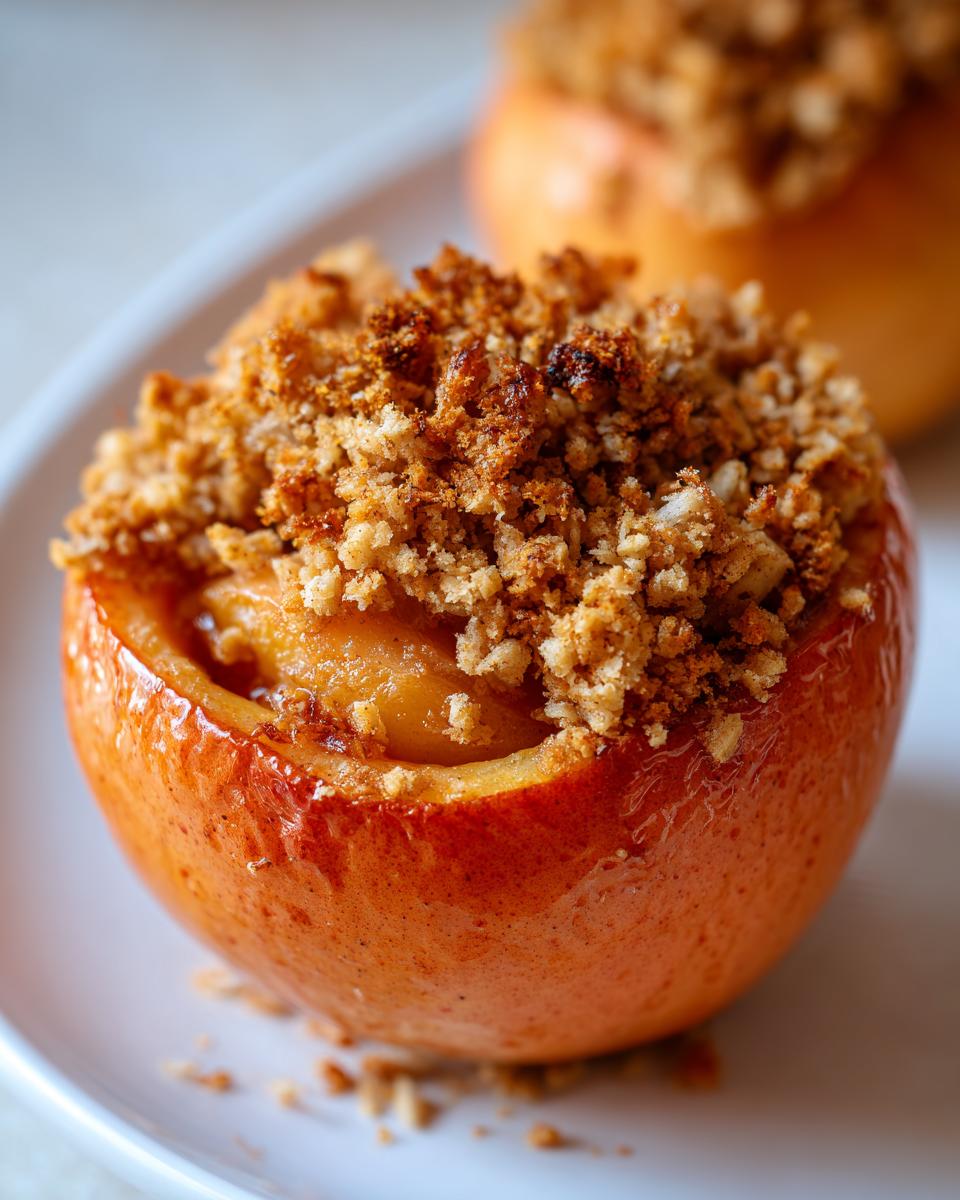
Okay, the oven timer went off and your kitchen smells incredible! Now for the fun part: making this simple triumph look like a showstopper. A baked apple fresh out of the oven is just begging for a topping, right? My go-to is always a big, melty scoop of vanilla ice cream—the cold hitting that piping hot fruit is just perfection. If you want something a little lighter, a dollop of thick Greek yogurt works wonders! And if you’re feeling indulgent, drizzle on some rich caramel sauce. That combination makes for the ultimate warm apple dessert experience. If you need another cozy ending to a meal, you have to try my old-fashioned bread pudding soon!
Storage and Reheating Instructions for Baked Apples
So, what happens if you actually have leftovers of this amazing dessert? Good news! This simple apple dessert holds up really well, which means you don’t have to stress about making the perfect batch size every time. Once they’ve cooled down a bit—don’t try storing them piping hot, that invites condensation—just transfer them into an airtight container.
You can keep these delicious leftovers in the fridge for about three to four days. They are still perfectly fine to eat, though the crumble topping won’t have that fresh-out-of-the-oven crispness anymore. That’s okay! We have simple fixes for reheating.
If you want to bring back some of that warmth and tenderness, the oven is definitely the best way to go. Wrap the individual apples loosely in foil and pop them back in a 300°F oven for about ten minutes. This gently heats them through without letting the skin toughen up. If you are totally pressed for time, the microwave works in a pinch, but use short, 20-second bursts. Watch carefully, because the microwave tends to make the apple flesh steam itself a bit more, leading to a softer result.
Troubleshooting Common Baked Apple Issues
Even with the best recipe, sometimes things don’t go exactly to plan, right? That’s perfectly normal! Here are the three most common little hiccups I run into when making my favorite baked apple dessert, and how I fix them without losing my cool. Remember what I always say: cooking is just optimizing a process, even when that process goes a tiny bit sideways!
First up: My apples are still hard! This usually happens because your apples were too big or too firm to start, or maybe you forgot that crucial step of adding hot water to the bottom of the dish. Solution time: Don’t panic and crank the heat way up—that will just burn the topping! Instead, grab a piece of aluminum foil, cover the baking dish lightly, and pop it back into the 375°F oven for another 10 to 15 minutes. Covering it traps that steam we banked on, cooking the fruit gently until it yields. Check it again with the fork test!
Next, maybe you’re dealing with a situation where the filling dried out completely and looks toastier than you wanted. This often happens if you used apples that release very little natural moisture, or maybe you used apple slices instead of whole apples. For next time, remember to add that extra splash of water or even a little drizzle of apple cider around the apples before baking. If it’s happening *now*, don’t worry! Once you take the apples out, just drizzle a little bit of extra butter or maple syrup over the topping right away while they are still hot. That moisture will seep down and soften things up beautifully. It’s easy to fix a dry topping!
Finally, the worst one: My apple collapsed! Maybe you cut the walls too thin at the bottom, or you used a softer apple like McIntosh that shouldn’t even be baked whole. When this happens, the filling sinks into a watery puddle, and the apple skin looks deflated. For this batch, just proceed as normal and serve it in a bowl with a large spoon, treating those broken bits a bit like an immediate scoopable treat rather than a whole baked apple. For the future, remember to leave that thicker wall at the bottom! I learned that the hard way years ago.
Estimated Nutritional Data for Baked Apple
Okay, I know sometimes we look at a gorgeous baked apple dessert and instantly worry about the damage, right? We’re all about transparency here at Dishicious, so while this recipe leans into comfort, I want you to see the numbers. I pulled together the estimated nutritional breakdown for one serving based on the recipe—just one beautifully stuffed apple!
Keep in mind, these figures are just a guide. If you loaded yours up twice as much with butter or swapped out the brown sugar for something else, the final count is going to look different. That’s just part of home cooking, isn’t it? But this gives you a solid baseline for what you’re enjoying!
- Serving Size: 1 apple
- Calories: 280
- Sugar: 35g
- Sodium: 5mg
- Fat: 12g
- Saturated Fat: 7g
- Unsaturated Fat: 5g
- Trans Fat: 0g
- Carbohydrates: 45g
- Fiber: 6g
- Protein: 2g
- Cholesterol: 25mg
There you have it! A snapshot of the numbers for this delightful simple apple dessert. Use this information to fit these cozy treats into your regular rotation without any guesswork!
Share Your Favorite Fall Apple Dessert
Well, that’s it! You’ve made the **baked apple**, and I’m positive your kitchen smells like pure autumn magic right now. But the journey doesn’t end here; I really want to hear about your creation! Our whole philosophy here is about building smart, reliable recipes, and the best way for me to know if I’ve hit the mark is hearing from you.
Please, please hop down to the comments below and give this recipe a rating! A solid 5 stars tells me this system worked perfectly for you. But more than that, I’m dying to know the tweaks you made! Did you stick with Honeycrisp, or did you discover a new favorite apple variety that handled the baking process well? And how did you serve it up? Were you a traditionalist with ice cream, or did you go wild with the caramel?
Every comment helps other folks who are trying to nail down their own perfect, simple apple dessert. I’m always looking for the next efficiency hack, so tell me everything! And hey, if you’re looking for your next cozy baking project once these apples are gone, you absolutely must check out my recipe for pumpkin cobbler. Happy tasting, friends!
PrintClassic Easy Baked Apples with Cinnamon Oat Crumble

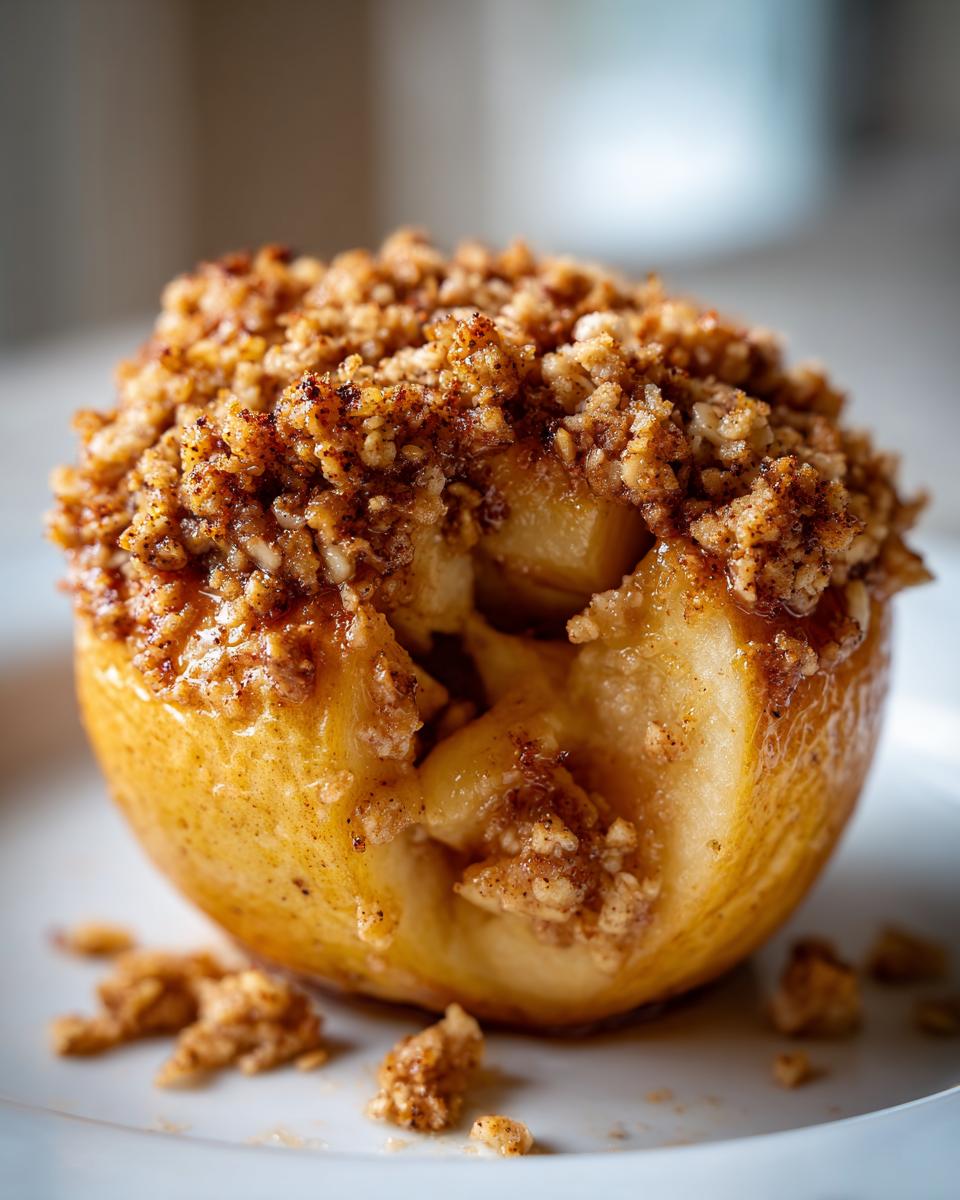
Make tender, warm baked apples stuffed with a simple cinnamon oat crumble. This easy recipe delivers a comforting fall dessert with minimal effort.
- Prep Time: 15 min
- Cook Time: 40 min
- Total Time: 55 min
- Yield: 4 servings 1x
- Category: Dessert
- Method: Baking
- Cuisine: American
- Diet: Vegetarian
Ingredients
- 4 large firm apples (like Honeycrisp or Granny Smith)
- 1/4 cup rolled oats
- 1/4 cup packed brown sugar
- 1 tablespoon all-purpose flour
- 1 teaspoon ground cinnamon
- 1/4 teaspoon ground nutmeg
- 2 tablespoons cold unsalted butter, cut into small pieces
- 1/4 cup hot water
- 1 tablespoon maple syrup (optional, for serving)
Instructions
- Preheat your oven to 375°F (190°C). Lightly grease a small baking dish.
- Wash the apples. Use a small knife or melon baller to core the apples, removing the seeds and a small amount of flesh from the center, leaving about a half-inch thick wall at the bottom to hold the filling. Do not cut all the way through the bottom.
- In a small bowl, combine the rolled oats, brown sugar, flour, cinnamon, and nutmeg.
- Cut the cold butter into the dry ingredients using your fingers or a pastry blender until the mixture resembles coarse crumbs.
- Stuff the center cavity of each apple evenly with the oat crumble mixture. Place the stuffed apples in the prepared baking dish.
- Carefully pour the 1/4 cup of hot water into the bottom of the baking dish around the apples. This creates steam to keep the apples moist.
- Bake for 35 to 45 minutes, or until the apples are tender when pierced with a fork. Baking time depends on the size and variety of the apple.
- Remove from the oven. Drizzle with maple syrup if desired before serving.
Notes
- Serve warm with a scoop of vanilla ice cream or Greek yogurt for a complete dessert experience.
- If you prefer a softer apple, you can peel the apples before coring.
- For a richer flavor, substitute 1 tablespoon of the butter in the crumble with 1 tablespoon of melted butter mixed into the dry ingredients instead of cutting it in cold.
Nutrition
- Serving Size: 1 apple
- Calories: 280
- Sugar: 35
- Sodium: 5
- Fat: 12
- Saturated Fat: 7
- Unsaturated Fat: 5
- Trans Fat: 0
- Carbohydrates: 45
- Fiber: 6
- Protein: 2
- Cholesterol: 25