
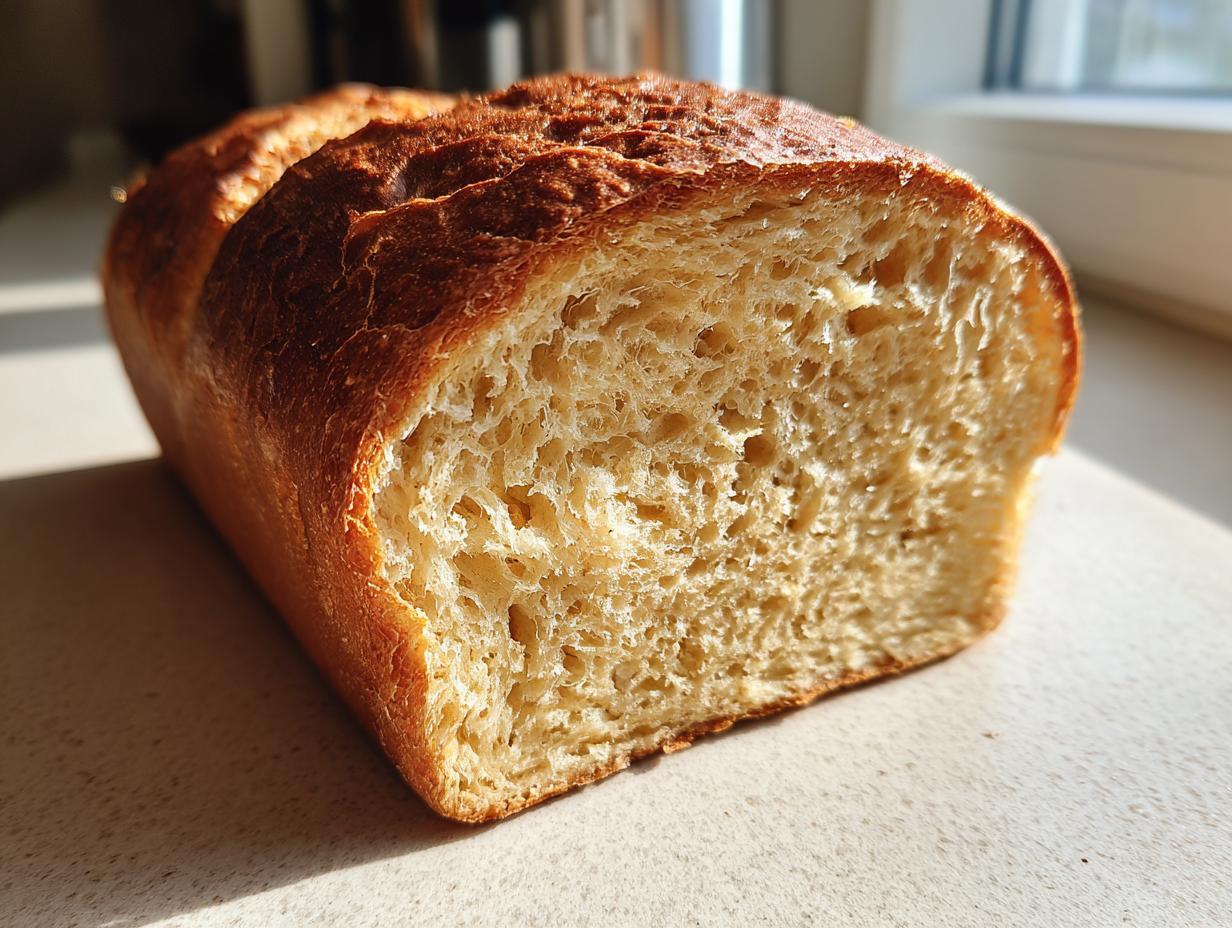
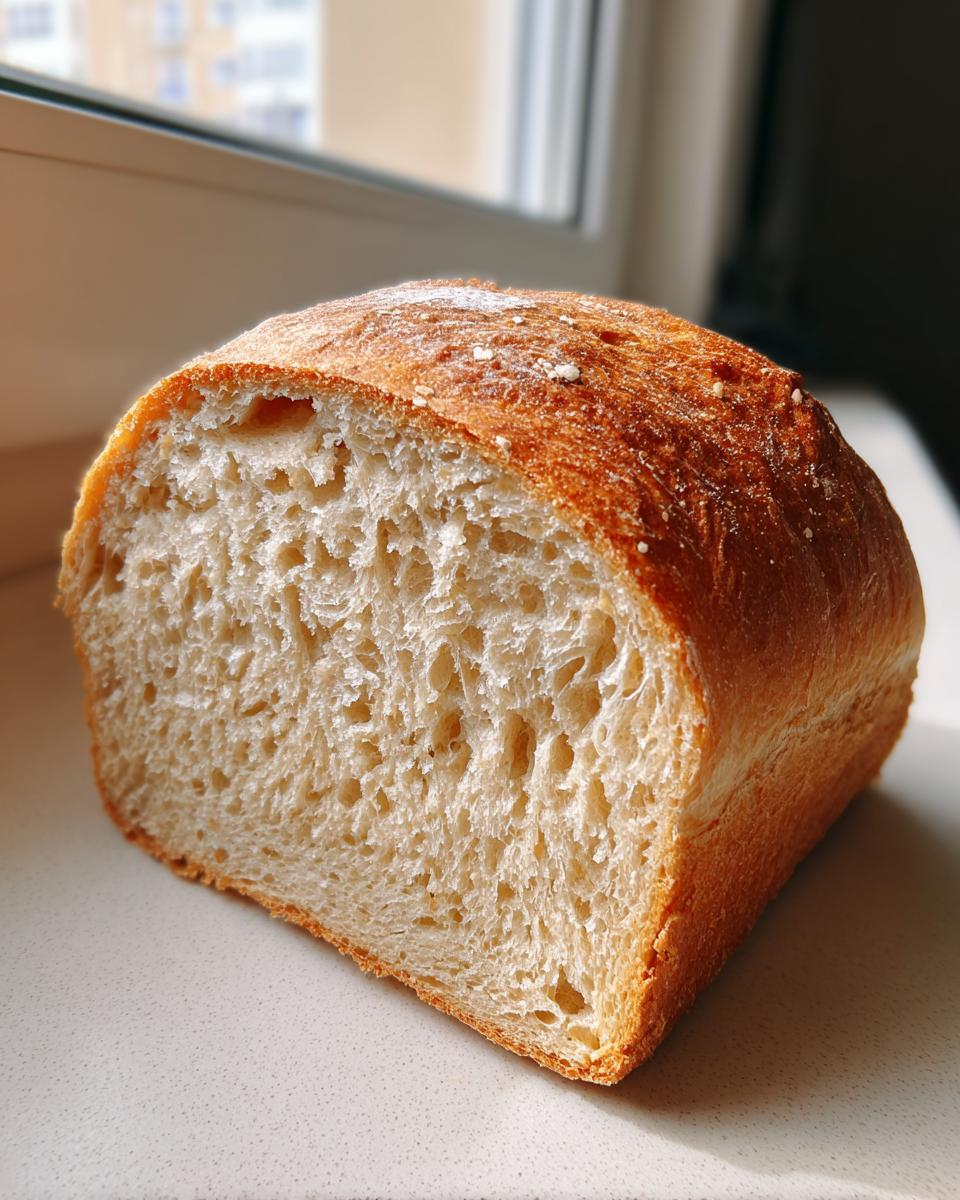
Oh my goodness, there is absolutely nothing in the world that beats the smell of fresh whole wheat bread baking, right? It just floods the whole house with this happy, cozy feeling. If you’ve been scared off by recipes that promise ‘rustic’ loaves but deliver bricks, forget all that! I’m going to show you my absolute favorite, foolproof way to make a soft and fluffy loaf that is perfect for stacking up big, beautiful sandwiches.
This is the recipe I rely on when I need reliable results—it’s not about complicated, fussy steps. This entire process runs smoothly because we treat it like a project, just like Leo Grant taught us here at Dishicious. We focus only on the essential steps that guarantee you get that perfect, wholesome texture every single time. You’re going to love how easy this homemade whole wheat bread recipe is!
When the dough has doubled for the first time, you can take a peek at how active your yeast is by checking out these essential tips for baking starter bread. It’s all about setting up that base correctly!
- Why This Is the Best Whole Wheat Bread Recipe for Beginners
- Gathering Ingredients for Your Whole Wheat Bread
- Step-by-Step Instructions for Homemade Whole Wheat Bread Recipe
- Tips for Success with 100 Percent Whole Wheat Bread Baking
- Storage & Reheating Instructions for Fresh Baked Bread Aroma
- Frequently Asked Questions About This Easy Whole Wheat Bread
- Estimated Nutritional Data for Whole Wheat Bread
- Share Your Homemade Whole Wheat Bread Creations
Why This Is the Best Whole Wheat Bread Recipe for Beginners
If you’ve tried before and ended up with a loaf that felt more like a doorstop than a soft sandwich slice, trust me, I get it. This recipe is our go-to for easy whole wheat bread success because it follows the Dishicious philosophy: reliability first. We strip away all the confusing stops and turns that make bakers give up. This recipe consistently delivers results you can rely on, batch after batch. It’s the foundation for truly healthy homemade bread that doesn’t require endless kneading or specialty equipment.
We are serious about making this the best whole wheat bread recipe you use all year. Check out some of my favorite tips for no-fail whole wheat baking if you want extra reassurance!
Achieving That Fluffy Whole Wheat Bread Texture
The secret weapon for that wonderful, soft whole wheat bread texture is a little bit of fat and, optionally, a little help from all-purpose flour. We use melted butter in the dough—it coats the milled wheat particles just right, keeping them from binding too tightly during kneading. If you use the optional cup of white flour along with the whole wheat, you get this incredible, light crumb. It’s sturdy enough for your biggest fillings but soft enough to squish!
Simple Ingredients for Wholesome Bread for Sandwiches
You don’t need to raid a specialty store for this one. We keep the ingredient list short and sweet, focusing only on the essentials for a fantastic result. We skip the weird additions and just use good, honest staples. The honey is non-negotiable for me, though—it adds just the right touch of natural sweetness, taking this grain flavor up a notch and making it the ultimate wholesome bread for sandwiches.
Gathering Ingredients for Your Whole Wheat Bread
Okay, let’s get everything lined up before we even think about turning on the mixer. Having everything measured out and ready is half the battle in efficient bread making. For this delicious loaf, you need simple things you probably already have on hand, which I love! We’re mixing warm water, active dry yeast, honey, melted butter, salt, and, of course, lots and lots of whole wheat flour.
If you decide to use that little bit of all-purpose flour for an extra soft crumb, make sure it’s right there next to your main whole wheat stash. Remember, this list is the blueprint. We’re aiming for that perfect, balanced dough so we don’t have to waste time rescuing a sticky mess later!
Step-by-Step Instructions for Homemade Whole Wheat Bread Recipe
Alright, this is where the magic happens! Don’t let the list of steps scare you—we’re just walking through the process logically here. The goal is to keep things efficient so you can get that fresh baked bread aroma filling your kitchen as quickly as possible. We’re moving from ingredients to a beautiful, baked loaf of whole wheat bread in just a few hours, mostly hands-off time waiting for the dough to do its work.
Activating Yeast and Mixing the Whole Wheat Bread Dough
First things first: we need to wake up that yeast! Get your large bowl ready. You need truly warm water—we’re looking exactly for that 105°F to 115°F sweet spot (think nice warm bath water, not hot tea water). Sprinkle the yeast right on top and wait about five minutes. If it gets foamy, fantastic! That means your yeast is alive and ready to go. If nothing happens, you sadly must dump it and start over with warmer water.
Once foamy, stir in your honey like you mean it, along with the melted butter and salt. Now, start adding the whole wheat flour, maybe a cup at a time, mixing as you go. Once it gets too stiff for a spoon, switch to your hands until you have a shaggy mess. If you are using that optional all-purpose flour, now is the time to toss it in and mix until it’s just combined.
Kneading and First Rise for Soft Whole Wheat Bread
Time to get our hands dirty—it feels good, I promise! Turn that shaggy dough out onto a lightly floured counter. Now we knead, and this is crucial for that soft whole wheat bread structure. You need to work it for a solid 8 to 10 minutes. You’re looking for the dough to transform from sticky and rough into something smooth and elastic. An expert tip here: If you pinch a small piece of dough, it should stretch thin enough to almost see through without tearing immediately. That’s gluten working!
Toss your perfectly kneaded dough into a lightly oiled bowl, give it a flip so the oil coats the top, and cover it tightly. Find a warm spot—our kitchen window sill is perfect—and leave it alone for 1 to 1.5 hours. You shouldn’t need to check on it constantly, but the visual cue is everything: it needs to be doubled in size. Really doubled, not just puffing up a little bit!
For more ideas on making basic yeast work for you, check out the general tips we cover for baking starter bread recipes.
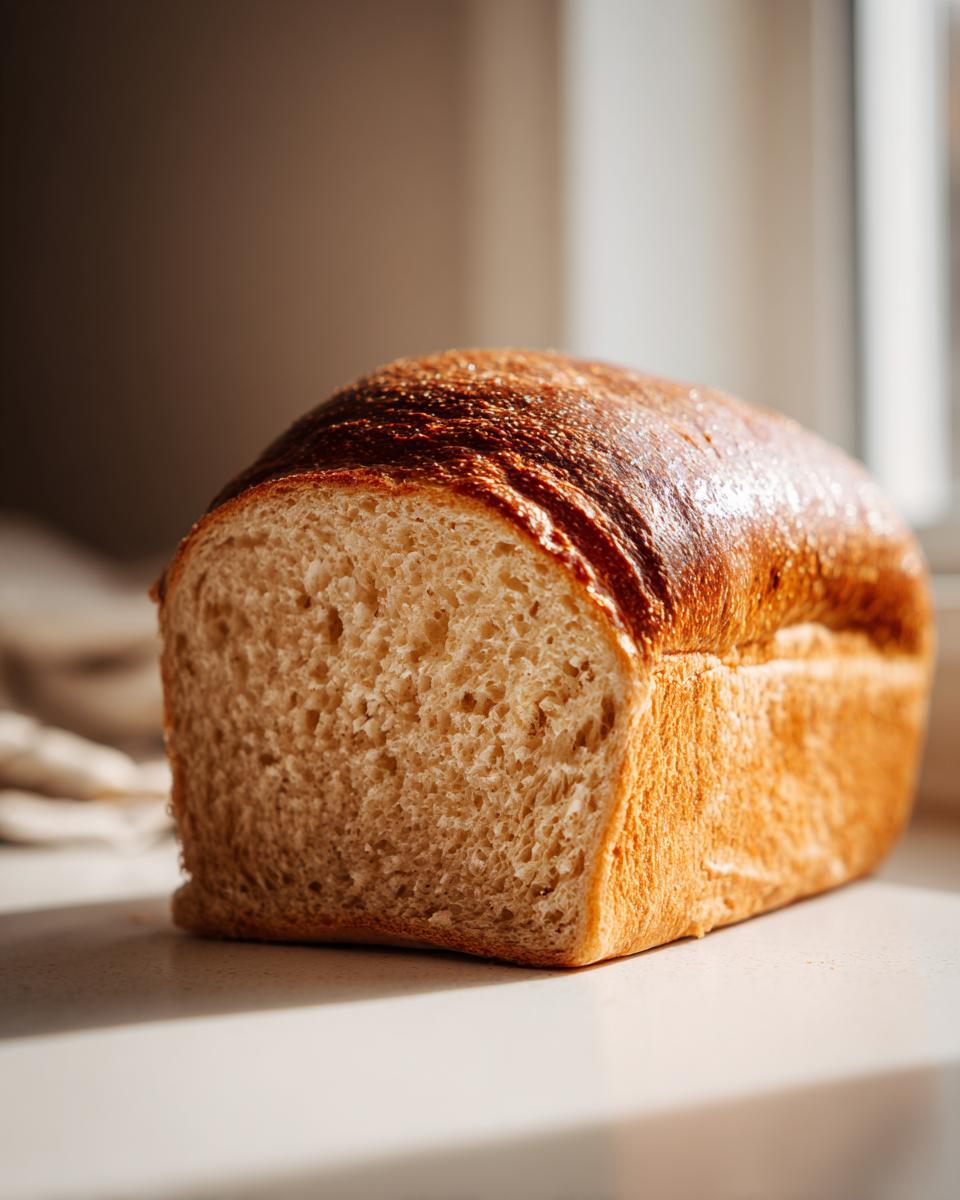
Shaping and Baking Your Rustic Whole Wheat Loaf
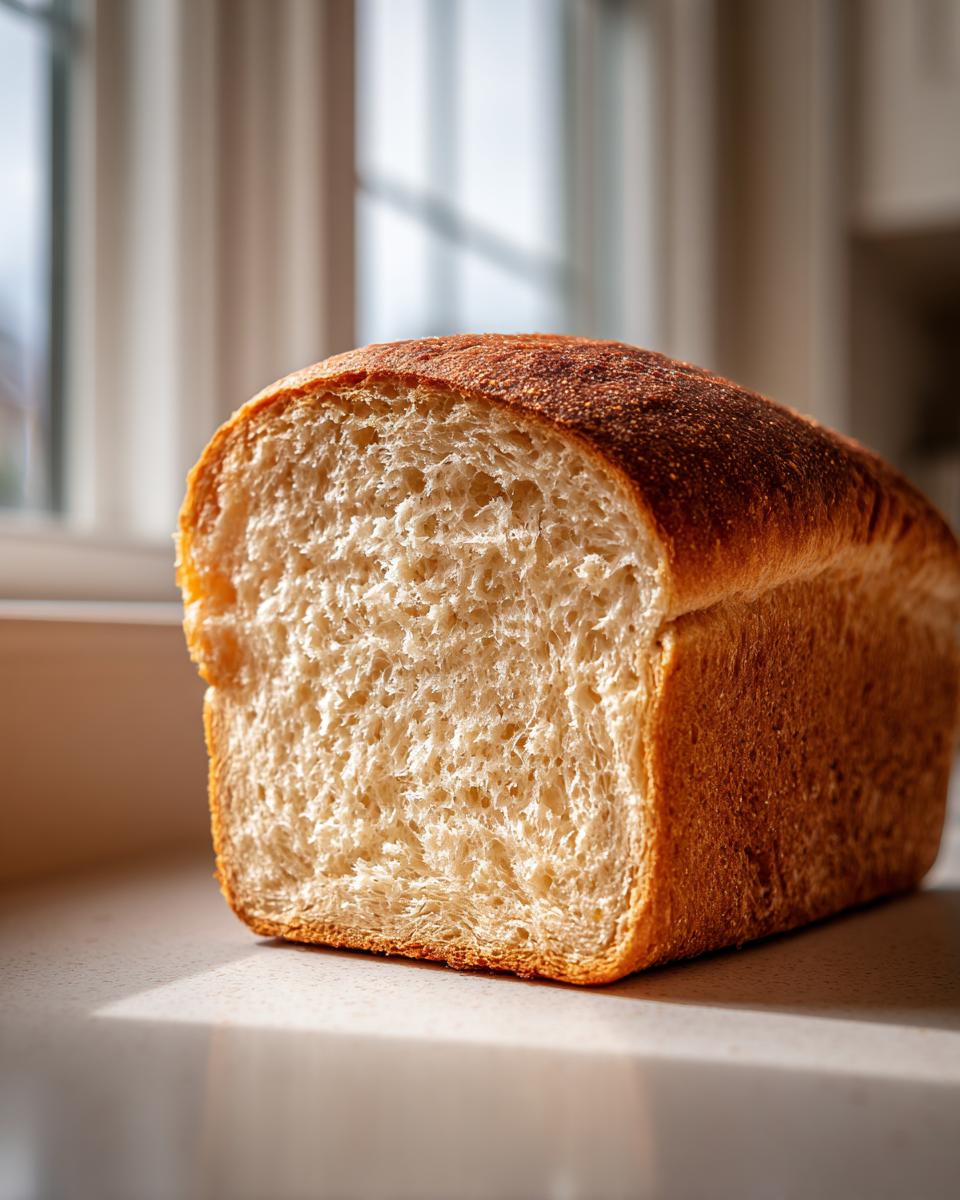
Once it’s gloriously doubled, gently punch all that lovely air out. You shape it into a log and tuck it right into a greased 9×5 loaf pan. If you are skipping the pan and want that rustic whole wheat loaf look, just form it into a round or oval and place it straight onto a baking sheet. Whichever you choose, cover it loosely and let it have a second rise for about 30 to 45 minutes. You want it to proudly crown about an inch over the rim of the pan—that’s what guarantees a beautiful slice afterward!
While it’s finishing that second rise, preheat your oven to 375°F (190°C). Bake for about 30 to 35 minutes. How do I know it’s done? The crust should be golden brown, but I always check the internal temp, aiming for exactly 190°F (88°C). That’s the secret to perfectly cooked whole grain baking ideas that aren’t gummy inside. Pull it out right away and let it cool completely on a rack before you even think about slicing it—I know, the restraint is tough!
Tips for Success with 100 Percent Whole Wheat Bread Baking
Baking with 100 percent whole wheat flour can sometimes feel intimidating because people expect it to be dense. It absolutely doesn’t have to be! The key here is respecting the flour and trusting the cooling process. If you follow these simple tips, you’ll nail that perfect texture every time you make this whole wheat bread.
The biggest thing people ask is about cooling. You have to let it cool completely on a wire rack. I know, I know! The fresh baked bread aroma is overwhelming, and you just want to tear into it, but slicing it hot traps steam and makes the interior gummy. Wait at least an hour, please! This lets the internal structure set completely, ensuring you get that wonderful slice.
If you are looking for other great whole grain ideas, I’ve got a fantastic quick loaf you might also love here.
Ingredient Notes and Substitutions for Whole Wheat Bread
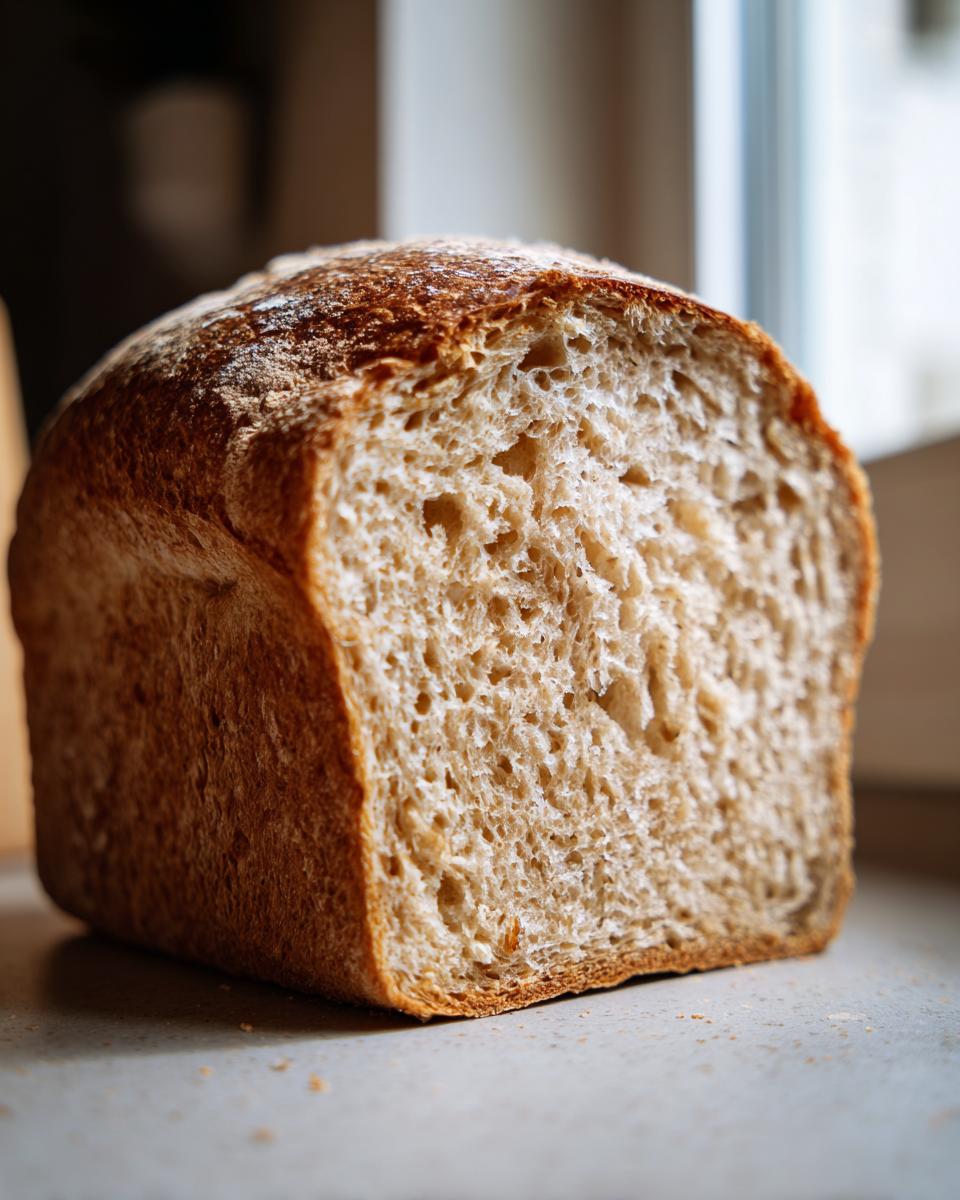
Remember how I told you about that optional half-cup of all-purpose flour? If you skip it entirely and go for 100% whole wheat, you are going to get a slightly richer, nuttier flavor—which is fantastic if you love that hearty taste. Just know that the loaf will naturally be a bit denser than the one that uses that little bit of plain white flour. It is a flavor for texture trade-off, but both are delicious!
Also, don’t stress if you run out of honey. For a slightly different but equally delicious flavor profile in your honey whole wheat bread recipe, try swapping the honey out cup-for-cup with maple syrup. It brings a deep, woodsy note that pairs beautifully with the wheat. It’s always about making the recipe work for what you have!
Storage & Reheating Instructions for Fresh Baked Bread Aroma
The problem with the incredible fresh baked bread aroma is that it doesn’t last long once the loaf is cool, but we sure can make the texture last! For this whole wheat sandwich bread, you want to keep it very simple. Once it’s totally cool—and I mean *totally* cool—wrap it tightly in plastic wrap first, and then slip that into a zip-top plastic bag or an airtight container. This traps in the moisture we worked so hard to create.
If you want to revive that wonderful soft texture after a couple of days, just pop a slice into the microwave for about 10 to 15 seconds. Watch it steam back to fluffy life! You can also toast thicker slices if you’re looking for that crisp exterior for your morning toast.
Frequently Asked Questions About This Easy Whole Wheat Bread
I know baking from scratch can sometimes bring up a million questions, especially when trying to get that perfect, fluffy whole wheat bread. Since we focus on making this the most reliable whole wheat bread recipe out there, I wanted to tackle some common uncertainties right here. Don’t see your question? Just drop me a line over on the contact page!
Can I make this Honey Whole Wheat Bread Recipe without the all-purpose flour?
Yes, absolutely, you can! If you want to stick strictly to 100% whole grain baking, just leave out that optional half-cup of all-purpose flour. That flour acts like a little helper, giving the whole wheat something lighter to mix into, which results in that super soft crumb we aim for. If you skip it, you’ll still have delicious homemade whole wheat bread, but it will naturally be a bit heartier and denser. That’s still great bread, just a different texture!
What is the best way to store my whole wheat sandwich bread?
This is so important for keeping that amazing softness around! Since this is a moist loaf, you want to keep the air out. Once the loaf is completely cooled down—and I mean stone cold, please—wrap it tightly in plastic wrap first. Then, pop that wrapped loaf into a sealed plastic bag or an airtight container. If you keep it on the counter this way, it stays wonderfully soft for several days, perfect for easy lunches.
If you ever need to refresh the slices, you can always give them a quick 15-second zap in the microwave or pop them straight into the toaster. It brings back that delightful texture in a flash!
For more great guides on making simple things even easier, you can check out my tips for creamy sauces that come together in minutes!
Estimated Nutritional Data for Whole Wheat Bread
I know many of you choose homemade because you want to control exactly what goes into your family’s food, and that includes knowing the basics of nutrition! Knowing what’s inside your whole wheat bread is important to me too. We’ve calculated the general nutritional breakdown for a single slice of this honey whole wheat bread recipe, assuming you used all the ingredients as listed in the recipe above.
Please keep in mind this is just an estimate. The exact numbers can shift depending on the brand of flour you use, the specific honey, or if you decided to skip that optional white flour in favor of 100% whole wheat. But for reference, here is what we are generally looking at:
- Serving Size: 1 slice
- Calories: 145
- Sugar: 4g
- Sodium: 250mg
- Fat: 3g
- Saturated Fat: 1.5g
- Carbohydrates: 27g
- Fiber: 4g
- Protein: 5g
It’s a great way to see how wholesome this loaf is compared to the highly processed stuff you find at the store. We managed to keep the sugar low while still getting that lovely golden color and flavor!
Share Your Homemade Whole Wheat Bread Creations
Now the best part! I truly hope this process helps you feel confident tackling your first (or fiftieth!) loaf of whole wheat bread. Since we engineered this recipe for reliability, I really want to know how it turned out for you. Did you get that soft, fluffy crumb we were aiming for? Did the honey really enhance the flavor?
If you loved this loaf and it’s going to become a staple in your kitchen, please do me a huge favor and leave a rating right below this section—a solid five stars helps other bakers find this foolproof recipe! And if you had any questions at all during the kneading or rising stages, don’t hesitate to drop a comment. I read every single one. If you baked a beautiful loaf, feel free to send a note or a picture over to the Dishicious team if you need to reach out directly via our contact page.
Happy Baking! I can already smell that wholesome homemade bread cooling on your racks!
PrintEasy Soft Honey Whole Wheat Sandwich Bread
Bake a soft, fluffy, and wholesome loaf of 100% whole wheat bread at home. This beginner-friendly recipe uses simple ingredients and a touch of honey for natural sweetness, making it perfect for everyday sandwiches and toast.
- Prep Time: 20 min
- Cook Time: 35 min
- Total Time: 2 hours 5 minutes
- Yield: 1 loaf (about 12 slices) 1x
- Category: Baking
- Method: Baking
- Cuisine: American
- Diet: Vegetarian
Ingredients
- 1 cup warm water (105-115°F)
- 2 1/4 teaspoons active dry yeast
- 1/4 cup honey
- 1/4 cup unsalted butter, melted
- 1 1/2 teaspoons salt
- 3 1/2 cups whole wheat flour
- 1/2 cup all-purpose flour (optional, for softer crumb)
Instructions
- In a large bowl, combine the warm water and yeast. Let it sit for 5 minutes until foamy.
- Stir the honey, melted butter, and salt into the yeast mixture.
- Gradually add the whole wheat flour, mixing until a shaggy dough forms. If using, mix in the all-purpose flour now.
- Turn the dough out onto a lightly floured surface. Knead for 8 to 10 minutes until the dough is smooth and elastic.
- Place the dough in a lightly oiled bowl, turning to coat. Cover the bowl with plastic wrap or a clean towel and let it rise in a warm place for 1 to 1.5 hours, or until doubled in size.
- Gently punch down the risen dough. Shape it into a loaf and place it in a greased 9×5 inch loaf pan.
- Cover the pan loosely and let the dough rise again for 30 to 45 minutes, or until it has crowned about 1 inch over the rim of the pan.
- Preheat your oven to 375°F (190°C).
- Bake for 30 to 35 minutes, or until the crust is golden brown and the internal temperature reaches 190°F (88°C).
- Remove the loaf from the pan immediately and let it cool completely on a wire rack before slicing.
Notes
- For a richer flavor, use 100% whole wheat flour without adding all-purpose flour, though the texture will be slightly denser.
- If you prefer a rustic loaf, shape the dough into a round or oval and bake it directly on a baking stone or sheet instead of using a loaf pan.
- This recipe makes a great base for a honey whole wheat bread recipe variation.
Nutrition
- Serving Size: 1 slice
- Calories: 145
- Sugar: 4
- Sodium: 250
- Fat: 3
- Saturated Fat: 1.5
- Unsaturated Fat: 1.5
- Trans Fat: 0
- Carbohydrates: 27
- Fiber: 4
- Protein: 5
- Cholesterol: 5