
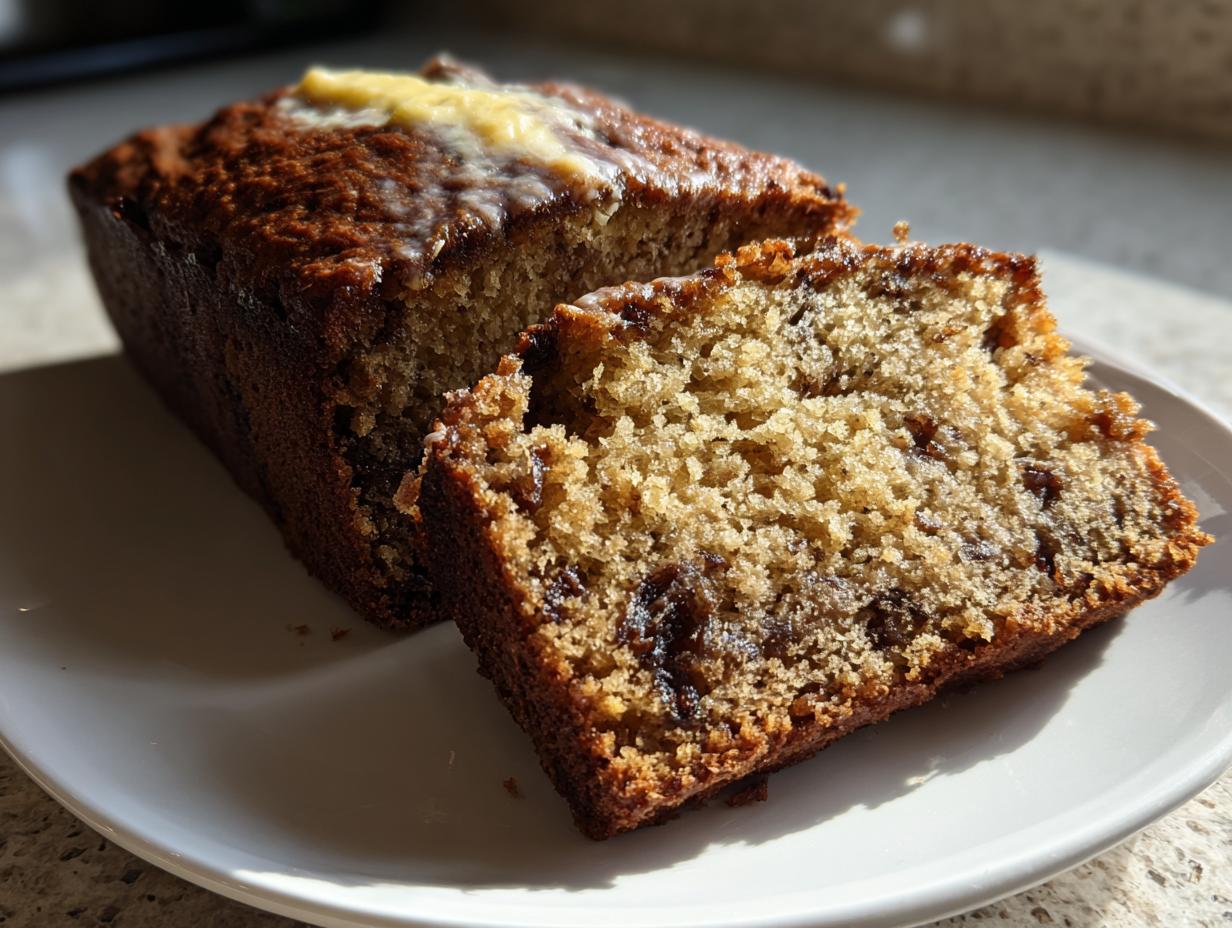
Oh, there is just nothing better than pulling a loaf of sweet, spiced bread from the oven, right? That aroma just screams comfort, especially when the weather starts turning chilly. If you’ve been searching forever for that perfect loaf—the one that stays magically moist for days—then you’ve absolutely struck gold today. This is my go-to old-fashioned, moist date nut bread recipe, and trust me, it delivers the softest crumb you can imagine. Forget those dry, crumbly loaves; this date nut bread is the classic loaf cake texture you’ve always dreamed about. It’s simple, it’s nostalgic, and it’s unbelievably good warm with just a smear of butter.
- Why This Old-Fashioned Date Nut Bread Recipe Works
- Essential Ingredients for Your Date Nut Bread Loaf
- Step-by-Step Instructions for Easy Quick Bread Baking
- Tips for Success When Making Date Nut Bread
- Serving Suggestions for Your Classic Date Nut Bread
- Storage and Make Ahead Bread Recipes for Date Nut Bread
- Variations on the Classic Loaf Cake
- Frequently Asked Questions About Date Nut Bread
- Estimated Nutritional Data for This Date Nut Bread
- Estimated Nutritional Data for This Date Nut Bread
Why This Old-Fashioned Date Nut Bread Recipe Works
I know that baking can sometimes feel like guesswork, but this recipe for Moist Date Nut Bread Recipe skips the guesswork entirely. This isn’t some trendy new version; this is the tried-and-true method for what makes a truly incredible Classic Loaf Cake. When you see the results—that dense, fudgy texture—you’ll understand why this specific approach is non-negotiable in my kitchen. It’s all about making sure every single bite is bursting with flavor and softness, not dryness!
Achieving the Perfect Moist Date Nut Bread Texture
The absolute secret sauce to this bread’s incredible moisture lies in one simple, slightly dramatic step: the dates! You have to pour boiling water right over your chopped dates and stir in that baking soda. Wow, does that wake those dates up! The heat softens them way down, and the baking soda actually helps break down the dates further while the bread bakes. This process guarantees you won’t get those tough, chewy spots. It’s pure kitchen magic that sets up this loaf for success.
The Flavor Profile of Our Spiced Nut Bread
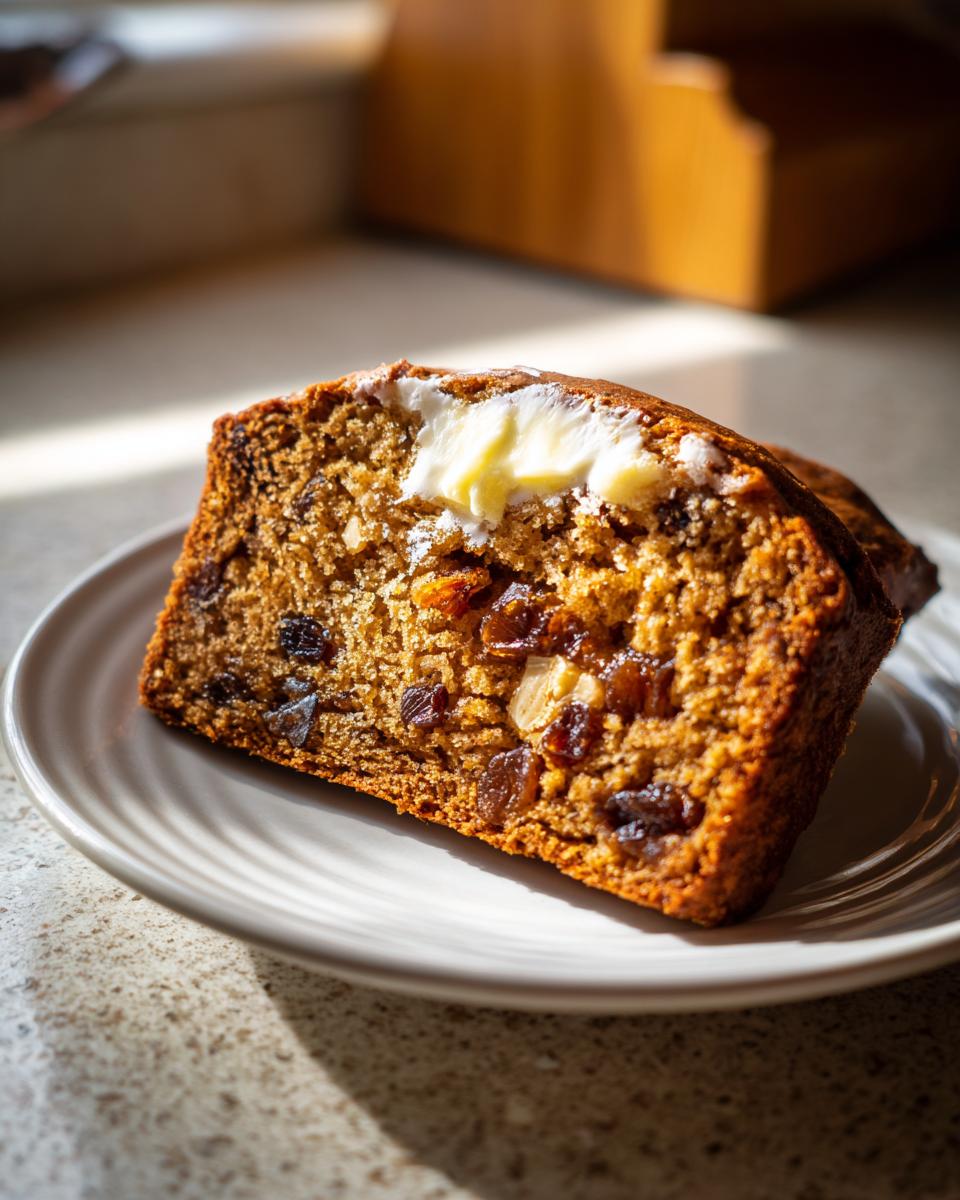
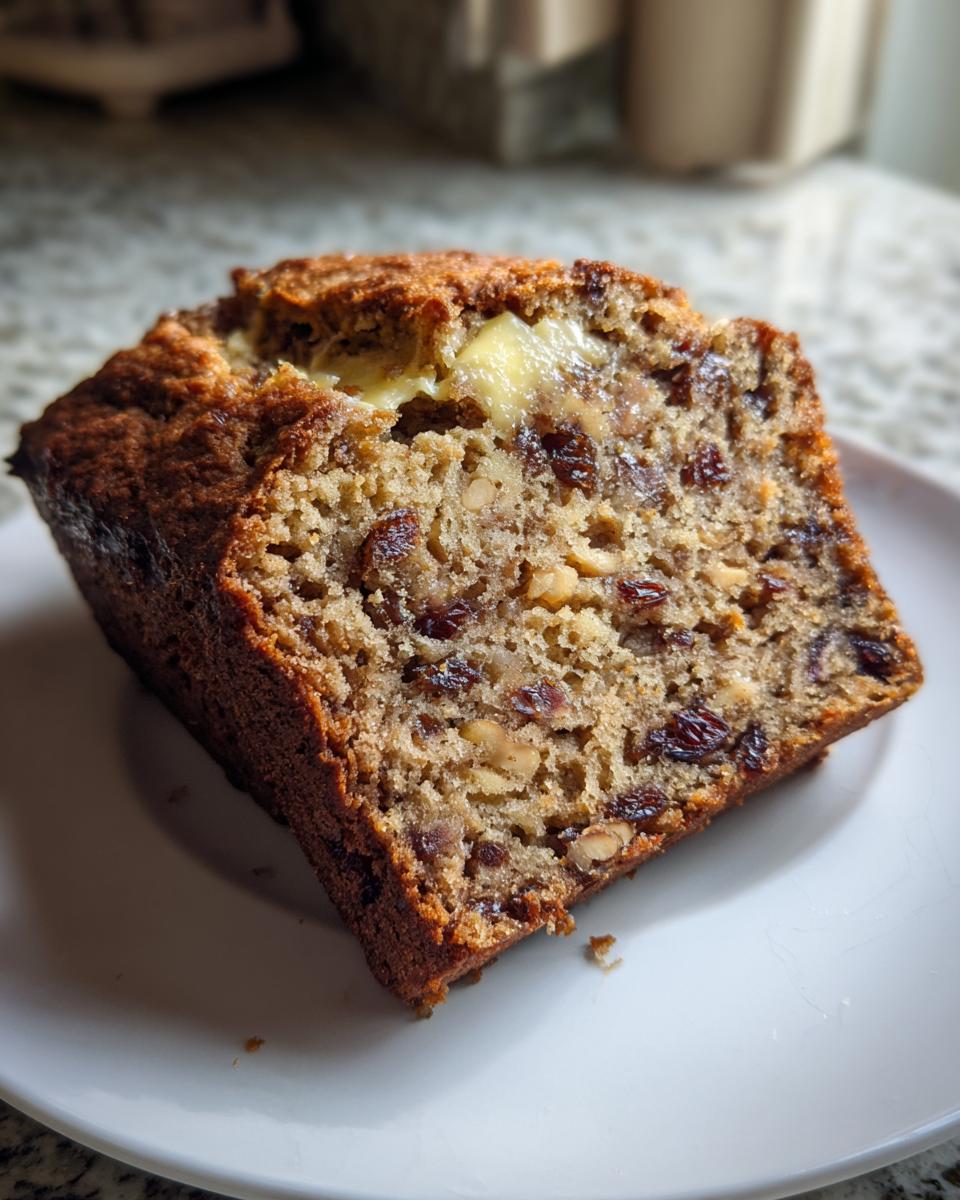
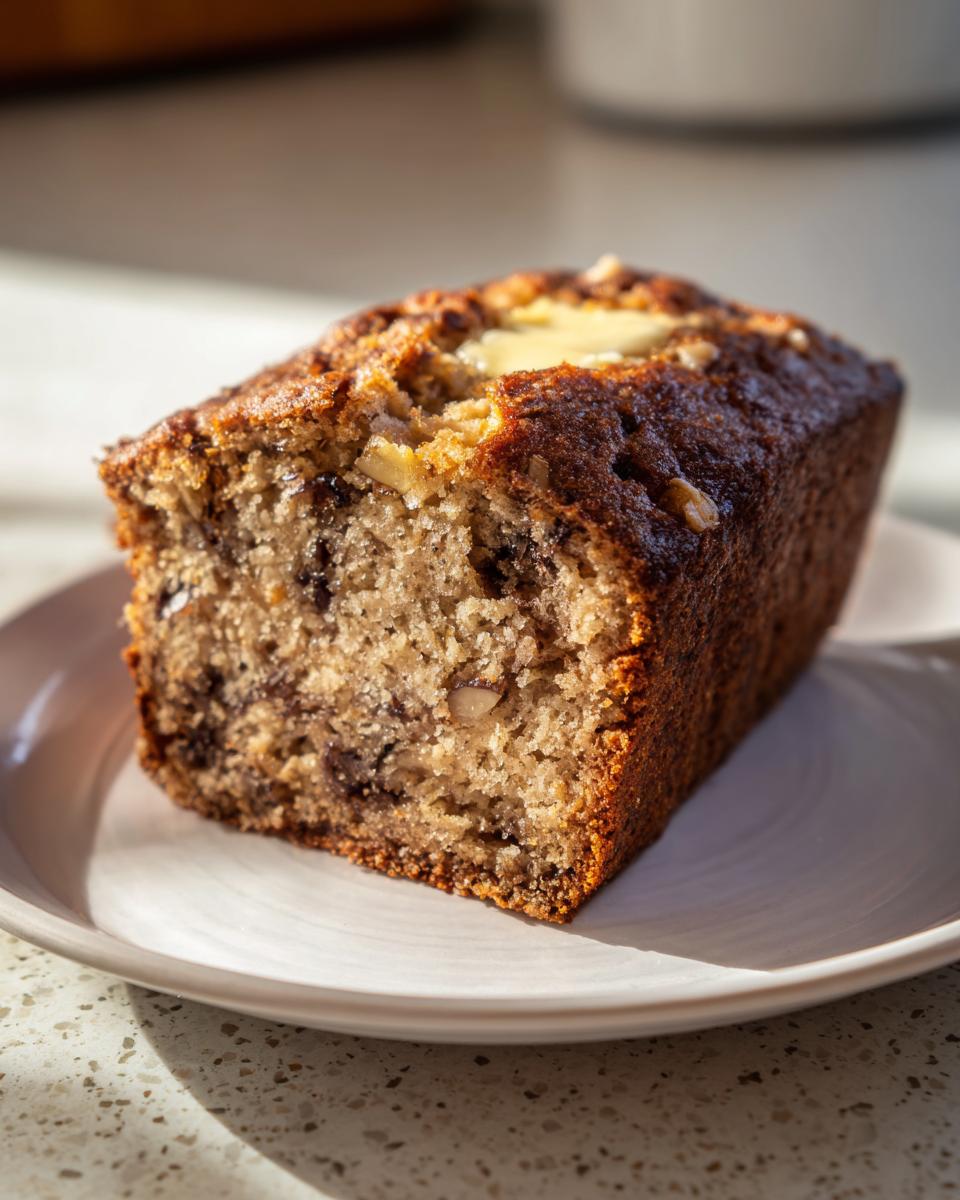
Sweetness in a baked good should always have depth, right? The dates take care of the deep, caramelly sweetness, and we balance that beautifully with the earthy crunch of walnuts. When we talk about this as a Spiced Nut Bread, we mean it. You get that lovely, warming spice backbone that complements the fruit without overpowering it. It’s the comforting flavor profile everyone expects from a classic loaf.
Essential Ingredients for Your Date Nut Bread Loaf
Okay, let’s talk about what you actually need to pull this amazing Date Nut Bread together. Since this is an old-fashioned method, the list is straightforward—nothing too crazy or impossible to find at your local store. But every single item plays a big role in getting that perfect crumb. Pay close attention to the measurements for the nuts; we’re making a proper Walnut Date Bread Tutorial here, so we want plenty of texture!
Keep everything measured out and ready to go; for quick breads, we move fast once we start mixing!
- 1 cup boiling water (This is crucial for waking up the dates!)
- 1 cup pitted, chopped dates (Make sure they are nicely chopped!)
- 1 teaspoon baking soda
- 1/2 cup (1 stick) unsalted butter, softened (Make sure it’s really softened, not melted!)
- 1 cup granulated sugar
- 2 large eggs
- 1 teaspoon vanilla extract
- 1 3/4 cups all-purpose flour
- 1 teaspoon baking powder
- 1/2 teaspoon salt
- 1 cup chopped walnuts (Feel free to swap for pecans if you like those better!)
Step-by-Step Instructions for Easy Quick Bread Baking
When it comes to Easy Quick Bread Baking, timing is everything, but thankfully this loaf is very forgiving! Once you have your ingredients ready, the mixing process goes really fast. Seriously, you’ll be putting this in the oven before you know it. Just remember the golden rule of quick breads: mix until *just* combined. Overmixing is the enemy of moisture, and we definitely don’t want that!
Preparing the Dates and Oven Setup
First things first, get that oven warmed up to 350°F (175°C). We want it ready to roll the second the batter is mixed. Go ahead and grease and flour your 9×5 inch loaf pan—don’t skip the flour part, those dates can make things sticky! Now for the dates: pour that boiling water right over them in a small bowl, drop in the baking soda, give it a quick stir, and then absolutely set it aside for 10 full minutes. That soaking time is vital, so don’t rush it! You should notice a bubbly, mushy mixture forming.
Mixing the Date Nut Bread Batter
Now we move fast! Get your softened butter and sugar in a big bowl and cream them together until they look light and fluffy—you’re looking for that pale yellow, airy look. Then, introduce the eggs, one at a time, mixing well after each one goes in, followed by the vanilla. In a separate bowl, whisk your dry stuff: flour, baking powder, and salt. Here’s where you have to be gentle! Add the dry mixture into the wet mixture slowly, mixing maybe four or five strokes, leaving a few streaks of flour behind. Finally, gently fold in that date mixture and all your chopped walnuts. Stop mixing the second everything disappears. Pour it straight into that prepared pan and get it into the oven!

Tips for Success When Making Date Nut Bread
Even though this is such an easy recipe, sometimes things still go a little sideways in the oven, right? That’s normal! But with a few expert pointers, you can nail this every single time. Think of this as your quick reference sheet for making the Date and Walnut Loaf Baking Guide foolproof. The batter is a bit sticky and thick—that’s the dates doing their job! Don’t try to force it or beat it smooth; just embrace the heft of the batter before it goes into the pan.
When you are pouring it into the pan, use a wet spatula to help scrape every bit out, or just briefly wet your fingers and use them to smooth the top. It sounds weird, but moisture on your hands stops that sticky batter from clinging to you!
Troubleshooting Common Issues in Date Nut Bread
The biggest panic moment for any quick bread baker is what happens when you check the loaf. If you pull your skewer out and it has wet batter dripping off, it’s not done! Just pop it back in for five to ten minutes and try again. You want a few moist crumbs sticking—that’s the secret to ultimate softness.
Now, if your loaf sinks right in the middle after you pull it out, that usually means one of two things: either you opened the oven door too early while it was forming its structure, or maybe you got a little too enthusiastic creaming the butter too long, leading to too much air. Either way, don’t stress! A slightly sunk loaf still tastes fantastic, especially when you slather it with butter. Never, ever bake it until it is completely dry on a tester, though; that’s how we end up with dry bread the next day. We are aiming for cozy, not crunchy!
Serving Suggestions for Your Classic Date Nut Bread
This Date Nut Bread is honestly a superstar because it works for almost any time of day or year! It’s not just for holidays, although it certainly makes a wonderful addition to a festive table or as a homemade gift during the winter months. It truly shines as a cozy, comforting treat whenever you need it.
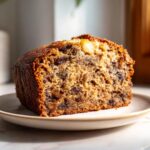
The search intent was clear: people want to know how to eat this bread! And while it’s delicious all on its own, my favorite way to enjoy a slice—and the only way my family accepts it, frankly—is straight out of the oven while it’s still warm. Nothing beats the way a thick swipe of good quality, slightly salted sweet cream butter melts right into that soft crumb.
If you are looking for something simple, call this your go-to Simple Breakfast Loaf. Make a batch over the weekend, and you’ve got breakfast sorted for the next few busy mornings. It pairs perfectly with a hot cup of coffee or a spiced tea. For an extra touch, try sprinkling a tiny bit of cinnamon sugar on top right after it comes out of the oven; it gives it that wonderful bakery crust look without any complicated frosting!
Storage and Make Ahead Bread Recipes for Date Nut Bread
One of my favorite things about any good quick bread, especially one as rich as this Date Nut Bread, is that it actually gets better the next day! This whole method really shines when you think of it as a fantastic Make Ahead Bread Recipe. You can bake it during a quiet Sunday afternoon, and you’ve got delicious breakfasts or snacks ready for the entire week. But you have to cool it properly first—this is where people mess up and get a gummy loaf!
When the bread comes out of the oven, let it hang out in the pan for exactly 10 minutes. Not one minute less, not five minutes more! That brief time allows the structure to set up just enough so it doesn’t completely fall apart when you try to unmold it. Then, turn it out onto a wire rack. You must let it cool completely—and I mean completely—before you wrap it up. If you wrap it warm, that trapped steam turns into sweat, and suddenly your moist loaf is soggy.
Once it’s totally cool, storage couldn’t be easier:
- Room Temperature: Wrap the entire loaf tightly in plastic wrap, and then maybe wrap that again in foil or put it in a zip-top bag. It keeps beautifully like this on the counter for about 3 to 4 days. Honestly, the flavor seems to deepen around day two!
- Freezing for Later: If you need to stash it for a special occasion or just want to stock up, wrap that completely cooled loaf super tightly in plastic wrap, then foil. Pop it in the freezer for up to three months. When you want a slice, just let the whole thing thaw on the counter for a few hours, and it tastes like you just baked it.
- Reheating: If you’re eating it later in the week and it seems a tiny bit firmer, don’t worry! Just slice off what you need and microwave that slice for about 10 to 15 seconds. It comes out piping hot, soft, and ready for that melting butter.
Variations on the Classic Loaf Cake
Now, I know what some of you are thinking: This Date Nut Bread is perfect as is, but maybe you want to tweak it just a little bit for health, or maybe you just ran out of walnuts this week! That’s the beauty of a good quick bread foundation—it’s totally adaptable. I always encourage people to play around once they’ve mastered the original recipe, so they can create their own perfect loaf.
I want to be clear: the original called for all-purpose flour and walnuts, but that doesn’t mean you can’t shake things up a bit! These little changes still keep the spirit of this Classic Loaf Cake alive while catering to your pantry or dietary needs.
If you’re looking to sneak in a little extra goodness, think about going half and half with your flour. Try substituting half of that all-purpose flour with whole wheat flour. It gives you a fantastic boost of fiber and results in what I like to call a Naturally Sweetened Bread feel without sacrificing much texture. It gets slightly heartier, but it’s still wonderfully moist!
And hey, if you happen to have a couple of overripe bananas sitting on your counter, you can absolutely experiment with Banana Date Nut Bread Variations! Bananas add moisture, so you might need to reduce the liquid slightly, but they pair beautifully with dates and nuts. Just start by substituting one mashed banana for about 1/4 cup of the fat or liquid in the recipe and see how it goes next time.
Finally, about those walnuts—if you’re not a fan, or if you just ran out, go for it with pecans! Pecans are just as hearty and bring an even richer, buttery flavor to the party. You really can’t go wrong with either nut in this loaf. Just make sure whatever nuts you use are chopped roughly; we want that delightful crunch scattered throughout!
Frequently Asked Questions About Date Nut Bread
It’s always the last bits of detail that trips people up, isn’t it? Even with a super reliable recipe for Date Nut Bread, you still might have a little question hanging around. I’ve gathered up the ones I hear the most often because I want you to feel totally confident starting this Old Fashioned Date Bread. Let’s conquer those baking worries right now!
Can I make this date nut bread without nuts?
Oh, absolutely you can! If you’ve got a nut allergy or you just really love dates more than walnuts—I get it! Go ahead and leave them out. But I do want to give you a heads-up: the walnuts do add a significant element of textural contrast. This bread is incredibly soft, and the nuts are what keep it from feeling *too* soft or uniform. You’ll still have a fantastic, moist loaf, but it will be consistently tender all the way through. If you skip the nuts, maybe add an extra splash of vanilla or another teaspoon of cinnamon for flavor boost!
What is the best way to keep this date nut bread moist?
This might be the most repeated question I ever get about any quick bread! Seriously, the key isn’t really in the storage—it’s in the baking. Do not, I repeat, *do not* bake this until a toothpick comes out totally bone-dry and clean. Remember what I said about moist crumbs sticking to the toothpick? That’s your goal! If you overbake it even by five minutes searching for a totally clean skewer, you’ll lose that heavenly moisture by the next morning.
After baking, you *must* let it cool for those 10 minutes in the pan, then get it out onto the rack to cool completely before wrapping. Trapped steam equals a gross, wet crust. If you follow those two rules—don’t overbake and cool completely before wrapping tightly—you’ll have the best experience with this Moist Date Nut Bread Recipe for days!
Estimated Nutritional Data for This Date Nut Bread
Now, I’m going to be upfront: I’m a baker, not a nutritionist! This is a comfort food loaf, and while the dates offer some natural sweetness, it’s definitely a treat. These numbers are just an estimate based on the ingredients I used for my recipe, assuming you use standard white flour and standard butter. If you switch to whole wheat or maple syrup, the numbers will shift, so keep that in mind!
But just so you have an idea of what’s in that delicious slice of Classic Loaf Cake:
- Serving Size: 1 slice
- Calories: 280
- Sugar: 28g (Dates add a lot to this!)
- Fat: 13g
- Carbohydrates: 40g
- Protein: 4g
- Cholesterol: 55mg
It’s rich, it’s comforting, and it’s totally worth it when you pair it with that cup of coffee in the morning. Enjoy every bite responsibly!
PrintOld-Fashioned Moist Date Nut Bread
Bake a classic, moist date nut bread using simple ingredients. This quick bread yields a soft crumb and rich flavor, perfect for breakfast or snacking.
- Prep Time: 15 min
- Cook Time: 60 min
- Total Time: 75 min
- Yield: 1 loaf (about 10 servings) 1x
- Category: Quick Bread
- Method: Baking
- Cuisine: American
- Diet: Vegetarian
Ingredients
- 1 cup boiling water
- 1 cup pitted, chopped dates
- 1 teaspoon baking soda
- 1/2 cup (1 stick) unsalted butter, softened
- 1 cup granulated sugar
- 2 large eggs
- 1 teaspoon vanilla extract
- 1 3/4 cups all-purpose flour
- 1 teaspoon baking powder
- 1/2 teaspoon salt
- 1 cup chopped walnuts
Instructions
- Preheat your oven to 350°F (175°C). Grease and flour a standard 9×5 inch loaf pan.
- Pour the boiling water over the chopped dates in a small bowl. Stir in the baking soda and set aside for 10 minutes to soften.
- In a large bowl, cream together the softened butter and granulated sugar until light and fluffy.
- Beat in the eggs one at a time, mixing well after each addition. Stir in the vanilla extract.
- In a separate medium bowl, whisk together the flour, baking powder, and salt.
- Gradually add the dry ingredients to the wet ingredients, mixing until just combined. Do not overmix.
- Fold in the softened date mixture and the chopped walnuts until evenly distributed throughout the batter.
- Pour the batter into the prepared loaf pan.
- Bake for 55 to 65 minutes, or until a wooden skewer inserted into the center comes out clean.
- Let the bread cool in the pan for 10 minutes before turning it out onto a wire rack to cool completely.
Notes
- Serve this date nut bread warm with butter for the best texture.
- For a healthier option, substitute half the all-purpose flour with whole wheat flour.
- You can substitute pecans for walnuts if you prefer.
Nutrition
- Serving Size: 1 slice
- Calories: 280
- Sugar: 28
- Sodium: 180
- Fat: 13
- Saturated Fat: 5
- Unsaturated Fat: 8
- Trans Fat: 0
- Carbohydrates: 40
- Fiber: 2
- Protein: 4
- Cholesterol: 55