
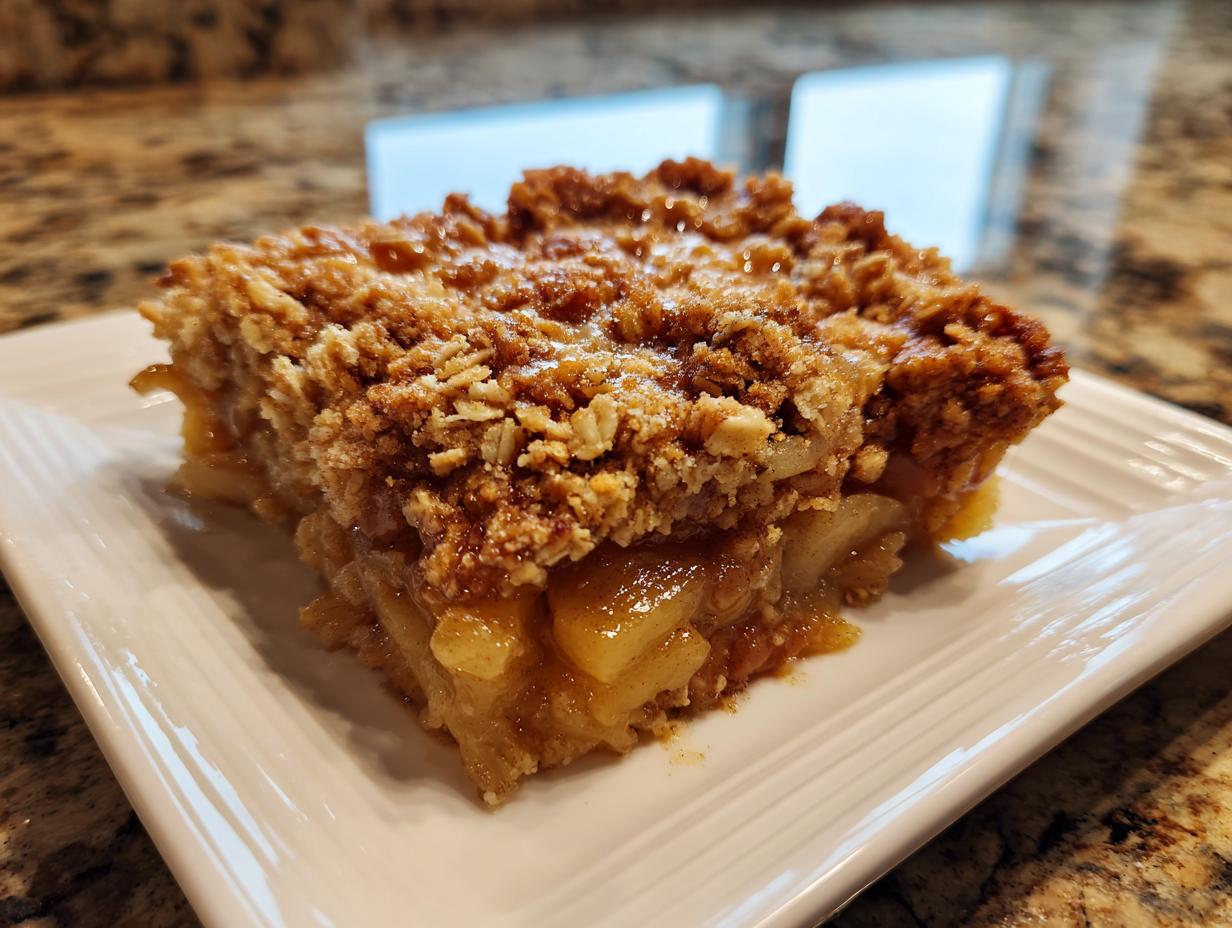
There’s nothing quite like the smell of warm, spiced fruit bubbling under a crunchy topping to make you feel instantly settled. If you need a truly satisfying dish that screams cozy fall desserts but doesn’t require you to spend hours slaving away, you’ve landed in the right spot. I’m Leo, and here at Dishicious, we engineer simplicity. That’s why I developed this ultimate Easy Brown Sugar Cinnamon Pear Crisp recipe.
Forget complicated steps; this recipe is all about maximum flavor payoff with minimum fuss—perfect for my fellow busy home cooks. We’re talking tender, sweet pears smothered in spice and crowned with the most addictive, golden, buttery oat topping you can imagine. Trust me, this easy pear crisp recipe is about to become your standard weeknight winner.
- Why This Easy Pear Crisp Recipe Works Every Time
- Ingredients for Your Homemade Pear Crisp
- How to Prepare This Simple Baked Fruit Dessert
- Tips for the Best Pear Crisp Success
- Serving Suggestions for Your Warm Pear Dessert
- Storage and Reheating Instructions for Homemade Pear Crisp
- Frequently Asked Questions About This Cozy Fall Desserts Recipe
- Nutritional Estimate for This Pear Crisp
- Share Your Experience with This Comfort Food Dessert
Why This Easy Pear Crisp Recipe Works Every Time
When I approach a recipe, I look for efficiency. This isn’t just a rustic dessert; it’s an engineered comfort food solution. This specific pear crisp gets its reliability from two key components that work together flawlessly, meaning you spend less time worrying and more time enjoying that warm fruit.
It’s fast, too. With just 15 minutes of prep, we get a fantastic result ready in under an hour. If you love reliable comfort food, you should check out my approach to the best apple crisp next!
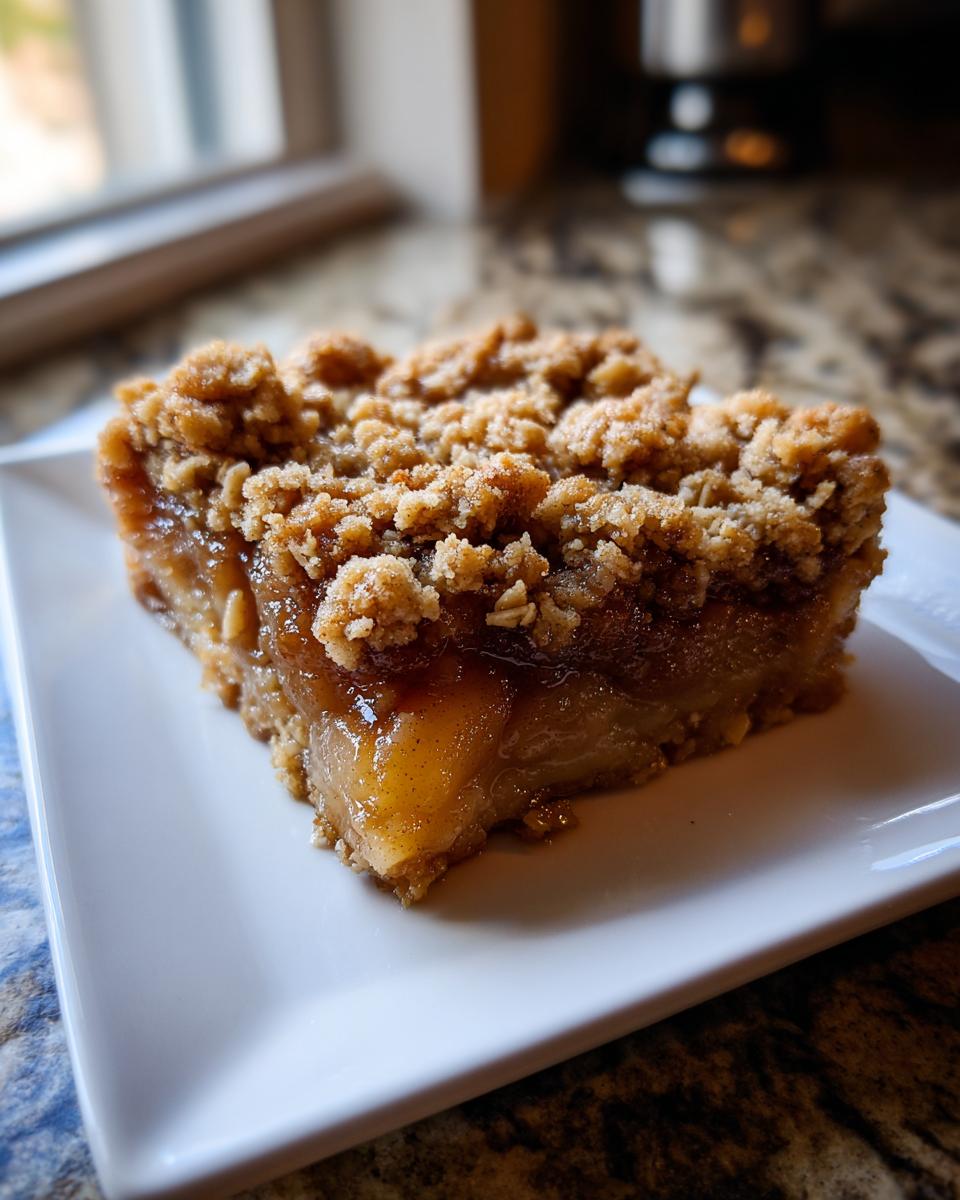
Perfectly Tender Juicy Pear Filling
We use just enough granulated sugar and lemon juice—the acid brightens the flavor and helps break down the fruit slightly. Nutmeg and cinnamon provide that classic autumn backdrop. Because we only use 15 minutes of active work here, this juicy pear filling is ready for the oven before you can even debate dessert options.
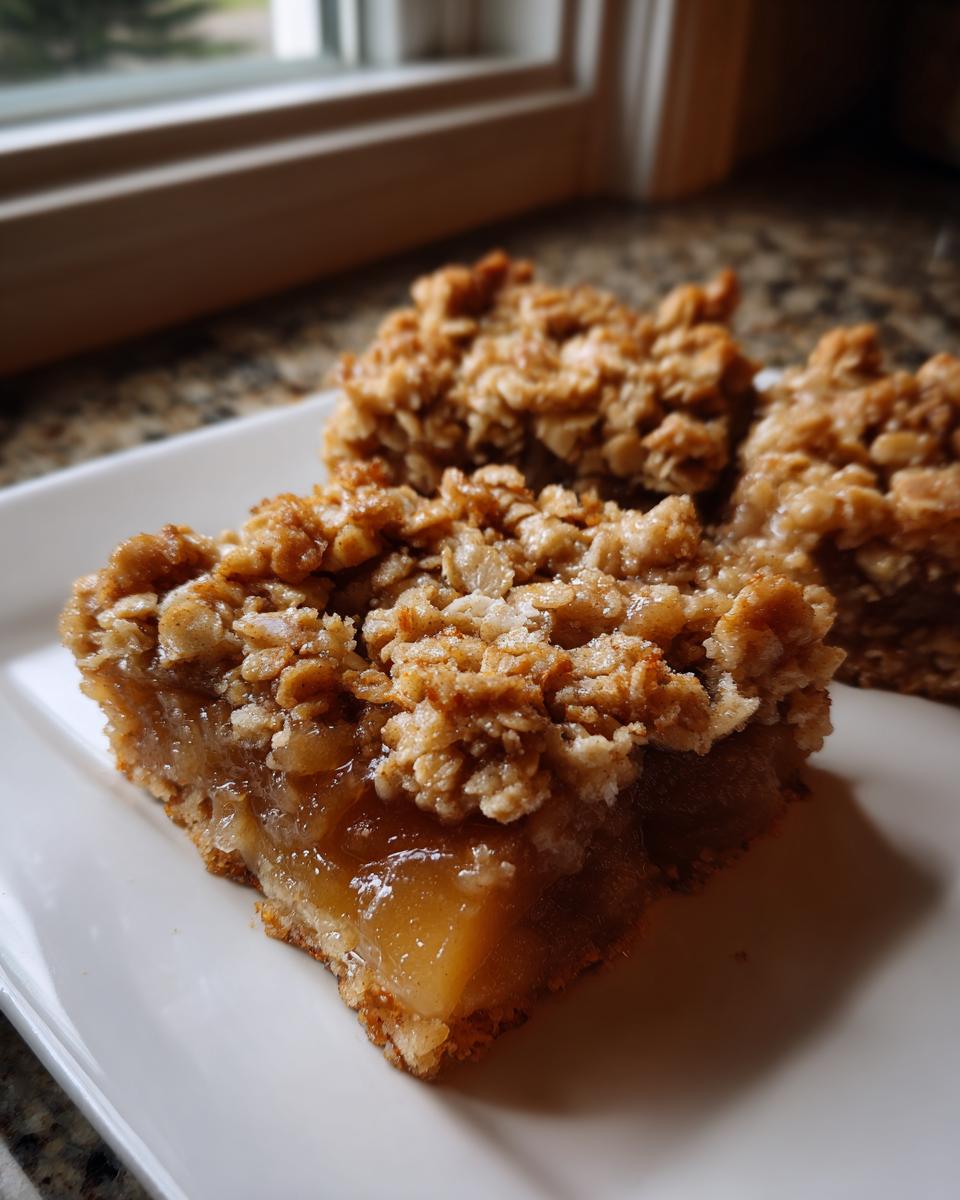
The Secret to a Buttery Oat Topping Recipe
The absolute key here is cold butter cut into small cubes. When you mix the topping, you want it to look like coarse, shaggy sand, not paste. Cold butter creates pockets of steam in the oven, which leads directly to that distinctively crunchy, golden result we want in our buttery oat topping recipe. Resist the urge to overmix; the lumps are where the magic happens!
Ingredients for Your Homemade Pear Crisp
When I design one of these efficiency-focused recipes, I keep the ingredient list tight. We aren’t hunting down rare spices; we are using foundational pantry staples to build massive flavor, which is how you ensure total trustworthiness in the final product. Everything you need for your homemade pear crisp is right here. Remember, precision in measuring equals reliability in results, especially when dealing with the butter for the topping!
- 6 medium ripe pears (about 3 pounds), peeled, cored, and sliced
- 1/4 cup granulated sugar
- 1 tablespoon lemon juice
- 1 teaspoon ground cinnamon
- 1/4 teaspoon ground nutmeg
- 1/2 cup all-purpose flour
- 1/2 cup packed brown sugar
- 1/2 cup old-fashioned rolled oats
- 1/4 teaspoon salt
- 1/2 cup (1 stick) cold unsalted butter, cut into small pieces
How to Prepare This Simple Baked Fruit Dessert
When we tackle a project, the execution needs to be methodical. This process for assembling your pear crisp is broken down into three focused stages. Stick to these steps, and you’ll guarantee a perfect bake every time. Remember that your oven needs a head start, so getting that initial preheat done saves precious time later on. Following this efficient structure ensures that this simple baked fruit dessert lives up to its promise of quick, delicious comfort.
Preparing the Pear Crisp Filling
First thing’s first: Get your oven heating up to 375 degrees Fahrenheit. While it warms, lightly grease that 8×8 inch baking dish—I don’t want anything sticking later! Now, take your sliced pears and toss them aggressively with the granulated sugar, lemon juice, cinnamon, and nutmeg. You want every piece coated nicely. Dump that sweetened fruit mixture into your prepared dish and make sure it spreads out into one consistent, even layer. That’s the base done in mere minutes.
Assembling the Brown Sugar Crisp Topping
For the topping, we work separately to prevent overmixing the flour. In a different bowl, just whisk together the flour, brown sugar, oats, and salt. Now, introduce that cold butter. My project approach here is critical: Use a pastry blender or just your fingertips to work the butter in until it looks truly shaggy—lumps are absolutely required for that crunch! If you mash it until it’s smooth, you just get a baked layer, not a crisp topping. We want texture, not a lid!
Baking and Resting the Pear Crisp
Once the topping is chunky and ready, sprinkle it evenly over those spiced pears. Pop the whole thing into the oven for about 35 to 40 minutes. You’re looking for two clear visual cues: a beautiful golden-brown topping, and the fruit underneath should be visibly bubbling up. That bubbling means the fruit is tender and juicy! Most importantly, when you pull the finished pear crisp out, let it rest for a bare minimum of 15 minutes on a rack. This resting time is non-negotiable; it lets the filling set up so it doesn’t run all over your plate when you serve it.
Tips for the Best Pear Crisp Success
You’ve nailed the basic assembly, which is 90% of the battle when it comes to getting a great result. But if you want to elevate this from a good dessert to your go-to Cinnamon Pear Crisp, we need to apply a few optimization hacks. These little tweaks are what separate a passable fruit dessert from something truly memorable.
My biggest tip comes straight from the recipe notes: browned butter! If you have an extra five minutes, browning the butter for the topping adds this incredible nutty depth that makes people ask what your secret ingredient is. You can find my quick guide on how to properly brown butter, which works wonders in so many baked goods, right here: brown butter chocolate chip cookies recipe.
Also, don’t be afraid of mix-ins. They don’t complicate the process, they just add layers of interest!
Making This a Pear and Apple Crisp Variation
Almost everyone asks about adding apples, and honestly, it’s a fantastic idea for a truly autumnal flavor profile. If you combine apples and pears for a pear and apple crisp, you absolutely need to check the sweetness level of your apple choice. Granny Smiths, for example, are much tarter than your average pear.
If you use a tart apple, just bump up that granulated sugar in the filling by about a tablespoon. It balances the acidity and ensures the fruit filling bakes up nicely sweet and bubbly, not sour. It’s a small adjustment that keeps the flavor profile consistent with our streamlined approach.
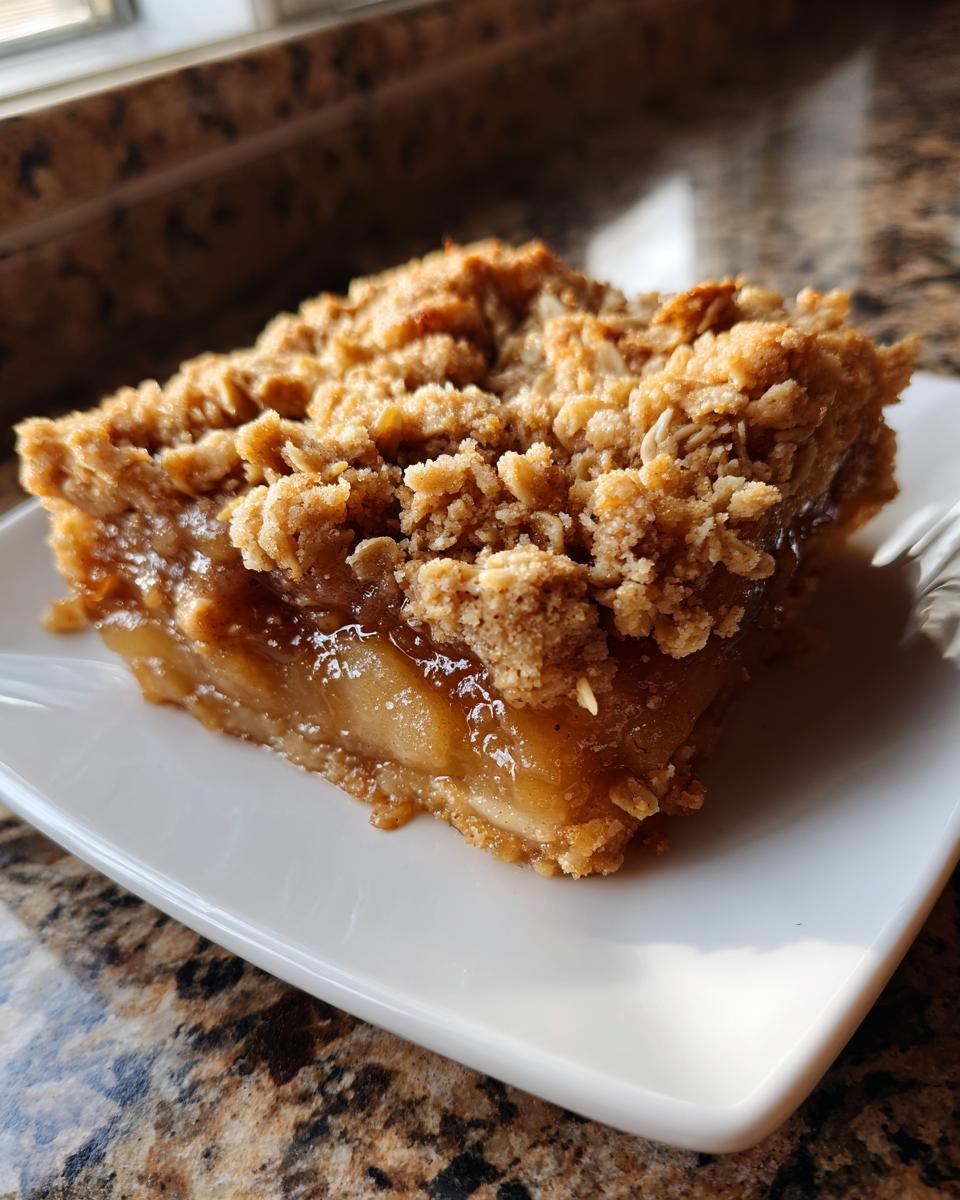
Serving Suggestions for Your Warm Pear Dessert
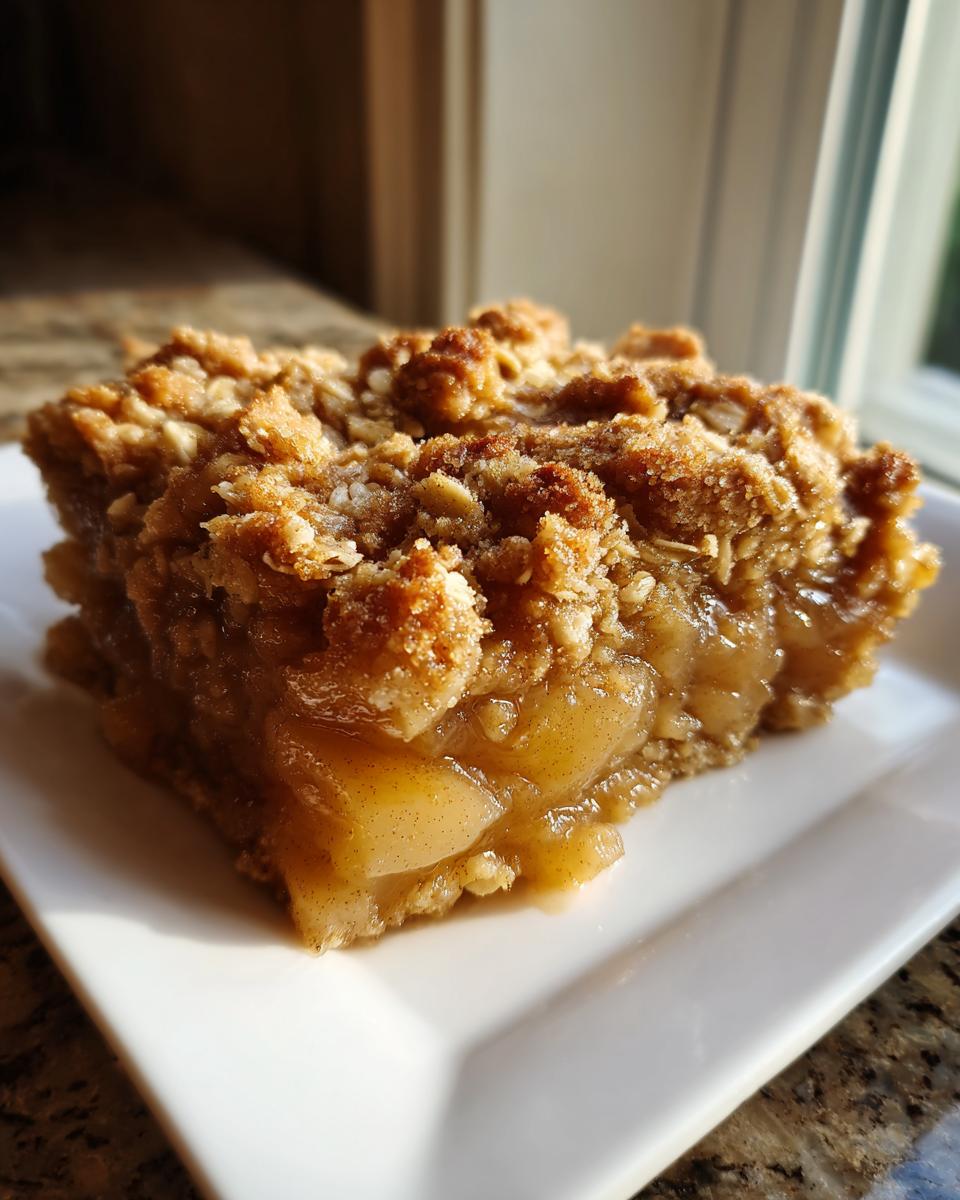
Okay, that glorious 15-minute cooling period is over, and now you have the most satisfying, sweet, and aromatic warm pear dessert imaginable sitting on your counter. The best way to enjoy this is immediately! The contrast between the hot, spiced fruit and something cold on top is what really elevates the experience. My favorite thing to do is serve it with a generous scoop of high-quality vanilla bean ice cream—watching it melt right into the buttery oat topping? Perfection.
If you aren’t feeling the ice cream route, a simple dollop of homemade whipped cream is excellent, too. If you happen to have some amazing homemade frosting on hand, like my vanilla buttercream, a tiny bit works as a decadent, rich pairing! Seriously, keep it simple; the crisp is the star here.
Storage and Reheating Instructions for Homemade Pear Crisp
Part of a good project plan is accounting for leftovers, right? Luckily, this homemade pear crisp is fantastic even on day two, but you need the right protocol to keep that topping crunchy. We want to maintain that signature textural contrast.
If you have any remaining dessert, the best way to store it is simply to cover the dish tightly with plastic wrap or an airtight lid. If it’s just me eating it over the next day or two, I keep it right on the counter at room temperature. If you need it to last longer—say, up to four days—the fridge is safer, though cooling will slightly soften that topping.
Restoring the Crunch After Cooling
Here’s the critical step: never, ever use the microwave to reheat your pear crisp if you care about texture. The microwave will turn that beautiful buttery oat mixture completely soggy in seconds. It defeats the entire purpose of baking it!
Instead, if you want that fresh-from-the-oven experience, pop a serving onto a baking sheet or back into a toaster oven set to about 325 degrees Fahrenheit. Give it about 5 to 10 minutes, just until it’s warm through and the topping starts sounding a little crisp again. This quick reheating trick keeps the dessert feeling intentional rather than leftover, supporting our goal of making cooking simple and rewarding!
Frequently Asked Questions About This Cozy Fall Desserts Recipe
I always appreciate hearing what questions pop up when you’re planning to make something delicious like this. As a home cook focused on efficiency, I try to preemptively solve any bottlenecks in the process. Addressing these common concerns helps ensure your experience results in that perfect, reliable dessert we’re aiming for. You can find loads more of my tested recipes in my main dessert recipes collection!
Can I make the topping ahead of time for the pear crisp?
Yes, you absolutely can! That’s a great optimization strategy if you’re meal prepping for the week. Just mix the flour, oats, sugar, and butter until you have those coarse crumbs, then seal it up tight in an airtight container and pop it in the fridge for up to two days. Just be aware that if you put it straight from the fridge onto the fruit, it might need an extra 5 or 7 minutes in the oven to fully bake through. That’s a tiny trade-off for saving time later, though!
What is the best type of pear to use for this crisp?
This is where the structural integrity of the fruit comes into play. For this specific recipe, which bakes up quickly, you want pears that are firm but ripe—not mushy rock-hard ones, but definitely not the soft, basically-rotting-on-the-counter kind either. I always recommend using Bosc or Anjou pears. They hold their shape so well under heat, meaning you get defined slices of pear that are tender but don’t completely dissolve into applesauce consistency. Consistency is key for that great fruit layer!
How can I make this a Quick Pear Dessert without sacrificing texture?
That 15-minute prep time is your friend here! The total time is under an hour, which qualifies it as a quick pear dessert in my book. To avoid sacrificing texture, the only step you shouldn’t rush is letting it rest for those 15 minutes after it comes out of the oven. If you’re really trying to serve it faster, you can pull it out slightly warmer than ideal (like 5 minutes before the fruit is super bubbly), but never serve it straight from the heat. That essential rest lets the juices bind slightly, so you don’t end up with a giant soupy puddle on your plate!
Nutritional Estimate for This Pear Crisp
Now, I know some of you are tracking macros, and others are just curious. Since we are focusing on real, simple ingredients here—fruit, oats, and butter—this crisp leans toward being a satisfying treat, not a diet staple. I always stress that this data is an estimate; how much butter you actually incorporate, or even the size of your pears, will change the final numbers.
For context, based on the full recipe yielding six servings, here is what an average slice of this pear crisp generally looks like. This helps you plan your baking project accordingly!
- Serving Size: 1 serving
- Calories: 350
- Fat: 18g
- Carbohydrates: 48g
- Sugar: 35g (Mostly from the pears and brown sugar!)
- Protein: 4g
Just remember, these are calculated values, and that’s totally fine. When we cook from scratch like this, the joy and the flavor are what matter most. If you’re looking for more straightforward recipes that fit into a balanced lifestyle, you can always check out my library of other dessert recipes to see what else we can streamline!
Share Your Experience with This Comfort Food Dessert
Alright team, that’s the plan for your ultimate weeknight comfort food dessert. You’ve got the juicy filling, you’ve perfected that crunchy oat topping, and your kitchen smells like autumn heaven. But here’s where the project really closes out successfully: feedback!
We are building a library of recipes that just *work*, and that only happens when we all pitch in. I really need to know how this pear crisp turned out for you. Did you try the browned butter trick? Did you add walnuts? I want to see the pictures!
Please drop a star rating below—I aim for five stars across the board, of course—and let me know in the comments if you made any streamlining tweaks to the process. If you have any suggestions or just want to send a quick note about how much you enjoyed it, you can always reach out through my contact page, too. Happy baking, everyone!
PrintEasy Brown Sugar Cinnamon Pear Crisp
This recipe delivers a comforting, warm pear dessert with a buttery, crunchy oat topping. It is simple to make and perfect for a weeknight treat or a cozy fall evening.
- Prep Time: 15 min
- Cook Time: 40 min
- Total Time: 55 min
- Yield: 6 servings 1x
- Category: Dessert
- Method: Baking
- Cuisine: American
- Diet: Vegetarian
Ingredients
- 6 medium ripe pears (about 3 pounds), peeled, cored, and sliced
- 1/4 cup granulated sugar
- 1 tablespoon lemon juice
- 1 teaspoon ground cinnamon
- 1/4 teaspoon ground nutmeg
- 1/2 cup all-purpose flour
- 1/2 cup packed brown sugar
- 1/2 cup old-fashioned rolled oats
- 1/4 teaspoon salt
- 1/2 cup (1 stick) cold unsalted butter, cut into small pieces
Instructions
- Preheat your oven to 375 degrees Fahrenheit. Lightly grease an 8×8 inch baking dish.
- In a large bowl, combine the sliced pears, granulated sugar, lemon juice, cinnamon, and nutmeg. Toss gently to coat the pears evenly.
- Pour the pear mixture into the prepared baking dish and spread it into an even layer.
- In a separate medium bowl, prepare the topping. Combine the flour, brown sugar, oats, and salt. Mix these dry ingredients with a fork.
- Cut in the cold butter pieces using a pastry blender or your fingertips until the mixture resembles coarse crumbs. Do not overmix; small clumps are desired for crunch.
- Sprinkle the oat topping evenly over the pear filling in the baking dish.
- Bake for 35 to 40 minutes, or until the topping is golden brown and the fruit filling is bubbly around the edges.
- Remove the crisp from the oven and let it cool on a wire rack for at least 15 minutes before serving.
Notes
- For a richer flavor, substitute 1/4 cup of the butter with browned butter in the topping mixture.
- If you want a crunchier topping, add 1/4 cup of chopped walnuts or pecans to the dry topping ingredients.
- This dessert is excellent served warm with vanilla ice cream or a dollop of whipped cream.
Nutrition
- Serving Size: 1 serving
- Calories: 350
- Sugar: 35g
- Sodium: 120mg
- Fat: 18g
- Saturated Fat: 11g
- Unsaturated Fat: 7g
- Trans Fat: 0g
- Carbohydrates: 48g
- Fiber: 5g
- Protein: 4g
- Cholesterol: 45mg