
Let’s be honest: finding truly *good* **gluten free bread** that doesn’t crumble the second you try to make a sandwich is like winning the lottery. So many recipes out there result in something dense, dry, or just plain sad. That’s where I come in. As a home cook running my kitchen like a project manager, I streamline everything. My goal is always efficiency without sacrificing quality. That stressful search ends right here, because I’ve engineered the solution: this recipe delivers a soft gluten free loaf that’s reliable, simple, and honestly, it tastes like real bread. You won’t spend all day on it, I promise. We’re eliminating the guesswork so you can just enjoy your toast.
- Why This is the Best Gluten Free Bread Recipe for Home Bakers
- Gathering Your Ingredients for Gluten Free Bread
- How to Make Gluten Free Bread: Step-by-Step Instructions
- Essential Gluten Free Baking Tips for Success
- Variations for Your Gluten Free Bread Loaf
- Storage and Reheating Instructions for Gluten Free Bread
- Troubleshooting Common Gluten Free Bread Issues
- Frequently Asked Questions About Gluten Free Bread
- Nutritional Estimate for This Gluten Free Bread
Why This is the Best Gluten Free Bread Recipe for Home Bakers
When it comes to gluten free baking, reliability is everything. I’ve tossed too many batches that looked like bricks! This formula, which I obsessed over during testing, cuts through that frustration. It’s why I call it the best gluten free bread recipe because it works consistently, even if you’re just starting out. My aim was to engineer a soft gluten free loaf you could actually use for sandwiches. If you’ve ever tired of recipes that make you go chase down specialty bread tins, I have good news—we’re using a standard loaf pan here, just like in our easy homemade bread bowls.
- It skips the complicated kneading or folding that traditional bread needs.
- The measurement system is designed for easy adaptation and high success.
- It uses just the right amount of binder (xanthan gum) to keep the structure strong.
My method ensures you get that essential structure without the chalky aftertaste so many GF loaves suffer from.
Achieving the Perfect Rise for Gluten Free Bread
In gluten free baking, getting that lift is half the battle. Since we don’t have gluten scaffolding, we rely on yeast power and warmth. If your kitchen is chilly, don’t just leave the pan on the counter! You need a guaranteed cozy spot for that 45-minute rise. Try sticking it inside your oven—but make sure the heat is completely off, obviously! Getting a good rise for gluten free bread is all about giving the yeast a gentle, warm hug so it can do its job before hitting the heat.
Gathering Your Ingredients for Gluten Free Bread
Okay, project time! Before we even think about turning on the mixer, we need to make sure our components are ready. This recipe keeps ingredient sourcing simple—no wild gourmet trips required—but the exact state of a few items really matters for this gluten free bread to work out right. Remember, in GF baking, precision with ingredients is key!
- The water needs to be warm, around 105°F to 115°F. Too hot kills the yeast; too cold makes it sleepy.
- Make sure your two large eggs are at room temperature. Cold eggs shock the yeast mixture.
- We need a standard cup and a half of your favorite gluten free all-purpose flour blend.
- Don’t forget the sugar and salt to feed the yeast and balance the flavor profile!
Get all this stuff lined up, and the actual mixing part is lightning fast.
Ingredient Notes and Substitutions for Gluten Free Bread
The flour blend is the superstar here, so read the label! For the absolute best gluten free bread recipe, you need a blend that already includes xanthan gum. This is critical; it acts as the glue that gluten usually provides. If yours doesn’t have it, you’ll need to add it separately, but honestly, buying a pre-mixed blend saves so much hassle.
Also, if you’re looking for a dairy free gluten free bread version—maybe you have an intolerance or just ran out of butter—swapping it for an equal amount of melted vegetable oil works perfectly fine. The texture remains great because the structure is mostly supported by the eggs and the gum, not the fat type.
How to Make Gluten Free Bread: Step-by-Step Instructions
Now we get to the assembly line! Learning how to make gluten free bread is less about traditional kneading and more about efficient mixing. My project manager brain loves this part because there are very few variables once you start combining things. Just follow the sequence, and you’ll have a beautiful loaf ready for the oven with minimal fuss. Unlike wheat bread, you aren’t developing gluten; you’re just binding the starches and gums together perfectly. If you ever make easy yeast bread for beginners, you’ll see the difference in how the batter behaves!
Activating Yeast and Mixing the Gluten Free Bread Batter
First things first: wake up that yeast! Mix your warm water and sugar, then sprinkle the yeast on top. Watch it bloom—that foamy top means it’s happy and ready to work on giving us lift. Once it’s foamy, toss it into the dry mix of flour and salt. Then, add in the eggs, vinegar, and fat. Here’s the key step: use your mixer on medium speed for a solid four minutes. Don’t stop early! That dedicated mixing time is essential for building the structure in this unique batter.
Proofing and Baking Your Homemade Gluten Free Bread
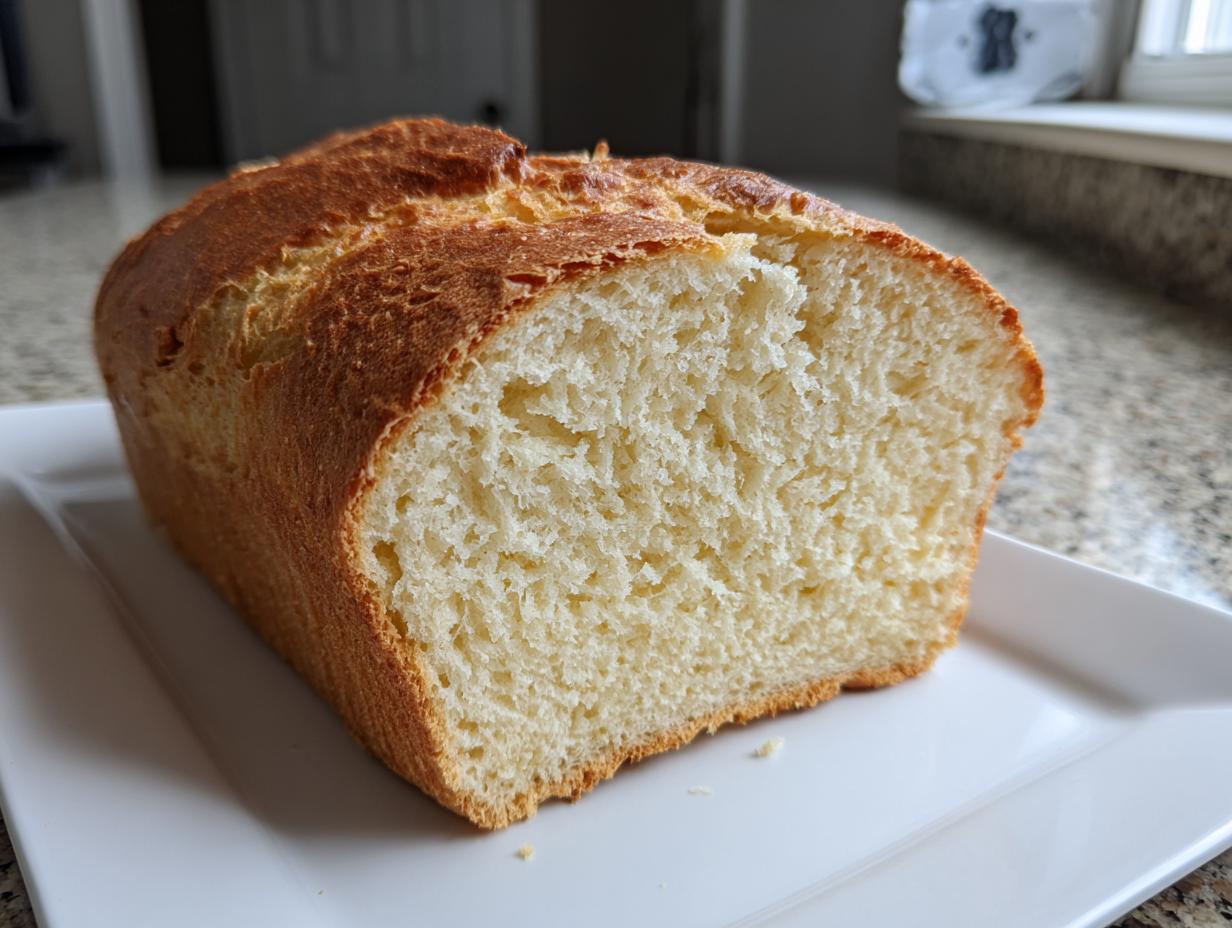
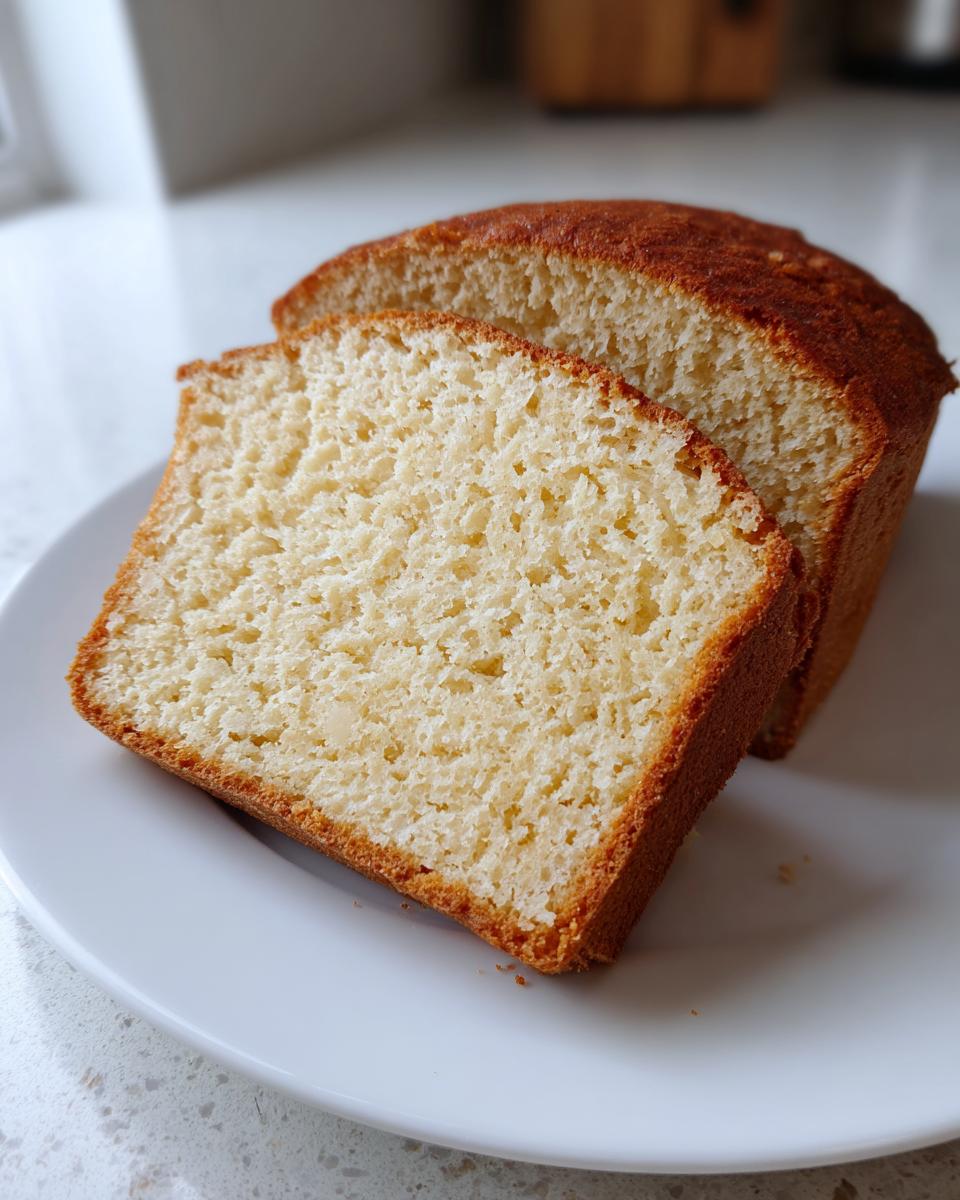
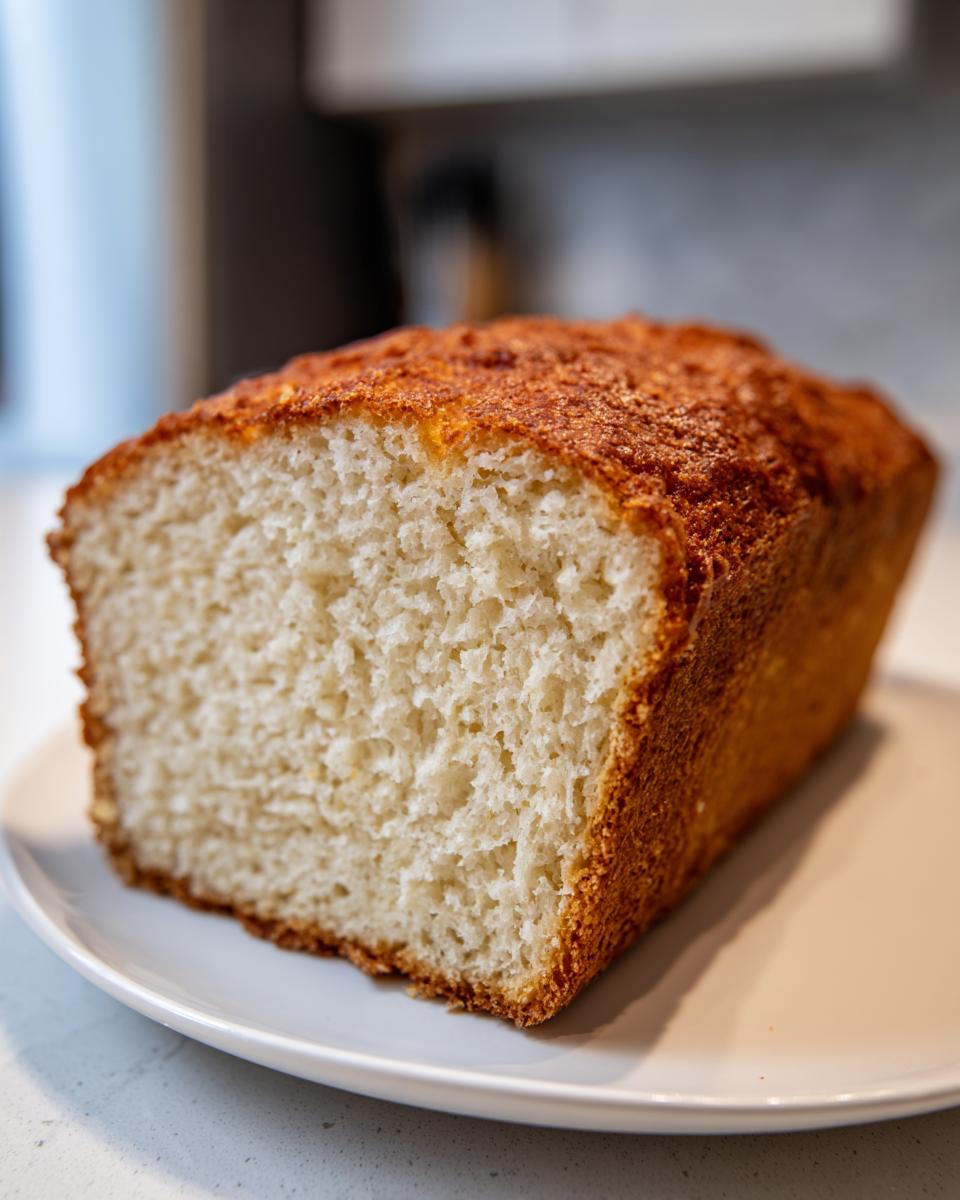
When you look at the result after mixing, don’t panic! It looks like thick cake batter, not stretchy dough—that’s exactly right! Scrape that batter into your greased 9×5 pan. Cover it and let it sit somewhere warm for about an hour until it has puffed up nicely. Preheat your oven while it’s rising. Bake until golden and the internal temperature hits 205°F. The single most important thing you can do once it’s out? Let that homemade gluten free bread cool completely on a rack. Slicing it warm guarantees a gummy texture, and we definitely want to avoid that!

Essential Gluten Free Baking Tips for Success
Look, making gluten free bread is different, and you need the right intel to succeed every time. Having a foolproof recipe is one thing, but understanding the *why* behind the steps gives you real confidence. This is where my project-based approach really shines—it’s about mastering the variables. If you are diving deep into GF baking, you’ll want to incorporate these general gluten free baking tips into your routine, regardless of what loaf you’re tackling next.
The biggest error I see people make? Incorrectly measuring the flour blend. You absolutely cannot just scoop your measuring cup directly into the flour bag; it packs down way too much, and you end up using way too much for the recipe. You’ll end up with a dense brick, guaranteed. Always use the “spoon and level” method: gently spoon the flour into your measuring cup until it overflows slightly, then use the back of a knife to scrape off the excess.
Another thing worth checking out, even if we aren’t using sourdough today, is how to keep starters active, as it gives you insight into controlling moisture levels, which is key here. You can read more about how to start maintaining one right here. Mastering these small techniques means less wasted ingredients and more consistently delicious results from your oven.
Variations for Your Gluten Free Bread Loaf
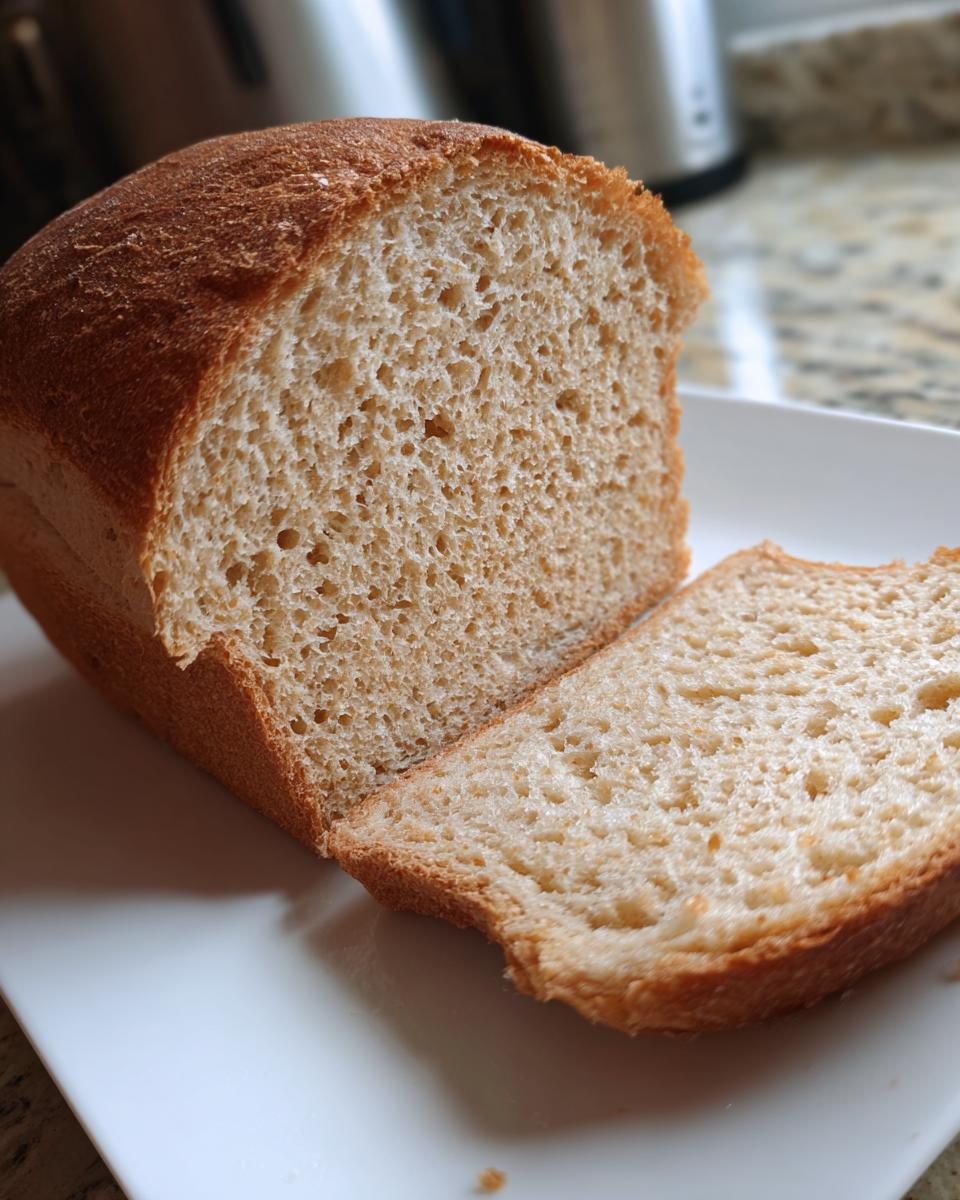
This loaf is sturdy enough to handle some serious mix-ins, which is fantastic because you can personalize it every time you bake! Since we are already using accessible ingredients for our gluten free bread, adding extras is simple. Feel free to stir in about a half cup of dried fruit like chopped apricots or raisins just before pouring the batter into the pan.
If you prefer savory, try adding sun-dried tomatoes and dried herbs like oregano or thyme. For a real flavor upgrade, toast up some seeds—sunflower, pumpkin, sesame—and mix those in near the end! If you’re dreaming of smaller portions, you can absolutely adapt this for a gluten free roll recipe. Just divide the batter evenly into greased muffin tins and reduce the baking time by about 10 to 15 minutes. You can see how well other fruit breads come out when you adjust them, like in this cranberry walnut loaf recipe!
Storage and Reheating Instructions for Gluten Free Bread
Here’s the hard truth about gluten free bread: it loves to stale fast. Because it doesn’t have the structure of traditional wheat flour, moisture evaporates quicker. My advice is to keep it airtight at room temperature for the first couple of days for the softest texture. No more than three days, though! If you know you won’t finish it faster than that, slice the whole loaf first.
Once sliced, you can freeze individual portions. When you’re ready to eat it, don’t try to eat it cold from the freezer! Toasting is your best friend here—it brings back that fresh-baked crispness immediately. A quick 30 seconds in the microwave can also soften a slice nicely, but honestly, toasting is the winner for a truly great bite.
Troubleshooting Common Gluten Free Bread Issues
Even with the best plan, sometimes things go sideways. That’s okay! When you’re dealing with a high-structure recipe like gluten free bread, understanding the failures lets you adjust faster next time. My experience running this as a project means looking at the output and diagnosing the process quickly. If your loaf came out gummy, it almost always means you sliced it too soon before it cooled completely. That resting period is non-negotiable for setting the starches!
If you ended up with a dense crumb that didn’t rise well, double-check that yeast activation step first. A weak yeast equals a low loaf. Also, ensure you’re not adding too much liquid or over-mixing the final batter, even though it seems sticky.
Frequently Asked Questions About Gluten Free Bread
When you’re baking something as specific as gluten free bread, you naturally have questions. I’ve had to figure most of these out myself through trial and error, so let’s cover the common hurdles right now so you can nail your next bake right out of the gate!
Can I use a bread machine for this recipe?
That’s a great question! While this recipe is optimized for the oven using a standard pan, you absolutely *can* adapt it slightly for a bread machine. The batter consistency here is wetter than traditional bread dough, so you’ll need to monitor it closely. I actually have a dedicated guide for dealing with recipes like this in the machine environment, which you can check out if you want to try the machine method. Just remember to use the “Gluten Free” cycle if your machine has one!
What happens if I don’t have xanthan gum?
If you try to make this sandwich bread no gluten without a stabilizer, you’re basically making very fancy sand! Xanthan gum is crucial; it mimics the stretch and elasticity that gluten provides. If your blend doesn’t have it, you need to add it in separately—usually about one teaspoon per cup of GF flour used. Without it, your loaf won’t hold its shape, and you won’t get that nice structure we are aiming for.
Can I make this recipe vegan?
Yes, you certainly can make vegan gluten free bread! It’s very simple. This recipe already calls for melted butter or oil, so if you use a neutral oil (like vegetable or canola), you’ve already made it dairy-free. To make it fully vegan, you just need an egg substitute. You can replace the two large eggs with two “flax eggs” (two tablespoons of ground flaxseed mixed with six tablespoons of water, left to sit for five minutes). It works beautifully, much like it does in my vegan banana bread!
Why did my homemade gluten free bread turn out gummy?
A gummy texture is the worst! In 99% of cases, this happens because the bread was sliced while still warm. Gluten free starches, like tapioca starch which is likely in your blend, need time to fully set as they cool. If you cut into it too soon, the interior is still gelatinous, resulting in that sticky, gummy mess. Patience is truly the hardest part of the process here; you must wait for a full cool-down on the rack!
Nutritional Estimate for This Gluten Free Bread
So, you’ve conquered the bake—congratulations! Now, you might be curious about what you’re actually eating. Here are the estimated numbers for a single slice of this easy gluten free bread loaf. Remember, I run a kitchen, not a lab, so these figures are based on standard ingredient averages and are just a guide!
- Serving Size: 1 slice
- Calories: 140
- Fat: 5g (Saturated Fat: 1g)
- Carbohydrates: 21g
- Fiber: 2g
- Sugar: 3g
- Protein: 4g
A quick note on accuracy: since the density and fat content of various GF flour blends differ quite a bit, your final numbers might shift slightly. If you swap out the butter for a different oil, that will change the saturated fat content instantly. The bread machine versions will also vary! These numbers provide a great baseline, though, so you know exactly what you’re getting with this reliable, homemade loaf.
PrintEasy Homemade Gluten Free Sandwich Bread
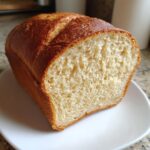
This recipe provides a straightforward method for making a soft, reliable gluten free bread loaf suitable for daily sandwiches, using accessible ingredients.
- Prep Time: 15 min
- Cook Time: 45 min
- Total Time: 60 min
- Yield: 1 loaf 1x
- Category: Baking
- Method: Baking
- Cuisine: American
- Diet: Gluten Free
Ingredients
- 1 1/2 cups warm water (105-115°F)
- 2 teaspoons sugar
- 2 1/4 teaspoons active dry yeast
- 3 cups gluten free all-purpose flour blend (with xanthan gum)
- 1 teaspoon salt
- 2 large eggs, room temperature
- 1/4 cup melted butter or oil
- 1 tablespoon apple cider vinegar
Instructions
- Combine the warm water and sugar in a small bowl. Sprinkle the yeast over the top. Let it sit for 5 to 10 minutes until foamy. This confirms your yeast is active.
- In a large mixing bowl, whisk together the gluten free flour blend and salt.
- Add the foamy yeast mixture, eggs, melted butter or oil, and apple cider vinegar to the dry ingredients.
- Mix with a stand mixer fitted with a paddle attachment (or use a sturdy hand mixer) on medium speed for 4 minutes until the batter is smooth and well combined. The batter will be thick, like cake batter, not traditional bread dough.
- Grease a standard 9×5 inch loaf pan well. Scrape the batter into the prepared pan and smooth the top with a wet spatula.
- Cover the pan loosely with plastic wrap and place it in a warm, draft-free spot to rise for 45 to 60 minutes, or until the dough has nearly doubled in size.
- Preheat your oven to 375°F (190°C) during the last 15 minutes of rising time.
- Bake for 40 to 45 minutes, or until the top is golden brown and a thermometer inserted into the center reads 205°F (96°C).
- Remove the loaf from the pan immediately after baking and place it on a wire rack to cool completely before slicing. This step is crucial for texture.
Notes
- Use a gluten free flour blend that already contains xanthan gum for the best results in this recipe.
- If your kitchen is cool, place the rising dough in a slightly warmed (but turned off) oven to encourage a good rise for your gluten free bread.
- For a dairy free gluten free bread option, substitute the butter with a neutral oil like canola or vegetable oil.
Nutrition
- Serving Size: 1 slice
- Calories: 140
- Sugar: 3
- Sodium: 180
- Fat: 5
- Saturated Fat: 1
- Unsaturated Fat: 4
- Trans Fat: 0
- Carbohydrates: 21
- Fiber: 2
- Protein: 4
- Cholesterol: 35