
Nothing screams comfort food quite like sinking a spoon into a steaming bowl of thick soup, only to realize the bowl itself is the best part. Forget flimsy cracker cups; we are here to talk about serious, edible architecture. This is my definitive, easy recipe for making sturdy, soft **homemade bread bowls** from scratch. As someone who approaches cooking like a project manager, I’ve stripped away the guesswork. We’re optimizing the process here so you get that perfect bakery quality without the fuss. Trust me, these bowls will transform your soup night.
- Why Our Easy Homemade Bread Bowls Recipe Works (The Dishicious Method)
- Ingredients for Bakery Style Bread Bowls from Scratch
- Step-by-Step Easy Bread Bowl Tutorial: Mixing and Kneading
- Proofing and Shaping Your Edible Serving Bowls for Soup
- Baking Sturdy Soup Bowls: Oven Prep and Finish
- How to Make Soup Bowls From Bread: Hollowing Technique
- Serving Suggestions for Your Comfort Food Bread Bowls
- Frequently Asked Questions About Homemade Bread Bowls
- Making Bread Bowls Ahead of Time
Why Our Easy Homemade Bread Bowls Recipe Works (The Dishicious Method)
When you commit to making your own **homemade bread bowls recipe**, you need reliability. My Dishicious method focuses on delivering bread that stands up to liquid, which is the number one pain point people face. The secret isn’t some complex dough; it’s about controlling the rise and the bake time. This recipe maximizes structure while keeping the interior fluffiness you crave so your soup isn’t sitting in a puddle in five minutes.
We are targeting that sweet spot: a crust sturdy enough to contain boiling chili but chewy enough that every bite complements the filling. If you’re looking for basic bread tips to build on, check out my guide on easy yeast bread basics, but be ready to pay close attention to the kneading time here.
Achieving the Perfect Texture for Bread Bowls
The balance comes down to hydration and kneading. We use just enough water to hydrate the flour for a pliable dough—too wet, and it collapses under hot soup. The moderate kneading we suggest develops the gluten just enough to create a strong network. This network traps the steam when baking, giving you that lovely, chewy crumb inside while locking up the exterior for a resilient shell. It’s purely structural engineering, folks!
Ingredients for Bakery Style Bread Bowls from Scratch
We aren’t hunting down fancy ingredients here. My philosophy is built on making great food with what you already have, and this **bakery style bread bowls from scratch** recipe proves it. You only need simple pantry staples to create something that tastes like it just came off a professional baker’s rack. We’ve got yeast, flour, salt, sugar, and butter. That’s it for the structure! This setup ensures maximum flavor impact through technique, not obscure items.
Ingredient Notes and Substitutions for Your Bread Bowls
A couple of quick project notes before you dive in. Your water for activating the yeast absolutely must be between 105°F and 115°F. Too hot, and you kill the yeast; too cold, and it wakes up sluggishly. For the flour, please measure it correctly—don’t scoop directly from the bag, or you’ll end up with too much dense bread. And yes, the butter *must* be melted before adding it in; we aren’t creaming anything yet, so liquid fat is what we need here for that initial dough mix.
Step-by-Step Easy Bread Bowl Tutorial: Mixing and Kneading
Alright, let’s get tactical. This is where we build the skeleton for our edible creations. Following this **easy bread bowl tutorial** sequentially is key to avoiding that sad, flat loaf scenario. Remember, these are steps, not suggestions—think of this as finalizing the framework before the materials cure (that’s the dough rising!).
Step one is activating the yeast. It’s non-negotiable. You mix the warm water, the sugar (which is food for the yeast!), and the yeast together in a large bowl. If you’re using your stand mixer, start here so you can easily transition to the dough hook later; I find this method consistent, especially when following my KitchenAid bread bowl guide because it standardizes the mixing time.
Once you have active, foamy yeast, you toss in the dry ingredients—flour and salt—and that crucial melted butter. Mix it gently until it looks like a shaggy mess. Don’t panic about the texture yet! Now, it’s time for the heavy lifting, which is the kneading.
The Importance of Yeast Activation for Soft Bread Bowls
You need to see real foam after 5 to 10 minutes. If it looks milky or still acts like water, your water temperature was off, and you need to start over with fresh yeast and correctly warmed water. That foam confirms the yeast is alive and ready to get to work producing the gas that makes your dough rise and yields those beautiful **soft bread bowls**.
When you move to kneading—whether by hand for 6 to 8 minutes or with a dough hook on low speed for 5 minutes—you are developing gluten. This is what gives the dough stretch and strength. You want it smooth and elastic. Stop when it feels springy. That smooth, elastic dough is the direct result of properly activated yeast doing its job!
Proofing and Shaping Your Edible Serving Bowls for Soup
Now that we have built the dough structure, we need to let the yeast do the heavy lifting during the proofing stages—these are non-negotiable waiting periods. Step four is the first rise. Place that smooth dough into a lightly oiled bowl, flip it around so it’s coated, cover it up tight, and leave it alone in a warm spot for about an hour to an hour and a half. You are waiting for it to double. Don’t rush this part; patience here means airy **bread bowls** later.
Once doubled, you gently punch the air out—think of it as resetting the project timeline—and move right into shaping. Step five is critical for success. Divide that dough evenly into four pieces. This is where we make our **edible serving bowls for soup**. I want you to treat these rounds gently but firmly. Roll each piece into a nice, tight, round ball by tucking the edges underneath itself until the surface is taut. That tight surface tension is what helps hold the shape during baking.
Place those perfect little dough rounds on your lined baking sheet, giving them space because they are about to puff up again for the second rise in step six. Cover them lightly and let them sit another 30 to 45 minutes. They should look puffy, proud, and ready for the oven!
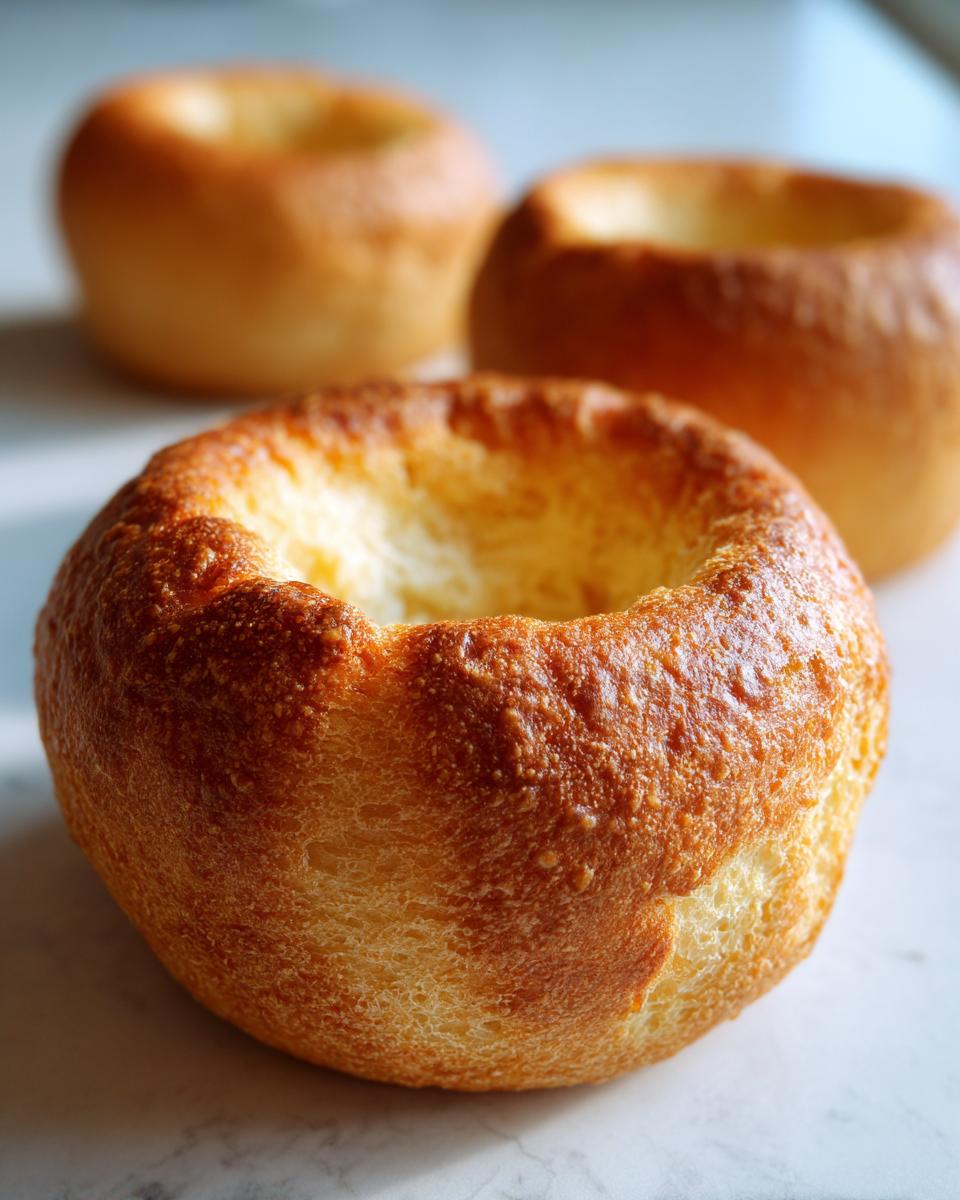
Baking Sturdy Soup Bowls: Oven Prep and Finish
We are in the final stage of construction here, which means getting the temperature exactly right to achieve those **baking sturdy soup bowls**. Preheat your oven to 375°F (190°C) before you go anywhere near the oven door. Once preheated, follow step seven: brush the tops of your puffy dough balls with that egg white wash. Trust me on the wash; that shine and slight crispness provide extra insurance for the exterior of your **bread bowls**.
Into the oven they go for 25 to 30 minutes. You are looking for a deep, rich golden brown. That color isn’t just pretty; it means the crust has set hard enough to support liquid without immediate surrender. Don’t pull them out just because they look merely golden—we want deep color for durability.
Pro Tip for Preventing Soggy Bread Bowls
This is the final engineering trick to guarantee zero sogginess. Once the loaves are completely cooled (hot bread cracks weirdly when you cut it!), you will hollow them out. Before you pour in a single drop of chili, take a tiny bit of melted butter or a dab of the reserved egg wash and just brush the inside walls and bottom of the cavity. This creates a tiny, invisible hydrophobic layer. It seals the crumb. This one small move, taken from the recipe notes, ensures you get maximum enjoyment out of your delicious, sturdy **bread bowls**!
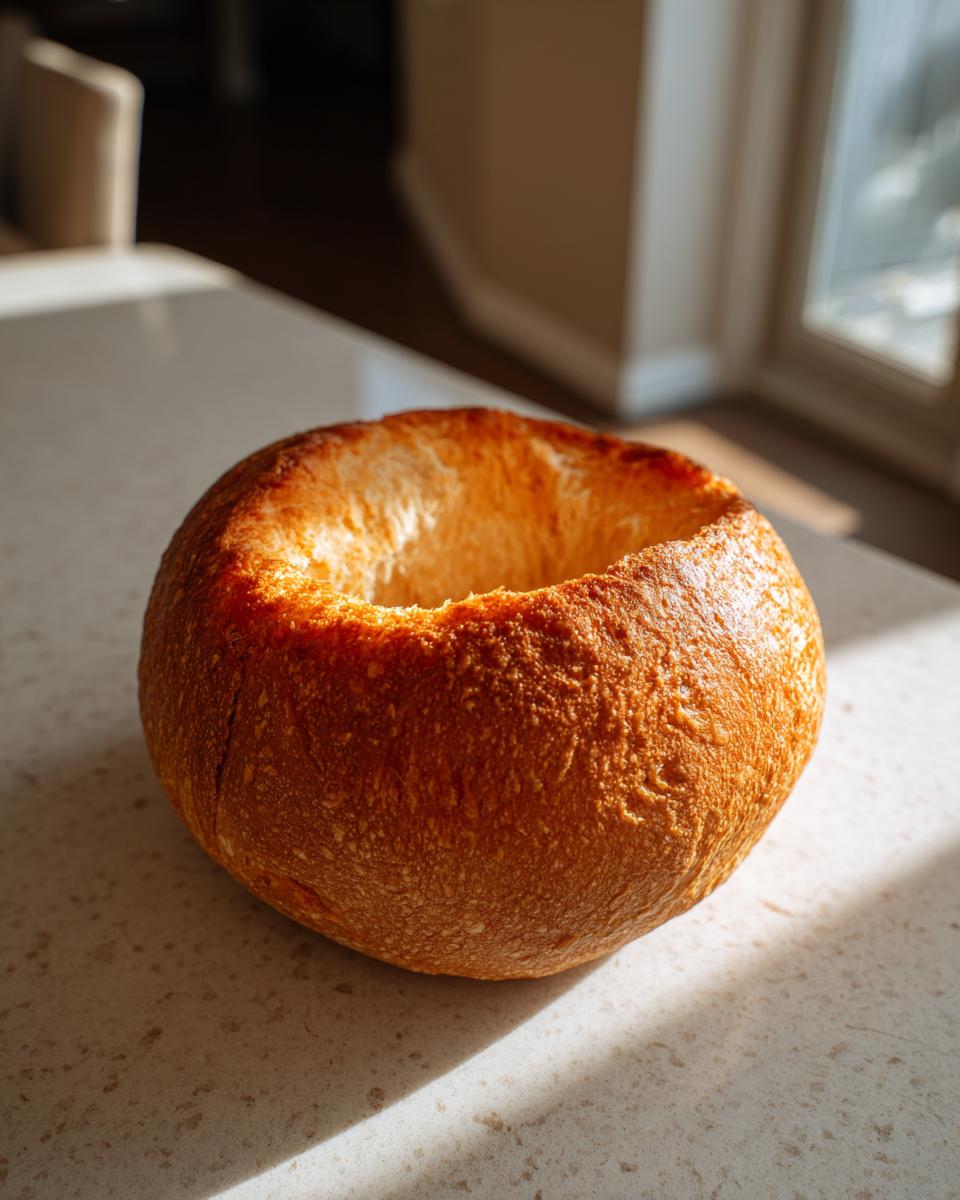
How to Make Soup Bowls From Bread: Hollowing Technique
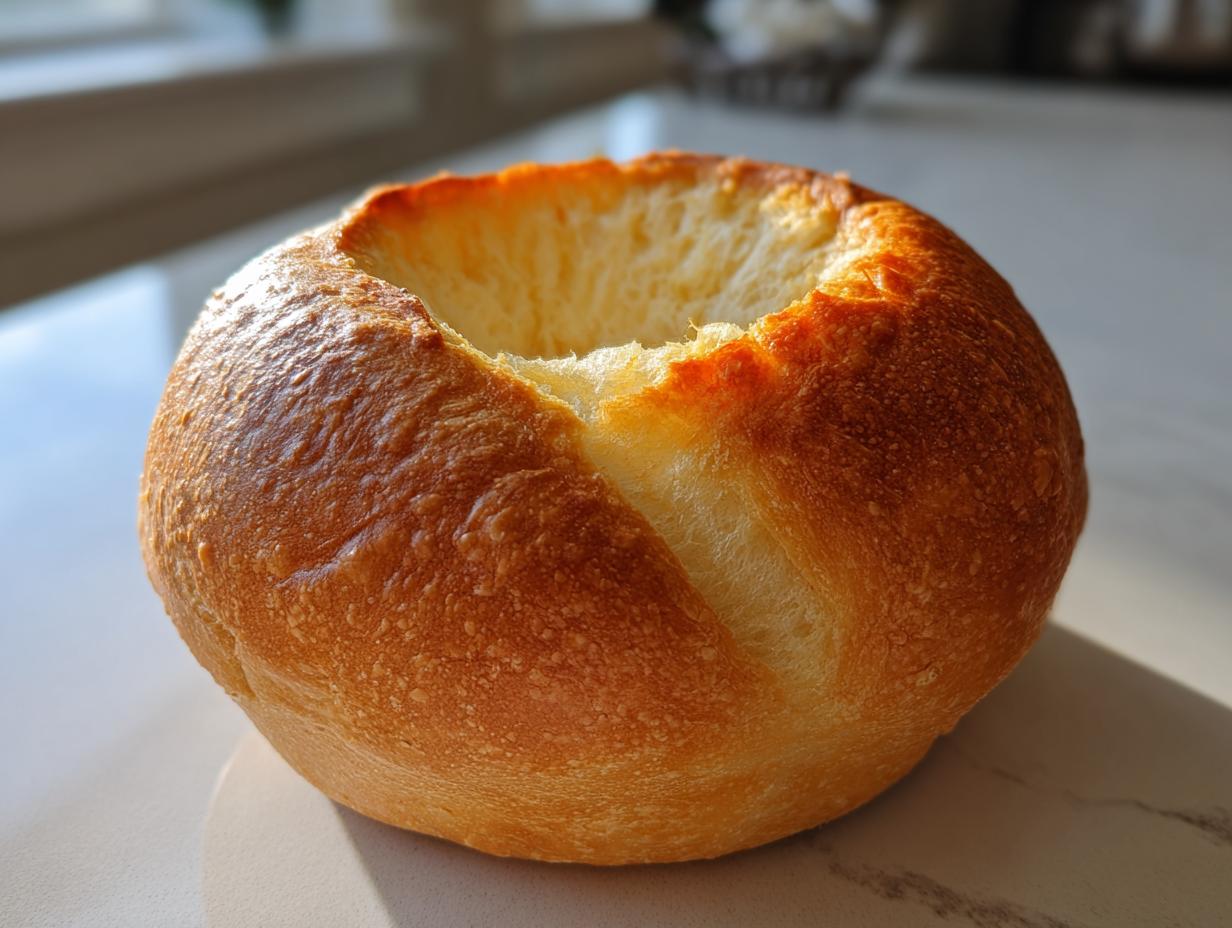
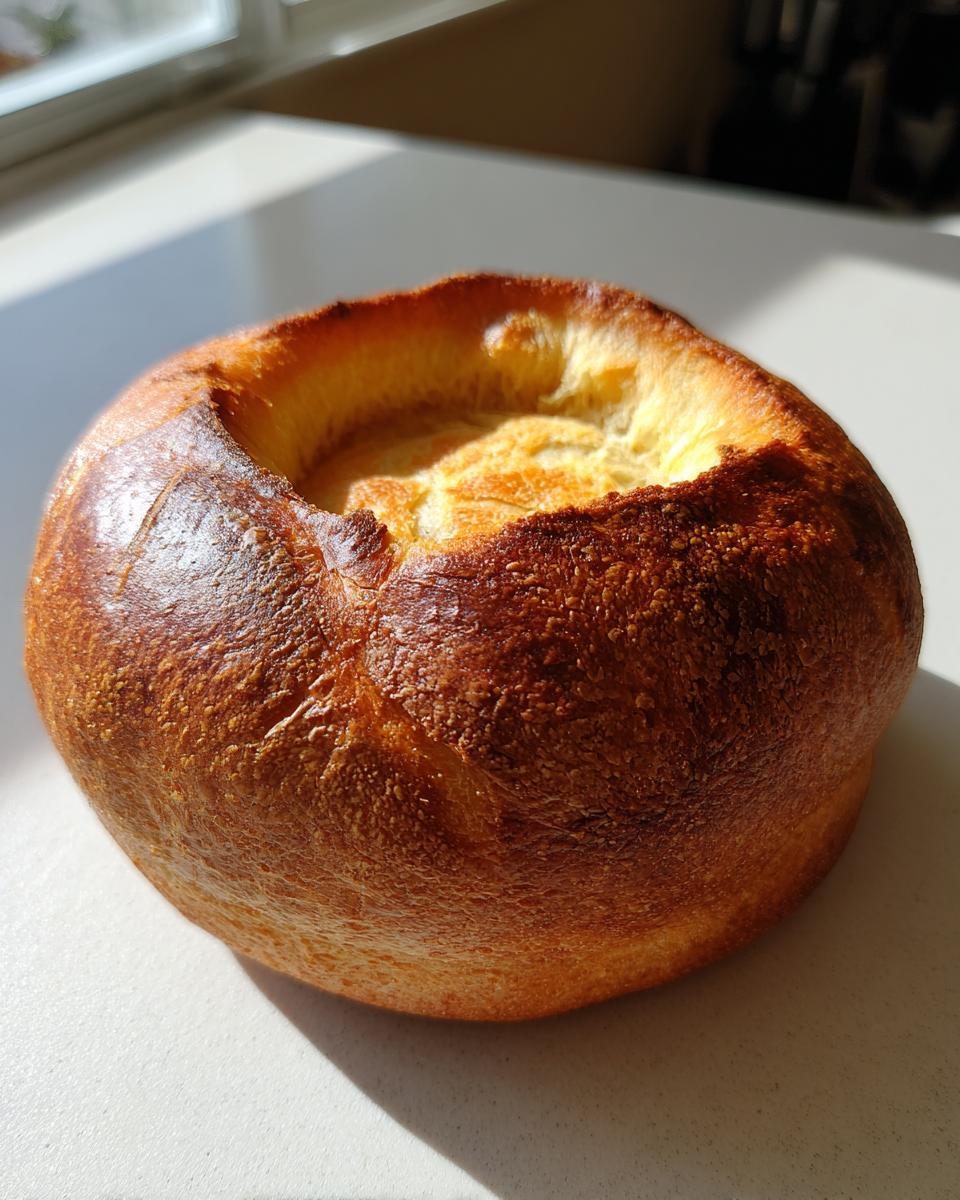
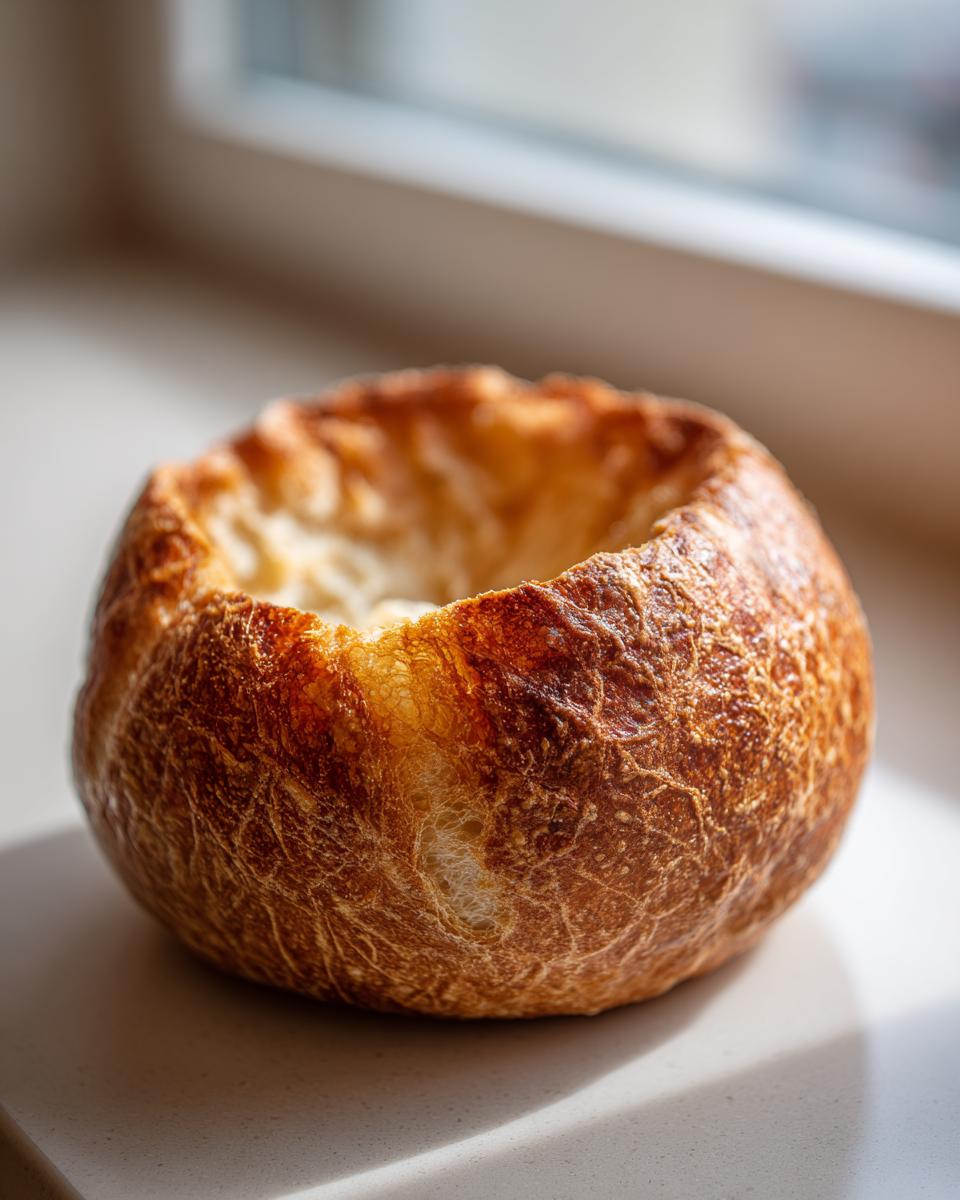
We’ve created the perfect structure, and now it’s time for the crucial transformation: turning a beautiful loaf into functional **bread bowls**. This is step nine, and precision matters here so you don’t compromise the architecture we worked so hard on. When learning **how to make soup bowls from bread**, the goal is to retain enough wall thickness to hold substantial liquid.
Take your cooled loaves and grab your sharpest knife—a serrated bread knife works wonders for the initial cut. Carefully slice off the top cap; this piece is your immediate dipping utensil, so don’t toss it!
Next, start scooping the soft interior bread out. I aim for a wall thickness of about 3/4 of an inch all the way around, including the bottom. You want a solid base and sides, but you need space for that hearty soup! Save every scrap of the scooped-out bread. That soft interior is fantastic for dunking, or you can easily toast it up for croutons later to put on top of your soup—maybe even for a batch of broccoli cheddar soup.
Once hollowed, you are officially ready. You have successfully engineered your own edible serving dishes!
Serving Suggestions for Your Comfort Food Bread Bowls
Now that you’ve mastered the foundation, it’s time for the fun part: filling these masterpieces! Since we engineered these **bread bowls** to be soft yet sturdy, they are the ultimate vehicle for serious **comfort food bread bowls**. You want fillings that are satisfyingly thick—think about anything that clings to a spoon rather than pours like water. The creamy soups we love, like classic broccoli cheddar, are a natural fit, especially after you seal that interior cavity with butter.
But don’t stop at soup! These edible vessels are perfect for hearty, slow-cooked meals. I’ve had amazing success using them for a thick, cheesy chili or even a rich, saucy stew. The bread soaks up just the right amount of flavor without dissolving immediately, which is exactly what we engineered them for. Try loading one up with a spicy Philly cheese steak soup—it’s a flavor explosion!
Savory Bread Bowl Recipes: Beyond Simple Soup
If you want to think outside the standard soup can, get creative! A thick, slow-cooked beef stew is incredible nestled inside one of these loaves. It’s the perfect presentation for game day or a cozy winter night. For parties, forget bowls entirely and use them as giant edible dipping stations. Imagine baking a salty pretzel bread bowl (or even just using this style) and filling it with hot spinach artichoke dip, or perhaps a batch of creamy white chicken chili. Honestly, practically any thick, savory dip or hearty winter recipe works wonders here. It turns a simple dinner into an event!
Frequently Asked Questions About Homemade Bread Bowls
When you bake something this good, naturally, you have questions! I get it; baking bread can feel intimidating, but remember, we approached this like a project—streamlined and simple. Ask me anything about getting these perfect every time!
Can I use sourdough starter to make these bread bowls?
That’s a great question if you’re looking for that tangier flavor profile. Honestly, this specific recipe is calibrated for the rise power of commercial active dry yeast because we need reliability and speed for our easy method. If you want to transition this to a **soft sourdough bread bowls** style, you absolutely can! You would likely replace the yeast and warm water with a very active, ripe sourdough starter—maybe a cup or so—and significantly increase the overall rise time. For general starter tips, I talk about mixing up flatbreads in my skillet guide, which relies on a good starter feed: check out my notes on feeding starters there.
How long do bread bowls stay fresh?
Since this recipe leans toward a softer crumb rather than a super thick, hard shell, they are best eaten the day they are baked, especially if you plan on filling them with hot liquid! If you have leftovers—unhollowed loaves store best—keep them in an airtight container at room temperature for up to three days. Don’t put them in the fridge, though; that just makes them go stale faster! If they harden up a bit, just slice them open and pop them in a 350°F oven for five minutes to refresh that crust.
What is the best dough for bread bowls?
For maximum success with minimal fuss, the **best dough for bread bowls** should balance structure and tenderness. That’s exactly what we hit with this recipe! It’s a straightforward, enriched white flour dough. You want enough gluten development to support the weight of soup but enough fat (our melted butter) to keep the crumb tender. If you chase anything too lean, you end up with hard rolls, not soft, dunkable **bread bowls**!
Making Bread Bowls Ahead of Time
Life is busy, and sometimes you just can’t bake right before soup night. Good news: you can definitely make these **bread bowls** ahead of time! I treat the unhollowed loaves just like any other bread when prepping for later use. If you want to freeze them, bake them completely, let them cool totally, and then wrap each loaf tightly in plastic wrap, followed by a layer of foil.
When you’re ready to use them, just thaw them on the counter and pop them in a 350°F oven for about 10 minutes to crisp up that crust again. If you want to freeze the dough instead, which I do when prepping for parties, you can freeze it right after shaping (step 6). Thaw it in the fridge overnight, let it come to room temp for a quick second rest, and then bake as directed. It’s a great way to speed things up later, just like keeping my cinnamon roll dough ready in the freezer!
PrintEasy Homemade Soft Bread Bowls: Perfect for Soup

Make sturdy, soft bread bowls from scratch. This recipe focuses on achieving a chewy interior and a crust that holds your favorite soups or chili without getting soggy quickly.
- Prep Time: 20 min
- Cook Time: 30 min
- Total Time: 1 hour 55 min
- Yield: 4 servings 1x
- Category: Baking
- Method: Baking
- Cuisine: American
- Diet: Vegetarian
Ingredients
- 1 packet (2 1/4 teaspoons) active dry yeast
- 1 teaspoon granulated sugar
- 1 cup warm water (105°F to 115°F)
- 3 cups all-purpose flour, plus more for dusting
- 1 1/2 teaspoons salt
- 2 tablespoons unsalted butter, melted
- 1 egg white, beaten with 1 teaspoon water (for egg wash)
- Coarse salt, for topping (optional)
Instructions
- Activate the yeast: In a large bowl, combine the warm water, sugar, and yeast. Let stand for 5 to 10 minutes until foamy.
- Mix the dough: Add the flour, salt, and melted butter to the yeast mixture. Mix with a wooden spoon or a stand mixer with a dough hook until a shaggy dough forms.
- Knead: Turn the dough out onto a lightly floured surface and knead for 6 to 8 minutes until the dough is smooth and elastic. If using a stand mixer, knead on low speed for 5 minutes.
- First rise: Place the dough in a lightly oiled bowl, turning to coat. Cover the bowl with plastic wrap or a clean towel and let it rise in a warm place for 1 to 1.5 hours, or until doubled in size.
- Shape the bowls: Gently punch down the dough. Divide it into 4 equal pieces. Shape each piece into a tight, round ball. Place the balls on a baking sheet lined with parchment paper, leaving 3 inches between them.
- Second rise: Cover the shaped dough loosely and let them rise again for 30 to 45 minutes. They should look puffy.
- Preheat and prepare: Preheat your oven to 375°F (190°C). Brush the tops of the dough balls lightly with the egg white wash and sprinkle with coarse salt, if desired.
- Bake: Bake for 25 to 30 minutes, or until the bread bowls are deep golden brown.
- Cool and hollow: Let the bread bowls cool on a wire rack for at least 15 minutes before hollowing. To hollow, use a sharp knife to cut a circle around the top, leaving about a 3/4-inch thick wall. Scoop out the soft interior bread, leaving the bottom and sides intact to create a sturdy bowl.
Notes
- For a sturdier bowl that resists sogginess, brush the inside cavity lightly with melted butter or an egg wash before filling with hot soup.
- Save the scooped-out bread pieces for dipping or making croutons.
- If you use a stand mixer, this recipe works well with the KitchenAid bread bowl guide method for consistent results.
Nutrition
- Serving Size: 1 bread bowl
- Calories: 320
- Sugar: 2
- Sodium: 350
- Fat: 5
- Saturated Fat: 3
- Unsaturated Fat: 2
- Trans Fat: 0
- Carbohydrates: 60
- Fiber: 3
- Protein: 10
- Cholesterol: 15