

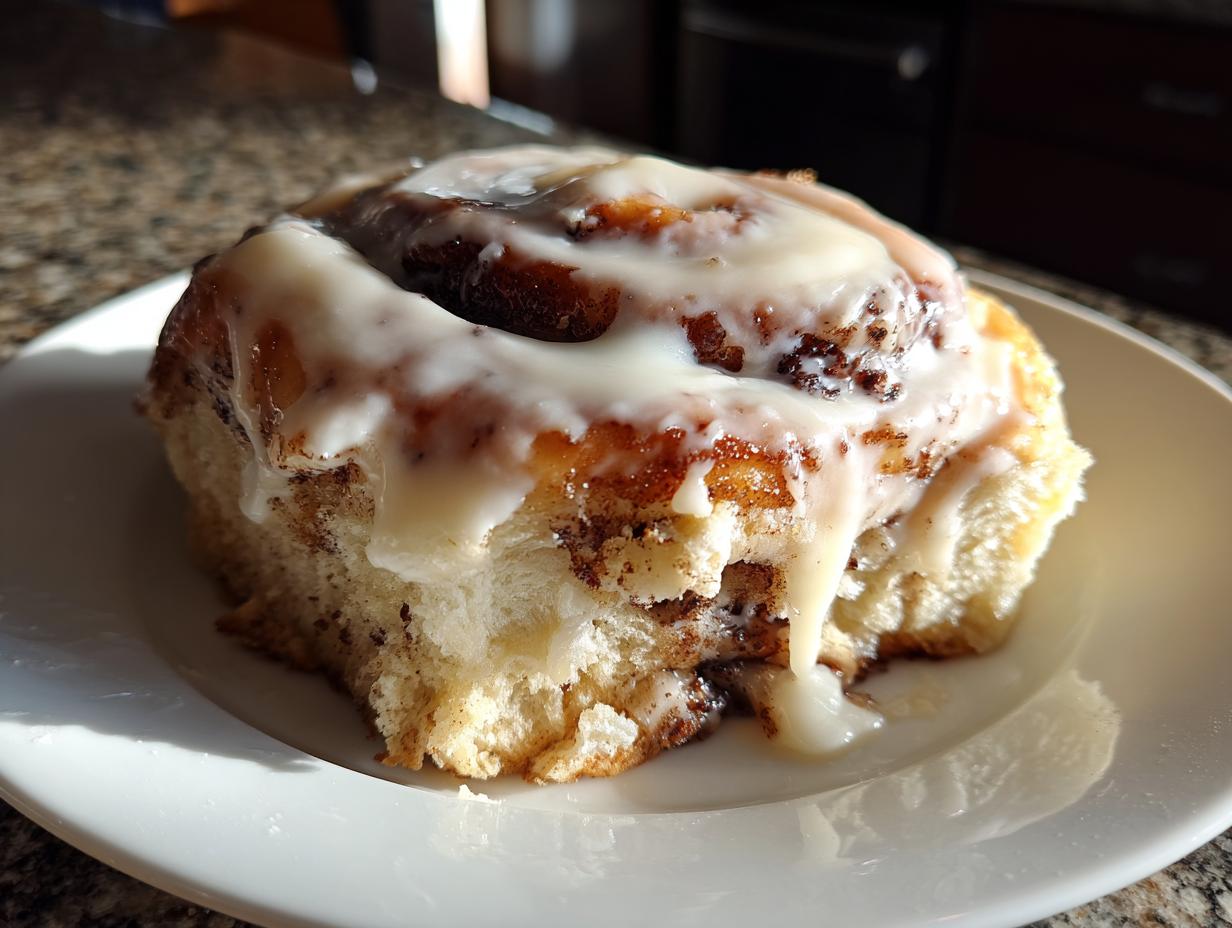
Let’s be honest: most gluten-free baked goods are an exercise in disappointment. You follow the instructions exactly, and what you end up with feels more like spiced bread than a fluffy, gooey treat. That awful, dry texture is what I was trying to eliminate when I first engineered this recipe. As a project manager by trade, I approach baking like optimizing a process, and for these, the goal was simple: create the **best gluten free cinnamon rolls** that defy the usual dryness issue. This recipe is my streamlined, foolproof method for achieving that perfect, soft, and irresistibly chewy result. You won’t believe they skip the wheat.
- Why This is the Best Gluten Free Cinnamon Rolls Recipe (The Project Manager's Approach)
- Ingredients for Soft Gluten Free Cinnamon Rolls
- Essential Ingredient Notes and Substitutions for Gluten Free Yeast Rolls
- How to Prepare Gluten-Free Cinnamon Rolls: Step-by-Step Instructions
- Baking and Frosting Tips for Perfect Gluten Free Cinnamon Rolls
- Make Ahead & Storage Instructions for Your Soft Gluten Free Sweet Rolls Recipe
- Troubleshooting Common Issues with Gluten Free Cinnamon Rolls
- Frequently Asked Questions About Gluten Free Cinnamon Rolls
- Estimated Nutritional Data for Gluten Free Cinnamon Rolls
Why This is the Best Gluten Free Cinnamon Rolls Recipe (The Project Manager’s Approach)
When you work with gluten-free dough, you can’t treat it like standard wheat dough; that’s where 90% of people go wrong. Traditional recipes fail because they expect the dough to develop gluten structure, which, of course, isn’t there. We manage texture here through careful hydration and the right mix of binding agents.
My focus, as always, was on efficiency and reliability. We tackle the dryness problem head-on by ensuring the dough is wetter than you might instinctively feel comfortable with. It’s more like a thick batter, and that’s exactly what you want to achieve those notoriously **fluffy gluten free baked goods**. We rely heavily on the right blend of flour—more on that later—and the inclusion of both baking powder and yeast.
This combination gives us the lift we need without demanding complex kneading. The result? You get the **best gluten free cinnamon rolls** that are genuinely soft, chewy, and gooey, even after they cool down from the oven. You can trust this process to deliver that classic, comforting flavor every time, without needing any culinary guesswork.
It’s about engineering success. When you’re ready to try out some other reliable baking projects, I’ve got a great method for homemade bread bowls that handles dough management similarly.
Ingredients for Soft Gluten Free Cinnamon Rolls
Here’s the lineup. Because we’re skipping the gluten, we have to be super precise with our quantities to make sure these turn out just right. Don’t try to eyeball anything here; this is where the structure is built!
For the Dough:
- 1 cup warm milk (make sure this hits that 105°F to 115°F sweet spot—too hot and you kill the yeast!)
- 2 teaspoons active dry yeast
- 1/4 cup granulated sugar plus 1 teaspoon for the yeast
- 1/2 cup (1 stick) unsalted butter, softened
- 2 large eggs, room temperature is important here
- 1 teaspoon vanilla extract
- 3 1/2 cups high-quality gluten-free all-purpose flour blend (this MUST have xanthan gum included)
- 1 teaspoon baking powder
- 1/2 teaspoon salt
For the Gooey Cinnamon Filling
This part is simple but critical for that amazing swirl. Make sure your butter is truly soft—not melted, just spreadable—so it mixes easily with the sugar.
- 1/2 cup (1 stick) unsalted butter, softened
- 1 cup packed light brown sugar (packed tight!)
- 2 tablespoons ground cinnamon
For the Cream Cheese Frosting for Gluten Free Rolls
You want this rich, slightly tangy topping. The temperature of the cream cheese and butter here is everything for a smooth, professional finish. For more frosting tips, check out my recipe for smooth cream cheese frosting.
- 8 ounces cream cheese, softened
- 1/2 cup (1 stick) unsalted butter, softened
- 3 cups powdered sugar, sifted (don’t skip the sifting!)
- 1 teaspoon vanilla extract
- 1-2 tablespoons milk or heavy cream
Essential Ingredient Notes and Substitutions for Gluten Free Yeast Rolls
Okay, let’s talk about the flour, because that’s the non-negotiable piece of this puzzle. Since we are making **gluten-free cinnamon rolls**, we can’t just swap out wheat flour for something like almond flour, or it’ll fall apart. I learned this the hard way early on; those single-flour experiments rarely work well for yeast baking.
For these rolls to be fluffy and chewy, you absolutely must use a quality all-purpose gluten-free blend that already contains xanthan gum. This provides the structure we need to trap the yeast gases and keep everything light during that rise. If your blend doesn’t have it, you’ll need to add about 1 to 1.5 teaspoons, but using a reputable mix designed for baking is easier.
If you need to make a substitution—say, you’re making these for someone who avoids dairy—you can generally swap the milk for an unsweetened, neutral plant milk like oat or soy. It acts almost identically in the yeast activation step.
Selecting the Best Gluten Free Flour Blend for Rolls
Listen, if you use straight rice flour or just specialized gluten-free oat flour, you are signing up for dense, crumbly hockey pucks. I’m not kidding. For true, soft rolls, you need that commercial blend. Think about a reputable brand that lists a mix of rice flours, starches (like potato or tapioca), and your essential xanthan gum. That blend mimics the characteristics of wheat flour much better.
We need the blend to be sturdy enough to roll out but delicate enough to stay soft after baking. Stick to a blend that has been reliable for other baked goods, and trust me when I say it delivers the structure needed for these **gluten-free cinnamon rolls**.
How to Prepare Gluten-Free Cinnamon Rolls: Step-by-Step Instructions
Alright, the prep work is done. Now we tackle the dough itself. This is where we engineer the softness, so pay close attention to how the dough behaves—it’s different than regular dough, I promise you that! We need to manage the texture carefully to ensure we end up with those truly **gooey gluten free cinnamon swirls**.
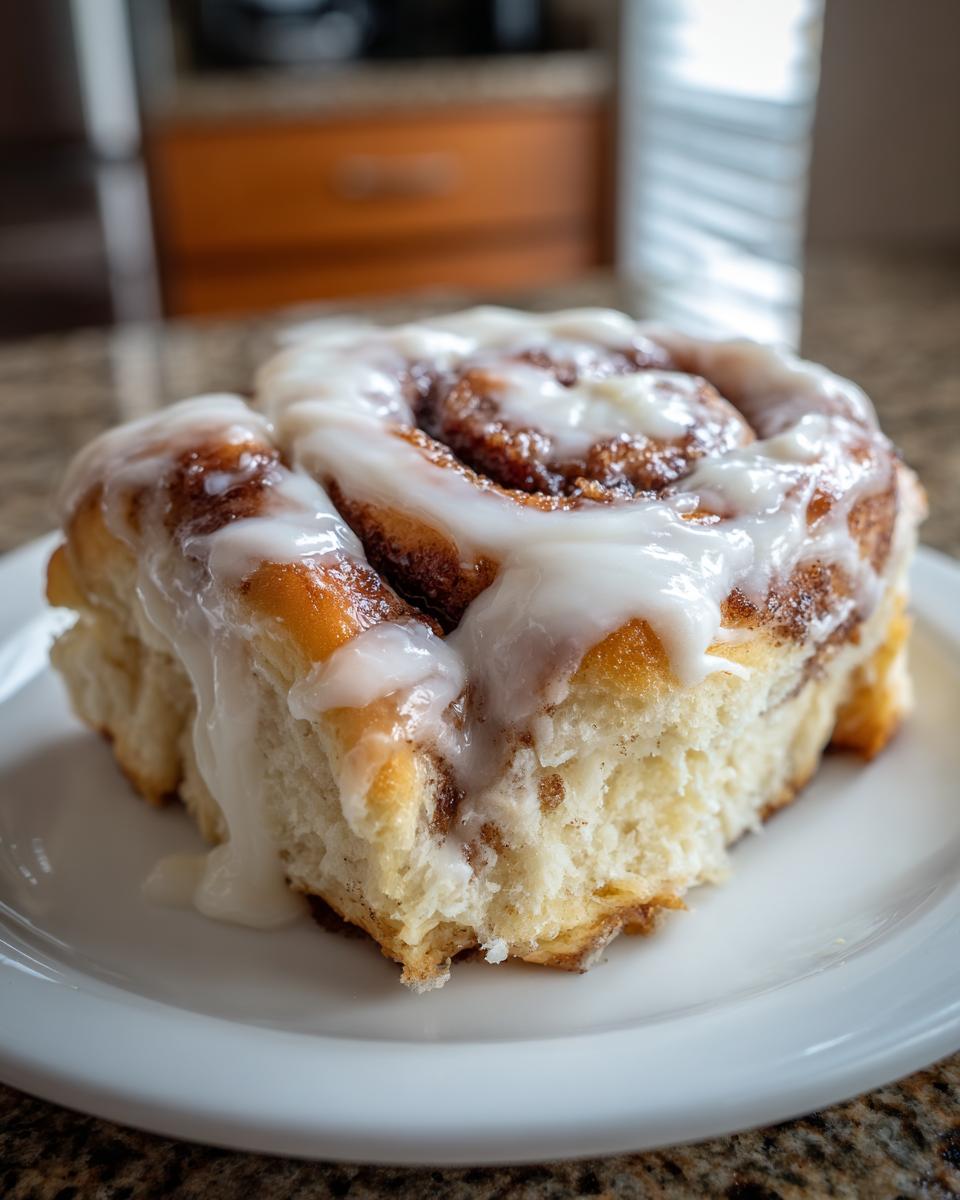
Activating the Yeast and Mixing the Dough for Gooey Gluten Free Cinnamon Swirls
First things first: yeast activation. Double-check that your milk temperature is between 105°F and 115°F. If it’s too cold, nothing happens. If it’s too hot, you’ve wasted ingredients! Once the yeast is foamy—that tells you it’s alive and ready to work—we move to the mixer. If you’re interested in the science behind this step specifically, I dive deep into perfecting the yeast recipe for gluten free baking.
Combine your wet ingredients, then start adding the dry blend slowly. Use your stand mixer on low speed. I want you to stop mixing as soon as everything is just combined. The dough will look extremely sticky. Seriously, it looks like thick, pale batter, not a cohesive ball like traditional dough. Resist the urge to dump in more flour! That sticky quality is precisely what guarantees moist rolls. Cover it up and let it rise in a warm spot for about an hour and a half. It should noticeably puff up.
Shaping, Filling, and Second Rise for Your Gluten Free Cinnamon Rolls
Once the dough has risen, turn it out onto your workspace. This is where you’ll need a little GF flour dusting—just enough to keep it from sticking to your hands or the counter when you press it out into that 12×18 inch rectangle. Don’t aggressively knead; just gently ease it into shape. For more on handling doughs, take a look at my guide for simple easy gluten free yeast rolls.
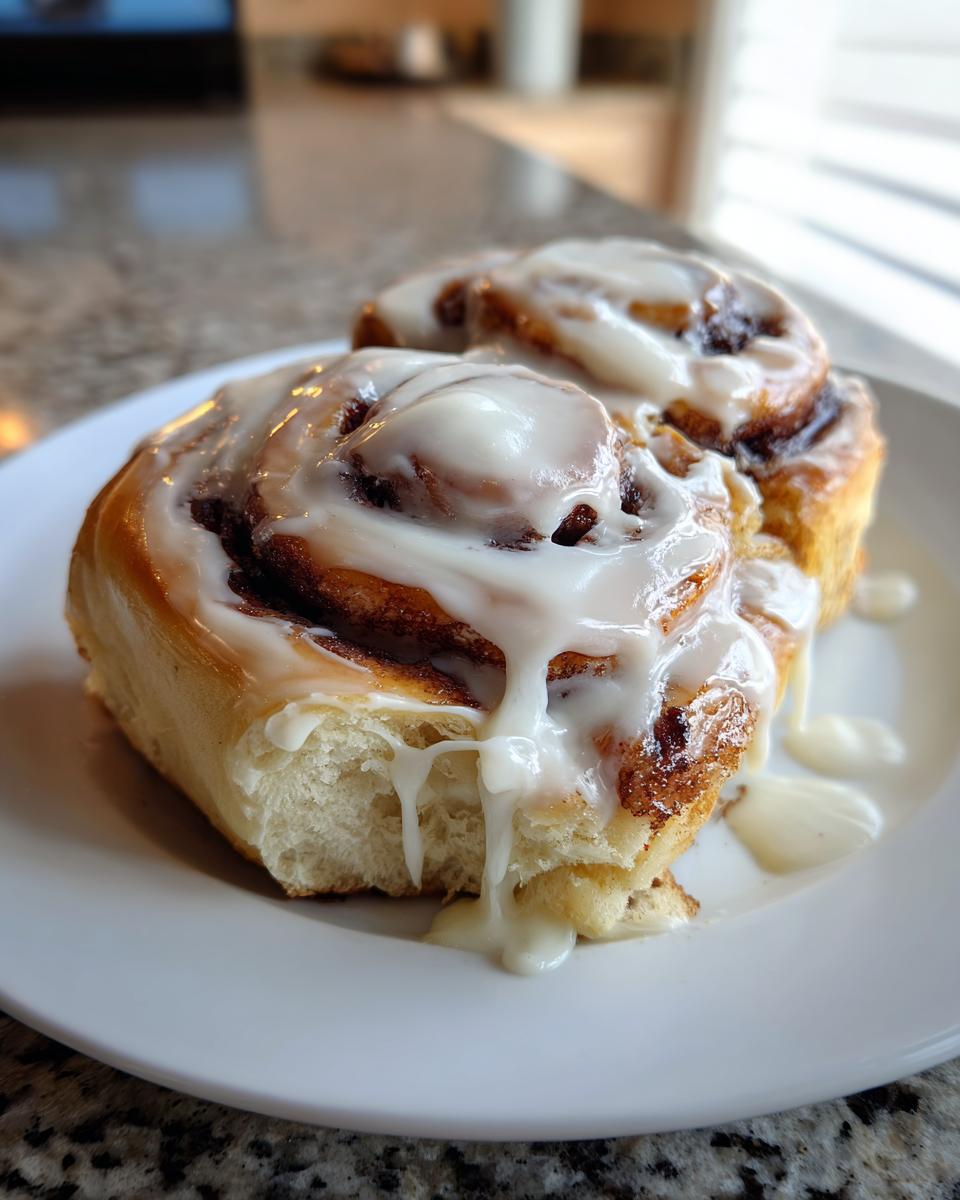
Take your softened cinnamon filling and spread it edge-to-edge. Then, roll that log up as tightly as you can along the long side. Roll it tight, okay? That’s how you get those beautiful swirls throughout your **easy gluten free yeast rolls**. Cut the log into 12 pieces. Place them in your prepared 9×13 pan, leaving a tiny bit of space between each piece.
Cover them again loosely and let them have their second rise for about 40 minutes. They won’t double in size like wheat dough, but they will relax and puff up before hitting the heat of the oven.
Baking and Frosting Tips for Perfect Gluten Free Cinnamon Rolls
Once those rolls have puffed nicely during the second rise, it’s time to bake them at 375°F. I tell people to check around the 25-minute mark. Because GF doughs brown differently, you’re looking for a rich golden color on top. If you accidentally over-bake, don’t stress—we have a lifeline!
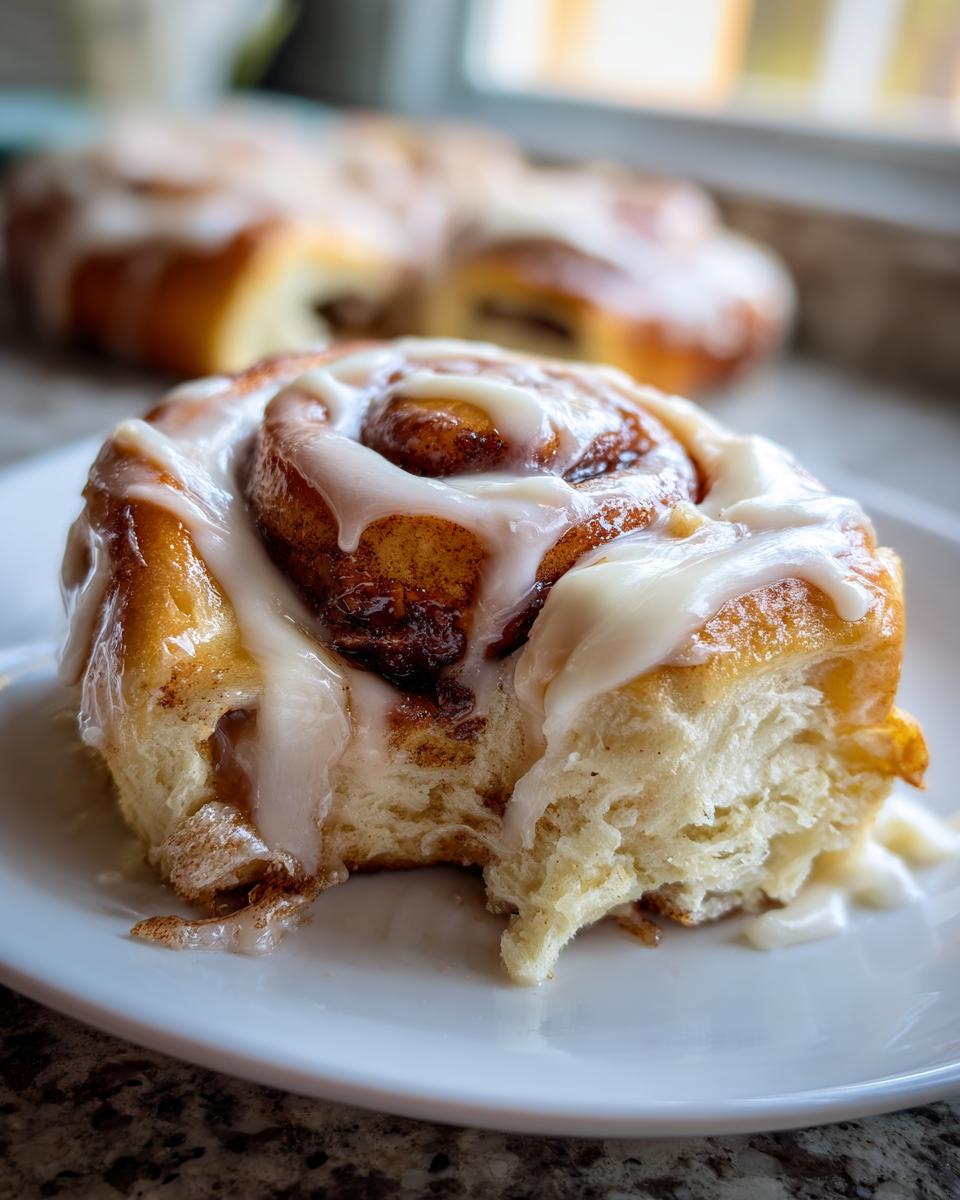
I remember the first weekend I finally nailed this recipe. I pulled them out, and I thought, “Okay, they look good, but they’re probably going to be dry.” But the moment I slathered that rich frosting over them while they were still warm, I saw the sugar melting just right into the sides. That’s when I knew I had cracked the code for truly excellent **homemade gluten free breakfast**.
Here’s the crucial step: Frost them while they are still warm, but not piping hot. If they are freezing cold, the frosting just sits on top. If they are too hot, the frosting melts away entirely. Warm is the magic window. This guarantees the final product stays moist and achieves that gooey texture we are aiming for. For more fun morning ideas, you might enjoy my cinnamon roll muffins!
Make Ahead & Storage Instructions for Your Soft Gluten Free Sweet Rolls Recipe
One of the best parts of baking something incredible like this is knowing you don’t have to eat it all right away. As someone managing a busy schedule, I design my best recipes to work around life, not against it. These **soft gluten free sweet rolls recipe** are fantastic as a make-ahead item, which is perfect for stressful holiday mornings or weekend brunch planning.
You can absolutely utilize the make-ahead option right before the second rise. After you slice the rolls and place them in that greased 9×13 pan, cover the whole thing TIGHTLY with plastic wrap. Then pop it into the refrigerator for up to 12 hours. Don’t worry about the yeast dying; they slow right down when cold.
When you wake up the next morning—you need to let them sit on the counter for about 45 minutes to an hour to warm up slightly before baking. They won’t get as puffy as if they rose at room temp, but they will still rise enough for a soft bake. This is a great strategy for a make ahead gluten free dessert strategy!
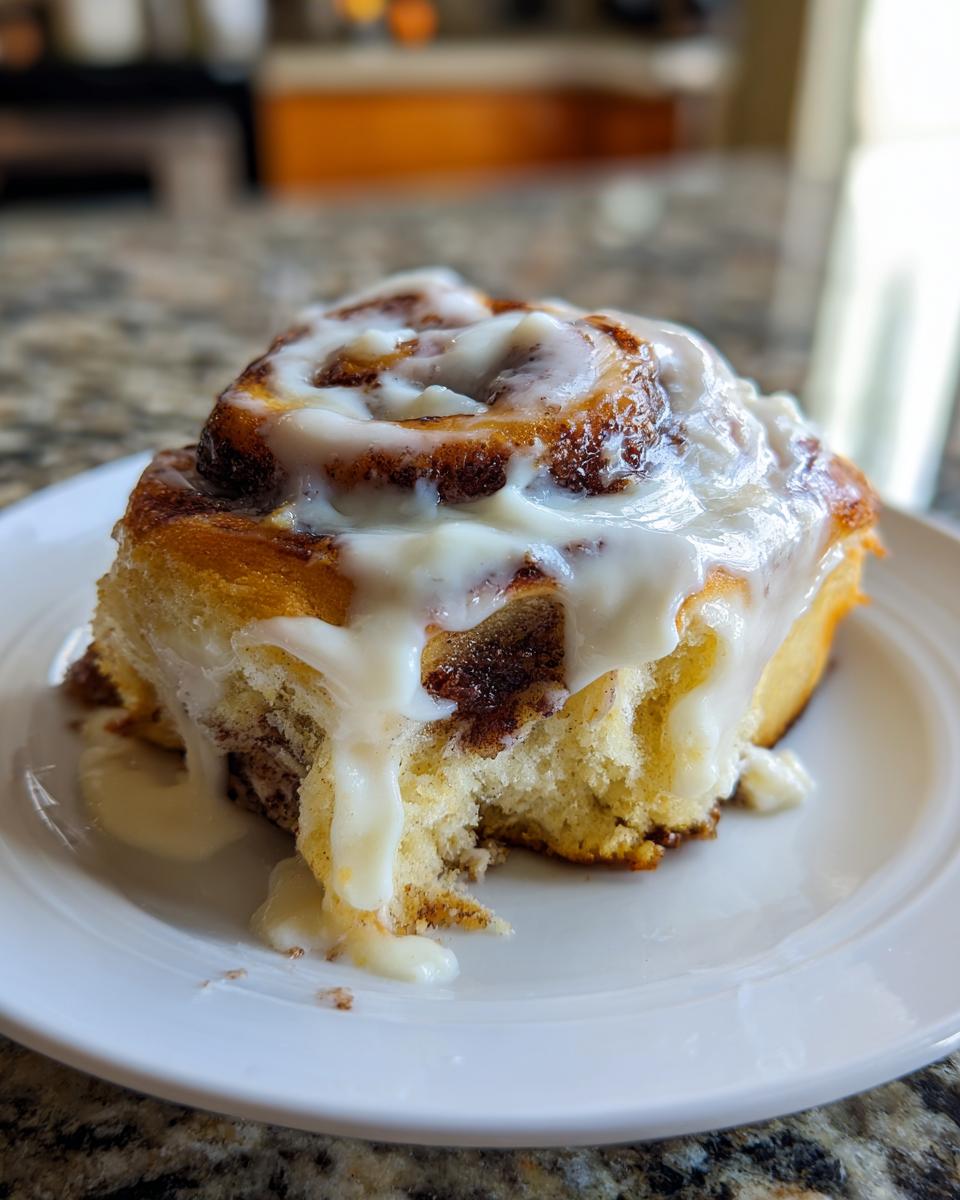
If you have leftovers, store them in an airtight container at room temperature for up to two days. Gluten-free items dry out faster than wheat ones, so airtight is key. To revive that fresh-out-of-the-oven gooeyness, microwave a single roll for about 15 to 20 seconds. It warms the frosting perfectly and re-moisturizes the crumb. If you’re warming up several, pop them in a 300°F oven for 5 minutes tented with foil.
Troubleshooting Common Issues with Gluten Free Cinnamon Rolls
Even with a solid plan, sometimes things go off track. That’s fine. The project manager in me requires having solid contingency plans. If your **gluten-free cinnamon rolls** end up dry, it almost always means you added too much flour during shaping, or you baked them too long. Go back to that sticky dough consistency in your notes and remember: wetter is better!
If the dough isn’t rising well, check two things immediately: the milk temperature and the warmth of your rising spot. If the kitchen is cold, the yeast stalls. Try turning your oven light on, letting it warm up slightly (but not hot!), and putting the covered bowl inside the off oven.
Finally, frosting too runny? That’s an easy fix. Just sift in a little more powdered sugar, a tablespoon at a time, until it thickens up to what I call a ‘spreadable state’—not stiff, but not pouring off the sides of the roll.
Frequently Asked Questions About Gluten Free Cinnamon Rolls
How long do these gluten free cinnamon rolls stay soft?
Because gluten-free items lack the protein structure that traps moisture long-term, they are best eaten the day they are made. However, if stored correctly in an airtight container at room temperature, they will stay remarkably soft for a full 24 hours. Reheating for 15 seconds in the microwave brings back that glorious, just-baked gooiness. For more fantastic ways to streamline your morning meals, check out my guide to easy breakfast and brunch ideas.
Can I use maple syrup or honey instead of granulated sugar in the dough?
That’s a great question about substitutions! While I standardize with sugar for reliability, you *can* substitute honey or maple syrup, but you need to make an adjustment related to liquid volume and yeast activation. Liquid sweeteners can sometimes interfere with yeast resting properly. If you swap, reduce the milk by about two tablespoons to compensate for the extra liquid the syrup introduces. It works, but it’s one more variable to monitor, so I usually stick to dry sugar for the dough base.
What is the trick to getting the rolls to rise well without gluten?
The trick is patience and warmth! Yeast needs a cozy environment to do its job, and gluten-free flour doesn’t have the inherent structure that wheat provides as a scaffolding. Ensure your milk is in that 105-115°F range, and then make sure your rising spot is truly warm—maybe near a preheating oven. The longer, slower rise during the first proof helps the structure develop properly before baking.
Can I freeze these gooey gluten free cinnamon swirls?
Yes, and this is a fantastic strategy for holiday baking! I prefer freezing them *after* the second rise but *before* baking. Shape them, place them in a disposable foil pan, cover tightly with plastic wrap, and freeze. When you want them, remove the foil, let them thaw on the counter for a couple of hours, and bake as directed (you might need to add 5 to 10 minutes to the bake time). They come out tasting freshly made!
Estimated Nutritional Data for Gluten Free Cinnamon Rolls
As much as I focus on streamlining the cooking process, I also like transparency about what we’re eating! Since every brand of gluten-free flour blend is slightly different, and the exact amount of frosting you pile on is always up for debate, these numbers are just an estimate based on the recipe ingredients listed.
This data assumes one serving equals one roll, generously frosted:
- Serving Size: 1 roll
- Calories: 450
- Sugar: 45g
- Sodium: 250mg
- Fat: 25g
- Saturated Fat: 15g
- Carbohydrates: 55g
- Protein: 5g
Keep in mind these are just averages, folks. If you use low-fat cream cheese in the frosting, those numbers will shift slightly in your favor! But trust me: for a weekend treat that feels this indulgent, 450 calories is a great baseline for a truly successful, non-dry, **fluffy gluten free baked good**.
PrintSoft and Gooey Gluten-Free Cinnamon Rolls
Follow this straightforward recipe to make the best gluten free cinnamon rolls that are soft, fluffy, and chewy, avoiding the dryness often found in gluten-free baked goods.
- Prep Time: 30 min
- Cook Time: 30 min
- Total Time: 1 hour 45 min
- Yield: 12 servings 1x
- Category: Breakfast
- Method: Baking
- Cuisine: American
- Diet: Gluten Free
Ingredients
- 1 cup warm milk (105-115°F)
- 2 teaspoons active dry yeast
- 1/4 cup granulated sugar plus 1 teaspoon for yeast
- 1/2 cup (1 stick) unsalted butter, softened
- 2 large eggs, room temperature
- 1 teaspoon vanilla extract
- 3 1/2 cups high-quality gluten-free all-purpose flour blend (with xanthan gum included)
- 1 teaspoon baking powder
- 1/2 teaspoon salt
- For the Filling:
- 1/2 cup (1 stick) unsalted butter, softened
- 1 cup packed light brown sugar
- 2 tablespoons ground cinnamon
- For the Frosting:
- 8 ounces cream cheese, softened
- 1/2 cup (1 stick) unsalted butter, softened
- 3 cups powdered sugar, sifted
- 1 teaspoon vanilla extract
- 1–2 tablespoons milk or heavy cream
Instructions
- Activate the Yeast: In a small bowl, combine the warm milk, 1 teaspoon of sugar, and the yeast. Let stand for 5 to 10 minutes until foamy.
- Mix Dry Ingredients: In a large bowl, whisk together the gluten-free flour blend, baking powder, and salt.
- Combine Wet Ingredients: In a separate bowl, cream together the 1/2 cup softened butter and 1/4 cup granulated sugar until light. Beat in the eggs one at a time, then mix in the vanilla extract. Add the yeast mixture.
- Form the Dough: Gradually add the dry ingredients to the wet ingredients, mixing on low speed with a stand mixer or by hand until a soft, sticky dough forms. Gluten-free dough will not look like traditional wheat dough; it will be more like a thick batter.
- First Rise: Cover the bowl with plastic wrap and place it in a warm spot for 60 to 90 minutes, or until the dough has visibly increased in size.
- Prepare Filling: While the dough rises, mix the 1/2 cup softened butter, brown sugar, and cinnamon until smooth. Set aside.
- Shape the Rolls: Lightly grease a 9×13 inch baking pan. Turn the dough out onto a surface lightly dusted with gluten-free flour. Gently press or roll the dough into a rectangle approximately 12×18 inches.
- Spread Filling: Spread the cinnamon-sugar filling evenly over the dough surface. Roll the dough tightly along the long edge to form a log.
- Slice and Place: Cut the log into 12 equal pieces. Place the rolls cut-side up in the prepared baking pan, leaving a small space between them.
- Second Rise: Cover the pan loosely and let the rolls rise in a warm place for 30 to 45 minutes. They will puff up slightly.
- Bake: Preheat your oven to 375°F. Bake for 25 to 30 minutes, or until the tops are golden brown.
- Make Frosting: While the rolls cool slightly, beat the softened cream cheese and butter until smooth. Gradually beat in the sifted powdered sugar, vanilla, and 1 tablespoon of milk until creamy. Add the second tablespoon of milk if needed for a thinner consistency.
- Frost and Serve: Spread the cream cheese frosting generously over the warm rolls. Serve immediately for the best gooey texture.
Notes
- Use a high-quality gluten-free all-purpose flour blend that contains xanthan gum for the best structure. Do not substitute with single flours.
- For the softest rolls, ensure your milk is warm enough to activate the yeast but not hot enough to kill it (105-115°F).
- If your dough is too sticky to handle, lightly flour your hands and work surface, but avoid adding too much extra flour, which will result in dry rolls.
- You can make the dough ahead, cover it, and refrigerate it for up to 12 hours after the first rise. Allow it to warm up slightly before shaping.
Nutrition
- Serving Size: 1 roll
- Calories: 450
- Sugar: 45
- Sodium: 250
- Fat: 25
- Saturated Fat: 15
- Unsaturated Fat: 10
- Trans Fat: 0
- Carbohydrates: 55
- Fiber: 2
- Protein: 5
- Cholesterol: 75