
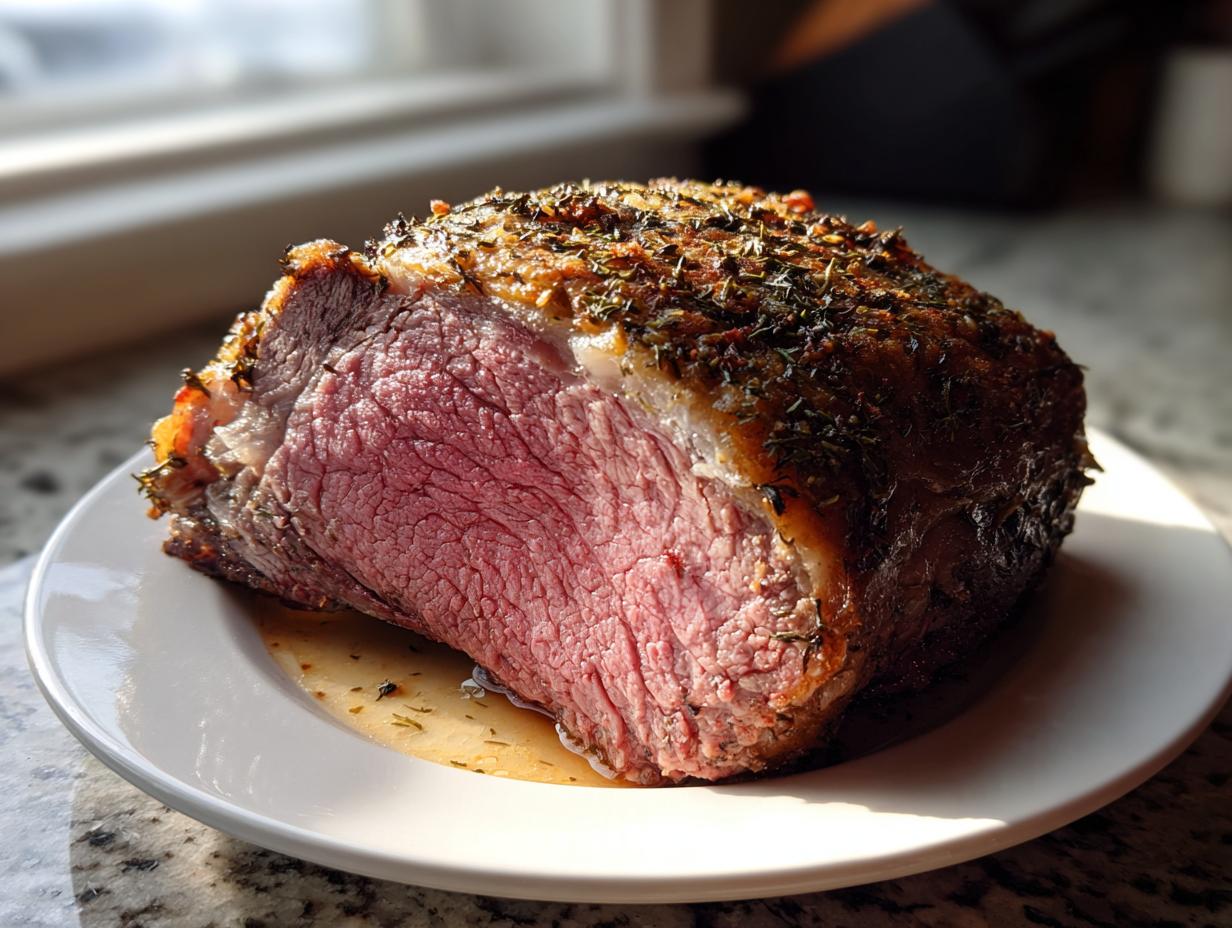
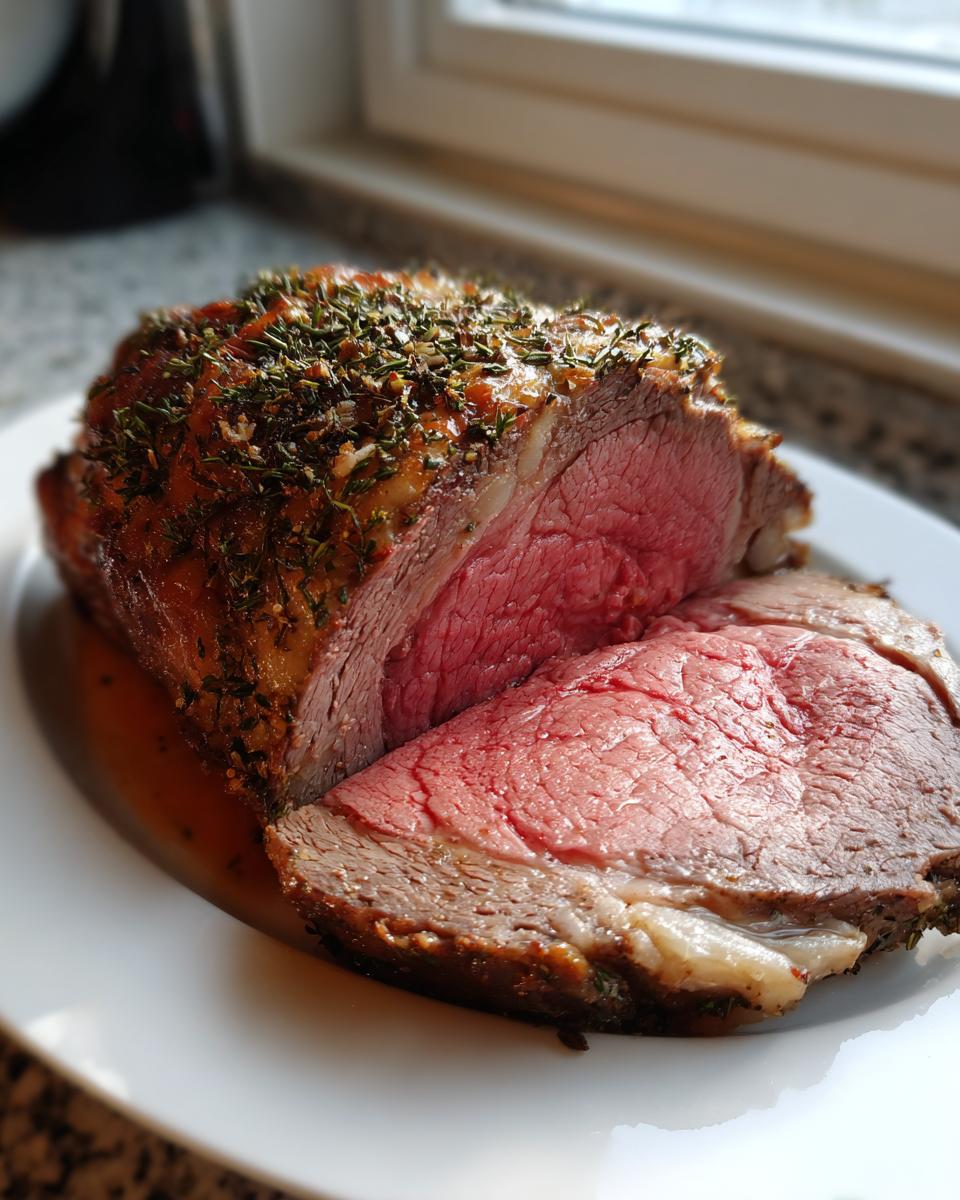
You want to host a holiday dinner or host an occasion where you need a showstopper, right? I get it. That massive beef standing rib roast sitting on the table—it demands attention. For years, I thought making prime rib meant endless complicated steps, temperature guesswork, and stress. Not anymore. When I started Dishicious, I treated this roast like any other project that needed streamlining. My goal was simple: engineer a foolproof system so you get that perfect crust and edge-to-edge medium-rare without needing a professional kitchen. This isn’t about culinary acrobatics; it’s about efficiency. Trust me, this no-fail prime rib recipe is the blueprint you need for a guaranteed success. If you’re looking for a simpler approach, you can check out my take on an easy prime rib recipe too!
- Why This is the Perfect Beef Standing Rib Roast Method
- Ingredients for Your Savory Prime Rib Seasoning
- The Essential Steps: How to Cook Standing Rib Roast
- Internal Temperature Guide for Rib Roast Doneness
- Resting Your Beef Standing Rib Roast: The Final Project Step
- Serving Suggestions for Your Holiday Roast Beef Recipes
- Ingredient Notes and Substitutions for the Beef Standing Rib Roast
- Troubleshooting Common Issues with Your Prime Rib
- Estimated Nutritional Data for Beef Standing Rib Roast
Why This is the Perfect Beef Standing Rib Roast Method
When I mapped this out, I wasn’t looking for fancy techniques; I was looking for results that I could replicate consistently, even when hosting a big crowd for Christmas dinner. This method is all about control and efficiency—the hallmark of a good project plan. It takes the stress out of that high-stakes moment.
Here’s why this specific preparation gives you the absolute best outcome:
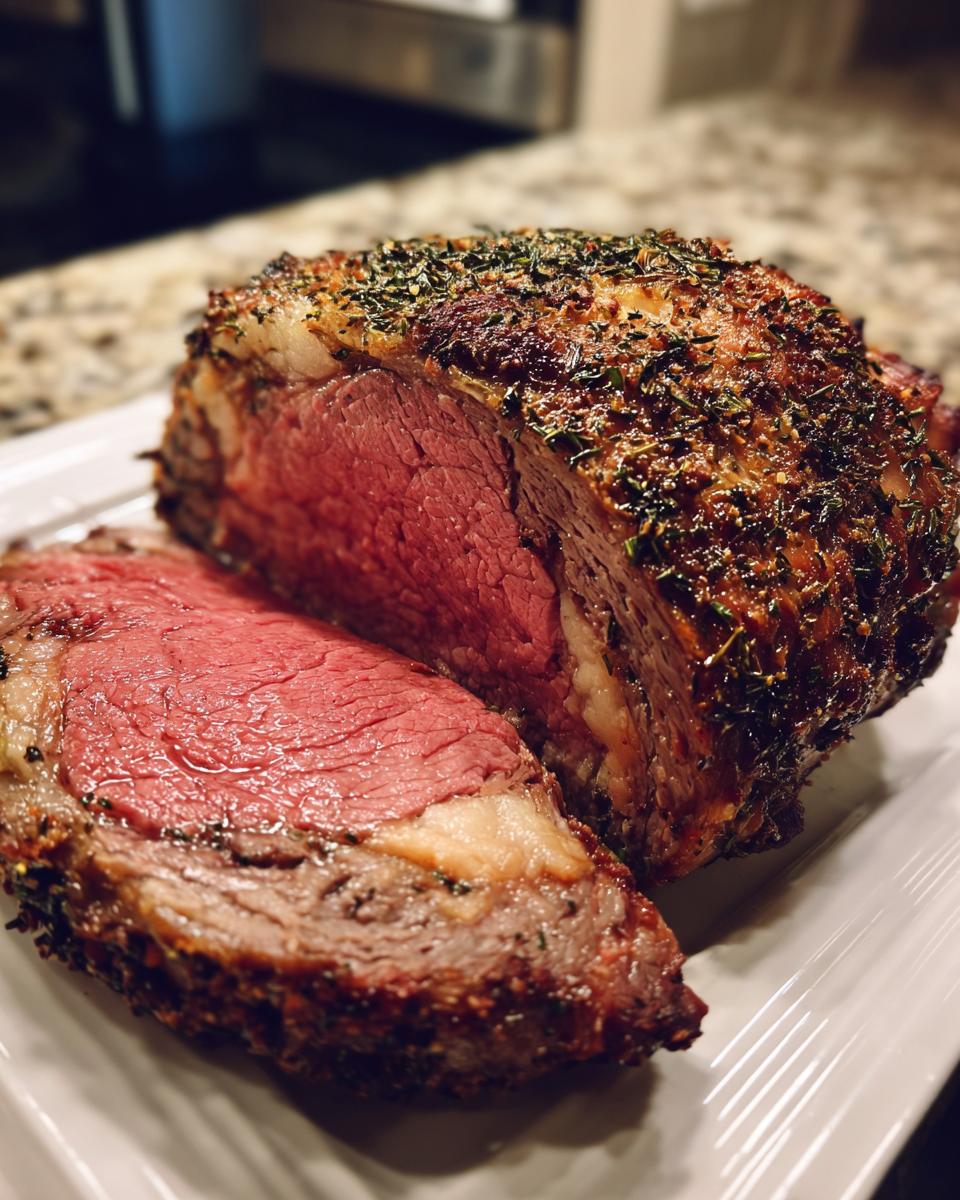
- Incredible Crust: That initial blast of high heat creates a deeply browned, savory surface that locks flavor in.
- Even Cooking: By bringing the meat to room temp first and using the two-stage temperature drop, we minimize the dreaded gray band of overcooked meat near the outside.
- Simple Seasoning: We rely on quality salt, pepper, and classic herbs, making this a true savory prime rib seasoning that lets the beef shine.
- Guaranteed Results: Frankly, this is my no fail prime rib recipe. It works every time I test it in the Chicago kitchen.
Ingredients for Your Savory Prime Rib Seasoning
You don’t need ten different spices to make this roast impressive. We’re focusing on fundamentals because that’s the most efficient route to flavor. This list creates what I call my easy prime rib rub—it’s robust, simple, and lets the quality of the beef really come through. Keep everything handy before you even think about touching that beautiful roast!
Here is exactly what you need for the whole process:
- 1 (5-7 pound) beef standing rib roast, ideally 2-3 bones.
- 2 tablespoons coarse kosher salt (the big flakes really help with the crust!).
- 1 tablespoon black pepper, freshly ground.
- 1 tablespoon garlic powder.
- 1 tablespoon dried thyme.
- 1 tablespoon dried rosemary, crushed gently between your fingers.
- 2 tablespoons olive oil (just enough to help the seasoning stick).
- 1 cup beef broth (this goes into the bottom of your pan, trust me).
The Essential Steps: How to Cook Standing Rib Roast
Alright, this is where the project truly kicks off. Cooking a prime rib successfully is all about following the sequence. If you skip these steps, you risk uneven cooking or a weak crust. We are executing the slow roasted prime rib instructions perfectly now, starting with the absolute most crucial, non-negotiable first move.
First things first: you must let that giant hunk of meat relax. Pull your beef standing rib roast out of the fridge at least two, maybe three, hours before you plan to cook it. Cold meat hitting a hot oven equals internal temperature disaster. Once it’s tempered—that’s the fancy word for room temperature—get that oven cranked up to 450 degrees Fahrenheit. We’re going for a searing blast!
Preparing the Beef Standing Rib Roast for Seasoning
This part is messy, but essential. Take your paper towels and PAT that roast completely dry. And I mean completely. Moisture is the enemy of a good crust. If the surface is damp, the heat wastes energy steaming the meat instead of searing it brown. Coat it lightly with that olive oil—it’s just the glue for our seasoning. Then, take your marvelous dry rub and coat every single surface. My trick? I lightly press the rub onto the meat with the flat palm of my hand, using gentle pressure all over. If you just sprinkle it, it falls off in the oven. Pressing it in ensures maximum contact for that eventual amazing crust.
Roasting Times and the Perfect Beef Standing Rib Roast Method
Here’s the genius of the two-stage temperature control. We hit that 450°F heat for exactly 15 minutes. This sets up that beautiful, deeply browned exterior we talked about. Then, without opening the door, you immediately drop the oven down to 325°F. You do not touch the controls until the cooking time is up, unless you are checking temps. This lower heat slow roasts the interior perfectly. If you miss that initial high-heat blast, your beautiful perfect beef rib roast method won’t set up correctly. It’s a simple adjustment, but it makes all the difference in the final product. Once the internal temperature is right, you can look at alternative ideas like the reverse sear rib roast technique next time, but for now, stick to this plan!
Internal Temperature Guide for Rib Roast Doneness
This is the make-or-break moment for any beef standing rib roast, and honestly, this is where most home cooks get anxious. But remember, we rely on data, not guesswork! Because of carryover cooking—that heat continuing to move inward after you take it out—you absolutely have to pull the roast before it hits your target final temperature. Think of it like finishing a project *just* before the deadline, not after.
For the absolute best result, you need a good digital thermometer inserted into the thickest part of the meat, making sure you aren’t touching bone. Bone conducts heat differently, and that will throw your reading off completely. Here is the essential map for your internal temperature guide for rib roast:
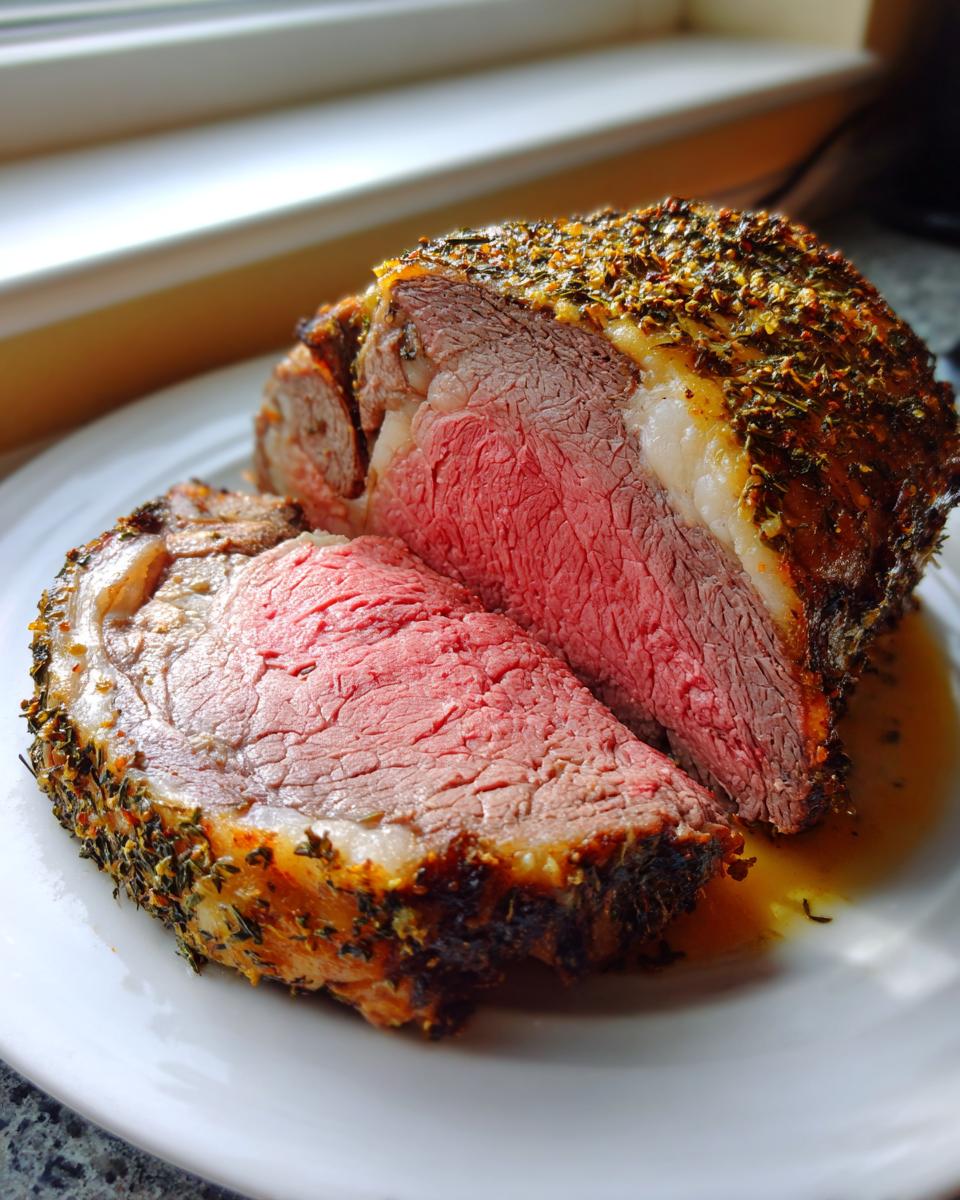
- For Rare: Pull it out of the oven right at 120 degrees Fahrenheit. It will climb up to 125°F while resting.
- For Medium-Rare (Highly Recommended!): Pull it out at 125°F. It finishes beautifully at 130°F.
- For Medium: Pull it out at 135°F. This will land you at a firm 140°F when you finally carve into it.
Seriously, this chart is the key to eliminating the dreaded gray band. This knowledge transforms the roast from a stressful gamble into a calculated success.
Resting Your Beef Standing Rib Roast: The Final Project Step
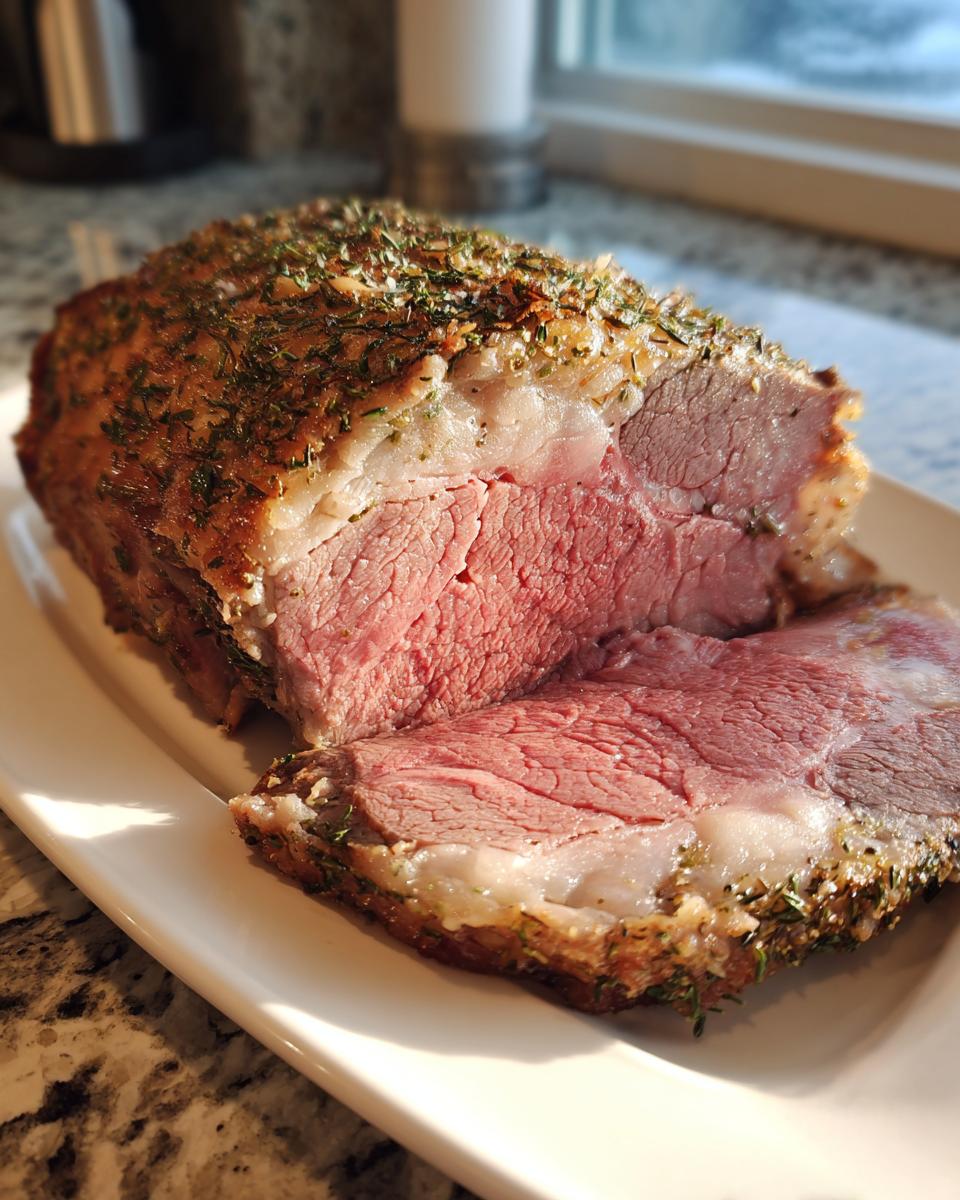
We’ve done the hard work: the beautiful crust is set, the internal temperature is spot-on, and your entire kitchen smells unbelievably good. But if you carve that magnificent beef standing rib roast right now? You’ve failed the project management test! Resting isn’t optional; it’s the final, critical phase of cooking.
Think about what happens when meat cooks—the muscle fibers tighten up like a clenched fist, squeezing all those wonderful, flavorful juices right into the center where the heat is highest. If you cut it immediately, all that moisture just floods out onto your cutting board, leaving you with a dry roast and a puddle of wasted flavor. We absolutely cannot have that.
This resting period allows the fibers to relax, slowly and evenly, reabsorbing those juices across the entire cut of meat. This phenomenon is what we call carryover cooking—the temperature continues to rise by about 5 degrees after it leaves the heat source. That’s why we pulled it 5 degrees early!
Here is the non-negotiable plan:
- Transfer the roast immediately to a clean cutting board.
- Tent it loosely with aluminum foil. Don’t wrap it tightly, or you’ll steam that beautiful crust we worked so hard to build!
- Set a timer for a minimum of 20 minutes. For a larger roast, 30 minutes is even better.
Trust the process here. You might think 20 minutes is too long, but that time ensures maximum juiciness. It’s the final check mark on our checklist for an absolutely perfect, tender prime rib.
Serving Suggestions for Your Holiday Roast Beef Recipes
So, your incredible beef standing rib roast is resting perfectly, and now you have to present it like the centerpiece of the entire holiday feast it is! You can’t just serve perfectly cooked meat naked on a platter, right? We need the appropriate accompaniments to elevate this experience. This methodical approach extends right through to the serving stage.
The basic pan drippings you gathered are already developing into a fantastic base for a simple au jus. Just scrape all those browned bits from the bottom of your roasting pan and whisk them vigorously with a cup of hot beef broth or water. A little heat on the stovetop, a quick simmer, and boom—instant, flavorful jus.
But if you really want to impress your guests when roasting beef for Christmas dinner, you need a signature sauce. My go-to, which cuts through the richness of the prime rib beautifully, is a sharp, creamy horseradish sauce. It’s so easy to whip up! You can find my straightforward method here: my favorite creamy horseradish sauce.
As for sides, keep them simple so the roast remains the focus. Roasted root vegetables (carrots, parsnips) tossed with some salt and olive oil are perfect. They roast right alongside the prime rib if you time them correctly, which saves on cleanup—another small efficiency win! Creamy mashed potatoes are non-negotiable in my house, as they are the perfect sponge for all those amazing pan juices. Don’t overthink the sides; let the main event shine!
Ingredient Notes and Substitutions for the Beef Standing Rib Roast
As a project manager in the kitchen, I know that sometimes the supply chain fails, or you just run out of something mid-prep. That’s where flexibility comes in handy, provided you understand *why* an ingredient is there in the first place. Our main goal here is a deeply seasoned surface, which means we are building an herb crusted rib roast, even if the herbs change slightly.
Don’t panic if you’re missing an ingredient! Here are a few common substitution thoughts to keep your beef standing rib roast on track:
What About Fresh vs. Dried Herbs?
I called for dried thyme and dried rosemary in my savory prime rib seasoning because they are shelf-stable and pack a concentrated punch that holds up well under high heat. If you only have fresh herbs, you’ll want to increase the amount significantly—usually by a factor of three. So, instead of one tablespoon of dried rosemary, use about three tablespoons of *fresh* rosemary leaves, chopped fine. Fresh herbs release more moisture, but if you’re using them, make sure you still pat the roast bone-dry first. Fresh herbs just make the crust smell incredible!
Can I Skip the Olive Oil and Just Use Butter?
You absolutely can substitute the olive oil with softened butter. Butter adds a beautiful richness that I love, but there’s a slight efficiency compromise. Butter has a lower smoke point than olive oil, meaning it can brown (or even burn) rapidly during that initial 450-degree blast. If you use butter, make sure it’s softened, not melted, and press that rub on quickly. If you notice the butter starting to smoke heavily during the first 15 minutes, you’ll know you’ve hit its limit. We are aiming for ‘browned and delicious,’ not ‘blackened and bitter.’
Kosher Salt vs. Table Salt: Does it Matter?
Yes, this matters a great deal for crust development. I specified coarse kosher salt because the larger crystals create microscopic air pockets between the meat and the salt itself. This helps draw moisture out during the initial resting phase (before preheating) and results in a better, more uniformly crunchy crust when roasted. If you only have standard table salt, you must use significantly less—start with just one tablespoon for the entire roast and taste as you go, as table salt is much saltier by volume.
Troubleshooting Common Issues with Your Prime Rib
Look, even with the most streamlined project plan, things can sometimes go sideways in the kitchen. That’s part of cooking, right? You don’t panic when a timeline slips; you analyze the problem and apply the fix. When it comes to your glorious beef standing rib roast, most issues boil down to temperature management or moisture control. If we treat this like troubleshooting a glitch in the system, we can usually save the day and still deliver a great result.
If you’re worried about relying entirely on the thermometer, don’t sweat it. Knowing how to check doneness without one is a vital backup skill, even for us methodical cooks. You can find some solid pointers on cooking prime rib without a thermometer if you need a reference point.
Here are the two most common hiccups people run into when roasting their prime rib, and our efficient solutions for them.
Problem 1: That Annoying Gray Band Around the Edge
This is the absolute worst outcome for any prime rib recipe. You slice into it, and the outer inch is cooked well-done (gray and dry) while the center is perfect pink. What went wrong? You didn’t temper the meat enough, or your initial blast of heat wasn’t hot enough, or perhaps you didn’t use the two-stage temperature system correctly.
The solution is prevention, which we covered extensively: bring your roast to room temperature for 2-3 hours. That’s step one. If you discover the gray band *after* pulling it out, it means too much time was spent at the lower roasting temperature. Next time, reduce the time at 325°F immediately after the initial 15-minute sear. If it’s already happened this time, don’t stress! The gray part is still perfectly safe and seasoned, it just isn’t the medium-rare you were hoping for. You just need to carve carefully around that section to expose the good stuff in the middle.
Problem 2: The Crust Isn’t Crispy—It’s Soft or Pale
We put all that work into that beautiful savory prime rib seasoning, and it came out pale or slightly soggy? This almost always comes down to one thing: surface moisture. The high heat needs a dry surface to create the Maillard reaction (browning and flavor development). If the roast was damp when it went into the oven, the 450°F setting just steamed the surface instead of crisping it.
To fix this mid-roast, you can try a quick emergency measure, though it’s risky: carefully pull the roast out (use an oven mitt!), briefly place it under a high-set broiler for 1–2 minutes per side, watching every second. Seriously, step away and watch it like a hawk, because broilers jump from ‘golden’ to ‘charred’ incredibly fast. If you’re nervous about broiling, the better move is just to accept the slightly softer crust this time and ensure your paper towel pat-down is aggressive next time you attempt this traditional beef roast recipe. The flavor will still be there, even if the texture isn’t 100% perfect.
Problem 3: Why Isn’t My Roast Cooking Evenly?
Sometimes, one side of the roast seems to cook significantly faster than the other. This happens if your roast isn’t perfectly level in the pan or if your oven has hot spots (which most home ovens do!). When you are following the beef standing rib roast cooking times, you should rotate the pan halfway through the 325°F phase, not the roast itself. Just turn the entire roasting pan 180 degrees to expose the opposite side to the heat source. This simple rotation ensures that the section that was closer to the oven wall gets moved to the center, leading to a much more uniform target temperature across the whole cut.
Estimated Nutritional Data for Beef Standing Rib Roast
Okay, so let’s talk about the financials of this project—not money, but nutrition! When you are making something this spectacular, like a traditional beef standing rib roast, you know it’s going to be rich. But I like to keep track, just to manage expectations for the day after. Please remember, since this is based on a 5-7 pound roast yielding 6 servings, these numbers are estimates. Your actual figures will depend heavily on the specific cut of meat you buy and how much fat renders away during the cook. It’s just a guide, not a perfect breakdown!
This data reflects a 6-ounce serving of cooked meat using my no fail prime rib recipe method, focusing on the efficiency of the final result over excessive sides.
- Serving Size: 6 oz cooked meat
- Calories: Around 450
- Protein: A robust 40 grams—this is serious energy!
- Fat: About 30 grams total (this is high due to the nature of prime rib, remember a good amount of that is unsaturated fat).
- Saturated Fat: Roughly 12 grams.
- Carbohydrates & Sugar: Zero! That’s one easy win from keeping the seasoning simple and skipping sugary glazes.
- Sodium: Approximately 350 mg (this depends heavily on how much kosher salt you use on your easy prime rib rub).
- Cholesterol: Around 140 mg.
When planning your big meal, keep in mind that the fat content is inherent to choosing a prime cut designed for flavor and juiciness. If you want to lower that number, trim a little more visible exterior fat before you apply the savory prime rib seasoning, although I, Leo Grant, tend to leave most of it there for flavor protection during the roost!
PrintNo-Fail Beef Standing Rib Roast (Prime Rib)
Follow this straightforward method to cook a perfect beef standing rib roast, achieving a flavorful crust and a tender, evenly cooked interior for your special occasion meal.
- Prep Time: 20 min
- Cook Time: 2 hr 30 min
- Total Time: 3 hr 0 min
- Yield: 6 servings 1x
- Category: Main Course
- Method: Roasting
- Cuisine: American
- Diet: Low Fat
Ingredients
- 1 (5-7 pound) beef standing rib roast, 2-3 bones
- 2 tablespoons coarse kosher salt
- 1 tablespoon black pepper, freshly ground
- 1 tablespoon garlic powder
- 1 tablespoon dried thyme
- 1 tablespoon dried rosemary, crushed
- 2 tablespoons olive oil
- 1 cup beef broth (for pan)
Instructions
- Remove the roast from the refrigerator 2 to 3 hours before cooking to allow it to come close to room temperature. This helps ensure even cooking.
- Preheat your oven to 450 degrees Fahrenheit.
- In a small bowl, combine the kosher salt, black pepper, garlic powder, thyme, and rosemary to create the rub.
- Pat the entire surface of the rib roast dry with paper towels. This step is key for a good crust.
- Rub the olive oil evenly over the entire roast.
- Generously coat the roast with the prepared seasoning rub, pressing it gently into the meat.
- Place the roast, fat side up, in a roasting pan fitted with a rack. Pour the beef broth into the bottom of the pan (this prevents drippings from burning).
- Place the roast in the preheated 450 degree oven and cook for 15 minutes. This high heat sets the crust.
- Reduce the oven temperature to 325 degrees Fahrenheit. Do not open the oven door.
- Continue roasting until the internal temperature reaches your desired doneness (see temperature guide below). Use a meat thermometer inserted into the thickest part of the meat, avoiding bone contact.
- Remove the roast from the oven when it is 5 degrees below your target temperature.
- Transfer the roast to a cutting board, tent loosely with foil, and let it rest for at least 20 minutes before carving. The internal temperature will continue to rise during this resting period.
Notes
- For rare: Remove at 120 degrees Fahrenheit (final temperature 125 degrees).
- For medium-rare: Remove at 125 degrees Fahrenheit (final temperature 130 degrees).
- For medium: Remove at 135 degrees Fahrenheit (final temperature 140 degrees).
- If you are cooking a larger roast, estimate 13-15 minutes per pound after the initial high-heat blast for medium-rare.
- Serve with simple pan drippings or a prepared horseradish sauce.
Nutrition
- Serving Size: 6 oz cooked meat
- Calories: 450
- Sugar: 0
- Sodium: 350
- Fat: 30
- Saturated Fat: 12
- Unsaturated Fat: 18
- Trans Fat: 0
- Carbohydrates: 0
- Fiber: 0
- Protein: 40
- Cholesterol: 140