
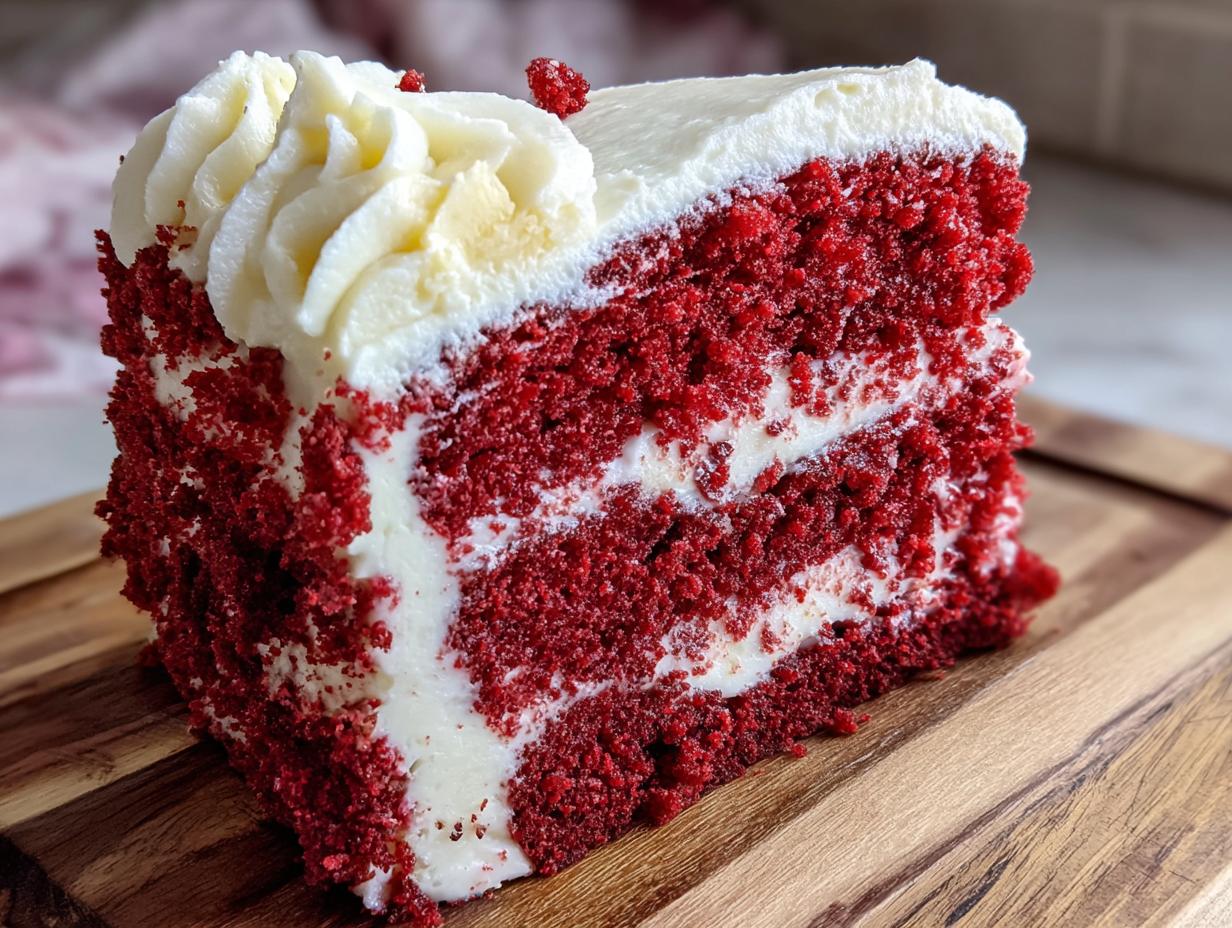
I hear you. You want that gorgeous, deep red cake that melts in your mouth, right? For too long, baking a truly superior red velvet cake has felt like a project manager’s nightmare—too many fussy steps promising either dry disappointment or a texture that’s just… off. Well, I’ve stripped this tradition method down to its essential, most effective steps. This isn’t just another cake recipe; this is the Best Authentic Southern red velvet cake recipe, specifically engineered for maximum moistness and fluffiness without wasting your evening. When I approach baking, I look for efficiency, and this recipe streamlines the complexity so you spend less time worrying and more time enjoying that perfect, velvety crumb.
- Why This is the Best Authentic Southern red velvet cake Recipe
- Ingredients for Your Classic red velvet layers
- Step-by-Step Instructions for the Best red velvet cake from scratch
- Tips for a Showstopper red velvet cake
- Storage & Serving Suggestions for Your red velvet cake
- Variations on the traditional red velvet cake
- Frequently Asked Questions about Making a red velvet cake
- Nutritional Estimate for This red velvet cake
- Share Your Success with This red velvet cake Recipe
Why This is the Best Authentic Southern red velvet cake Recipe
When you are aiming for the absolute pinnacle of dessert, shortcuts just won’t cut it. This recipe is superior because it focuses on the fundamental chemistry that makes Southern baking so legendary. We aren’t just throwing things in a bowl; we are creating a structure that guarantees a superb result every time, hitting that high mark for a moist red velvet cake recipe.
- It uses vegetable oil instead of relying solely on butter, which keeps the cake incredibly moist long after it leaves the oven.
- The balance of acid (vinegar/buttermilk) and base (baking soda) is precisely calculated for the lightest possible crumb.
- It delivers that sought-after, rich chocolate hint without tasting like a standard chocolate cake.
As I optimized the process, I realized the results from sites like this one show incredible popularity because they nail these foundational elements.
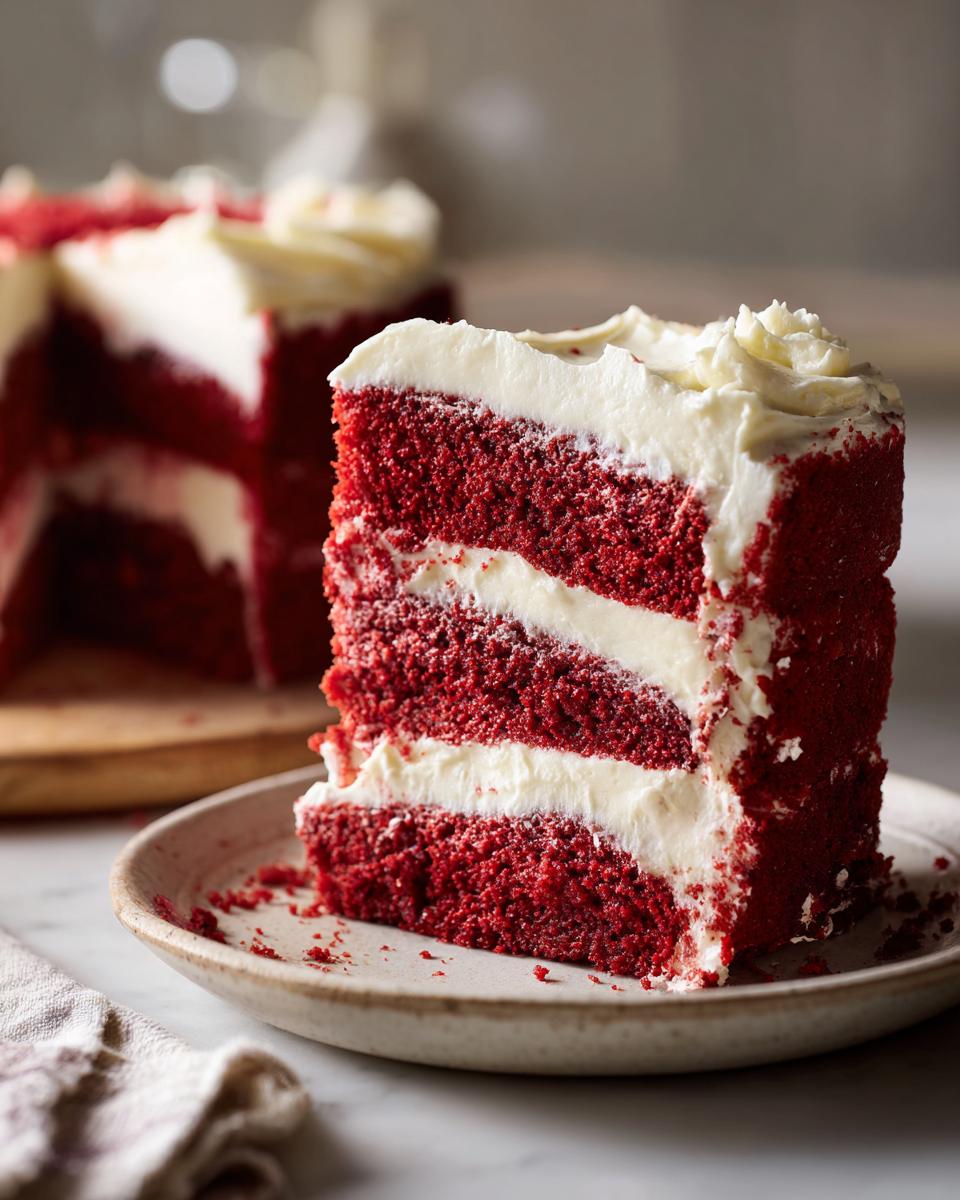
Achieving the True Velvety Cake Texture
That signature “velvety cake texture” isn’t magic; it’s science! The buttermilk and the teaspoon of vinegar react strongly with the baking soda. This reaction creates tons of tiny carbon dioxide bubbles, which tenderize the flour and give you that incredibly soft, tender crumb cake. You need that acid interaction to activate everything correctly for that authentic mouthfeel.
The Project Manager Approach to a Fluffy red velvet cake
My goal in developing my version was foolproof execution. It’s easy to overmix cake batter by accident, which kills fluffiness. By breaking the process into clear stages—wet ingredients, then the activated acid mixture, then gradually folding in the dry—we introduce the components exactly when they need to be introduced. This system manages the gluten formation, ensuring you always end up with that light, fluffy red velvet cake without stressing over the technique.
Ingredients for Your Classic red velvet layers
Okay, organization is key here, just like tackling any good project. If your ingredients aren’t prepped correctly, the 5-minute mixing time I promised goes right out the window! We are going for precision when it comes to component prep, especially making sure our fats are the right temperature. Don’t reach for the butter if it’s still rock-hard; you need everything set up right before we start whisking the classic red velvet layers together.
For the red velvet cake Layers
- 1 1/2 cups vegetable oil
- 1 1/2 cups granulated sugar
- 2 large eggs
- 1 teaspoon vanilla extract
- 1 tablespoon red food coloring (you definitely want to use liquid or gel here for the best results!)
- 1 teaspoon white vinegar
- 1 teaspoon baking soda
- 1 cup buttermilk
- 2 1/2 cups all-purpose flour
- 1 teaspoon unsweetened cocoa powder
- 1/2 teaspoon salt
For the Homemade Cream Cheese Frosting
This frosting basically makes itself, but the success hinges on having the cream cheese and butter fully softened—room temperature is what we are aiming for. If they’re cold, you’ll end up with lumps, and nobody wants lumpy frosting on their beautiful cake.
- 8 ounces cream cheese, softened
- 1/2 cup unsalted butter, softened
- 4 cups powdered sugar, sifted (Sifting prevents grit!)
- 1 teaspoon vanilla extract
Step-by-Step Instructions for the Best red velvet cake from scratch
Now that we have our ingredients prepped, this is where the efficiency really kicks in. Honestly, you can pull this entire red velvet cake batter together in about five minutes if you stick to the assembly order I use. Look at the pin from Pastry Living—they noted how fast it is to whisk the ingredients, and that’s exactly what we’re going for here: speed, reliability, and amazing results.
Mixing the Moist red velvet cake Batter
First thing, turn that oven on to 350°F (175°C) and get those two 9-inch pans greased and floured—don’t skip that prep! In your big bowl, start by whisking the oil and sugar together until they look happy. Then, drop in the eggs one at a time, mixing well after each one. Stir in the vanilla and that crucial tablespoon of red coloring. Now for the fun part: take your vinegar and baking soda and mix them in a tiny separate dish; watch it foam up—that’s the lift starting! Pour that foamy mix right into your wet ingredients, along with the buttermilk, and just barely combine. Next, slowly add the dry items (flour, cocoa, salt) on low speed. Stop mixing the second you see no more flour streaks. Overmixing right here is the number one killer of a moist red velvet cake.
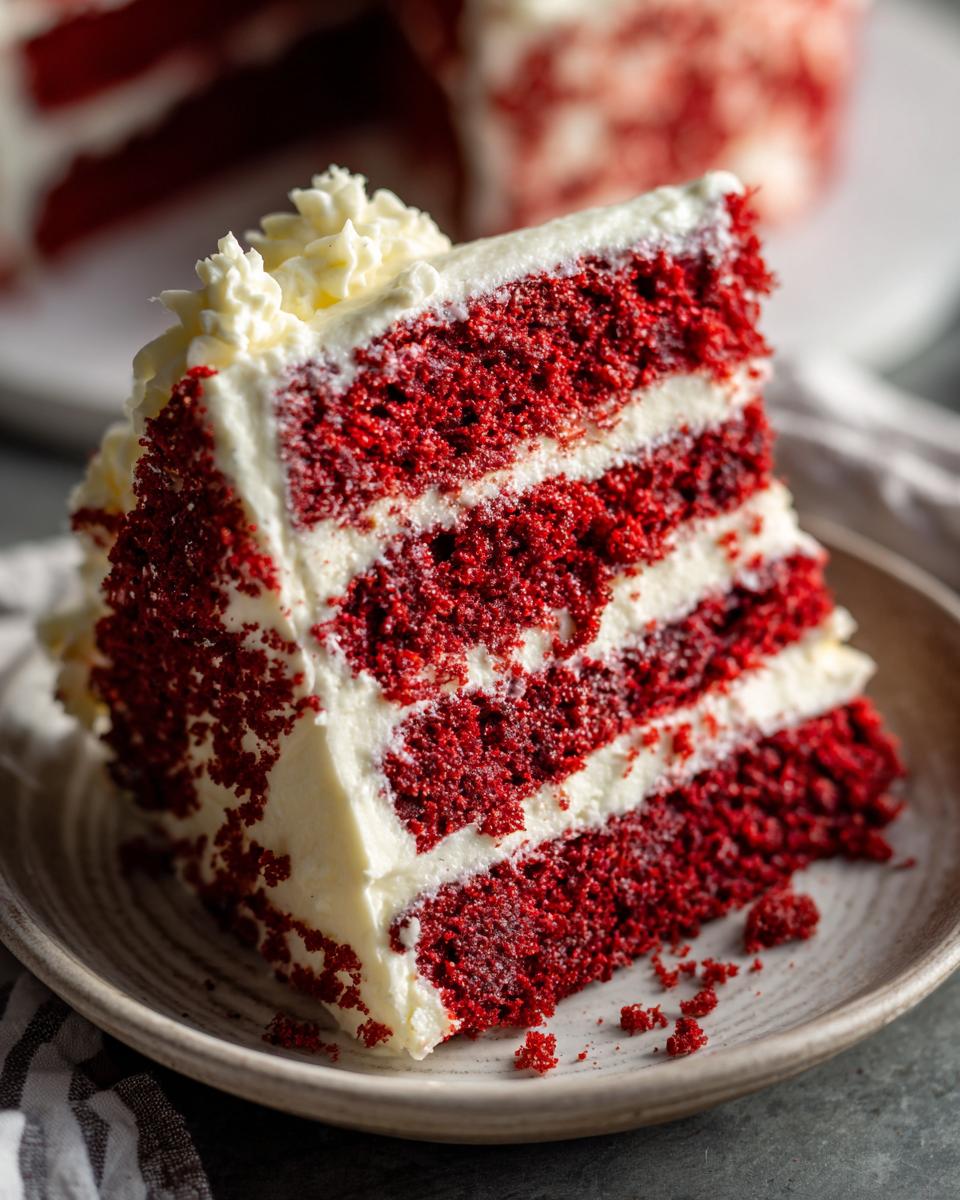
Baking and Cooling the Classic red velvet Layers
Divide that beautiful red batter evenly between your two prepared pans. Slide them into the oven and bake them for about 30 to 35 minutes. Always check with a wooden pick inserted in the middle; it should come out clean. Trust me on this: let them cool in the actual pans for a solid 10 minutes. If you try to rush them out faster, they often crack or break. After 10 minutes, invert them onto a wire rack to cool completely. If you frost them even slightly warm, your frosting will just melt into a red slick instead of becoming the luscious topping it should be.
Preparing the Homemade Cream Cheese Frosting
While those layers cool down, we make the frosting. Remember I said the butter and cream cheese needed to be soft? Put them in your mixer and beat them until they are absolutely smooth and fluffy—no lumps allowed! Then, you need to incorporate that huge amount of powdered sugar slowly, cup by cup, mixing well after each addition. Adding it all at once just creates a sugar cloud in your kitchen! Once the sugar is in, beat in the vanilla, and that’s it. For the full guide on getting this perfect, check out my breakdown on homemade cream cheese frosting. It’s ready when it’s light and spreadable, perfect for stacking those classic red velvet layers.
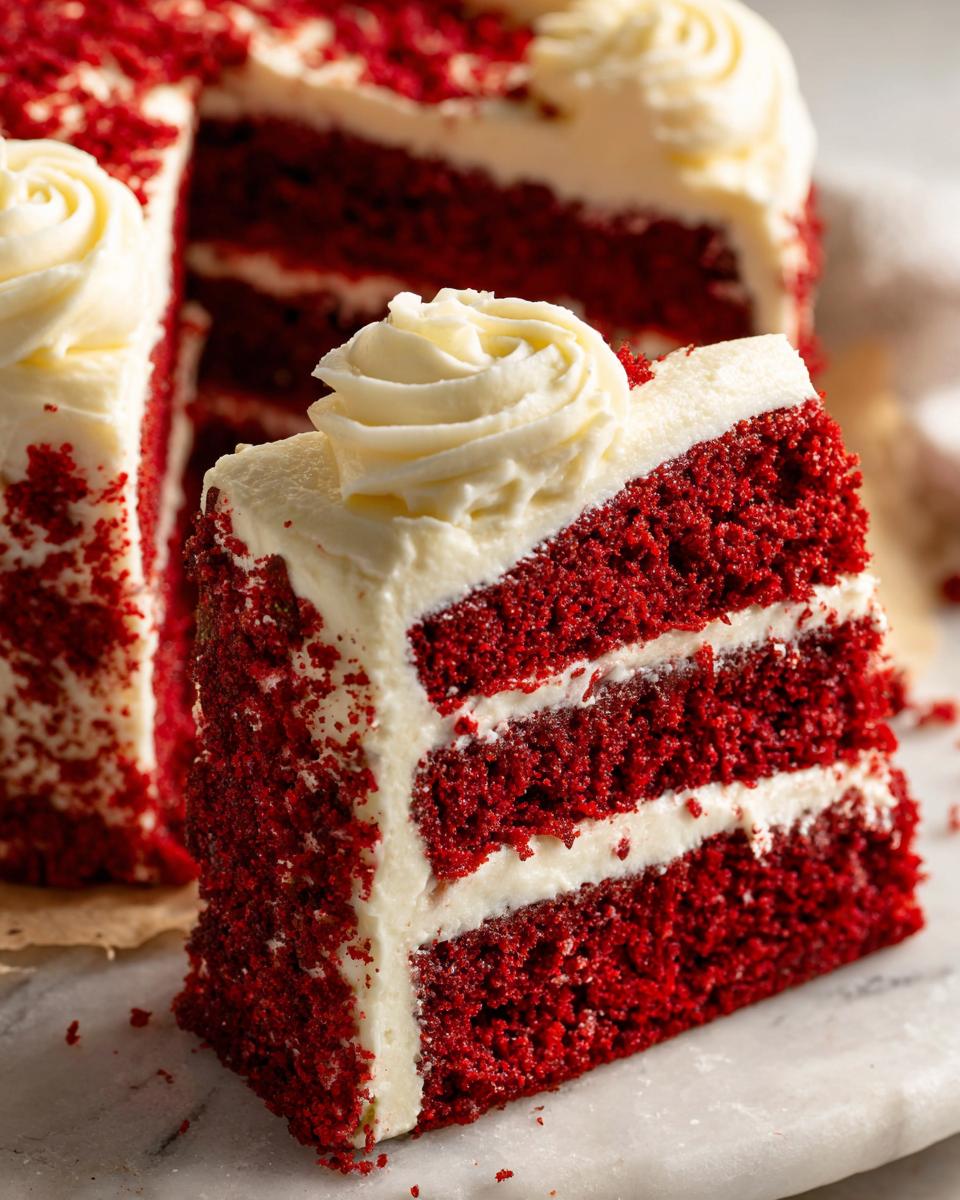
Tips for a Showstopper red velvet cake
I always tell people that a great recipe gets you 80% of the way there; the final 20% is all about execution and handling those tricky spots. If you want that stunning, dramatic color, you absolutely must commit to a quality coloring—the liquid kind just doesn’t cut it compared to gel coloring when you’re aiming for a truly vibrant red cake coloring. That little bit of cocoa powder we added is going to naturally mute the color, so you need to compensate!
For the texture, remember what I said about the buttermilk and vinegar: they are non-negotiable for that Southern authenticity and incredible moisture. If you want the absolute softest cake, make sure your oil is at room temperature, too. Don’t overbake by even two minutes; that’s the difference between a soft cake and one that’s just okay. If you want more cookie-like softness in your next bake, check out how I manage that over in my cake batter cookie guide, but for this layer cake, don’t cut that time short!
Finally, if you are worried about the final look, that link on achieving the ultimate vibrant red color has some genius tricks on maximizing pigment saturation. It’s the little details that turn a good bake into a real showstopper.
Storage & Serving Suggestions for Your red velvet cake
Once you’ve put all that effort into creating the best red velvet cake that is perfectly moist and tender, storage becomes important. I can tell you from experience that the cream cheese frosting needs a little refrigeration love to stay firm, especially if you aren’t serving it right away. For short-term storage—say, if you’re making it ahead for a party—you can keep the frosted cake covered tightly at room temperature for about a day. It actually tastes better when it warms up slightly before serving, so pull it out about an hour before you plan to slice it.
If you need to keep it longer, wrap those cooled layers (before frosting!) tightly in plastic wrap, and they will be perfect in the fridge for about three days, or you can freeze them for up to three months. Just thaw them completely before frosting. This is key if you are planning your schedule out for big events like birthdays!
When it comes to serving, this cake is already a showstopper, but if you want side pairings, keep it simple. A nice, light fruit side really cuts through the richness of the cream cheese frosting. I’ve made strawberry cupcakes that use a similar flavor profile, and the combination is amazing. This cake is definitely destined for your list of favorite holiday red velvet desserts, but honestly, it’s too good to save just for special occasions. Make it this weekend!
Variations on the traditional red velvet cake
While I am absolutely devoted to this classic red velvet layers recipe because it achieves that perfect, tender crumb, I know people love to tinker! Sometimes you want something that’s just a bit more fun or decadent for a huge party. It’s smart to look at other ways people have modified this recipe to see what works.
I saw traffic spiking for things like the red velvet poke cake and even those wild cheesecake hybrids. They look great, but always remember that changing the structure that much also changes the texture you get here. Still, if you want to experiment, these are great starting points.
Creating a red velvet poke cake
A red velvet poke cake is such a fun party dessert! The idea is simple: after the cake layers are baked and cooled, you poke holes all over the top surface—use a skewer or the handle of a wooden spoon. Then, you pour something liquid—pudding or sometimes soaked gelatin—right over the top so it seeps down into those holes. It adds another level of moisture and flavor delivery. If you’re looking for an easy way to handle that gooey center, I have a fantastic chocolate poke cake recipe that uses the same concept.
If you are going for maximum indulgence, check out how some bakers manage a full red velvet cheesecake hybrid, like this one I found that looked absolutely decadent. It’s definitely a showstopper, but it takes the efficient 5-minute batter assembly and turns it into an all-day project!
Frequently Asked Questions about Making a red velvet cake
This is where we tackle those last little nagging doubts. Baking is all about confidence, and if you have questions, I want the answer right here so you feel totally equipped to tackle this red velvet cake project. Most of the questions I get revolve around keeping the texture just right or making sure the color pops like it does on a magazine cover.
Can I substitute the buttermilk in this red velvet cake recipe?
Look, sometimes you just don’t have buttermilk on hand, and I get it—it’s not always the easiest thing to keep stocked. If you absolutely must substitute, here’s the fix: take 1 cup of regular milk—whole milk works best—and stir in one tablespoon of white vinegar or lemon juice. Let that mixture sit on your counter for about five minutes until it looks slightly curdled. That’s your substitute!
But I have to be honest: while that hack works in a pinch, nothing replicates the true, tangy flavor and specific tenderness you get from real buttermilk in this Southern red velvet cake recipe. That buttermilk is essential to building the correct base flavor and structure, so use the substitute only when you have to.
How do I get the color really bright red?
This is a big one! Remember that we used a teaspoon of unsweetened cocoa powder? That cocoa is actually the ingredient that fights against your bright red color because brown inherently dulls the red. To counteract that, you need to use high-quality gel food coloring instead of the standard liquid stuff you find in the grocery aisle. Gel coloring is concentrated. You only need a little bit, but the pigment strength is vastly superior, giving you that deep, vibrant red that makes this cake famous.
If you’re making a huge batch or want it extra dramatic, you might need to use a full tablespoon of gel coloring. You can also check out some great tips on maximizing pigment intensity over at my guide for baking fluffy buttermilk pancakes, since technique for getting rich color works across the board.
Nutritional Estimate for This red velvet cake
Since we are looking for the most reliable results, precision matters, right? That means we need to look at the final numbers, too. Now, before we dive in, you have to remember that this information is just a high-level estimate, which is how I need to treat everything here. Since we are using oil and a full four cups of powdered sugar for that luscious frosting, the numbers are going to reflect that delicious richness. This isn’t a light snack; this is a celebration cake that is built to be satisfying!
When I mapped out the ingredients for this red velvet cake against standard industry averages for a slice of this size, here is what the final numbers look like:
- Serving Size: 1 slice
- Calories: About 550—that’s a solid slice of Southern goodness!
- Fat: Roughly 32g. Remember, a good amount comes from that rich cream cheese frosting.
- Sugar: Right around 65g. That’s the nature of a showstopper dessert!
- Carbohydrates: 68g total.
- Protein: A modest 4g.
This cake is intended to be a treat, not an everyday bake. Knowing these figures helps you plan when to serve it—it’s perfect for birthdays or holidays when you know everyone is already indulging a little bit more. Enjoy every single, moist bite!
Share Your Success with This red velvet cake Recipe
I sincerely hope this streamlined process gave you the confidence to knock this out of the park! Once you’ve cut into those beautiful layers and confirmed that that moist red velvet cake texture is everything I promised, I really want to hear from you. Did you achieve that true velvety crumb? Was the homemade cream cheese frosting perfectly sharp and smooth?
The project isn’t truly done until I see the results! Head down to the comments section below and let me know how it went. Rate the recipe so others know you’ve had success with this method. Seriously, don’t be shy about dropping a photo if you can—I love seeing these cakes looking gorgeous on your tables, whether it’s just for a Tuesday night treat or a full-blown celebration.
If you run into any snags or have a question that didn’t get covered in the FAQs, use the contact page. But, honestly, based on how foolproof this streamlined method is, I expect nothing but rave reviews for your new favorite red velvet cake!
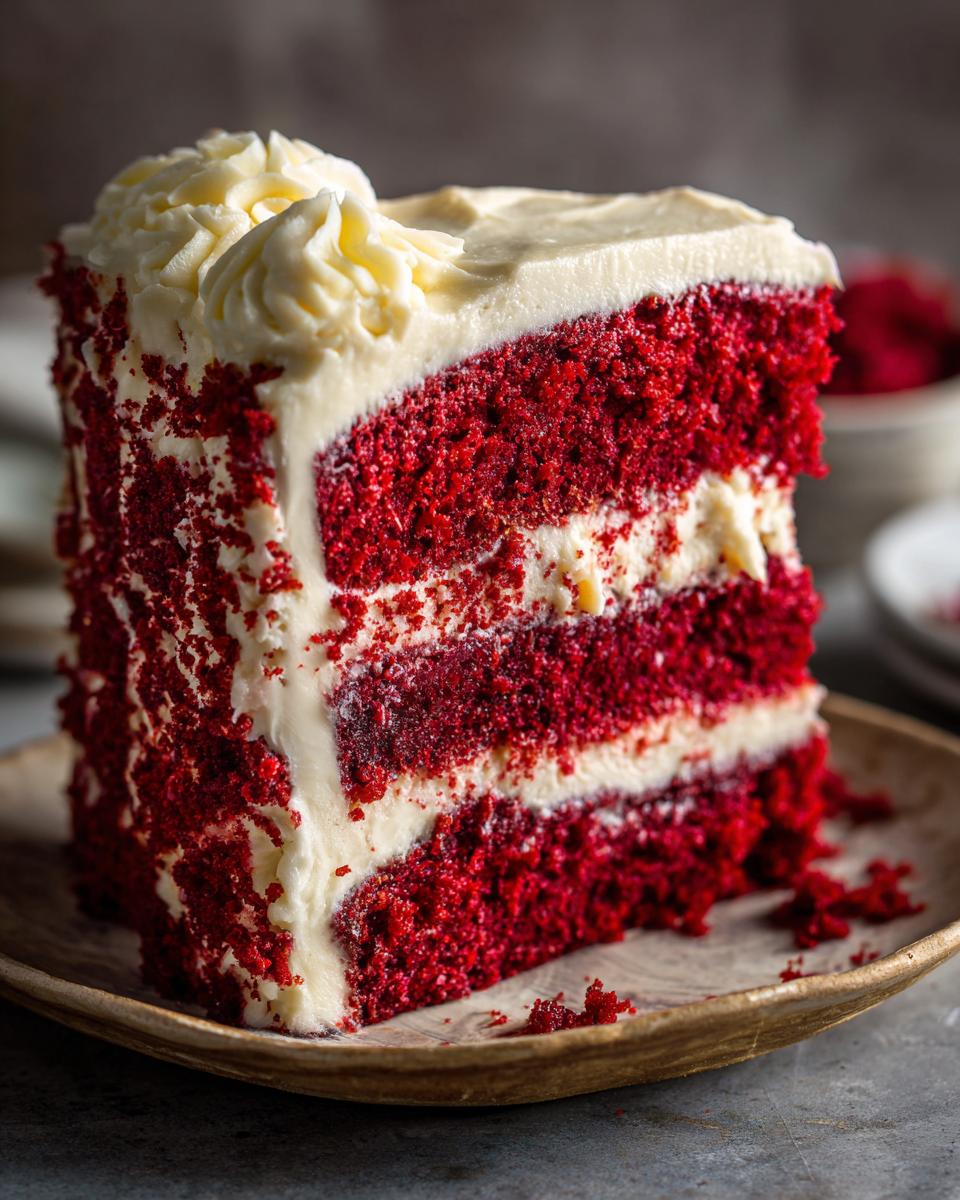
PrintThe Best Authentic Southern Red Velvet Layer Cake with Homemade Cream Cheese Frosting
Make this ultra-moist and soft Red Velvet Cake from scratch. This classic Southern recipe uses buttermilk and vinegar for a tender crumb, topped with rich, homemade cream cheese frosting. It is the perfect showstopper dessert for birthdays or holidays.
- Prep Time: 20 min
- Cook Time: 35 min
- Total Time: 55 min
- Yield: 12 servings 1x
- Category: Dessert
- Method: Baking
- Cuisine: American
- Diet: Vegetarian
Ingredients
- 1 1/2 cups vegetable oil
- 1 1/2 cups granulated sugar
- 2 large eggs
- 1 teaspoon vanilla extract
- 1 tablespoon red food coloring (liquid or gel)
- 1 teaspoon white vinegar
- 1 teaspoon baking soda
- 1 cup buttermilk
- 2 1/2 cups all-purpose flour
- 1 teaspoon unsweetened cocoa powder
- 1/2 teaspoon salt
- For the Cream Cheese Frosting:
- 8 ounces cream cheese, softened
- 1/2 cup unsalted butter, softened
- 4 cups powdered sugar, sifted
- 1 teaspoon vanilla extract
Instructions
- Preheat your oven to 350°F (175°C). Grease and flour two 9-inch round cake pans.
- In a large bowl, whisk together the vegetable oil and granulated sugar until combined.
- Beat in the eggs one at a time, mixing well after each addition. Stir in the vanilla extract and red food coloring.
- In a separate small bowl, mix the white vinegar and baking soda together; it will foam slightly. Add this mixture to the wet ingredients along with the buttermilk. Mix until just combined.
- In a medium bowl, whisk together the flour, cocoa powder, and salt. Gradually add the dry ingredients to the wet ingredients, mixing on low speed until the batter is smooth. Do not overmix.
- Divide the batter evenly between the prepared cake pans.
- Bake for 30 to 35 minutes, or until a wooden pick inserted into the center comes out clean.
- Let the cakes cool in the pans for 10 minutes before inverting them onto a wire rack to cool completely.
- To make the frosting, beat the softened cream cheese and butter together until smooth using an electric mixer.
- Gradually add the powdered sugar, one cup at a time, mixing until fully incorporated. Beat in the vanilla extract until the frosting is light and fluffy.
- Once the cakes are completely cool, place one layer on a serving plate. Spread about one-third of the frosting evenly over the top. Place the second layer on top and frost the top and sides of the entire cake.
Notes
- For a more vibrant red color, use a high-quality gel food coloring instead of liquid coloring.
- Buttermilk is necessary for the classic tangy flavor and tender crumb structure of this Southern red velvet cake.
- You can make this cake batter in about 5 minutes by whisking the simple ingredients in a bowl.
Nutrition
- Serving Size: 1 slice
- Calories: 550
- Sugar: 65
- Sodium: 350
- Fat: 32
- Saturated Fat: 10
- Unsaturated Fat: 22
- Trans Fat: 0
- Carbohydrates: 68
- Fiber: 1
- Protein: 4
- Cholesterol: 60