
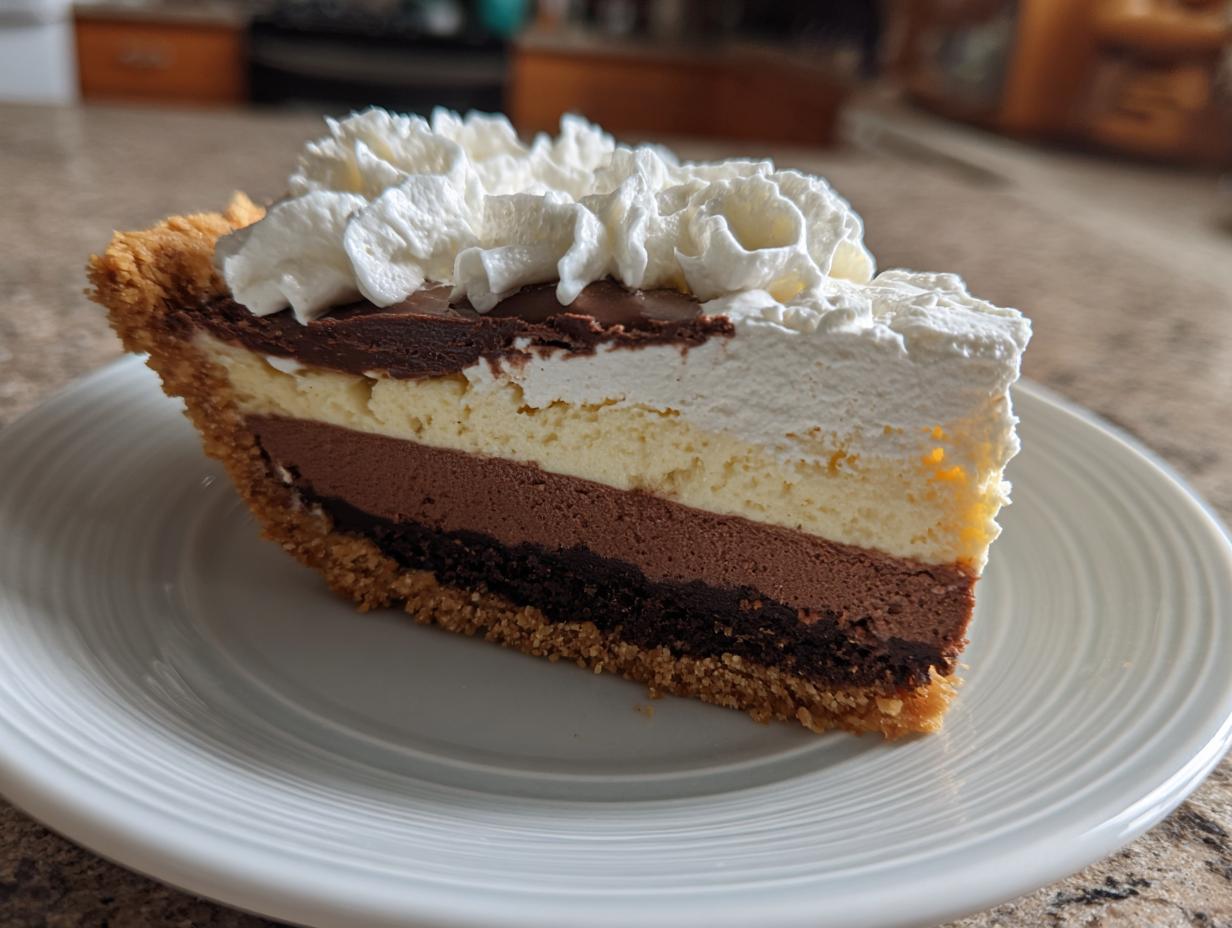
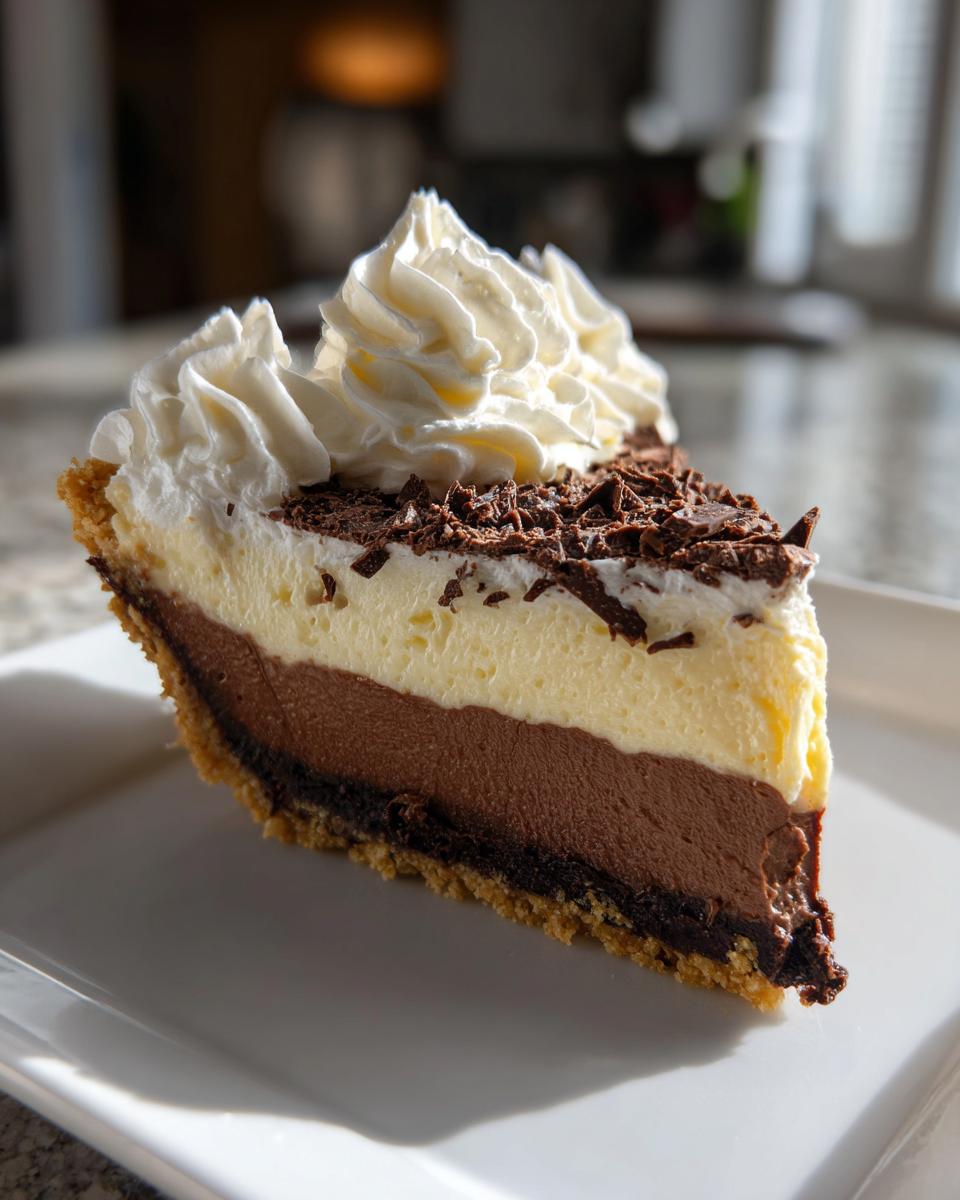
Oh, do you remember those old-fashioned desserts that just looked like pure magic on a plate? The ones that made you gasp a little before you even took a bite? That’s exactly what this Black Bottom Pie is for me. It’s this stunning, vintage showstopper with layers of creamy goodness and a dark, rich chocolate bottom that’s just to die for. Seriously, it’s one of those pies that feels super fancy, perfect for holidays or when you want to impress literally everyone at a dessert board spread. It reminds me so much of my grandma’s kitchen – that feeling of anticipation before she’d pull something truly special out of the oven. This isn’t just a pie; it’s a hug in dessert form!
- Why You'll Love This Black Bottom Pie
- Gather Your Ingredients for Black Bottom Pie
- Crafting the Perfect Graham Cracker Crust
- Making the Silky Vanilla Custard Layer
- The Rich Chocolate 'Black Bottom' Layer
- Chilling Your Black Bottom Pie to Perfection
- Whipping Up the Creamy Topping
- Tips for Slicing and Serving Your Black Bottom Pie
- Make-Ahead and Storage Instructions
- Frequently Asked Questions About Black Bottom Pie
- Estimated Nutritional Information
- Share Your Black Bottom Pie Creations!
Why You’ll Love This Black Bottom Pie
This pie is just… wow! It’s one of those desserts that looks super fancy and totally delivers on taste. You get that gorgeous contrast between the smooth, creamy vanilla custard and the deep, decadent chocolate layer. Plus, it’s a real lifesaver for holidays because you can totally make the pie ahead of time and just add the whipped cream right before serving. It makes any dessert board or special occasion feel extra special, and honestly, it’s just pure, comforting, vintage deliciousness.
Gather Your Ingredients for Black Bottom Pie
Alright, let’s get everything ready so we can make this amazing pie! You’re going to need a few things for the crust, then more for our two dreamy custard layers, and finally a little something for that cloud-like topping. Don’t worry, nothing too crazy here, just good ol’ pantry staples!
For the crust, we’ll grab graham cracker crumbs (about a box’s worth!), a little sugar to sweeten it up, and some melted butter to hold it all together. Then for the custards, we’ve got more sugar, a bit of flour to thicken things up, salt for balance, whole milk – gotta have that creaminess! – four egg yolks, and of course, vanilla. Then for our special “black bottom,” you’ll need some unsweetened chocolate, chopped fine. Lastly, for that fluffy topping, just heavy cream, a little powdered sugar for sweetness, and more vanilla. Easy peasy!
Crafting the Perfect Graham Cracker Crust
Okay, first things first, let’s get that crust going for our amazing Black Bottom Pie! You’re going to want to preheat your oven to 350°F (175°C) right away. Grab a medium bowl and mix up your graham cracker crumbs, about ⅓ cup of granulated sugar, and those 6 tablespoons of melted butter. It should look like wet sand, ready to be packed. It’s kind of like making a super simple granola base, you know? You can even think of it like homemade goodness right from the start!
Now, here’s the important part: press this mixture really evenly into the bottom *and* up the sides of your 9-inch pie plate. Don’t be shy! Get it firm and consistent so it holds together. We’ll bake this for just about 8 to 10 minutes, until it looks lightly golden. It smells so good already! Once it’s out, just let it cool completely while we get started on those glorious custard layers. Trust me, this crust is the perfect base for all that creamy goodness! It’s almost as satisfying as pulling a perfectly golden apple crumble out of the oven.
Making the Silky Vanilla Custard Layer
Alright, now for the magic that makes this pie *sing*! We’re making the first luscious custard layer. Grab a big saucepan – one that’s nice and sturdy. Whisk together that 1 cup of granulated sugar, ¼ cup of all-purpose flour, and ¼ teaspoon of salt. Make sure there are no clumps hiding in there! Then, slowly, slowly whisk in your 3 cups of whole milk until it’s all smooth and happy.
Now, this is where we need to pay attention. Cook this mixture over medium heat, stirring *constantly*. I mean, don’t wander off! You want it to thicken up and just start to bubble – bring it to a boil, but only for about 1 minute while you keep stirring. Once it boils, take it right off the heat. This is super important for a smooth texture; you don’t want it to get gluey.
Here’s a little trick Grandma taught me: gently temper those 4 lightly beaten egg yolks. Take about half of that hot milk mixture and whisk it into the yolks *really* well. This stops the eggs from scrambling. Then, pour that tempered yolk mixture back into the saucepan with the rest of the milk mixture. Pop it back on medium heat and keep stirring and stirring for another 2-3 minutes, or until it’s nice and thick. Again, you want it thickened, not boiling! It should feel almost like a sauce. Stir in 2 teaspoons of vanilla extract. See? Nice and smooth, just like a really good creamy lemon pasta sauce!
Now, carefully pour about half of this gorgeous, silky custard into that cooled graham cracker crust we made earlier. Save the other half for the next step!
The Rich Chocolate ‘Black Bottom’ Layer
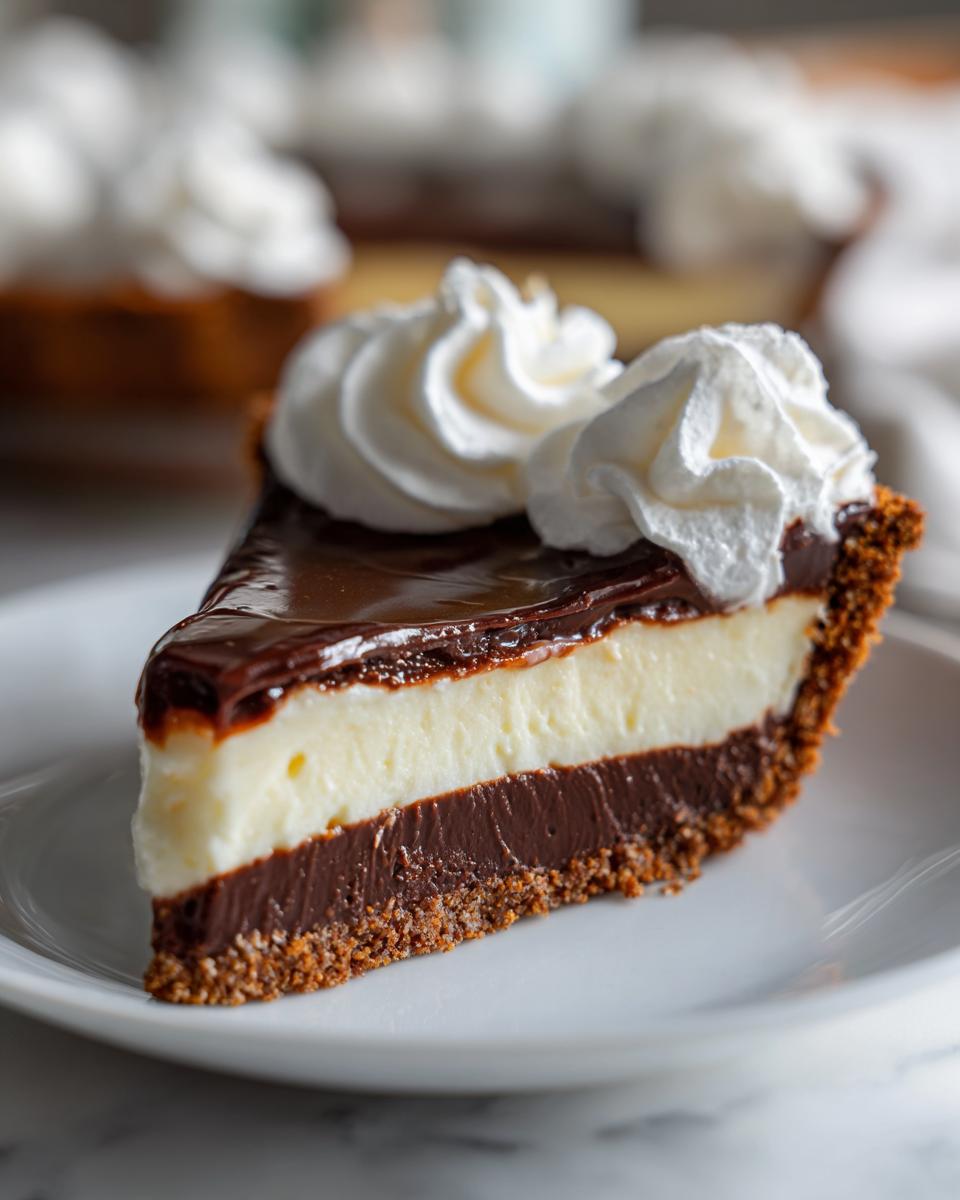
Okay, this is where our Black Bottom Pie really earns its name! We’re going to take the remaining half of that luscious vanilla custard that’s still in the saucepan. Add in your 4 ounces of chopped unsweetened chocolate. Now, just stir it gently over low heat. Keep stirring and stirring until all that chocolate melts into the custard and you have this beautiful, smooth, deep chocolate mixture. No lumps allowed!
Once it’s perfectly smooth, carefully pour this rich chocolate custard right over the plain vanilla custard that’s already sitting pretty in the pie crust. See? That perfect, dark layer peeking out! It’s like burying little treasures in there. This part just feels so decadent, kind of like the anticipation of biting into gooey chocolate chip cookies or finding the perfect chocolate chunk in a slice of pumpkin chocolate chip delight. It’s going to be incredible!

Chilling Your Black Bottom Pie to Perfection
Now that we’ve got those beautiful layers assembled in our pie crust, it’s time for the really important part: chilling! To make sure your Black Bottom Pie sets up perfectly and doesn’t get that unappetizing skin on top, you’ll want to cover it carefully. Just lay a piece of plastic wrap directly onto the surface of the custard. Press it down gently so it touches the pie everywhere. This creates a seal that keeps all that delightful custardy goodness smooth and luscious. Pop it into the fridge for at least 4 hours, but honestly, I like to let mine chill overnight. That way, it’s super firm and ready to go, just like a perfectly set no-bake pumpkin cheesecake!
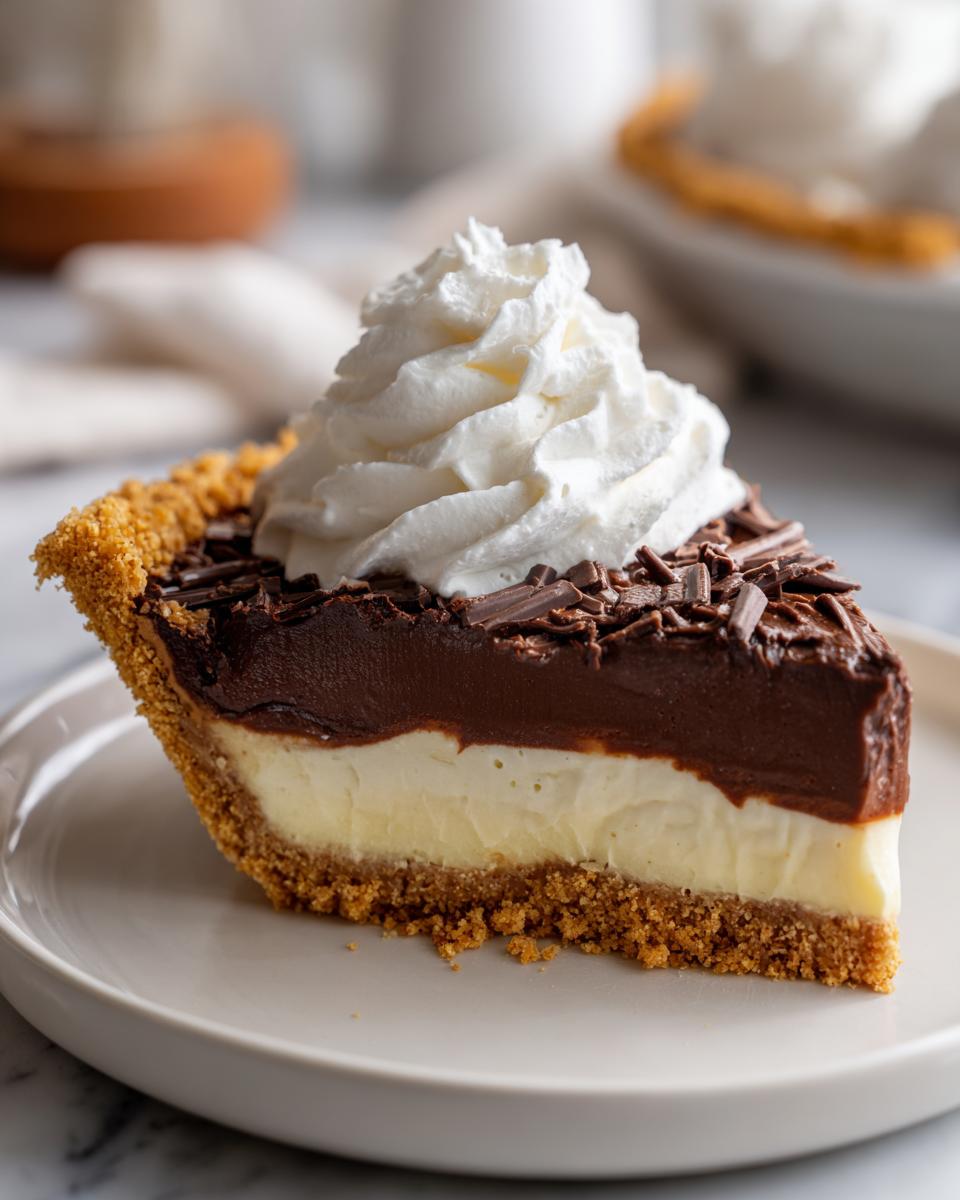
Whipping Up the Creamy Topping
Once your Black Bottom Pie is perfectly chilled and set, it’s time for the crowning glory: that fluffy, billowy whipped cream topping! Seriously, this is the final touch that makes it utterly irresistible. Grab a chilled bowl – this is key for getting nice, stiff peaks – and pour in your cold heavy cream. Add the 2 tablespoons of powdered sugar and 1 teaspoon of vanilla extract.
Now, whip it up! Whether you’re using a hand mixer or a stand mixer, beat it on medium-high speed until you see beautiful, stiff peaks forming. That means when you lift the beater, the cream holds its shape. Gently spread this glorious cloud of whipped cream all over your chilled pie. It’s like adding the perfect finishing touch to some melt-in-your-mouth whipped shortbread cookies!
Tips for Slicing and Serving Your Black Bottom Pie
Okay, so you’ve made this magnificent Black Bottom Pie, and it’s time to show it off! Serving it well makes all the difference, especially if you’re aiming for those gorgeous dessert boards. My biggest tip? Use a really sharp knife. It makes a world of difference when you’re cutting through all those creamy layers. And here’s a pro move: wipe the knife clean with a damp cloth between each slice. Trust me, it keeps those layers looking super crisp and clean. This pie is best served chilled, right out of the fridge, so that whipped cream stays fluffy and the custard holds its shape beautifully.
Make-Ahead and Storage Instructions
This Black Bottom Pie is truly a dream when it comes to making things ahead, which is why it’s my go-to for holidays or any time I need to get a head start! You can absolutely make the whole pie (crust, both custards, and chill it all up) a day in advance. Just cover it really well, pressing that plastic wrap right onto the custard surface like we talked about, and pop it in the fridge. Then, the day you want to serve it, just whip up that glorious cream topping and spread it on before you slice and serve. It’s easier than pie… well, almost! You can find even more make-ahead pie tips on the site!
Leftovers? Oh, they’re worth saving! Just keep any slices covered in the fridge. They’ll be good for about 2-3 days. Honestly, it rarely lasts that long in our house, though!
Frequently Asked Questions About Black Bottom Pie
Got questions about this lovely Black Bottom Pie? I totally get it! It’s one of those pies that looks super impressive, and sometimes you just want to make sure you’ve got all your ducks in a row before you dive in. Let’s tackle some of the things folks often wonder about, like swapping out ingredients or what to do if something’s not quite right. It’s all part of the fun, right? And if you’re looking for other delicious and easy options, definitely check out our easy pie recipes!
Can I use a different crust for this black bottom pie?
Absolutely! While I adore the classic graham cracker crust for its simple sweetness, you could totally do a pre-baked shortbread crust or even a chocolate cookie crust if you’re feeling adventurous. Just remember that different crusts might add their own flavor profile or texture, so have fun experimenting!
Why did my custard get lumpy?
Oh, the dreaded lump! Usually, this happens if the heat is too high or if the egg yolks weren’t tempered properly. When you add the hot milk to the yolks, do it slowly while whisking like crazy. Then, when you cook the custard after adding the eggs back, keep that heat medium and stir *constantly*. Don’t let it boil vigorously after the eggs go in!
How long can this vintage dessert be stored?
This beautiful vintage dessert is best enjoyed fresh, but leftovers will keep nicely in the refrigerator. Just make sure it’s covered well, and it should stay delicious for about 2 to 3 days. The whipped cream topping is best added right before serving or on the day of serving to keep it nice and fluffy!
Estimated Nutritional Information
Just a heads-up, the nutritional info for this amazing Black Bottom Pie is just an estimate, you know, since what you use can change things up a bit! But generally, one slice will give you around 450 calories, about 25g of fat (with 15g being saturated), 50g of carbs, and a good chunk of that is sugar at 45g. It also has about 7g of protein. It’s a rich treat, and totally worth it!
Share Your Black Bottom Pie Creations!
I just know you’re going to love making this Black Bottom Pie as much as I do! Once you whip up this beauty, I’d be absolutely tickled pink if you left a comment or rated the recipe down below. And please, oh PLEASE, tag me on social media with your gorgeous photos! I’d love to see your creations. If you have any last-minute questions or want to send a note, you can always reach out too!
PrintBlack Bottom Pie

A vintage chocolate custard pie with a graham cracker crust and whipped cream topping.
- Prep Time: 25 min
- Cook Time: 15 min
- Total Time: 40 min
- Yield: 8 servings 1x
- Category: Dessert
- Method: Baking
- Cuisine: American
- Diet: Vegetarian
Ingredients
- 1 ½ cups graham cracker crumbs
- ⅓ cup granulated sugar
- 6 tablespoons unsalted butter, melted
- 1 cup granulated sugar
- ¼ cup all-purpose flour
- ¼ teaspoon salt
- 3 cups whole milk
- 4 large egg yolks, lightly beaten
- 2 teaspoons vanilla extract
- 4 ounces unsweetened chocolate, chopped
- 1 cup heavy cream
- 2 tablespoons powdered sugar
- 1 teaspoon vanilla extract
Instructions
- Preheat your oven to 350°F (175°C).
- In a medium bowl, combine graham cracker crumbs, ⅓ cup granulated sugar, and melted butter. Press the mixture evenly into the bottom and up the sides of a 9-inch pie plate. Bake for 8-10 minutes, or until lightly golden. Let cool completely.
- In a large saucepan, whisk together 1 cup granulated sugar, flour, and salt. Gradually whisk in the milk until smooth.
- Cook over medium heat, stirring constantly, until the mixture thickens and comes to a boil. Boil for 1 minute, stirring constantly.
- Remove from heat. Stir about half of the hot milk mixture into the beaten egg yolks. Pour the tempered egg yolk mixture back into the saucepan.
- Return the saucepan to medium heat and cook, stirring constantly, for 2-3 minutes, or until thickened. Do not boil.
- Remove from heat and stir in 2 teaspoons vanilla extract.
- Pour half of the custard into the cooled pie crust.
- Add the chopped unsweetened chocolate to the remaining custard in the saucepan. Stir over low heat until the chocolate is melted and the mixture is smooth.
- Pour the chocolate custard over the plain custard in the pie crust.
- Cover the pie with plastic wrap, pressing it directly onto the surface of the custard to prevent a skin from forming. Refrigerate for at least 4 hours, or until firm.
- In a chilled bowl, beat the heavy cream, powdered sugar, and 1 teaspoon vanilla extract until stiff peaks form.
- Spread the whipped cream over the chilled pie before serving.
Notes
- For a make-ahead dessert, prepare the pie and chill it overnight. Add the whipped cream topping just before serving.
- To create elegant slices for a dessert board, use a sharp knife and wipe it clean between each cut.
Nutrition
- Serving Size: 1 slice
- Calories: 450
- Sugar: 45g
- Sodium: 150mg
- Fat: 25g
- Saturated Fat: 15g
- Unsaturated Fat: 10g
- Trans Fat: 0g
- Carbohydrates: 50g
- Fiber: 3g
- Protein: 7g
- Cholesterol: 100mg