
If you’ve ever stared down a Tuesday evening, wishing dinner would just cook itself, I totally get it. That feeling of needing something truly delicious but having zero enthusiasm for culinary gymnastics is exactly why Leo Grant started Dishicious! We take what seems complicated and engineer it into something beautifully simple. Forget frantic stirring; we’re focusing on reliable methods that maximize payoff, especially when it comes to our amazing braised chicken thighs. Cooking this way means you get that rich, deep flavor you crave without the usual drama. This Dutch oven method proves you can have a gorgeous, comforting meal on the table without feeling frazzled at all.
- Why This One-Pot Braised Chicken Thighs Recipe Works Every Time
- Essential Ingredients for Perfect Braised Chicken Thighs
- Step-by-Step Instructions for Easy Braised Chicken Thighs
- Tips for Perfect Dutch Oven Chicken Thighs Every Time
- Serving Suggestions for Your Simple Braised Dinner
- Storage and Reheating Instructions for Leftover Braised Chicken Thighs
- Frequently Asked Questions About Braised Chicken Thighs
- Estimated Nutritional Data for Savory Slow Cooked Chicken
- Share Your Weeknight Chicken Meals Success
Why This One-Pot Braised Chicken Thighs Recipe Works Every Time
I’m telling you, this recipe is exactly why our philosophy here at Dishicious works: maximum flavor, minimum fuss. When I started batch-testing these braised chicken thighs, I was constantly running around the kitchen. Now? I just sear the meat, toss everything into the Dutch oven, and I’m done! It’s the perfect One Pot Chicken Dinner solution for those crazy nights.
This process has turned this dish into a genuine Family Favorite Chicken Recipe because cleanup is practically zero, and the results are always impressive. It just proves that even busy schedules don’t mean we have to settle for boring food.
Achieving Fall Off The Bone Chicken Texture
The real secret here isn’t the sauce—it’s the environment the Dutch oven creates. Unlike just baking, the heavy lid traps all the steam created by the broth, turning the whole thing into a little moist sauna. That gentle, slow heat is what breaks down the connective tissues in the thighs, guaranteeing you hit that unbelievable Fall Off The Bone Chicken texture every single time. It’s science, but it tastes like magic!
Simple Ingredients for Flavorful Chicken Thighs
You don’t need artisanal truffle oil or five different herbs to make this incredible. The depth of flavor comes from two simple actions: first, getting that deep brown crust on the skin during the sear, and second, letting those veggies sweat out their sweetness into the braising liquid. It’s amazing how just broth, wine, and simple aromatics can turn into such deeply Flavorful Chicken Thighs once they simmer together for an hour.
Essential Ingredients for Perfect Braised Chicken Thighs
Okay, let’s talk about what actually goes into this pot, because the simplicity is part of the genius here. We are keeping it straightforward, focusing on sturdy components that can handle the braise. You absolutely need six bone-in, skin-on chicken thighs; that bone matters for flavor and moisture! Then we layer things on: olive oil for searing, simple salt and pepper, those chunky onions, carrots, and potatoes—think rustic cuts here. Don’t forget the minced garlic, chicken broth, a little white wine for punch (optional, promise!), dried thyme, and one trusty bay leaf. Honestly, these braised chicken thighs taste like they took hours, but the ingredient list is pure weeknight gold.
And listen up—the very first step is searing the skin until it’s deeply brown. Seriously, don’t rush it! That crisp, browned skin turns into pure gold once it rests in that delicious braising liquid. That’s where the richness starts!
Ingredient Notes and Substitutions for Your Braised Chicken Dinner
Because I want everyone to make this, let’s talk swaps. If you hit the recipe and realize you’re out of the white wine, no sweat! Just skip it and use an extra half-cup of that chicken broth. That keeps it lovely and flavorful, and if you’re watching carbs, that move keeps it closer to a Keto Braised Chicken dream. Also, while this specifically calls for bone-in, skin-on thighs because they are the kings of juicy flavor, you *can* use boneless thighs, but you need to shave about 25 or 30 minutes off the oven time. They cook way faster, so definitely check that internal temp early!
Step-by-Step Instructions for Easy Braised Chicken Thighs
Okay, deep breath! Making these Easy Braised Chicken Thighs is just a series of simple moves, but the order is everything. Think of your heavy Dutch oven as your best friend here—it’s what moves the heat perfectly from the stovetop right into the oven. We need to build flavor walls before we let everything simmer quietly. Keep your paper towels handy because drying the chicken skin thoroughly is step one for success! This whole process relies on layering flavor, much like setting up any successful project, which is why I love this setup for a hearty weeknight chicken meal.
Searing the Chicken Thighs for Maximum Flavor
Get that olive oil hot in your Dutch oven over medium-high heat. I mean hot, almost shimmering! Take your seasoned thighs and lay them *skin-side down*—and don’t crowd the pan, or they’ll steam instead of sear! Let them hang out there for a solid five to seven minutes until that skin looks dark, deeply browned, and gorgeous. Flip them quick, sear the bottom for just two minutes, then pull them out onto a plate immediately. You’ll notice all those lovely brown bits stuck to the bottom? That’s pure flavor gold in your braised chicken thighs!
The Braising Process in the Dutch Oven Chicken Thighs
Drop the heat to medium and toss in your onions. Scrape up those nice brown bits from the bottom while they soften—that’s called deglazing, and it’s crucial! After the garlic smells amazing, pour in the white wine (if you’re using it) and let it bubble down for a couple of minutes. Next, pour in the broth and toss in your carrots, potatoes, thyme, and that bay leaf. Finally, nestle those seared chicken thighs right back on top of the veggies, skin side up, trying to keep that skin above the liquid level. Pop on that heavy lid and transfer the whole thing straight into the oven, preheated to 350°F (175°C). Let them do their thing for 45 to 60 minutes. Seriously, this is why the Dutch Oven Chicken Thighs method is the absolute best for weeknights!
When they look done—meaning they wiggle easily—pull them out, toss that bay leaf, and serve it all up right from the pot! We’ve earned this easy dinner.
Tips for Perfect Dutch Oven Chicken Thighs Every Time
Look, even though this is easy, there are tiny checkpoints you can hit to make these Dutch Oven Chicken Thighs world-class. Remember that note about crispy skin? If you can’t stand the thought of soft braised skin—and I totally get it, crispy skin is superior—plan ahead! Once the chicken is tender (around the 45-minute mark), carefully take that heavy lid off.
Then, you crank the oven heat up just a little bit, maybe to 400°F, and let them roast uncovered for the last 8 to 10 minutes. You watch them like a hawk, though! Skin burns fast when it’s exposed like that. This trick gives you that great sear flavor on top while the bottom stays amazingly tender. Because we don’t want to waste any of that savory broth, I always suggest serving the meat and veggies, then spooning that liquid gold over the top of your rice or potatoes. You are going to love how this family dinner comes together!
Serving Suggestions for Your Simple Braised Dinner
So you’ve pulled that glorious Dutch oven out of the oven, and the smell alone is a victory! This is where you get to bring the meal home. Since we have these tender carrots and potatoes swimming in such a fantastic, savory sauce, you absolutely have to have something to soak it all up. My number one recommendation for this Simple Braised Dinner is always a big loaf of crusty French bread. You just lay slices on the side and watch everyone happily mop up all those juices!
If you need something creamier, you cannot go wrong spooning this mix over some fluffy mashed potatoes—I have my favorite technique for those, too. Anything that can happily absorb that rich broth makes this whole dish shine. It’s hearty, comforting, and the perfect payoff for an hour of low-effort cooking!
Storage and Reheating Instructions for Leftover Braised Chicken Thighs
I always hope there are leftovers because these braised chicken thighs taste even better the next day! Once they cool, scoop the chicken and veggies into an airtight container, making sure to get plenty of that lovely braising sauce in there too. They stay good in the fridge for about three to four days, no problem. Honestly, they are excellent cold, too, which is great for lunch boxes!
When you’re ready to reheat, skip the microwave if you can! That dries things out—and we worked hard for that juicy texture. I pop them in a small saucepan with a splash of extra broth, cover it lightly, and gently warm them over medium-low heat until they are steaming through. It keeps the meat super moist. They taste fantastic served over those twice-baked potatoes or just on their own!
Frequently Asked Questions About Braised Chicken Thighs
I know sometimes these step-by-step instructions still leave you with a random kitchen question bubbling up. That’s totally fine! Being methodical means planning for the questions you didn’t even know you had yet. Here are a few things folks always ask me after they pull these amazing braised chicken thighs out of the heat. Don’t worry, we have the simple answers right here!
Can I use boneless, skinless braised chicken thighs instead?
You absolutely can, but be warned: you lose the gorgeous, rendered fat flavor that comes from the skin, and that skin *is* part of the experience for me! If you must go boneless, skinless, you need to significantly cut the oven time. Because there’s no bone to conduct heat slowly, they cook much faster. I’d check them around the 25-minute mark and pull them out when they hit that 165°F internal temperature, otherwise, you risk dry meat. They won’t be quite as rich, but still delicious!
How do I make this a Keto Braised Chicken recipe?
That’s a great pivot! This is already pretty low-carb thanks to the delicious chicken, but we need to cut out the starch. The first thing is easy: skip the white wine (or substitute it with an equal amount of broth). The biggest change is cutting out the potatoes entirely. For the vegetables, you can bulk it up by adding celery root, or just lean into extra carrots and onions which are fine in moderation on keto. You get fantastic flavor from the meat and herbs, making it a perfect Keto Braised Chicken base.
What is the best way to thicken the sauce for this Comfort Food Chicken Dinner?
This is where you take control of the final look of your sauce! If you followed the steps, you should have a flavorful sauce, but maybe it’s a bit thin for your liking, especially if you want to call it the ultimate Comfort Food Chicken Dinner. I have two easy fixes. The fastest way is making a slurry: mix about a tablespoon of cornstarch with two tablespoons of *cold* water in a tiny bowl until smooth, then stir that mixture into the simmering sauce either on the stovetop or after you remove the lid in the oven. Whisk constantly until it thickens up. Alternatively, just remove the lid for the last 15 minutes of cooking and let the liquid reduce naturally!
We want you to feel totally confident making this weeknight chicken meal. If you have more questions as you bake, please drop them in the comments below!
Estimated Nutritional Data for Savory Slow Cooked Chicken
I always get asked this, and while I am a home cook, not a registered dietitian, I want to give you the best quick snapshot possible for this Savory Slow Cooked Chicken. Based on the exact ingredients we used—six thighs with the root veggies split four ways—here’s what you can generally expect per serving:
- Calories: 450
- Fat: 25g
- Protein: 35g
- Carbohydrates: 20g
Now, please remember this is an estimate! If you use a lot more of that amazing pan sauce, or if your potatoes are huge, things change. This data is just a guide for our foundational braised chicken thighs recipe!
Share Your Weeknight Chicken Meals Success
That’s it! You’ve successfully brought a gorgeous, deeply flavorful, one-pot chicken dinner right out of the oven. Honestly, seeing these braised chicken thighs come together is one of the best parts of my week, and I really hope it becomes one of yours too!
I’d absolutely love to hear about how this simple braised dinner turned out for you. Did you use the white wine, or did you stick to the broth? Did you find the sweet spot for that crispy skin trick? Don’t keep all that victory to yourself!
Please, take a quick second to leave a star rating—it genuinely helps other busy folks figure out which recipes to trust next. And hey, if you got a gorgeous photo of that tender chicken next to those perfectly cooked veggies, snap a picture and tag us on social media! We adore seeing your creations and any little tweaks you made to fit your family’s routine. If you have feedback or need any last-minute advice, you can always reach out via our contact page. Happy cooking, friend!
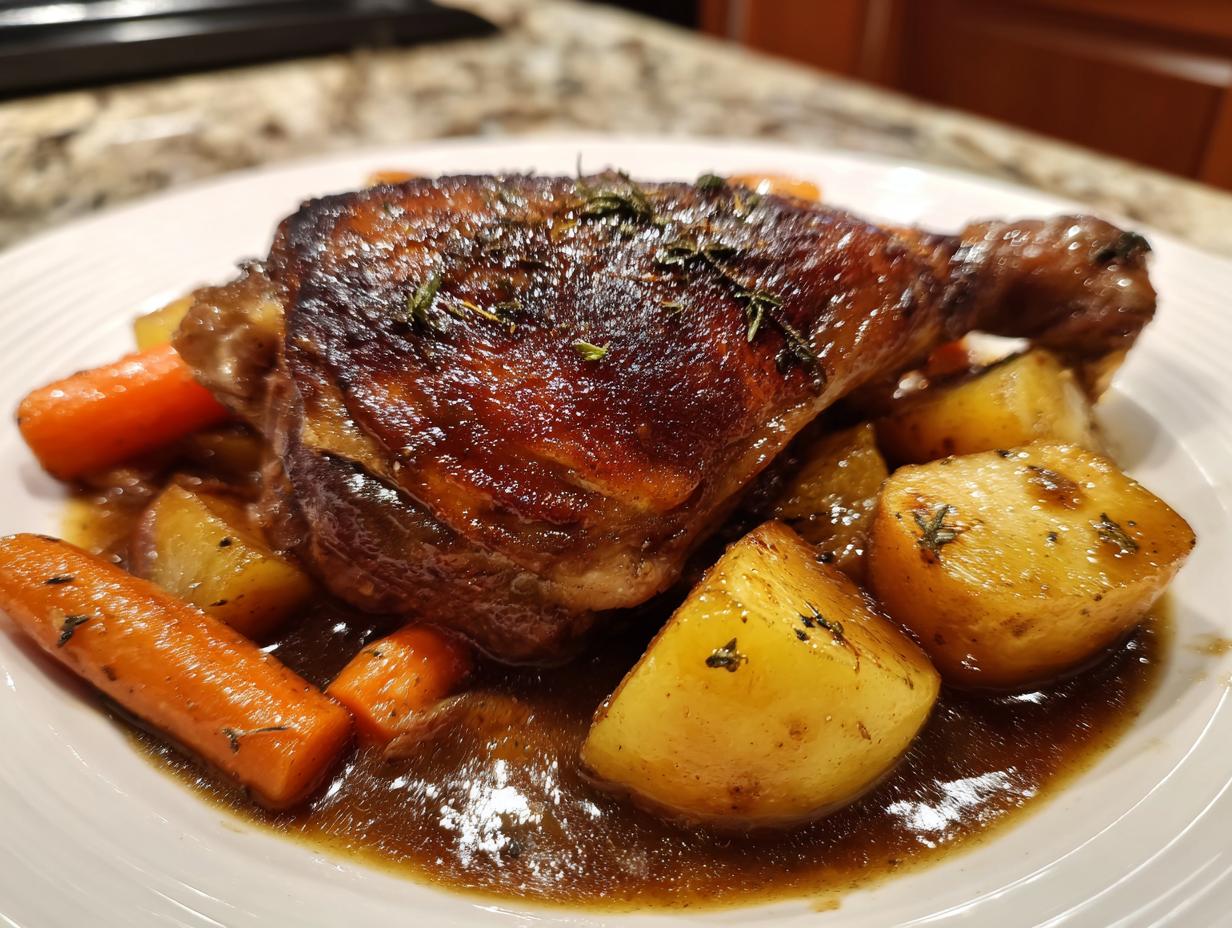
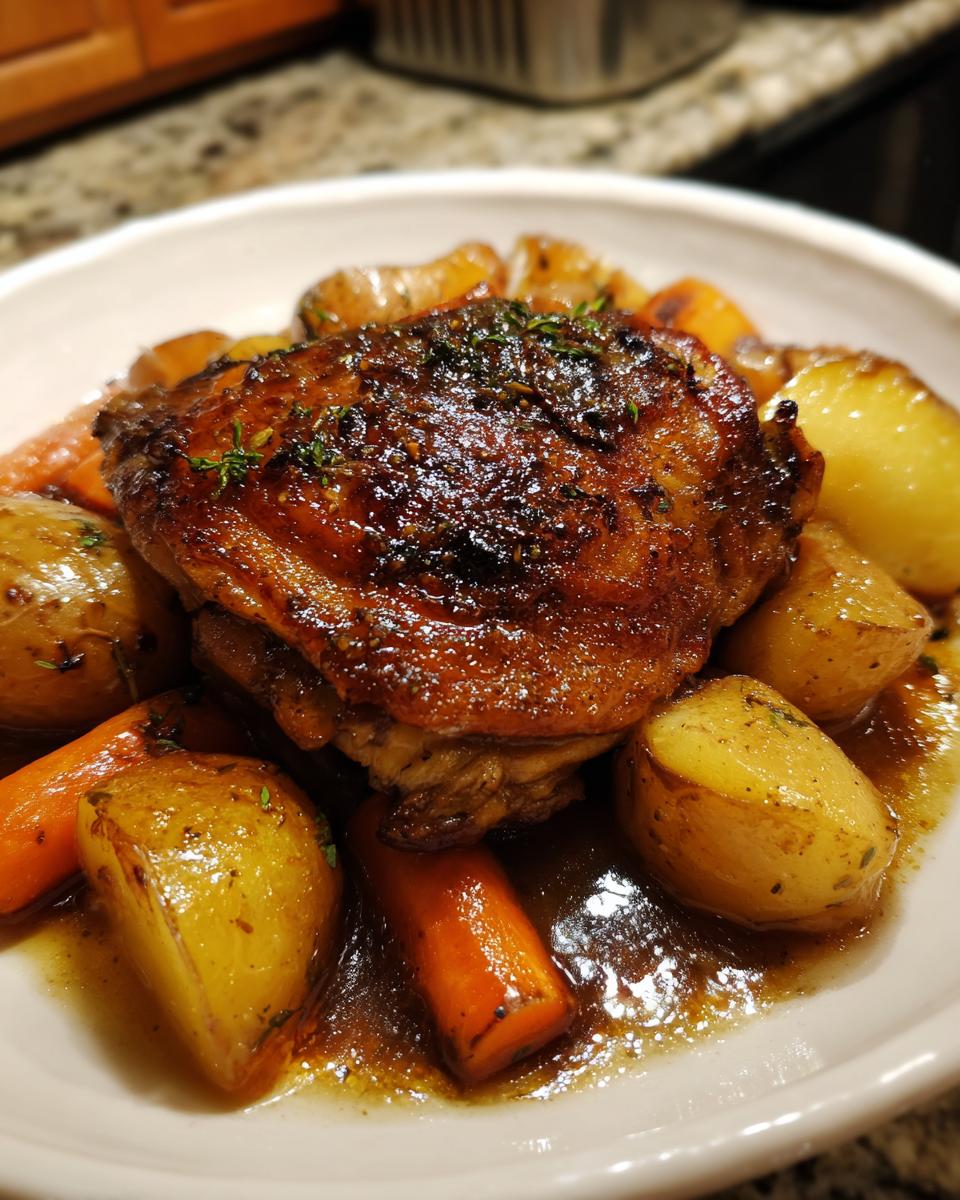
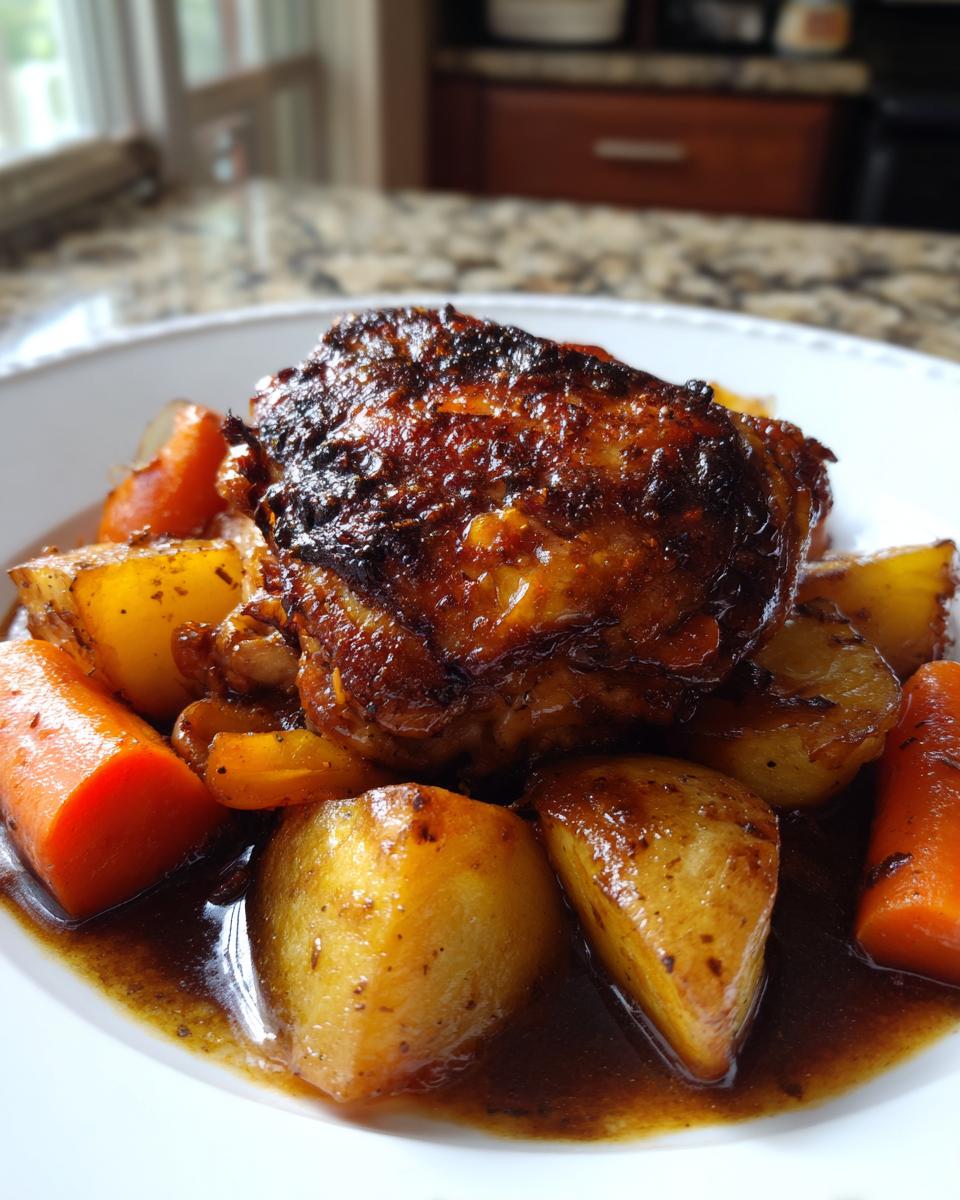
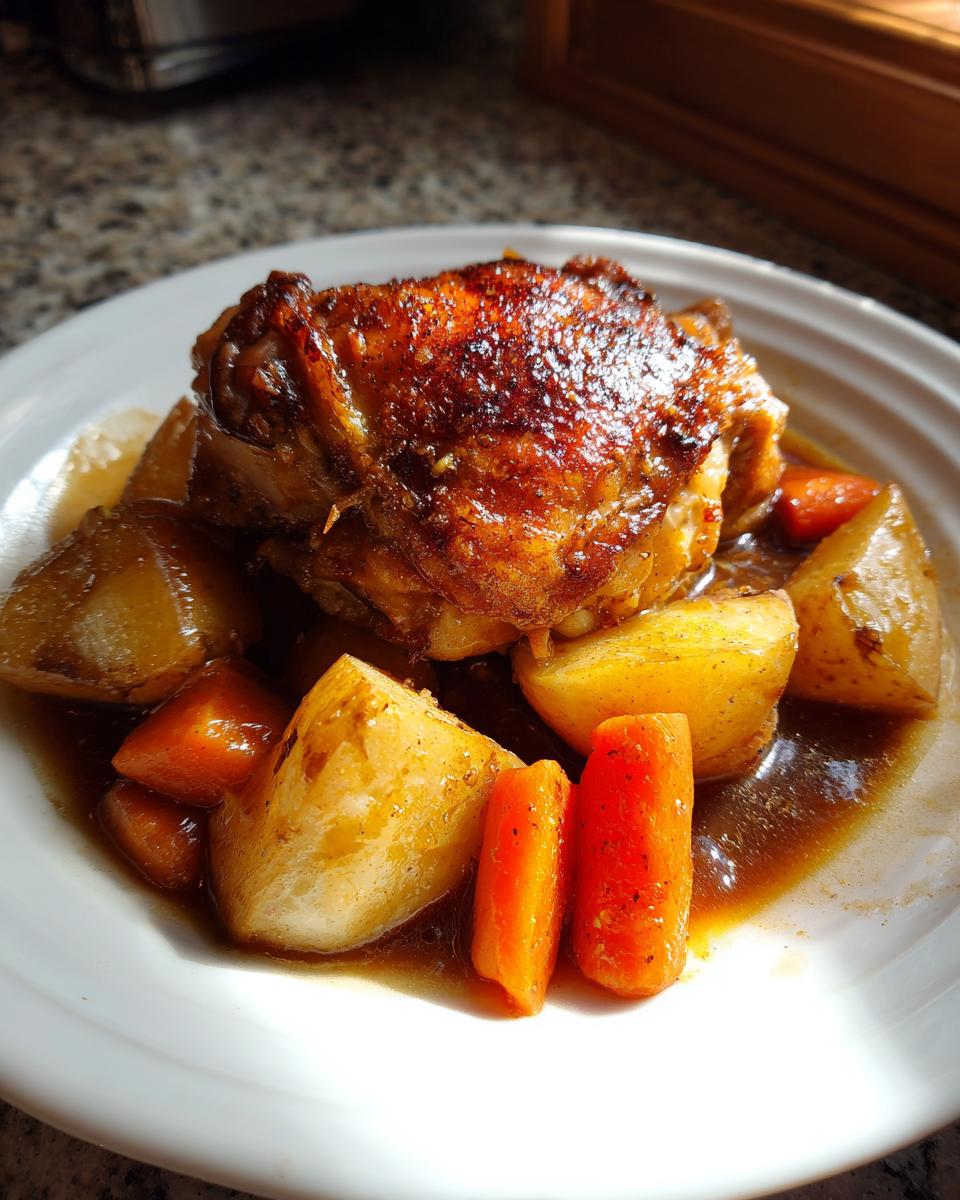
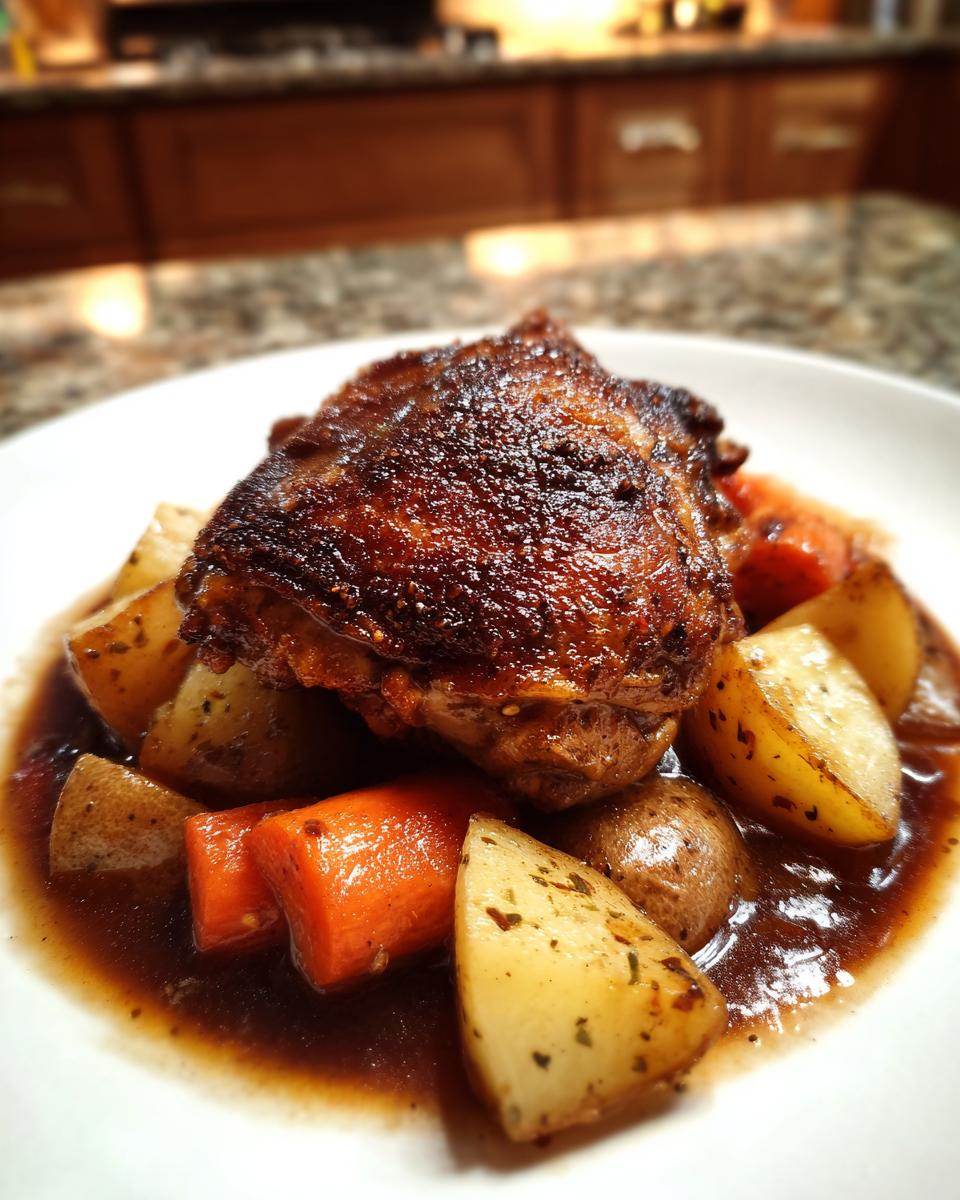
PrintEasy Dutch Oven Braised Chicken Thighs with Root Vegetables
Make tender, juicy braised chicken thighs and vegetables in one pot using a Dutch oven. This simple recipe delivers rich, comforting flavor perfect for a weeknight dinner.
- Prep Time: 15 min
- Cook Time: 60 min
- Total Time: 75 min
- Yield: 4 servings 1x
- Category: Dinner
- Method: Baking/Braising
- Cuisine: American
- Diet: Low Calorie
Ingredients
- 6 bone-in, skin-on chicken thighs
- 1 tablespoon olive oil
- 1 teaspoon salt
- 1/2 teaspoon black pepper
- 1 large onion, chopped
- 3 carrots, cut into 1-inch pieces
- 3 medium potatoes, quartered
- 2 cloves garlic, minced
- 1 cup chicken broth
- 1/2 cup dry white wine (optional)
- 1 teaspoon dried thyme
- 1 bay leaf
Instructions
- Pat the chicken thighs dry with paper towels. Season both sides with salt and pepper.
- Heat the olive oil in a large Dutch oven over medium-high heat. Sear the chicken thighs, skin-side down, until the skin is deeply browned, about 5 to 7 minutes. Flip and sear the other side for 2 minutes. Remove the chicken and set aside.
- Reduce the heat to medium. Add the chopped onion to the Dutch oven and cook until softened, about 4 minutes. Add the minced garlic and cook for 1 minute until fragrant.
- Pour in the white wine (if using) and scrape up any browned bits from the bottom of the pot. Let it reduce slightly for 2 minutes.
- Add the chicken broth, carrots, potatoes, thyme, and bay leaf to the pot. Stir to combine.
- Nestle the seared chicken thighs back into the liquid and vegetables, skin-side up, keeping the skin above the liquid as much as possible.
- Bring the liquid to a simmer on the stovetop. Cover the Dutch oven with the lid.
- Transfer the Dutch oven to a preheated oven at 350°F (175°C). Braise for 45 to 60 minutes, or until the chicken is fall-off-the-bone tender and the internal temperature reaches 165°F (74°C).
- Remove the bay leaf before serving. Serve the chicken and vegetables directly from the pot with the pan juices spooned over top.
Notes
- For crispier skin, remove the lid for the last 10 minutes of cooking, watching carefully to prevent burning.
- You can substitute the white wine with an equal amount of extra chicken broth for an alcohol-free version.
- This is a great one pot chicken dinner that pairs well with crusty bread for soaking up the sauce.
Nutrition
- Serving Size: 1 thigh with vegetables
- Calories: 450
- Sugar: 5
- Sodium: 450
- Fat: 25
- Saturated Fat: 7
- Unsaturated Fat: 18
- Trans Fat: 0
- Carbohydrates: 20
- Fiber: 4
- Protein: 35
- Cholesterol: 120