
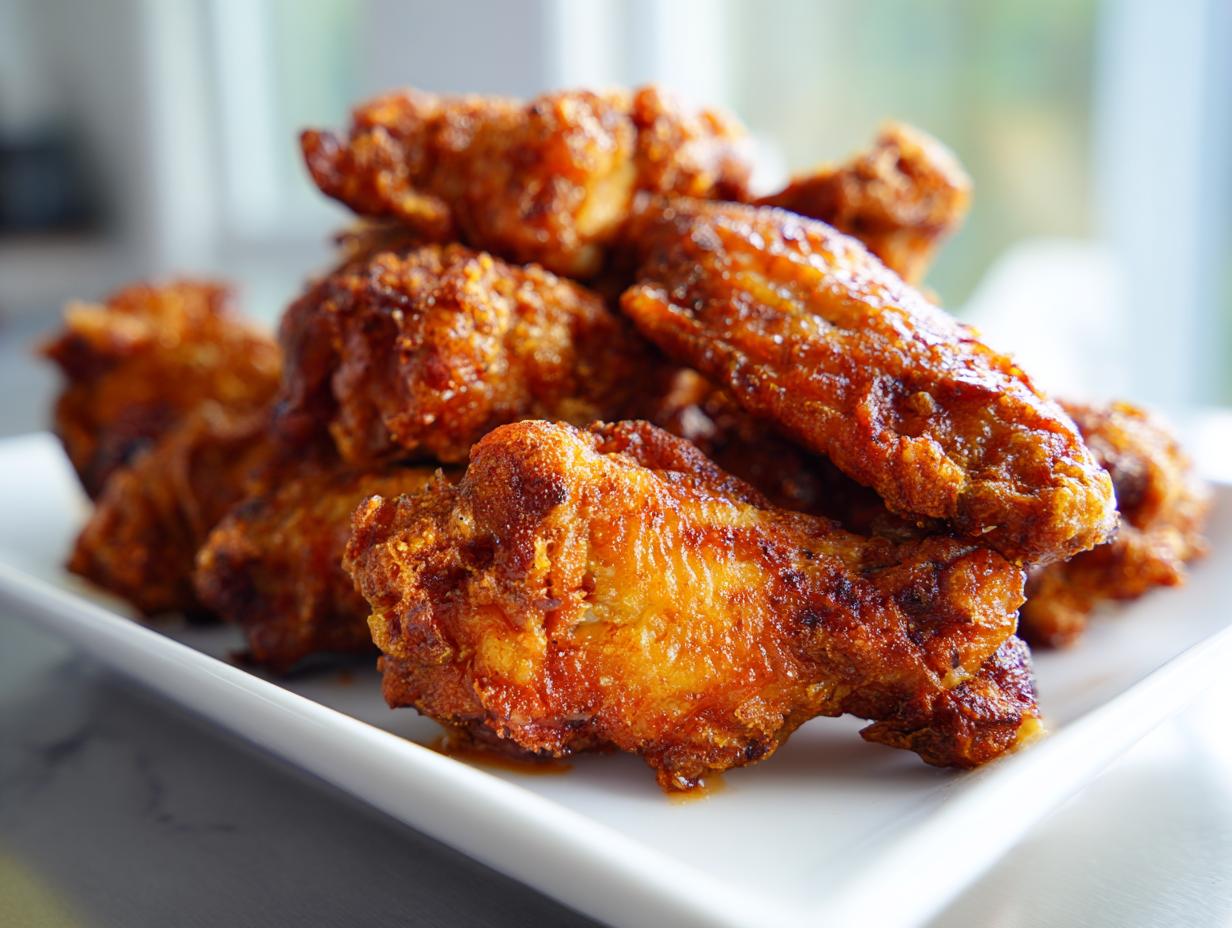
Let’s be honest, trying to get truly crispy chicken wings without dropping a vat of oil in your sink is often a huge letdown. You get sad, floppy skin that tastes more steamed than fried, am I right? Well, forget all that nonsense! I figured out a method that delivers shatter-crispness every single time, and we’re doing it entirely in the oven. This recipe is the absolute secret weapon for your next **Game Day Chicken Wings** lineup. It’s all about applying a simple little trick that our founder Leo Grant perfected, proving that even with a busy schedule, you deserve delicious, perfectly optimized food. You won’t believe you never deep-fried these amazing **chicken wings** a single time! If you’re curious about how we approach simplifying recipes like this one, you can always check out our story right here.
- Why This Baked Chicken Wings Recipe Guarantees Crunch
- Essential Ingredients for Perfect Chicken Wings
- Step-by-Step Instructions for Juicy Chicken Wings
- Flavor Variations: Beyond Basic Buffalo Chicken Wings
- Tips for Success with Easy Oven Fried Wings
- Serving Suggestions for Your Party Appetizer Wings
- Storage and Reheating Instructions for Leftover Chicken Wings
- Frequently Asked Questions About Making Chicken Wings
- Estimated Nutritional Data for Baked Chicken Wings
Why This Baked Chicken Wings Recipe Guarantees Crunch
The number one reason most baked wing recipes fail is moisture. If the skin is wet, it steams, and you end up with soft skin. That’s why the first thing you do—after patting them bone dry, which is non-negotiable—is coat them in our secret weapon. This is what makes these hands-down the best **No Fry Chicken Wings** you’ll ever make.
We aren’t just throwing seasoning on them; we are using baking powder to create an environment where the skin can dry out and crisp up beautifully in the oven. Seriously, this is the optimization Leo brought to the baking process to make sure we get that satisfying crunch without needing a fryer. If you’re looking for smarter ways to get dinner on the table fast, you should take a peek at our collection of quick dinners.
The Science Behind Crispy Baked Chicken Wings
It sounds complicated, but hang with me! The baking powder, specifically the aluminum-free kind, is alkaline—meaning it raises the pH level on the surface of the chicken skin. This small chemical change helps break down proteins faster than usual. When the proteins relax and break down, they release moisture more easily, allowing the skin to dehydrate and get super crunchy as it bakes. It’s like giving your oven the power of a deep fryer, just without the mess! If you skip the drying part, the baking powder turns into paste instead of a crisping agent, so make sure those wings are as dry as possible first!
Essential Ingredients for Perfect Chicken Wings
Okay, prepping for this is ridiculously simple, which is why I love it for busy nights. I’ve broken down what you need into two main groups: the stuff that creates that amazing, shatter-crisp texture before it even sees the oven, and the sauce components. Trust me when I say you probably already have 90% of this stuff in your pantry right now!
For the Crispy Coating
This is where the magic happens, so don’t skip any powders here! We need a dry environment for our wings, and these spices create the perfect coating.
- 3 lbs chicken wings (Make sure you get a mix of flats and drumettes, or just stick to whichever you prefer!)
- 1 tablespoon baking powder (If you have aluminum-free, grab that one—it tends to taste cleaner, but any kind will work here!)
- 1 teaspoon salt
- 1/2 teaspoon black pepper
- 1/2 teaspoon garlic powder
For the Finishing Sauce (Buffalo Style)
This recipe uses a basic but perfect Buffalo sauce finish, but you can totally pivot here later! This sauce is applied *after* baking, so don’t mix it in with the baking powder, please!
- 1/4 cup Buffalo wing sauce (Use whatever brand you love, or grab your preferred base sauce now—we’re changing it up later for different flavors!)
- 2 tablespoons unsalted butter, melted (Optional, but it really smooths out the sauce beautifully.)
Step-by-Step Instructions for Juicy Chicken Wings
Alright, here is where we bring all those perfect ingredients together. This method is so straightforward, even if you’re throwing this together last minute for an impromptu gathering, you’ll still end up with those beautiful, **Juicy Chicken Wings** everyone loves. Just follow the lead, and we’re aiming for that two-stage temperature hit to maximize shatter-crispness!
Preparation and Coating for Ultimate Crisp
First things first, get that oven fired up to 425°F (220°C). You need to line a big baking sheet with foil—this saves you a mountain of cleanup later—and then you absolutely must put a wire rack right on top of that foil. Now, take your wings and pat them down with paper towels until they aren’t dripping wet anymore. Now, in your big bowl with the baking powder and spices, toss those dry wings until they are fully, totally covered. Seriously, no bare spots allowed! Lay them out on your waiting rack. And this is key: make sure they aren’t touching! If they overlap, they steam, and we hate steamed wings.
Baking Times and Temperature Adjustments
Time for the heat! We start high for 25 minutes. This initial blast blasts off surface moisture. When that timer goes off, you’re going to flip every single wing over. Then, drop the oven temperature down to 400°F (200°C). Keep them going for another 20 to 25 minutes. In total, you’re looking at about 45 minutes of total cook time, and they should be golden and totally crunchy. If you want even more ideas on how to maximize oven cooking, I highly recommend you check out my recipe for Asiago Chicken Bake.

Saucing the Finished Chicken Wings
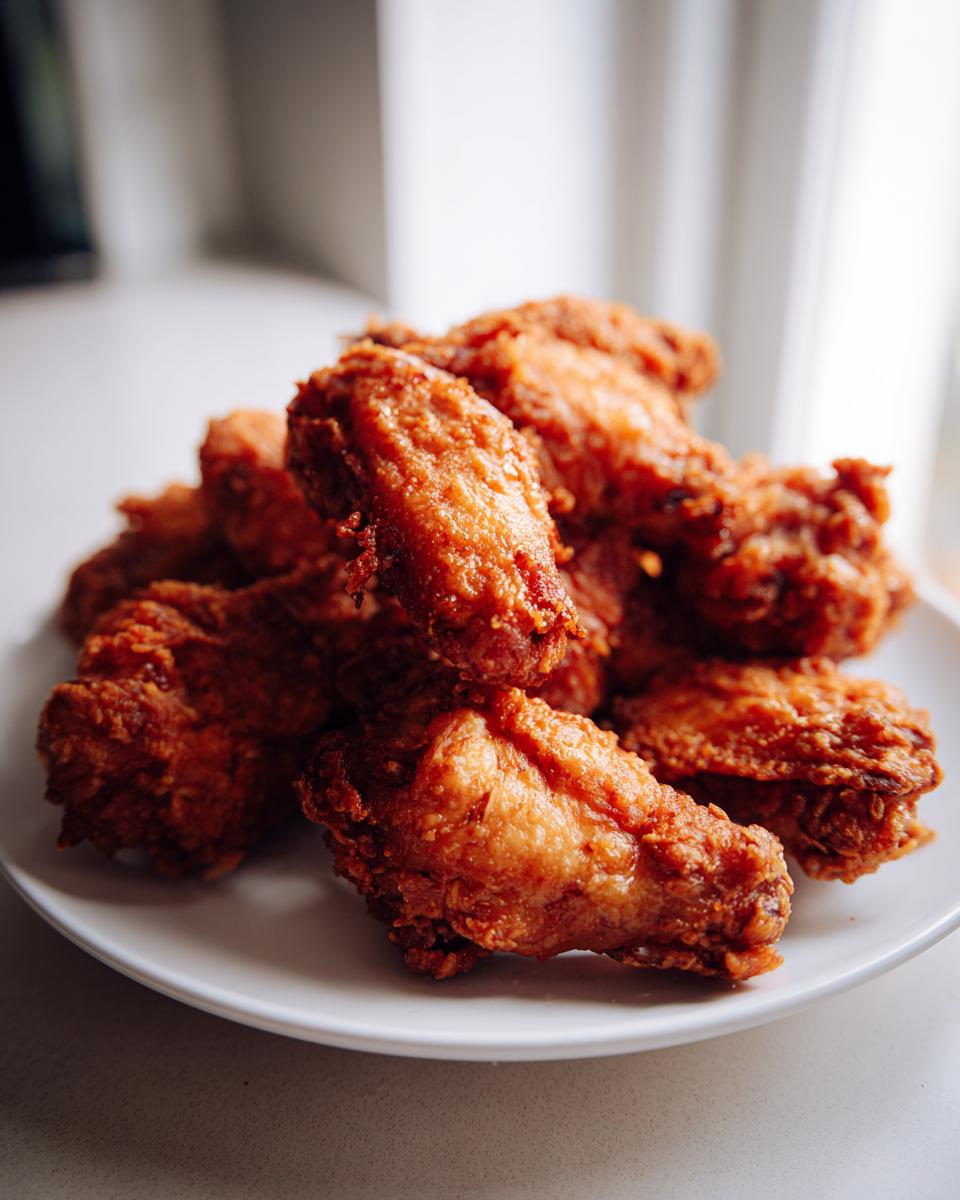
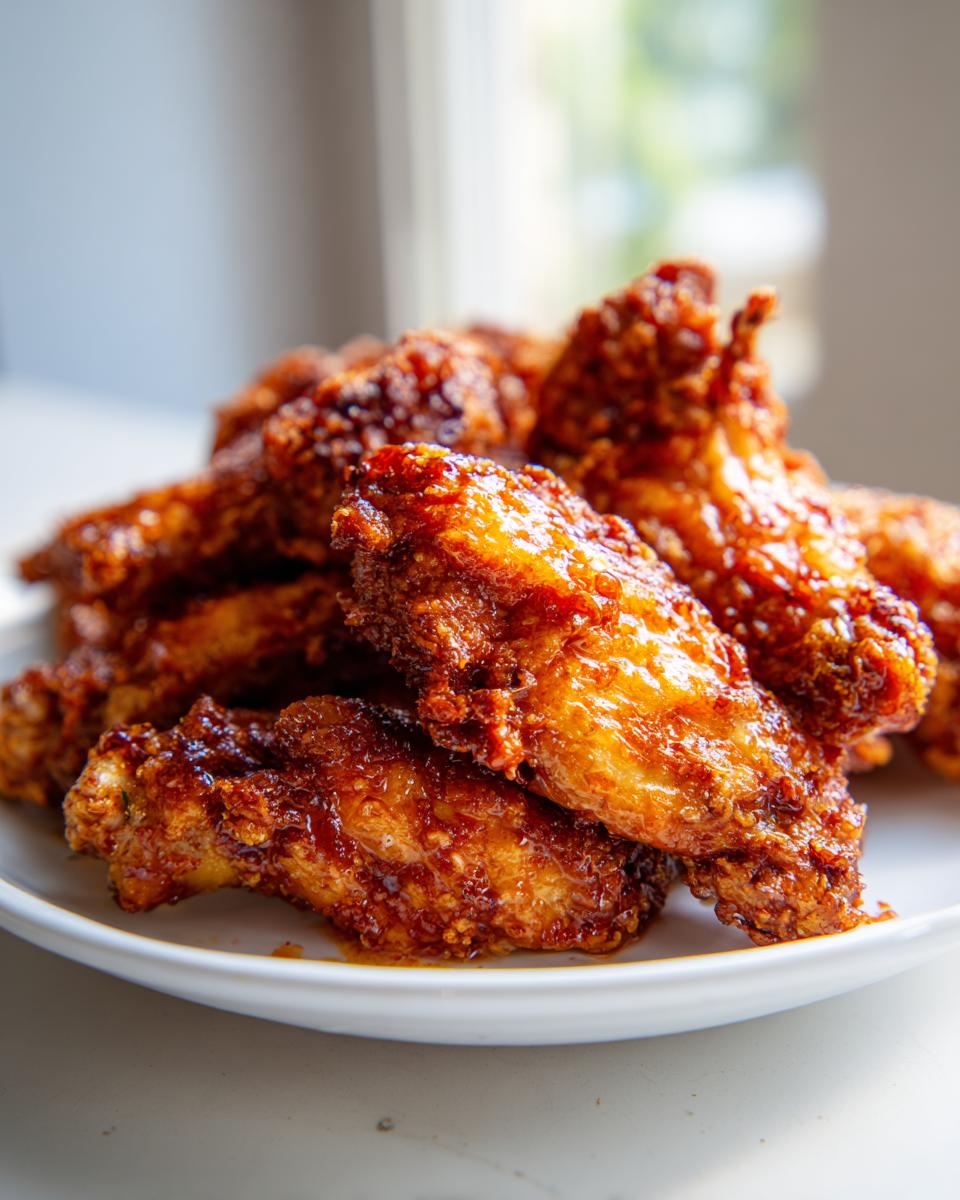
While they finish up that last segment of baking, quickly whisk your Buffalo sauce and melted butter together in a small bowl. As soon as those perfect wings come out of the oven—and I mean *immediately*—toss them into a clean, large bowl. Drench them with the sauce and toss super fast to coat everything before that crisp skin starts to soften up. Serve them right away with some ranch dip!
Flavor Variations: Beyond Basic Buffalo Chicken Wings
Now, while I stand by the Buffalo sauce finish—because honestly, it’s a classic for a reason—I know you want options! Our goal here is to make this your go-to hub for every kind of **chicken wings** craving. Since we nailed the crisping technique using the baking powder, the actual seasoning part is totally open to interpretation. You can go sweet, you can go savory, you can even go smoky if you want to get wild! We’re keeping these short flavor bombs simple, just like Leo likes his optimized recipes.
If you’re looking for some other great tangy chicken recipes, I have a fantastic Honey Lemon Garlic Chicken Bake that mixes well with these flavor ideas.
Making Sweet and Spicy Wings (Hot Honey Style)
If you want those trendy sweet and spicy wings, this is so easy. After your wings come out, skip the Buffalo sauce bowl, and instead, make a quick blend of honey and a dash of your favorite hot sauce, maybe even some cayenne if you like it bold! Toss them right away while they are piping hot. The heat helps the honey coat everything without just dripping off. They become these amazing, sticky, sweet-and-spicy flavor bombs!
Garlic Parmesan Wings Technique
For fantastic **Garlic Parmesan Wings**, timing is everything so you don’t burn that gorgeous Parmesan cheese. You HAVE to wait until the wings come out of the oven smelling incredible. Toss those hot wings in a bowl with about 2 tablespoons of melted butter first—this acts as the glue. Then, immediately dump in your garlic powder AND your grated Parmesan cheese and toss like crazy until every piece is coated in cheesy goodness. That residual heat melts the cheese perfectly without burning it to a crisp!
Tips for Success with Easy Oven Fried Wings
When I started experimenting with making **Easy Oven Fried Wings**, I made every mistake possible. I’ve had wings stick to the pan, wings that looked great on top but were pale and squishy underneath, and wings that tasted more like baked chicken than actual wings. That’s why I want to share the troubleshooting tips Leo figured out—it’s all about optimizing the process so you don’t waste a batch!
The main thing to remember is that if you let the wings sit in their own rendered fat or steam against the pan surface, you lose all that hard work you put in with the baking powder. We want air circulation all the way around these bad boys. If you are looking for more fast-track recipes that save you time without sacrificing quality, my collection of quick dinners should be your next stop!
The Importance of the Wire Rack for Crispy Chicken Wings
This wire rack is seriously the unsung hero of this entire recipe. Think about what happens when you fry something—the hot oil surrounds every side, crisping it up evenly. We can’t replicate that exactly in the oven, but the rack gets us really close! When you place the wings directly on foil or parchment paper, the condensation that leaks out builds up underneath, essentially steaming the bottom of your wing.
But when you lift them up onto that rack, the hot air in the oven can circulate underneath them just as well as it hits the top. This keeps the bottom dry and helps that baking powder coating work its magic on every surface. It ensures you get uniform crispiness across the entire batch, making every single wing satisfying, whether it’s the first one you grab or the last!
Serving Suggestions for Your Party Appetizer Wings
You’ve made the perfect batch of crispy, savory **chicken wings**—now what? Serving them up right is the final step, especially if you’re gearing up for a big **Game Day** event or having friends over. These aren’t just dinner; they are the star of the **Party Appetizer Wings** spread! Don’t just dump them on a plate; make them look as good as they taste.
First off, you need the mandatory dipping action. My go-to is always a classic, homemade ranch dressing. It’s cool, creamy, and cuts through any spice beautifully. Blue cheese is the traditional partner, of course, but if you want to get really creative with the dipping game, you can try my appetizer section for ideas on smoky dips that pair super well.

You have to serve them with fresh, crisp dipping vegetables. Load up a big platter with celery sticks and carrot sticks—they are the perfect palate cleanser between super crispy bites. Plus, it makes you feel slightly less guilty about eating three pounds of wings, right?
If these wings are the main event for a football party, think about what else is on the table. These oven-fried wings are so easy you can whip up a couple of different flavors simultaneously. Having both Buffalo and maybe some Lemon Pepper ready means everyone finds something they love. If the crowd is big, make a huge batch, throw them into a slow cooker on the ‘Keep Warm’ setting, and toss them with the sauce right before serving to keep them hot and prevent the crispiness from totally degrading.
For more inspiration on hosting a killer spread without spending all day cooking, check out some of the other great game day ideas I linked over at Upstate Ramblings!
Storage and Reheating Instructions for Leftover Chicken Wings
Okay, let’s talk about the tough part: leftovers. If you manage to have any **chicken wings** left over after Game Day chaos, you need to treat them right! My whole goal when storing them is to prevent that skin from becoming gummy overnight. If you’ve got sauce on them, that’s fine, but you need to act fast before the sauce soaks in completely.
Here’s my rule: get them into an airtight container as cool as possible. Don’t seal them up while they are steaming hot, or you’ll trap condensation and guarantee sogginess. Give them about 20 minutes on a cooling rack loosely covered before they hit the fridge. They usually last a solid three or four days in an airtight container in the cold box. If you’re planning ahead for a quick weeknight dinner reheat, make sure you check out my Cranberry Meatballs recipe for another simple make-ahead dish!
Now, reheating is where most people mess up. Do NOT use the microwave unless you absolutely have to. Microwaving these perfectly crispy wings is like actively trying to ruin Leo’s optimization efforts! The microwave just re-steams them, and you’re back to square one with soft skin.
If you want that beautiful crunch back, you have two solid options:
- The Oven Revival: Toss the wings onto that same wire rack we used for cooking (if you saved it!) and put them back in a 375°F (190°C) oven for about 7 to 10 minutes. This slowly draws the moisture out again and crisps the skin right back up.
- The Air Fryer Turbo Boost: If you have an air fryer, this is the quickest way to perfection. Run the air fryer at 375°F (190°C) for just 4 to 5 minutes. They’ll be almost as good as fresh, seriously. It’s amazing how well these **oven fried wings** perform when given a second blast of dry heat!
If you sauced them heavily before storing, you might want to toss them quickly in a tiny bit of fresh sauce or even a sprinkle of seasoning after reheating, just to refresh that final flavor layer.
Frequently Asked Questions About Making Chicken Wings
I know when you search for the **Best Chicken Wing Flavors**, a million questions pop up about making sure they turn out right. People worry about time, texture, and if they missed a step. Since Leo is all about making sure our recipes are solid and foolproof, I gathered up the most common concerns folks have when trying to achieve these perfect **Crispy Baked Chicken Wings** at home.
Can I use baking soda instead of baking powder?
Oh, please don’t! I know it seems like you should be able to swap them out because they both make things rise, but they are not the same chemical team. Baking powder is formulated with an acid and a base, so it gives you a nice, even lift and helps dry the skin out gently. Baking soda is much more alkaline on its own. If you just use baking soda on your **chicken wings**, you run a real risk of getting a slightly metallic or soapy aftertaste when they cook through. Stick to the baking powder for that perfect crisp delivery!
How long can I bake these chicken wings if I want them extra saucy?
This is the biggest texture no-no! You absolutely should NOT bake these wings already coated in your Buffalo or Honey Garlic sauce. If you do that, the sugars and liquids in the sauce will start to caramelize and burn long before the chicken is cooked through, and you’ll end up with tough spots and a gummy mess instead of crispness. The whole point of this recipe is that initial dry bake to crisp the skin. You toss them in the sauce *immediately* after they come out of the oven. That way, the hot wing surface soaks up just enough sauce beautifully without dissolving all that hard-earned crunch we got from the baking powder!
Is this recipe suitable for Air Fryer Wings Recipe conversion?
Yes! This dry coating method is fantastic for an **Air Fryer Wings Recipe** because the air fryer is basically a mini convection oven that circulates air like crazy. If you want to convert this, here’s the quick optimization trick: Set your air fryer temperature to 380°F (195°C). You don’t need the two-step temperature change here. Toss the coated wings in the basket in a single layer (you’ll probably have to work in batches!), and cook for about 18 to 20 minutes total. Make absolutely sure you pull the basket out halfway through and flip them over so both sides get that golden color!
Estimated Nutritional Data for Baked Chicken Wings
Now, because we built this recipe around maximum flavor and that amazing crispy texture without deep frying, the nutrition profile is actually pretty great compared to traditional recipes. Remember, Leo designed these to be efficient, and that often means cutting out unnecessary fats!
It’s crucial to remember that these values are just estimates based on the base recipe before tossing in a heavy, sugary BBQ sauce or a rich, creamy dip. If you use a lot of extra melted butter for your sauce, or if you load up on low-carb dressings, these numbers will absolutely change. Always treat this as a general guideline for the wings themselves!
- Serving Size: 4 wings
- Calories: 350
- Fat: 22g
- Saturated Fat: 7g
- Protein: 32g
- Carbohydrates: 3g
- Sugar: 2g
- Sodium: 450mg
We are keeping the carbs low and the protein high, which is perfect for a satisfying party appetizer or even a lighter quick dinner. Enjoy knowing you got that incredible crispiness using just a little baking powder and high oven heat!
PrintExtra Crispy Baked Chicken Wings: The No-Fry Game Day Recipe

Make shatter-crisp chicken wings in your oven without deep frying. This simple technique uses baking powder for maximum crunch, perfect for game day or any party appetizer.
- Prep Time: 15 min
- Cook Time: 45 min
- Total Time: 60 min
- Yield: 4 servings 1x
- Category: Appetizer
- Method: Baking
- Cuisine: American
- Diet: Low Lactose
Ingredients
- 3 lbs chicken wings (flats and drumettes)
- 1 tablespoon baking powder (aluminum-free preferred)
- 1 teaspoon salt
- 1/2 teaspoon black pepper
- 1/2 teaspoon garlic powder
- 1/4 cup Buffalo wing sauce (or your preferred sauce like Honey Garlic or BBQ)
- 2 tablespoons unsalted butter, melted (optional, for sauce)
Instructions
- Preheat your oven to 425°F (220°C). Line a large baking sheet with aluminum foil and place a wire rack on top of the foil.
- Pat the chicken wings completely dry using paper towels. This step is crucial for crispiness.
- In a large bowl, combine the baking powder, salt, pepper, and garlic powder.
- Add the dried chicken wings to the bowl and toss thoroughly until every piece is evenly coated with the dry mixture.
- Arrange the coated wings in a single layer on the wire rack. Do not let the wings touch.
- Bake for 25 minutes.
- Flip the wings over. Reduce the oven temperature to 400°F (200°C) and bake for another 20 to 25 minutes, or until the skin is deeply golden brown and very crispy.
- While the wings finish baking, prepare your sauce. In a small bowl, whisk together the Buffalo sauce and melted butter, if using.
- Remove the crispy wings from the oven. Immediately transfer them to a clean, large bowl.
- Pour the sauce over the hot wings and toss quickly to coat them evenly.
- Serve the wings immediately with celery sticks and ranch or blue cheese dressing.
Notes
- For Honey Garlic Wings, combine 1/4 cup honey, 2 tablespoons soy sauce, 1 tablespoon minced garlic, and 1 teaspoon grated ginger. Toss wings in this sauce after baking.
- For Lemon Pepper Wings, skip the sauce step. Instead, toss the hot wings with 2 tablespoons melted butter and 3 tablespoons quality lemon pepper seasoning immediately after removing them from the oven.
- Using a wire rack allows air to circulate completely around the wings, which is key to achieving a juicy inside and crunchy outside without frying.
Nutrition
- Serving Size: 4 wings
- Calories: 350
- Sugar: 2
- Sodium: 450
- Fat: 22
- Saturated Fat: 7
- Unsaturated Fat: 15
- Trans Fat: 0
- Carbohydrates: 3
- Fiber: 0
- Protein: 32
- Cholesterol: 110