
If you feel like you’re constantly solving the same dinner puzzle every evening—how to get maximum flavor on the table without losing your whole night to the kitchen? Trust me, I’ve been there. That’s exactly what gave rise to the Dishicious philosophy: efficient, reliable cooking that just tastes incredible. This is where our Loaded cheesy pocket tacos come in. They are the ultimate handheld comfort food solution because they give you all the savory satisfaction of a taco but seal it up tight so there’s barely any mess.
When I approach recipes, I treat them like a project that needs streamlined processes. We focus on the absolute essentials that deliver robust taste with minimal effort. For these pockets, efficiency means we skip the separate assembly line taco bar chaos. We are delivering quick, crispy, and perfectly loaded pockets every single time, which is why this recipe is such a staple for busy people. If you’re looking for a dinner that cooks fast, check out the rest of our collection on quick easy dinners!
- Why These Cheesy Pocket Tacos Are Your New Weeknight Winner
- Gathering Ingredients for Your Cheesy Pocket Tacos
- Step-by-Step Instructions for Homemade Cheesy Pocket Tacos
- Mastering the Bake: Achieving Perfect Cheesy Pocket Tacos
- Tips for Success with Your Loaded Pockets Dinner
- Serving Suggestions for Cheesy Beef Pockets
- Storage and Reheating Your Cheesy Pocket Tacos
- Frequently Asked Questions About Easy Pocket Tacos
- Estimated Nutrition for Your Cheesy Beef Pockets
Why These Cheesy Pocket Tacos Are Your New Weeknight Winner
These homemade taco pockets aren’t just another recipe; they solve a genuine weeknight dilemma. We are achieving serious flavor satisfaction without demanding hours of your evening. They hit that sweet spot between being hearty and being incredibly fast, making them a perfect substitute when you’re craving something different than the usual Taco Tuesday fare. If you need more super quick options, take a look at our easy 30-minute chicken Florentine recipe!
Speed and Simplicity: The Dishicious Approach to Cheesy Pocket Tacos
From start to finish, this entire project takes less than 30 minutes total. That’s right—Prep time is about 15 minutes, and the bake time is just 10 to 12! That efficiency is standard for us here at Dishicious. We cut out all the unnecessary steps so you’re left with what matters: delicious, satisfying handheld taco meals ready before the evening rush even hits.
The Perfect Crispy Cheesy Tacos Texture
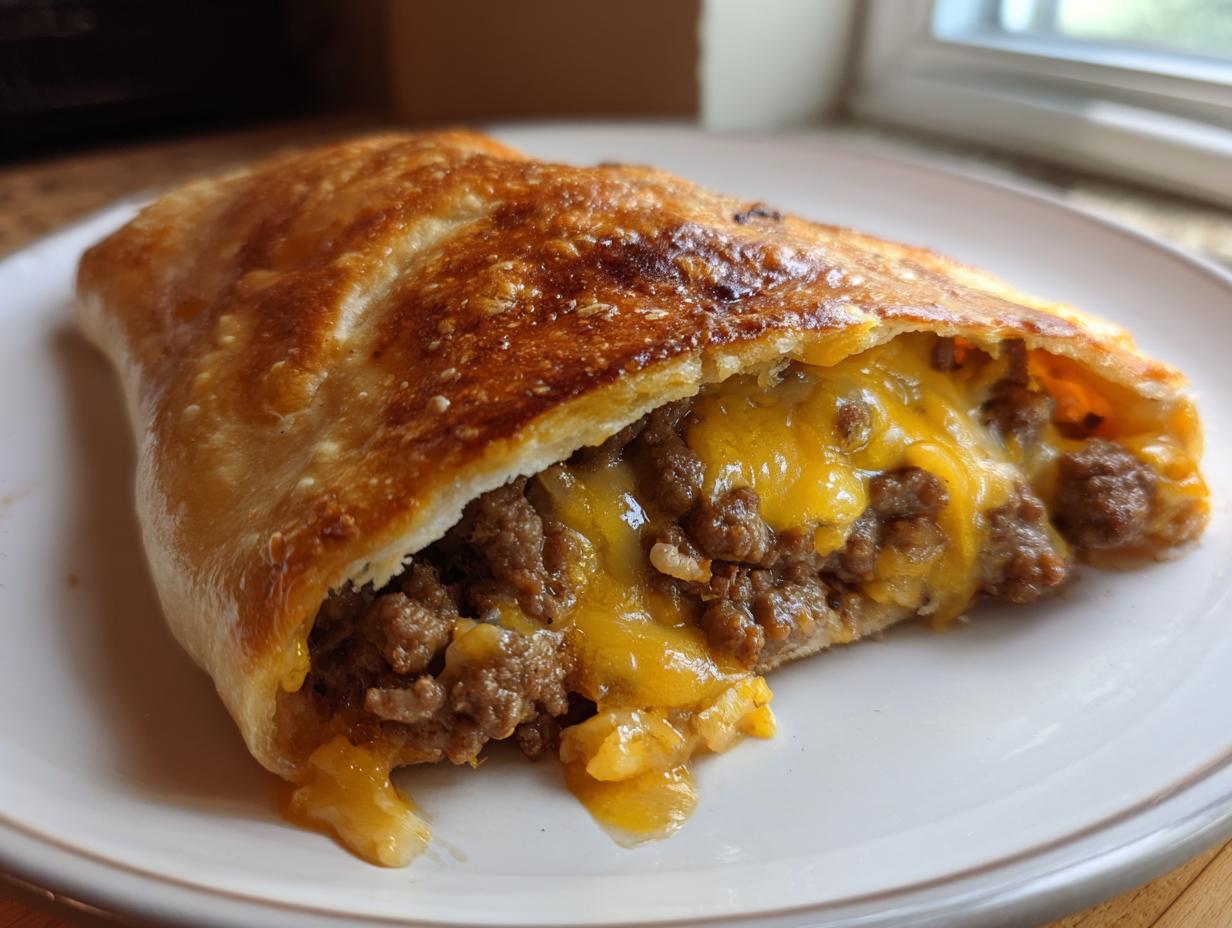
When you bite into one of these, you need that immediate crunch. Baking gives us a beautifully golden, evenly cooked shell that seals in all that savory filling. It’s the best way to ensure you get that crispy cheesy tacos texture without the mess and splatter risk that comes with deep frying. They hold up perfectly, too!
Gathering Ingredients for Your Cheesy Pocket Tacos
Okay, the beauty of these stuffed tortilla pockets is that you probably have most of this stuff in your fridge or pantry already. It’s Tex-Mex basics, elevated slightly. We are relying on simple, accessible items to build maximum flavor, which is the core Dishicious approach. Having everything measured and ready before you even turn the stove on is what keeps us on track time-wise; don’t skip the mise en place!
For this recipe, you’ll need the basics: olive oil to start, a pound of ground beef, standard taco seasoning, and water. Then comes the magic: a blend of cheddar and Monterey Jack, some softened cream cheese, and just a splash of salsa to bind the cheese filling together perfectly. Finally, we need those 8-inch flour tortillas—make sure they are fresh enough to fold without snapping!
Ingredient Notes and Smart Substitutions
Let’s talk cheese for a second. Using cheddar gives us that great color and sharp flavor, but the Monterey Jack is key because it melts so beautifully. That mix ensures you get that satisfying, gooey pull without the filling becoming oily. Also, if beef isn’t your thing this week, don’t stress! You can absolutely use ground turkey or even shredded cooked chicken for your base. The taco seasoning handles most of the heavy lifting flavor-wise, so your protein substitution will blend right in. If you want a seriously deep cheese flavor beyond the filling, check out my recipe for easy nacho cheese sauce.
Step-by-Step Instructions for Homemade Cheesy Pocket Tacos
Alright, this is where the efficiency really kicks in. We need to manage our heat sources and timing smartly. First thing? Get that oven preheated to 400 degrees Fahrenheit and make sure you have a baking sheet ready to go. We want everything hot right when the pockets are assembled so they start crisping immediately. We are layering flavors and textures here, so attention to detail in the cooking sequence is vital for great quick dinner tacos.
While the oven heats up, we focus on the twin components: the beef and the cheese blend. Move fast, but don’t rush the searing process! Next, you can check out how I approach another quick meal, my easy chicken Alfredo 30-minute dinner.
Preparing the Flavorful Ground Beef Pockets Filling
Heat your oil over medium heat in a skillet, and get that beef totally browned—and this is important, you must break it up well! Once it’s cooked, you have to drain off every bit of excess grease. Watery filling equals soggy pockets, and we want crispy shells, remember? Then, stir in your seasoning and water, and let it simmer down until most of that liquid evaporates. This concentrates the flavor beautifully and keeps our ground beef pockets from leaking.
Assembling and Sealing Your Stuffed Tortilla Pockets
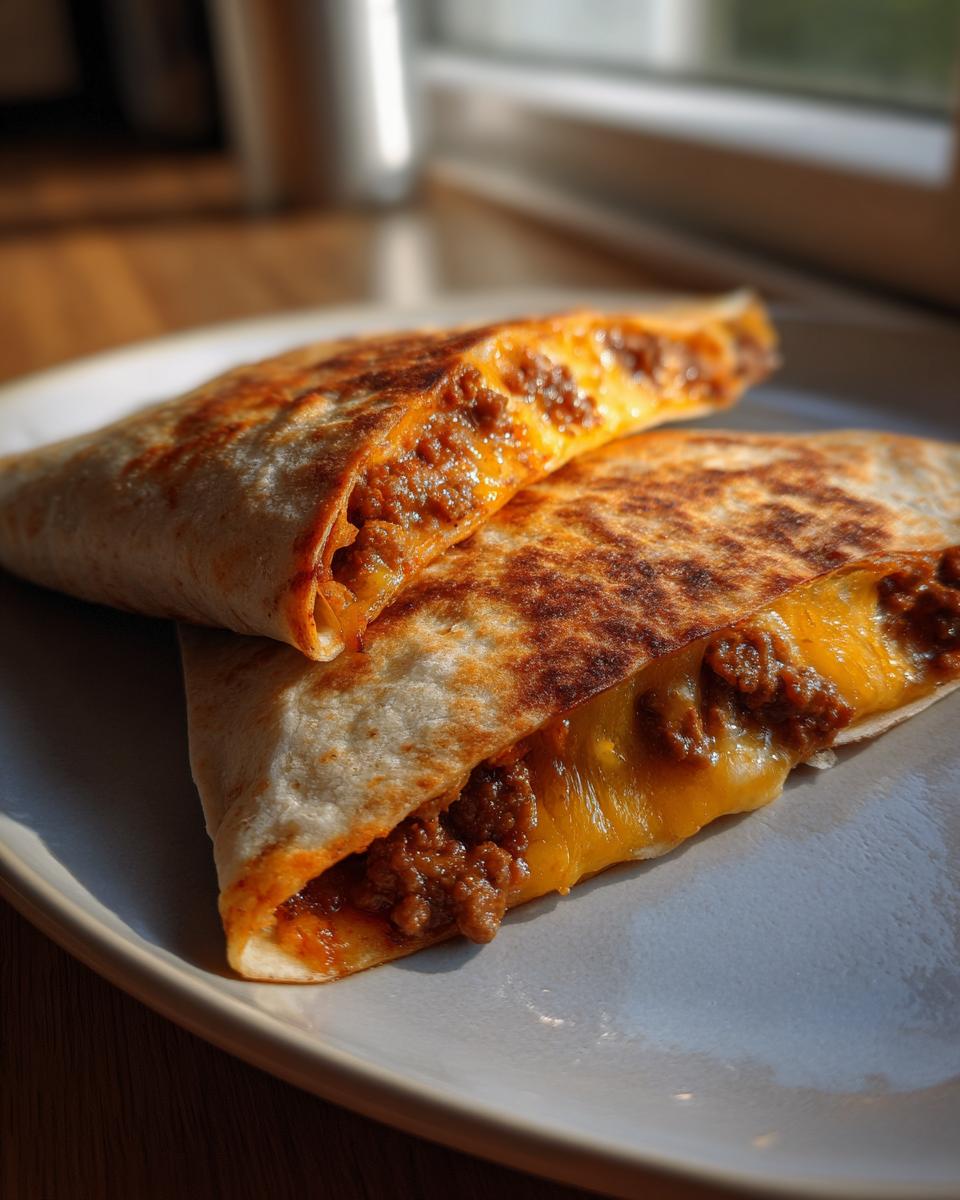
While the meat simmers, quickly whisk together your three cheeses and salsa until you have a nice, cohesive, creamy filling. Next step: always warm those tortillas for about 15 seconds in the microwave; this makes them super pliable so they fold over nicely without cracking at the edges. Place your beef mix on one half, then top generously with your cheesy mixture. Now, fold it over into that half-moon shape, press those edges *hard* with your fingers to seal, and if you want to be absolutely certain these are secure handheld taco meals, run a fork right over that closed seam.
Mastering the Bake: Achieving Perfect Cheesy Pocket Tacos
Now that we have sealed our pockets, the final stage of our project is baking them to absolute perfection. Since our oven is preheated to 400 degrees Fahrenheit, we want to get these on that hot baking sheet right away. Make sure they are placed seam-side down on arrival—this helps reinforce the seal while the heat starts working on the tortilla.
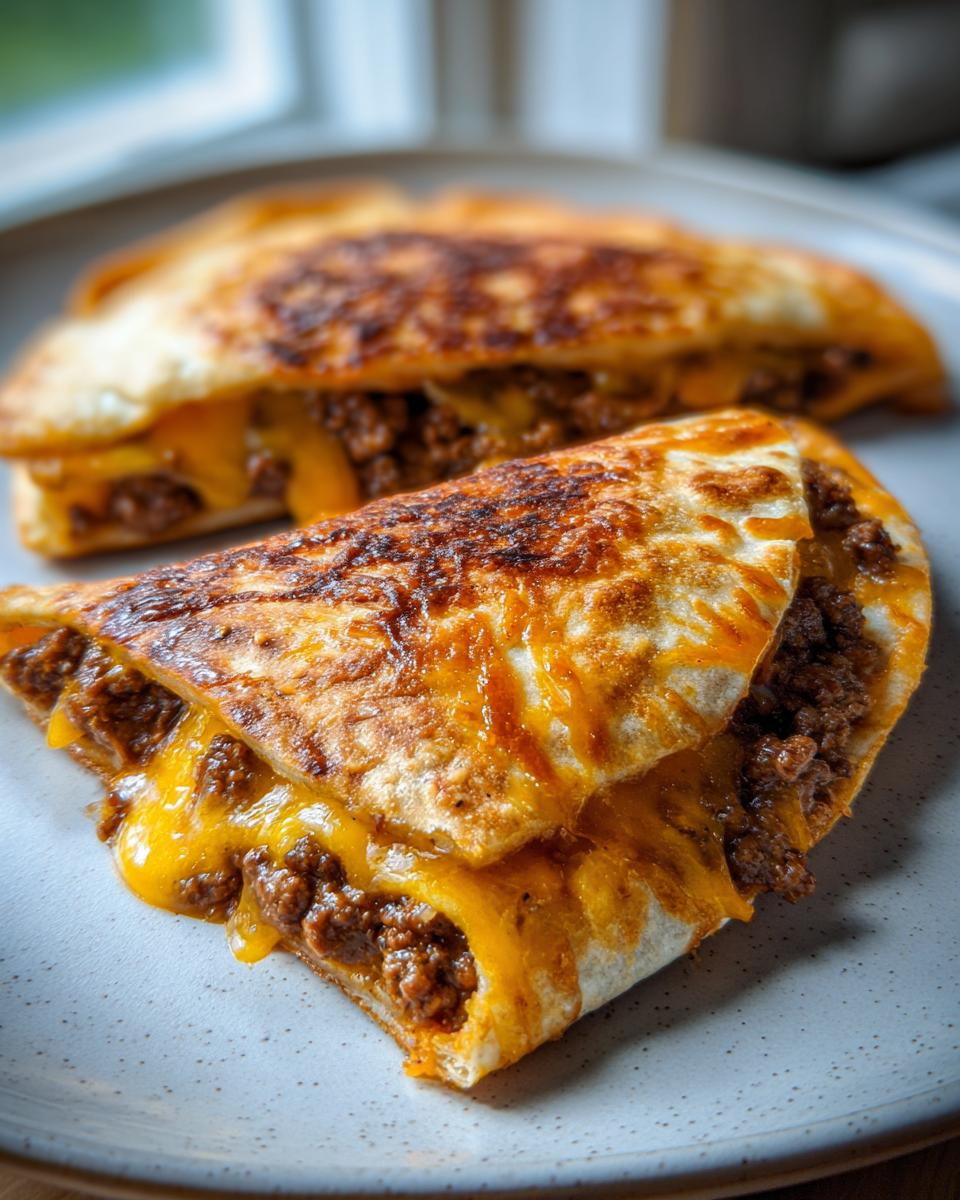
The key here is getting that even golden brown crispness all around. That means you need to flip them about halfway through the baking time. They only need about 10 to 12 minutes total, so keep an eye on them! If you have an air fryer, you can definitely pop these in there for about 6 to 8 minutes at 375 degrees for an extra blast of crispiness; I actually talk about air frying a lot over in my crispy air fryer chicken wings post because the forced air is fantastic for texture. If you want to read about how another blog handles these same loaded cheesy pocket tacos, feel free to check that link out!
Tips for Success with Your Loaded Pockets Dinner
Getting these loaded pockets dinner just right comes down to managing moisture and sealing power. I have a few little project manager tricks that ensure success every time, so you don’t end up with a cheese leak disaster.
First tip: the beef needs to be relatively dry. Seriously, drain that grease well after cooking! If you have leftover cooked beef filling, stick it in the fridge overnight uncovered; this allows atmospheric moisture to escape. It’s a tiny step, but it radically improves the crispness later. Also, when you are mixing your cheese blend, use room-temperature cream cheese. If it’s too cold, you’ll end up hacking at it with a spoon instead of getting a smooth, easily spreadable binder.
My final, non-negotiable tip for your cheesy beef pockets is the seal. Press firmly when folding the tortilla. If you see any gaps, take a standard dinner fork and crimp the edges together hard—I mean, really press down on the tines. A good seal means all that melty goodness stays inside where it belongs. Done right, this is the easiest weeknight Tex-Mex you’ll ever make. If you need a light side dish to go with this, I love having a bowl of easy homemade celery soup on the side when I serve these.
Serving Suggestions for Cheesy Beef Pockets
Since these cheesy pocket tacos are already a hearty, self-contained meal, you don’t need heavy sides cluttering up the plate. We want quick complements that enhance the flavor without getting in the way of that handheld goodness. Think fast dips or crisp freshness!
A simple scoop of sour cream or plain Greek yogurt is always fantastic for cutting through the richness of the beef and cheese. If you want something brighter, a dash of fresh chopped cilantro or a sprinkle of diced white onion on top makes a huge difference. And of course, you can’t beat fresh, homemade guacamole as the ultimate dipping companion—you can find my ultra-easy recipe for homemade guacamole recipe right here on the site!
Storage and Reheating Your Cheesy Pocket Tacos
Even though these cheesy pocket tacos disappear fast when they come out of the oven, sometimes you get lucky and have leftovers. That’s excellent news because they reheat so well! You can definitely store any extras in an airtight container in the fridge, but try to eat them within three days to keep that texture prime.
Now, the crucial part: reheating. Please, I beg you, skip the microwave if you want to keep that crispy exterior we worked so hard for! The microwave will just steam them and make them soft again. If you want your leftovers to taste almost as good as fresh, you need a little dry heat. Pop them back into a 375-degree oven for about five to seven minutes, or even better, give them 3 to 4 minutes in the air fryer.
If you’re planning ahead next week, use this idea to manage your leftovers! I have a great strategy for handling baked goods and savory meals so nothing goes to waste, which you can read about in my post on easy ways to use turkey pot pie easy leftover recipe concepts.
Frequently Asked Questions About Easy Pocket Tacos
I know when you’re planning a weeknight dinner, you need all the kinks worked out ahead of time. These easy pocket tacos are simple, but a couple of common questions always pop up. I think if you understand these little details, you’ll feel totally confident tackling this recipe the next time you need a fast, fun meal. When you’re done, imagine serving these alongside a batch of my easy restaurant-style Mexican rice!
Can I make these cheesy pocket tacos ahead of time?
Yes, you absolutely can assemble these ahead! This is a great project manager move. You can fill and seal the cheesy pocket tacos completely, but instead of spraying them with cooking spray and baking, just place them seam-side down on a parchment-lined baking sheet and cover tightly with plastic wrap. Pop them into the fridge for up to a day. When you’re ready to eat, add about 3 to 5 minutes onto the baking time since they are starting cold.
What is the best way to get crispy tortilla pockets without frying?
Frying is messy, so we stick to dry heat here! The best results come from high heat—400 degrees Fahrenheit in the oven—and making sure you apply cooking spray liberally to the outside shells before baking. That fat is what crisps up the exterior tortilla. If you have an air fryer, that’s even better for maximizing crispness, as it circulates the heat beautifully around all sides of the sealed pocket.
Are these handheld taco meals suitable for meal prepping?
Definitely! Once they are fully cooked, these handheld taco meals store well in the fridge for a few days. The key for reheating is getting back that amazing crunch. Don’t even think about the microwave for leftovers! You want to use the oven or air fryer again—that dry heat brings back the crispness without making the interior soggy, making them perfect for quick lunches later in the week.
Estimated Nutrition for Your Cheesy Beef Pockets
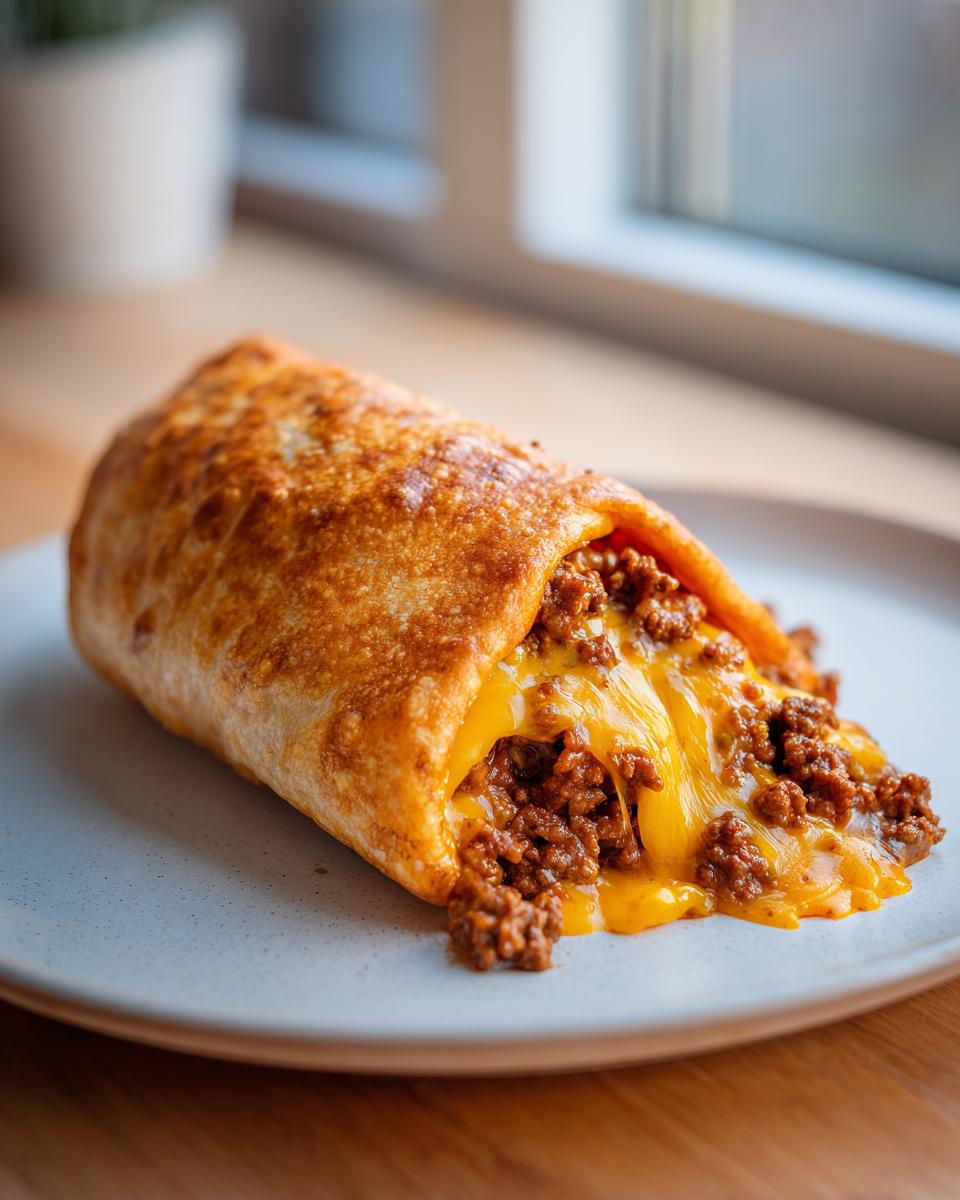
When I lay out a recipe, I like to be totally transparent about what’s going in, and that includes the numbers. Since we are mixing ground beef, a good amount of cheese, and flour tortillas, these are hearty, satisfying cheesy beef pockets, perfect for a substantial dinner. Remember, these nutritional figures are always just an estimate here at Dishicious; factors like the exact fat content of your ground beef or how much salsa you squeeze in can change these results!
Based on the standard ingredient amounts listed, here is the approximate breakdown per pocket:
- Calories: 320
- Fat: 16g
- Protein: 19g
- Carbohydrates: 25g
This recipe is designed for maximum flavor and efficiency, not necessarily for low-calorie counting, but you control the variables! If you use leaner ground beef or lower-fat cheese, you can certainly adjust the numbers down a bit, but trust me—the richness of the cheese blend is what makes these comfort food tacos so good.
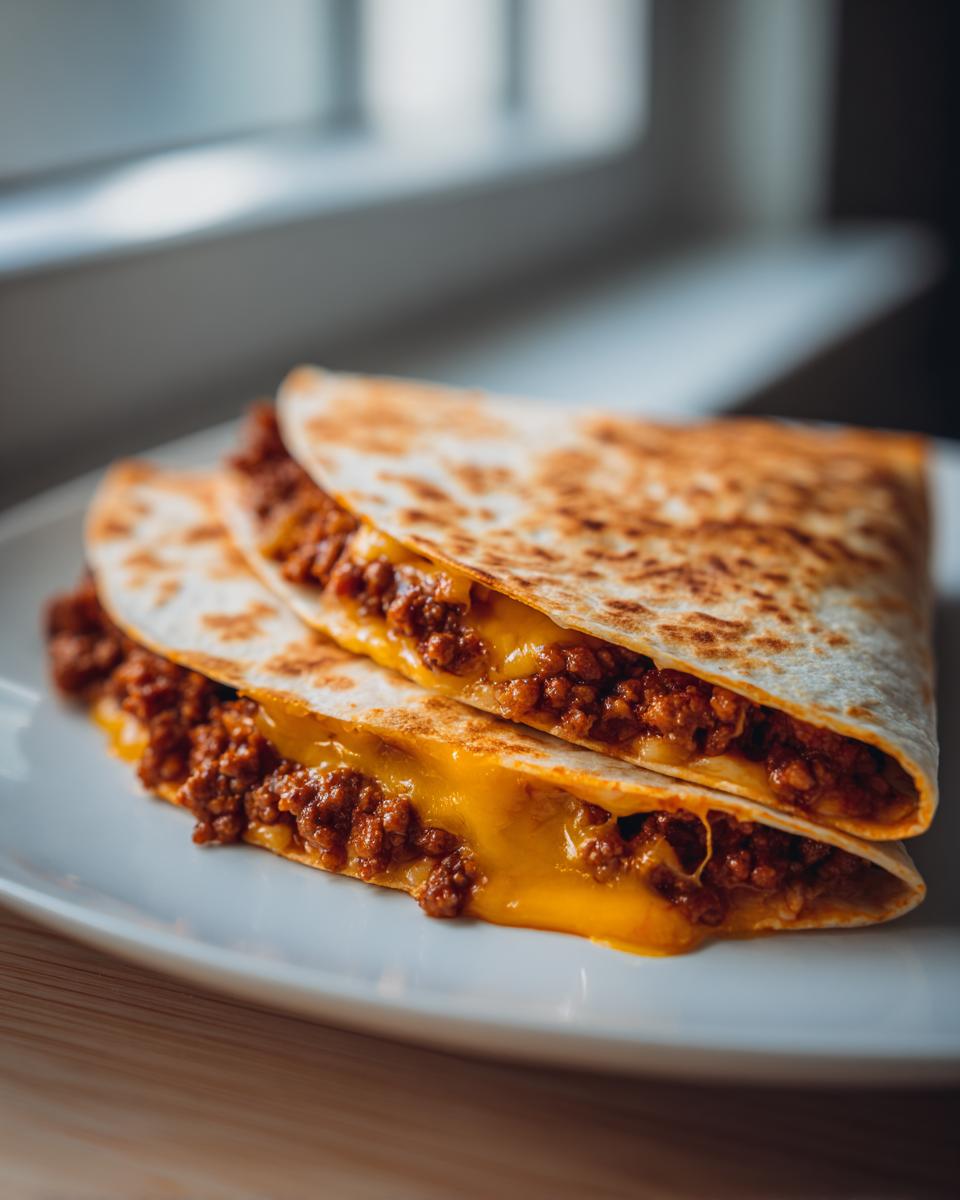
PrintLoaded Cheesy Pocket Tacos: Easy Weeknight Dinner

Make these Loaded Cheesy Pocket Tacos for a quick, satisfying dinner. Seasoned ground beef and melted cheese are sealed inside tortillas and baked until crisp. This recipe is a great Taco Tuesday alternative.
- Prep Time: 15 min
- Cook Time: 12 min
- Total Time: 27 min
- Yield: 10 servings 1x
- Category: Dinner
- Method: Baking
- Cuisine: Tex-Mex
- Diet: Vegetarian
Ingredients
- 1 tablespoon olive oil
- 1 pound ground beef
- 1 packet (1 ounce) taco seasoning mix
- 1/2 cup water
- 1 cup shredded cheddar cheese
- 1/2 cup shredded Monterey Jack cheese
- 1/4 cup cream cheese, softened
- 1/4 cup salsa
- 10 small flour tortillas (about 8 inches)
- Cooking spray
Instructions
- Preheat your oven to 400 degrees Fahrenheit. Lightly spray a baking sheet with cooking spray.
- Heat the olive oil in a large skillet over medium heat. Add the ground beef and cook until browned, breaking it up with a spoon. Drain off any excess grease.
- Stir in the taco seasoning mix and water. Bring to a simmer and cook for 5 to 7 minutes, or until the liquid has mostly evaporated. Remove from heat.
- In a small bowl, mix together the cheddar cheese, Monterey Jack cheese, softened cream cheese, and salsa until combined. This is your cheesy filling.
- Warm the tortillas in the microwave for 15 seconds to make them pliable.
- Place about 2 tablespoons of the seasoned ground beef mixture onto one half of each tortilla. Top the beef with about 1 tablespoon of the cheese mixture.
- Fold the empty half of the tortilla over the filling to create a half-moon shape. Press the edges firmly together to seal. You can use a fork to crimp the edges if needed.
- Place the sealed pockets seam-side down on the prepared baking sheet. Lightly spray the tops of the pockets with cooking spray.
- Bake for 10 to 12 minutes, flipping halfway through, until the tortillas are golden brown and the cheese inside is melted.
- Serve immediately.
Notes
- For extra crispiness, you can air fry these pockets at 375 degrees Fahrenheit for 6 to 8 minutes, turning halfway.
- Use your favorite cheese blend for the best melted texture.
- You can substitute ground turkey or shredded chicken for the ground beef.
Nutrition
- Serving Size: 1 pocket
- Calories: 320
- Sugar: 2
- Sodium: 550
- Fat: 16
- Saturated Fat: 7
- Unsaturated Fat: 9
- Trans Fat: 0
- Carbohydrates: 25
- Fiber: 2
- Protein: 19
- Cholesterol: 55