


Summer doesn’t last forever, but you can absolutely trap that bright, tangy burst of flavor in a jar! That’s the whole point of making raspberry jam, right? For me, Leo, the kitchen strategist, this recipe cuts all the noise. We’re talking about achieving a perfect, thick set with just three items. No fussing around with pectin packets—this process relies on streamlined ratios that just work. This is the ultimate simple homemade jam for when you need quality results fast, perfect for small batches you can keep right in the fridge.
If you’re looking to simplify your kitchen projects, start right here. Once you see how easy this is, you’ll be looking up other quick three-ingredient recipes right away!
- Why This Easy Raspberry Jam Recipe Works Without Pectin
- Gathering Ingredients for Your Homemade Raspberry Jam
- Step-by-Step Instructions: How to Make Raspberry Jam
- Preservation Options for Your Quick Fruit Preserves
- Tips for the Best Raspberry Jam Recipe Every Time
- Serving Suggestions for Your Homemade Berry Jam
- Frequently Asked Questions About Making Raspberry Jam
- Estimated Nutritional Data for Raspberry Jam
- Share Your Success with This Simple Raspberry Jam
Why This Easy Raspberry Jam Recipe Works Without Pectin
When I first engineered this simple recipe, my main goal was efficiency. That meant ditching any ingredient that wasn’t absolutely necessary, and often, that means skipping the commercial pectin. Don’t worry, your jam absolutely *will* set up beautifully. We’re relying on the excellent natural chemistry already present in the fruit.
Raspberries are already fairly high in natural pectin, but they need the right environment to activate it. That’s where the other two ingredients come in. The sugar does two major jobs: it preserves the fruit, of course, but it also binds with the pectin to create that thick, spoon-coating texture we want. Then we bring in the lemon juice.
The acid in the lemon juice is the real secret weapon here. It kicks the pectin into gear! By concentrating the fruit juices and using the acid and sugar ratio correctly, we create a reliable no pectin jam every single time. It’s smart cooking, not complicated cooking.
Gathering Ingredients for Your Homemade Raspberry Jam
Since we are aiming for a quick, efficient batch of homemade raspberry jam, the ingredient list is incredibly short. That’s the beauty of this approach! You need just three things, and you probably have two of them waiting in your pantry right now. Remember, this is a small batch process, yielding about one and a quarter cups total, which is perfect for testing out new recipes or topping immediate breakfast needs.
No grocery store scavenger hunts required here. Check out my easy stovetop oatmeal for another example of keeping the ingredient list tight and effective. Efficiency first, always!
Essential Components for Perfect Raspberry Jam
Here is what you need for this unbelievably simple fruit preserve:
- Raspberries: Two full cups. You can use fresh berries right off the vine, or grab a bag of frozen ones—no need to thaw them first!
- Sugar: One cup of standard granulated sugar. This is the catalyst for thickening and preservation.
- Lemon Juice: Just one tablespoon of fresh lemon juice. Don’t skip this; it brings in the acid we need to help that natural pectin work its magic.
Step-by-Step Instructions: How to Make Raspberry Jam
Time to execute the project! Making this raspberry jam is incredibly straightforward when you follow the sequence. We’re not just dumping things in a pot; we’re optimizing the extraction of juice before applying heat. This organized approach is what ensures we don’t need any of that unnecessary pectin. If your schedule is tight, these steps are quick, and I have another fast-cooking guide for easy weeknight meals if you need more ideas!
Initial Prep and Drawing Out Juices
The very first thing you do—and trust me on this—is combine your two cups of raspberries (frozen or fresh, remember?) with the full cup of sugar in a heavy-bottomed saucepan. Then, you walk away. You let this sit for a minimum of 15 minutes. This might feel slow when you’re trying to get things done, but this rest period is essential for an easy jam recipe. The sugar actively pulls the natural moisture out of the berries, resulting in a much thicker starting material once you do apply heat later.
Cooking Down the Raspberry Jam Mixture
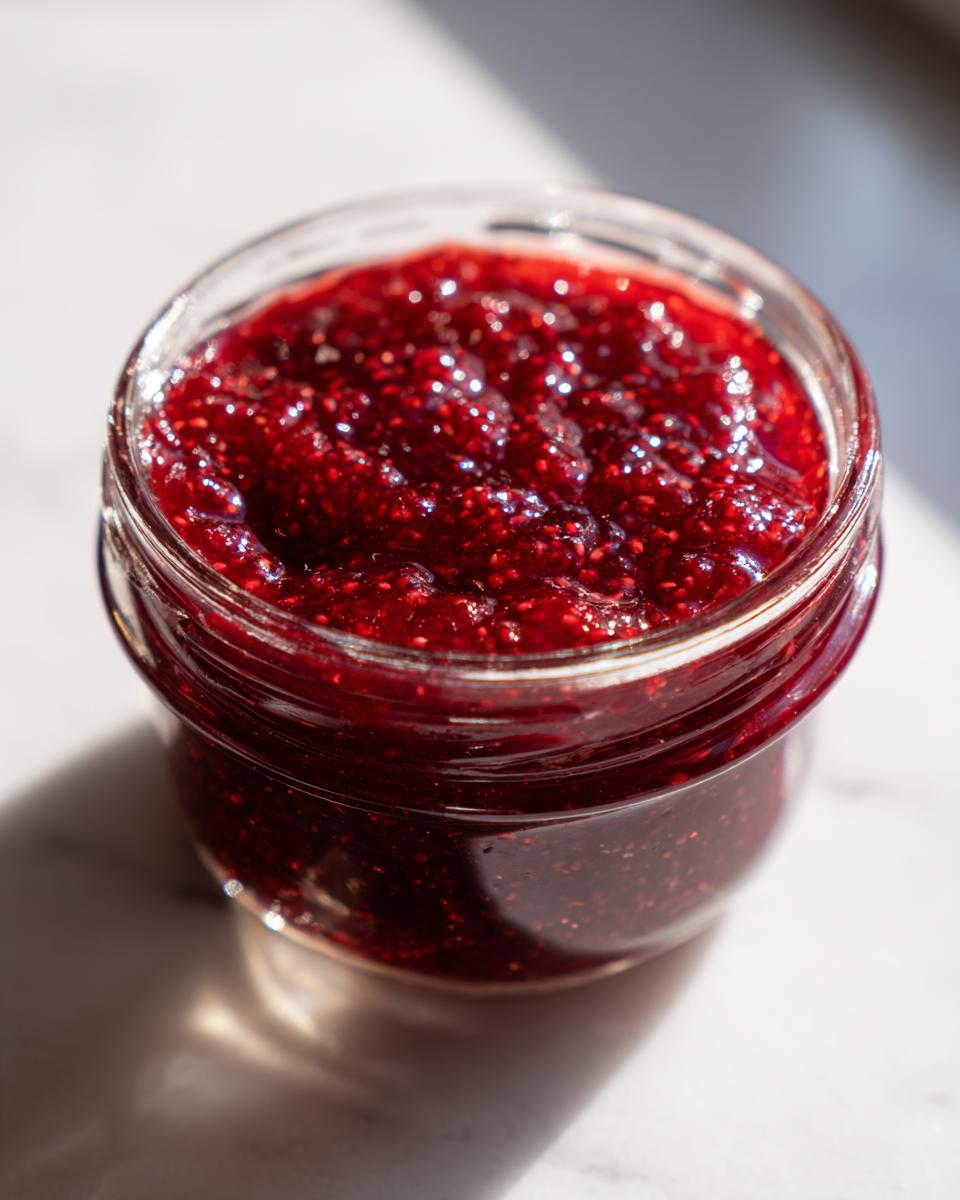
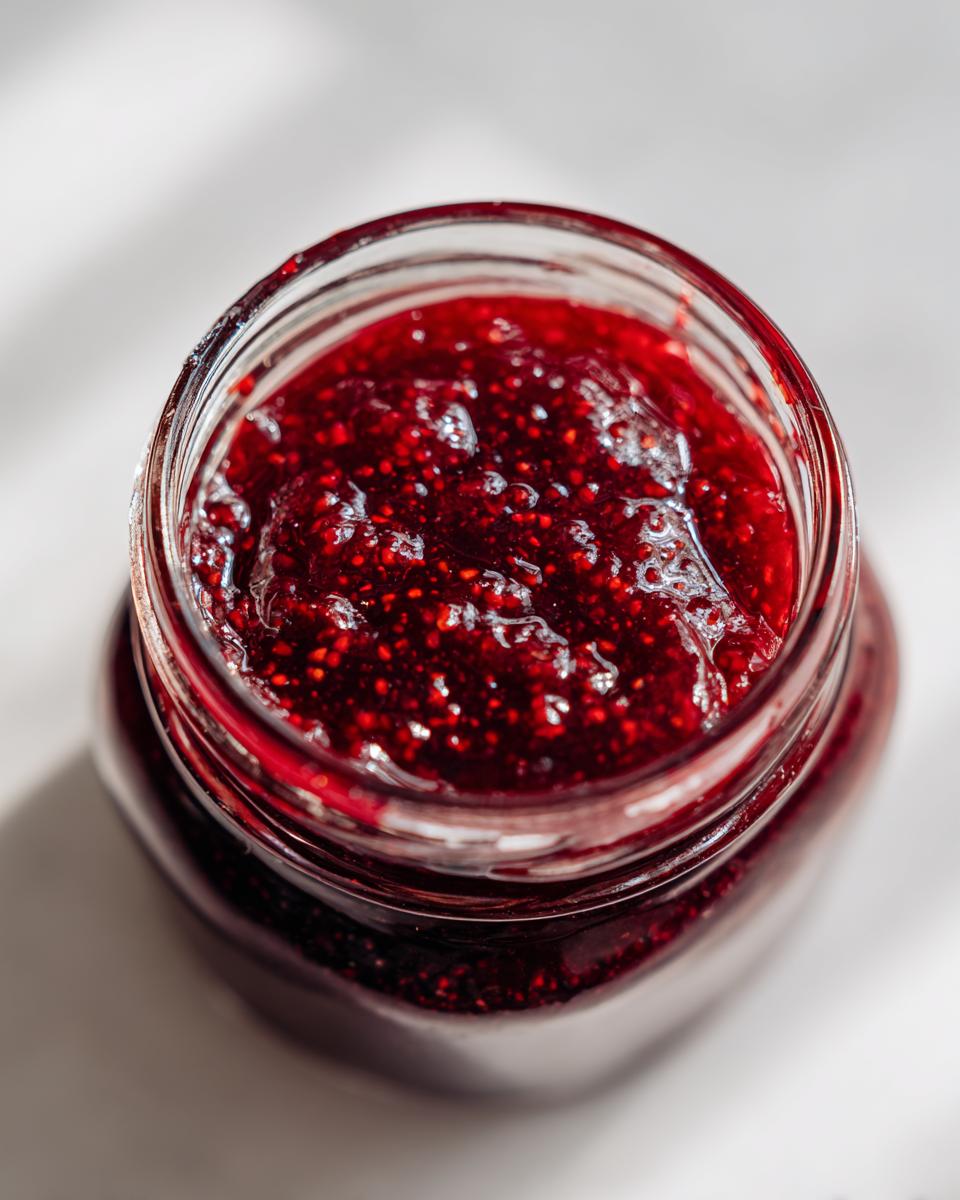
After the rest, put that pan over medium-high heat. You need to stir constantly until that sugar fully dissolves, and then—bam!—it hits a full rolling boil. Now, the key phase begins for maximizing thickness. You keep it boiling, stirring frequently because we don’t want any scorching on the bottom, for about 10 to 15 minutes total. How do you know when it’s done? You test for the set. Take the back of a spoon, dip it in, and let the jam drip off. If it coats the back of the spoon properly, it’s concentrated enough. If it runs off clear, keep going! Many folks check out guides like this one for visual confirmations, so don’t hesitate to look!
Once you hit that good coating stage, pull the pan right off the burner. Add your final ingredient, that tablespoon of lemon juice, and stir it in well. That acid is the final magic touch that locks in the flavor and helps the jam structure itself perfectly as it cools.
Preservation Options for Your Quick Fruit Preserves
Okay, now that you have this perfect, vibrant jam, you have a choice to make as the kitchen strategist: Eat it now, or save some for later when fresh raspberries are definitely not in season. Since this is a small batch jam (remember, we only get about 1 1/4 cups), it’s incredibly convenient for immediate gratification!
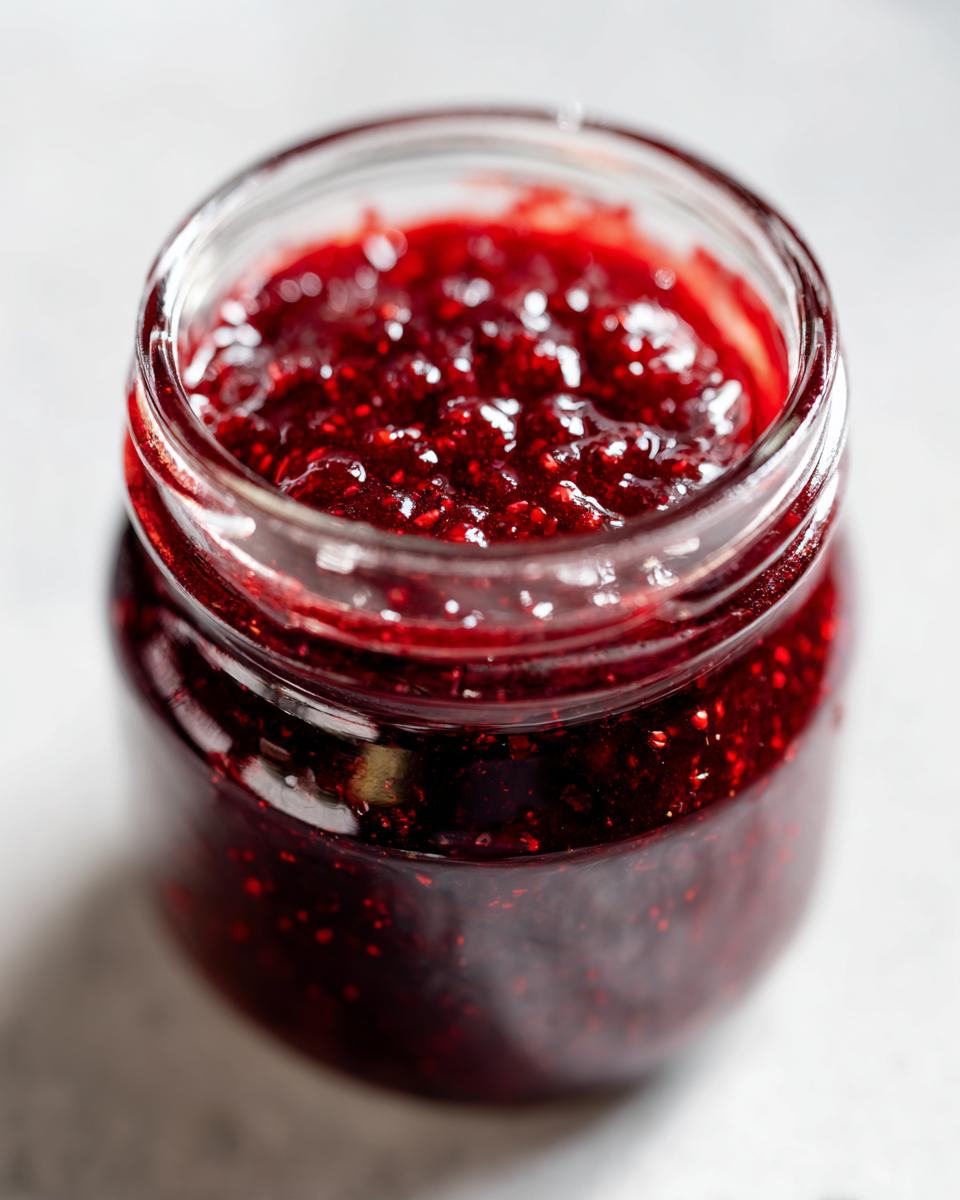
If you want to use it up quickly—say, on your weekend pancakes—just pour it into a clean jar, let it cool completely on the counter, and pop it in the main fridge compartment. It’ll hang out happily there for about three weeks. That’s perfect for making sure you always have amazing raspberry freezer jam on hand.
Refrigerator and Freezer Storage Tips for Raspberry Jam
For longer-term storage, freezing is your friend, especially since we didn’t use commercial pectin. When stored well in an airtight container, this jam will maintain its fantastic quality in the freezer for up to six months. It thaws out beautifully, tasting just as bright as the day you made it.
Now, if you want to go all-in on preserving summer fruit and properly seal it, you jump straight into the water bath canning steps from the main instructions. Proper canning raspberries means sterilizing your jars first, filling them with the hot jam, leaving that ¼ inch headspace, and processing them in a boiling water bath for 10 minutes. I always double-check the headspace—getting that right is key to a safe seal. If you want a visual walkthrough, you can check out guides on preservation techniques, but I find the basic water bath process easy enough to manage right after cooking.
If you prefer a quick, velvety alternative, remember to check out my recipe for velvety celery soup—sometimes fresh preservation means shifting gears to savory!
Tips for the Best Raspberry Jam Recipe Every Time
Even though this is my streamlined, three-ingredient version, there are a few tweaks you can make to optimize your results. That’s the project management mindset talking—small adjustments yield big returns! If you are worried about the seeds, here’s the trick for getting a beautiful, smooth jar of raspberry jam. Right after you cook the mixture down, but before you add the lemon juice, carefully pour the hot jam through a fine-mesh sieve. You’ll need to press down with a spatula to extract all that lovely fruit pulp. This gives you that coveted seedless raspberry jam.
Also, remember I mentioned using frozen berries? You absolutely can! My rule is just to toss them in frozen; don’t bother thawing them. They release their juices slower, so you might need to crank the heat up just slightly, or let that initial soak time run closer to 20 minutes instead of 15. Keep it on the heat until you see that spoon-coating consistency we talked about. When you’re ready for a different kind of sweet treat using fresh fruit, try my cake batter cookies!
For a little brightness—especially if your raspberries were a bit tart—you can add a tiny pinch of salt along with the lemon juice. It really makes the berry flavor pop. Don’t take my word for it, though; many successful cooks online, like those over at iHeartNaptime, agree this simple methodology is the fastest way to great flavor.
Serving Suggestions for Your Homemade Berry Jam
Having this amazing, bright raspberry jam finished feels like winning—but what do you do with it all? Since this is such a quick batch, you don’t have to worry about saving it all for big holiday meals. This is everyday deliciousness! These are my favorite ways to put this vibrant fruit preserve to immediate use, focusing on maximizing flavor efficiency, of course.
For the best results, think about pairing this jam with something neutral that lets the raspberry shine. It’s perfect for creating simple breakfast jam ideas. Slather it thick on warm, fluffy buttermilk pancakes—I’ve always found that fresh from the griddle is unbeatable, so check out my recipe for fluffy pancakes when you need a weekend project.
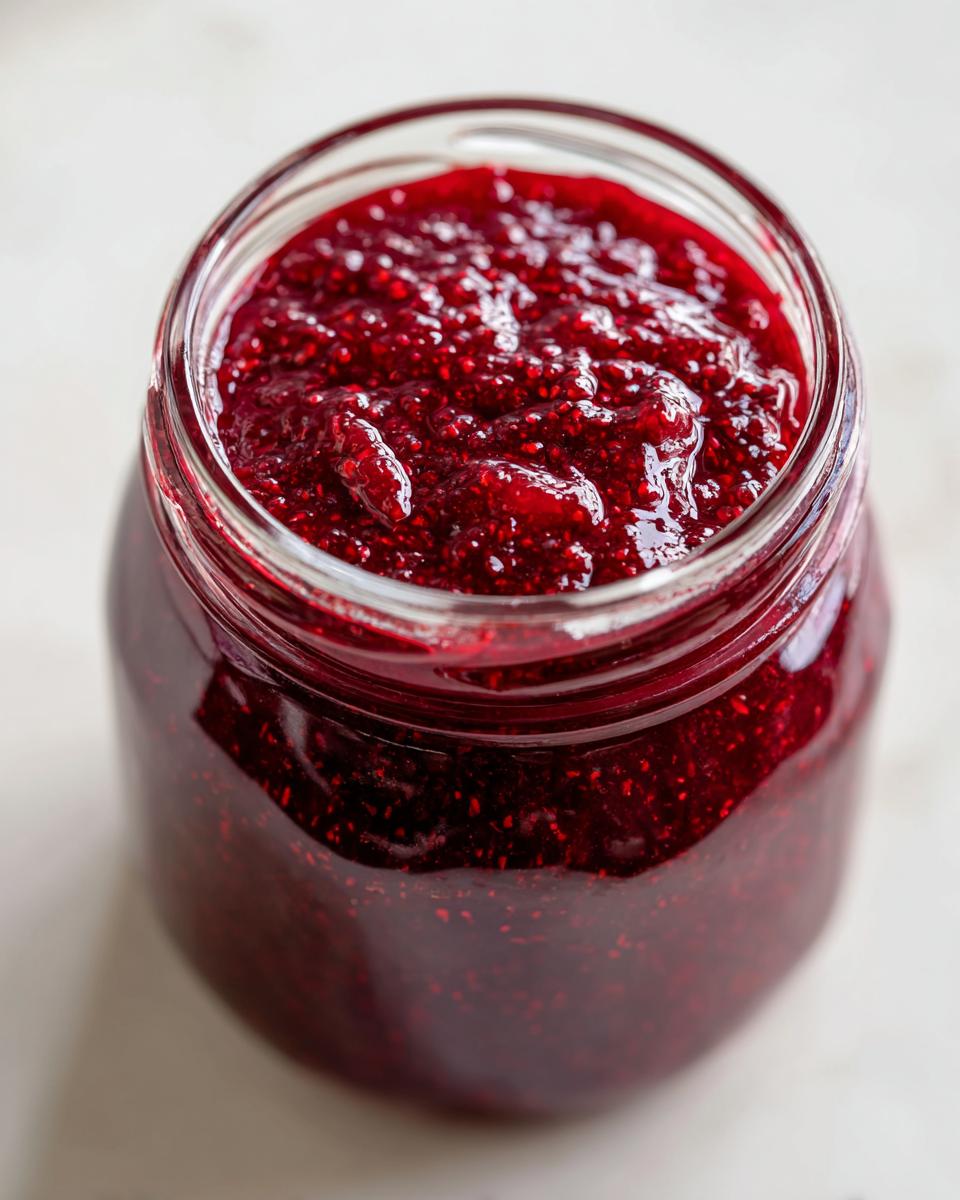
But don’t limit yourself to breakfast! These summer jam recipes are incredible folded into plain Creekstone yogurt, used as the gooey center of thumbprint cookies, or even stirred into a splash of sparkling water for a quick, vibrant refresher. It’s all about maximizing that homemade flavor impact with minimal effort.
Frequently Asked Questions About Making Raspberry Jam
When you’re building a project like this, you often end up with a few logical questions about flexibility and longevity. I’ve pulled together the most common queries I get about this easy jam recipe, hoping to streamline your process even further. If you’re organizing your week, remember that once this jam is done, you’ve got a great staple ready to go for your next batch of easy breakfasts!
Can I use frozen raspberries for this easy jam recipe?
Yes, absolutely! As I mentioned in the steps, you don’t even need to bother thawing them out. Just dump the frozen fruit right into the saucepan with the sugar. The only small adjustment you might need to make is paying close attention to the cooking time. Since the frozen berries introduce more cold mass, it might take an extra minute or two of high heat to reach that rolling boil and later, to achieve that thick, spoon-coating stage we are aiming for in our no pectin jam.
How long does this small batch raspberry jam last?
Since this is an optimized, small batch jam that focuses on simplicity, storage times reflect that lack of heavy commercial preservatives. If you keep it sealed tightly in sterilized jars in the refrigerator, you can expect it to stay fresh and vibrant for about three weeks. For keeping it much longer, definitely utilize the freezer. Properly sealed in the freezer, this jam holds up really well for up to four to six months. It’s the best way to stretch out those summer flavors!
Estimated Nutritional Data for Raspberry Jam
When running any project, especially in the kitchen, you need to know the final specs, right? That’s why I always calculate the basic estimates for any batch I make. Since preserving summer fruit is fun, but understanding what you’re eating is smart, here’s what the final numbers look like for this simple conserve. Please keep in mind these are just estimates based on the sugar and fruit ratios we used, calculated per serving size.
We are looking at a yield of about 1 1/4 cups total from this small batch jam. For easier tracking, these estimates are based on a serving size of two tablespoons:
- Calories: Approximately 100 per serving.
- Sugar: We’re looking at about 25 grams of sugar per serving, which is expected since sugar is one of our three main ingredients responsible for setting the jam.
- Fat and Cholesterol: Good news here—zero grams on both counts!
- Carbohydrates and Protein: Around 26 grams of carbs and less than 1 gram of protein.
This is a wonderfully pure recipe, but remember, because it relies only on fruit and sugar for its structure, the sugar content is what drives the preservation and the set. Knowing the numbers upfront helps you manage how you use these delicious quick fruit preserves throughout the week!
Share Your Success with This Simple Raspberry Jam
Alright, project complete! You’ve successfully streamlined the process and ended up with a fantastic batch of homemade raspberry jam without needing to source pectin or spend half a day in the kitchen. That’s exactly what Dishicious is all about—maximum flavor impact with minimum administrative overhead.
Now that you’ve made it, I genuinely want the feedback. Did it thicken exactly how you expected? Did you use the lemon juice, or did you try that small pinch of salt instead? Drop a rating right below this section so others know exactly how reliable this easy jam recipe is for their own efficiency goals. Don’t be shy—let me know!
If you snapped a picture of your success—maybe drizzled over one of my pancake recipes or tucked into a cool dessert—I’d love to see it! Tag me on social media or feel free to reach out with any questions or notes via the contact page. Proving that simple cooking is smart cooking is what keeps me developing these recipes, so your success is my success guaranteed!
PrintEasy 3-Ingredient Raspberry Jam (No Pectin Needed)
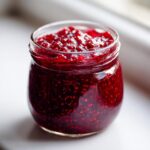
Make this simple homemade raspberry jam using only three ingredients. This recipe requires no added pectin and works well for small batches, perfect for fridge storage or water bath canning.
- Prep Time: 15 min
- Cook Time: 20 min
- Total Time: 35 min
- Yield: About 1 1/4 cups 1x
- Category: Preserves
- Method: Stovetop Cooking
- Cuisine: American
- Diet: Vegetarian
Ingredients
- 2 cups fresh or frozen raspberries
- 1 cup granulated sugar
- 1 tablespoon fresh lemon juice
Instructions
- Combine the raspberries and sugar in a medium, heavy-bottomed saucepan. Let the mixture sit for 15 minutes to allow the sugar to draw out the juices from the berries.
- Place the saucepan over medium-high heat. Stir constantly until the sugar dissolves and the mixture begins to boil.
- Once boiling, continue to cook, stirring frequently to prevent scorching, for about 10 to 15 minutes. The jam will thicken as the water evaporates. Use the back of a spoon to test for thickness; it should coat the spoon.
- Remove the pan from the heat. Stir in the lemon juice. The lemon juice helps the jam set and brightens the flavor.
- For immediate use, pour the jam into a clean jar and cool completely before refrigerating. For canning, proceed to the water bath canning steps below.
- To can: Ladle the hot jam into sterilized half-pint jars, leaving 1/4 inch headspace. Wipe rims clean, apply lids and bands. Process in a boiling water bath canner for 10 minutes, adjusting time for altitude. Remove jars and let cool undisturbed. Check seals after 24 hours.
Notes
- This recipe makes a small batch, yielding about 1 1/4 cups.
- If you prefer seedless raspberry jam, press the cooked mixture through a fine-mesh sieve before adding the lemon juice.
- This jam stores well in the refrigerator for up to three weeks or in the freezer for up to six months.
- Use this jam for toast, yogurt, or as a filling for thumbprint cookies.
Nutrition
- Serving Size: 2 tablespoons
- Calories: 100
- Sugar: 25
- Sodium: 1
- Fat: 0
- Saturated Fat: 0
- Unsaturated Fat: 0
- Trans Fat: 0
- Carbohydrates: 26
- Fiber: 1
- Protein: 0
- Cholesterol: 0