
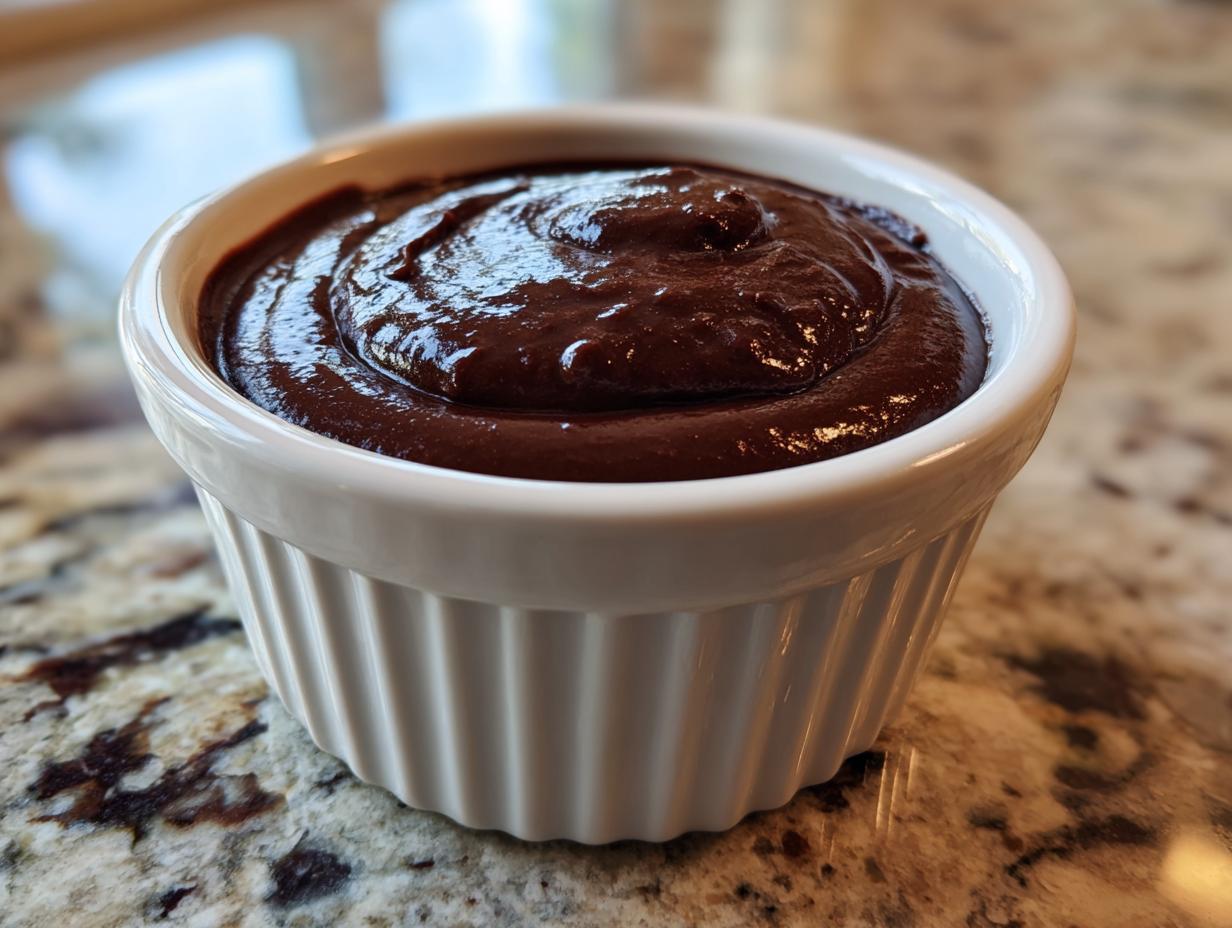
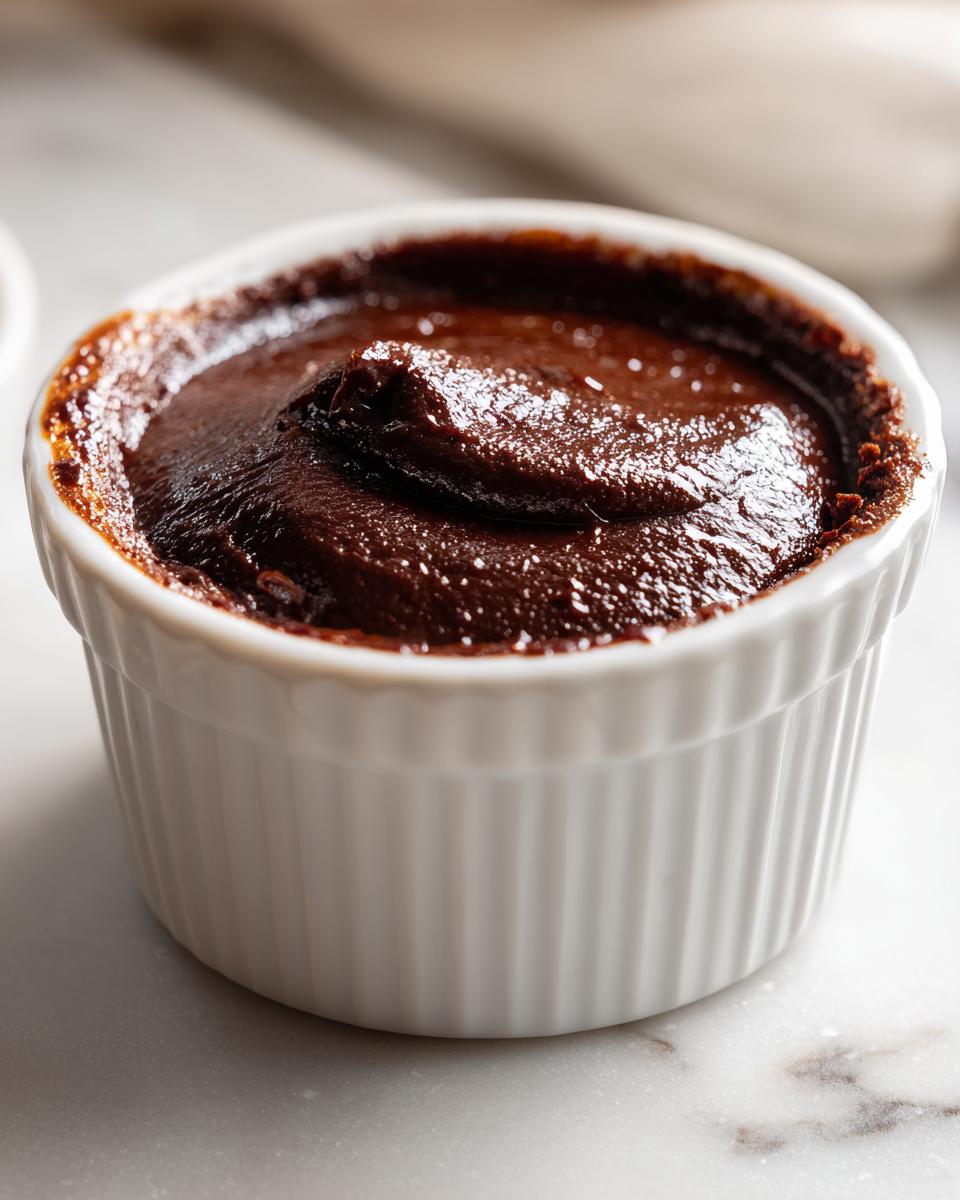
Remember that feeling when you were a kid, spooning into a bowl of perfect, room-temperature pudding? That’s the exact hit of nostalgia we’re chasing today, but we’re upgrading it. Forget fussy techniques; we’re delivering the ultimate, silky **Chocolate custard** that feels like an ‘Intimate Luxury’ for your evening. As a project manager turned home cook, I’m Leo Grant, and I engineered this recipe to cut out all the unnecessary steps. This isn’t about complication; it’s about getting that deep, creamy flavor while proving that delicious shouldn’t mean time-consuming. This stovetop approach is pure efficiency wrapped up in dark chocolate.
- Why This Silky Chocolate Custard is Your New Go-To Dessert
- Ingredients for Perfect Chocolate Custard
- The Project Plan: How to Make Chocolate Custard on the Stovetop
- Tips for Achieving a Flawless Silky Egg Custard
- Ingredient Notes and Substitutions for Your Chocolate Custard
- Serving Suggestions for This Rich Chocolate Custard
- Storage and Reheating Instructions for Homemade Chocolate Pudding
- Troubleshooting Common Chocolate Custard Issues
- Estimated Nutritional Snapshot
- Share Your Success with This Simple Dessert
Why This Silky Chocolate Custard is Your New Go-To Dessert
Look, I don’t have time for recipes that fail. This custard works, period. It’s engineered for reliability and maximum payoff. You’re getting:
- Incredible speed—ready in under 30 minutes active time!
- That unbelievably smooth, silky egg custard texture.
- It’s an easy stovetop custard—no oven required for the main event.
- Deep, satisfying flavor thanks to the high-quality dark chocolate dessert profile.
If you’re looking for foolproof treats, find more of my tried-and-true options in my dessert recipes collection.
Ingredients for Perfect Chocolate Custard
When you streamline a recipe, the ingredients have to be perfect—no hiding behind complicated steps here. These are the exact components I use every time to nail that deep color and smooth finish. Trust the measurements; they are precise for this stovetop method.
- 2 large egg yolks
- 1/4 cup granulated sugar
- 2 tablespoons cornstarch
- 1/4 teaspoon salt
- 1 1/2 cups whole milk
- 1/2 cup heavy cream
- 4 ounces dark chocolate, finely chopped
- 1 teaspoon vanilla extract
See? Simple components, maximum efficiency. The cornstarch is our secret weapon for guaranteed thickness without any fuss.
The Project Plan: How to Make Chocolate Custard on the Stovetop
This is where we apply the streamlined approach. We treat making **chocolate custard** not as a fragile culinary act, but as a sequence of efficient steps designed to handle heat perfectly. I’ve broken down the cooking process into five clear stages. If you follow this project plan precisely, you eliminate the risk of curdling or lumps. It truly is about controlling the variables, which is why this stovetop method results in that luxurious, smooth texture. If you need something fast after work, check out my guide to quick easy dinners, but trust me, you’ll want to make time for this dessert.
Step 1: Preparing the Thickening Base for Your Chocolate Custard
First thing’s first: we attack the yolks. Grab your bowl and get the egg yolks, sugar, cornstarch, and salt in there. You need to whisk this mix until it looks completely uniform—absolutely no streaks of white yolk or clumps of starch should be visible. I mean it! This initial mix is what guarantees that lovely silky egg custard later on. If this base is lumpy, the whole project is compromised before we even turn on the heat. Just keep going until it feels totally smooth under the whisk.
Step 2: Heating the Dairy and Tempering the Eggs
Next, get your milk and cream heating in a small saucepan. Watch it closely! We want to see tiny bubbles forming around the edges, but we absolutely, positively, do not want it to boil. While that’s warming up, the crucial operation begins: tempering. Take about half of that hot milk and—while whisking your egg base nonstop—slowly drizzle it in. This gently raises the temperature of the eggs so they don’t immediately scramble when they meet the rest of the heat. It’s a vital risk-management step!
Step 3: Cooking the Easy Stovetop Custard to Perfection
Now, pour that warmed egg mix right back into the saucepan with the remaining milk and cream. Turn the heat down to medium-low. This is where patience matters. You must stir constantly with a rubber spatula, scraping the bottom and sides. We are looking for the custard to thicken enough to coat the back of your spoon—that’s the indicator! This usually takes maybe 6 to 8 minutes. Do not let it reach a full boil, or you’ll end up with grainy homemade chocolate pudding instead of that smooth texture you want. If you’re looking for other smooth stovetop wonders, you might like my creamy old-fashioned stovetop rice pudding recipe.
Step 4: Finishing the Dark Chocolate Dessert Base
As soon as that spoon starts getting coated, yank the pan right off the heat. Immediately toss in your finely chopped dark chocolate and the vanilla extract. Keep stirring until that chocolate is fully melted and incorporated. You’ll see the color deepen instantly—it’s gorgeous! To guarantee that professional, silky finish, push the whole mixture through a fine-mesh sieve into a clean bowl. That catches any tiny bit of cooked egg that might have tried to sneak in.
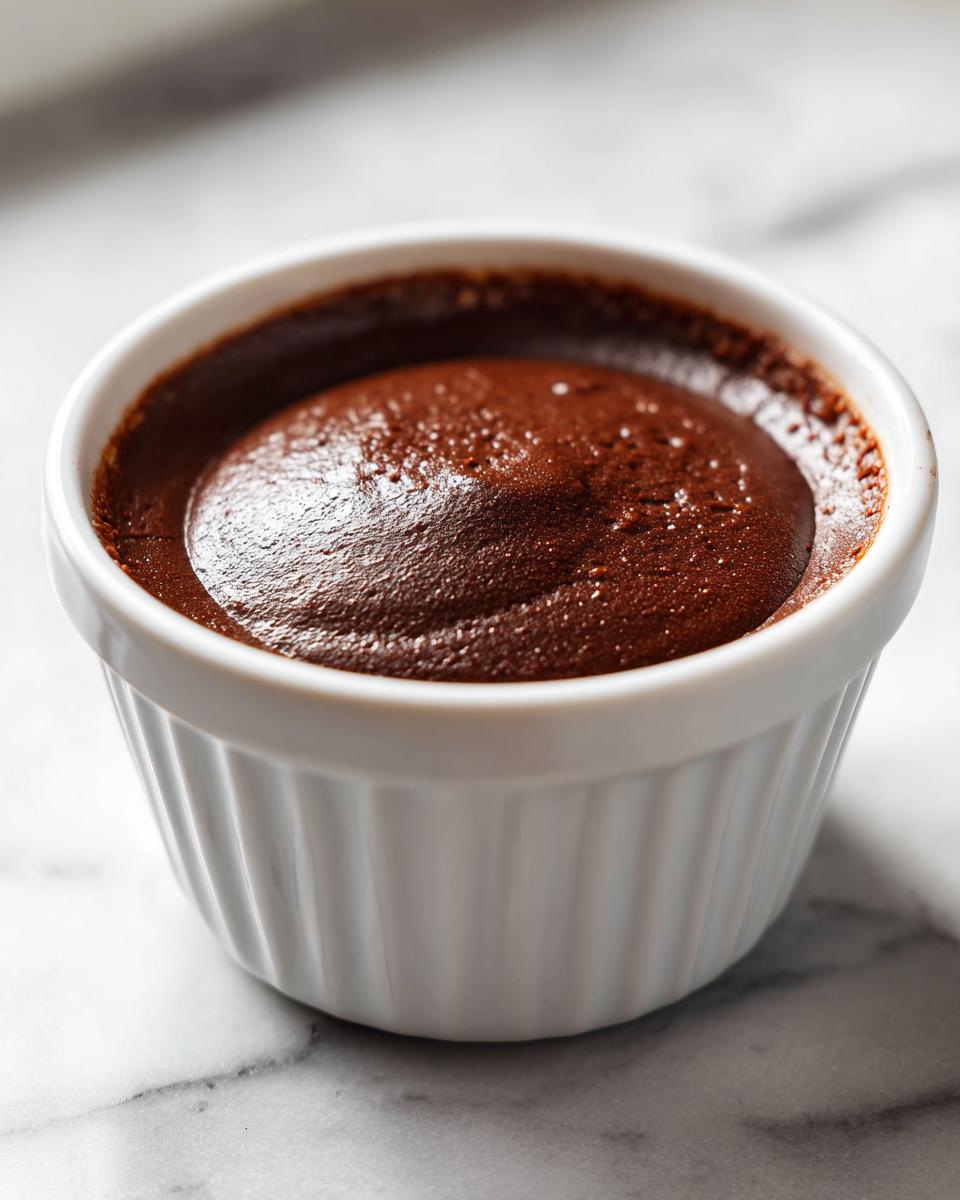
Step 5: Chilling and Setting the Chocolate Custard
Divide the warm custard evenly between your four small ramekins. Now for the final key step: cover the surface of each one directly with plastic wrap. I mean press the plastic right down onto the surface. This is non-negotiable, or you’ll get that sad, rubbery skin forming as it cools. Pop these beauties into the fridge for at least four hours until they’re totally set firm. If you’re struggling with sticky pans in general, my trick for flawless custard pie preparation might help you out with pan lining for future baking!
Tips for Achieving a Flawless Silky Egg Custard
When you’re aiming for that truly silky egg custard texture, it comes down to micro-adjustments in the process. The recipe notes suggest using a double boiler—which is a fantastic safety net, especially if your stovetop runs hot! Using that bain-marie means the custard heats more gently, virtually eliminating the risk of scrambling those precious yolks. I often use it when I know I’m going to be distracted.
Also, don’t sweat the milk substitution if needed. Swapping whole milk for 2% milk will lighten the final texture, though I always push for whole milk when making a dark chocolate dessert like this. That extra fat carries the flavor so much better.
My personal insistence, however, is on the chocolate quality. Since this recipe relies so heavily on the chocolate flavor coming through once it’s chilled, don’t cheap out here. I always use a high-quality bar broken into teensy pieces, not chips. Chips have stabilizers that make them melt differently. You want that deep, slightly bitter snap from a good 65% or 70% cocoa content bar; it balances the sugar perfectly and makes this feel so much more luxurious than standard homemade chocolate pudding.
Ingredient Notes and Substitutions for Your Chocolate Custard
Since this recipe is all about optimizing flavor from minimal parts, let’s talk about two key components: the chocolate and the starch. Don’t just swap these out willy-nilly! The reason we call this a dark chocolate dessert is that milk chocolate just won’t cut it here. Milk chocolate has way more sugar and milk solids, which throws off the precise balance needed for this rich flavor profile. Stick to that dark stuff, aiming for 60% cocoa content or higher, unless you love desserts that taste mostly like sugar.
Now, about the starch. I used cornstarch specifically because it creates that signature glossy, incredibly smooth result—that true silky egg custard texture we love. If you tried to swap this for all-purpose flour, the texture would end up slightly duller and heavier. Flour tends to absorb liquids differently and can sometimes leave a slightly pasty mouthfeel when used this way. Cornstarch is the superior choice for a straightforward, easy stovetop custard when you want that melt-in-your-mouth quality.
Finally, the heavy cream addition isn’t just for richness; it helps keep the custard from setting up *too* firmly when chilled. If you’re trying to reduce fat slightly, you could technically substitute the heavy cream with more whole milk, but I wouldn’t recommend it for a first batch. You sacrifice that luxurious density that really elevates this from being just homemade chocolate pudding to something truly special.
Serving Suggestions for This Rich Chocolate Custard
So, you’ve made the perfect, chilling chocolate custard! Now you have to decide how to serve it up. Since we engineered this to feel like that ‘Intimate Luxury’ treat, we don’t want to overwhelm the silky texture with heavy garbage. Keep it simple, keep it elegant.
My favorite way to present this after a busy day is really minimalist. A tiny sprinkle of flaky sea salt right on top—yes, salt! It makes the dark chocolate flavor pop like crazy. A few fresh raspberries placed artfully on the edge of the ramekin adds just the right amount of color and acid to cut through the richness.
If you want more body, skip the commercial whipped topping. Just whip a tiny bit of extra heavy cream with a teaspoon of powdered sugar until soft peaks form. A small, dolloped cloud on top of the chilled custard is perfect. Seriously, this presentation takes zero extra effort but makes you feel like you just ordered dessert from a five-star spot!
If you’re looking for some sophisticated easy bites to serve *before* dessert, I always have those ideas collected over in my appetizers and snacks section. But honestly, this custard deserves the spotlight all on its own.
Storage and Reheating Instructions for Homemade Chocolate Pudding
Okay, you’ve made this perfect batch of silky goodness, and maybe you couldn’t eat all four servings right away. That’s fine, because this homemade chocolate pudding actually gets better overnight when those flavors really meld. The most important storage rule, which I covered in the chilling step, is keeping that piece of plastic wrap pressed directly onto the surface of the custard in the ramekin. This stops air from getting in there and forming that dry, unwelcome skin. Keep them covered tightly in the fridge.
How long do they last? Because we used both eggs and cornstarch, they hold up really well. You’ve got about four to five days of ideal texture in the refrigerator. Don’t try to freeze these, though! Custards really don’t like being frozen; they tend to separate when they thaw out, and you’ll lose that dreamy structure.
Now, what if you want a *slightly* warm pudding sometimes? I get it, comfort food cues are powerful. But here’s the catch: you cannot microwave this or put it on high heat. Heating this finished custard too fast will break the structure we worked so hard to build during the tempering stage. If you absolutely must warm it up, take a ramekin out about 30 minutes before serving just to let it come slightly closer to room temperature. Or, you can set the ramekin in a bowl of warm (not hot!) water for a few minutes. Honestly, though, this recipe shines brightest served straight from the cold. It’s meant to be that firm, cool, intensely chocolatey bite. If you ever need a creative vessel for serving, I’ve got some fun ideas for easy homemade bread bowls, but for this custard, simple ramekins are the way to go.
Troubleshooting Common Chocolate Custard Issues
Even with a perfect plan, sometimes things just don’t cooperate in the kitchen. Don’t panic if your chocolate custard gives you trouble; it’s usually a quick fix or a sign that we deviated slightly from the temperature controls. I approach these issues just like I would a tricky project deadline—diagnose the root cause and apply the solution.
Here are the two biggest hiccups people run into when making this easy stovetop custard, and how we fix them without starting over:
Problem: My Custard Isn’t Thickening at All!
If you’ve stirred for 8 minutes and it still runs off the spoon like water, the main issue is heat application. You probably didn’t cook it long enough, or your heat was too low. Remember, the custard needs to hit that specific temperature where the cornstarch and egg proteins set up. Just turn the heat up slightly—back to medium-low—and keep stirring constantly. Give it another couple of minutes. If you *still* aren’t seeing movement, you might need to take it off, blend it quickly with an immersion blender (if you have one!) to smooth things out, and then put it back on the heat for a bit longer. Don’t pull it off until it clearly coats the back of your spoon.
Problem: My Custard Has Little Bits or Curds in It (It Scrambled!)
This is the classic sign you boiled the egg/milk mixture too hard or added the hot milk to the eggs too fast during tempering. When this happens, the eggs cook instantly, creating those little white specks, basically turning your silky dream into slightly gritty homemade chocolate pudding. The good news? We can usually save it. Take the pan off the heat immediately. Pour everything through a fine-mesh sieve—the one you used in Step 4—into a clean bowl. The sieve will catch all those bits. Once you add your chocolate and stir again, it often smooths right out, especially since the chocolate melts nicely into the texture.
If the curdling was severe, the solution is to re-temper the remaining mixture very carefully, just as we did in the main instructions, using a little extra warm milk if you have it. But honestly, straining usually performs the necessary magic to bring that smooth texture back!
Estimated Nutritional Snapshot
Now, I’m Leo Grant, and while I’m focused on making sure your dinner is efficient, I know many of you track macros or just want an idea of what you’re eating. Keep in mind, since we’re using real dark chocolate and heavy cream here, this is going to be rich—that’s the point! This breakdown is an estimate based on the exact ingredients list above, so ingredient variations on your end might slightly change the numbers.
This information helps you slot this delicious indulgence right into your day. It’s a perfect example of how an ‘Intimate Luxury’ doesn’t have to derail your entire health plan, especially since it’s portioned out perfectly into just four servings of this amazing **chocolate custard**.
- Serving Size: 1 ramekin
- Calories: 350
- Sugar: 28g
- Sodium: 150mg
- Fat: 22g (including 13g Saturated Fat)
- Carbohydrates: 30g
- Protein: 8g
- Cholesterol: 110mg
See? A substantial, satisfying dessert without going overboard on the sugar when measured against other ultra-sweet options out there. It’s all about balance in the project plan!
Share Your Success with This Simple Dessert
I genuinely hope you found this streamlined process for making your **chocolate custard** as straightforward and rewarding as I do every time I make it. This isn’t some fussy recipe that needs to be saved only for holidays; this is your new weeknight secret weapon for a little moment of indulgence.
When you finish chilling those custards and take that first perfect, silky spoonful, please come back here and let me know how it went! Did the tempering go smoothly? Did you manage to keep plastic wrap pressed right on top? I love hearing which simple upgrades you made.
Take a moment to give this recipe a five-star rating so other busy cooks know this project plan is reliable. Your feedback is what keeps Dishicious focused on efficiency and flavor. You can read a little more about my journey and how I approach simplifying meals over on my About Page. Happy cooking—I’m Leo Grant, and I’m already planning the next optimized recipe for you!
PrintSilky Homemade Chocolate Custard
Make a creamy, rich chocolate custard using simple stovetop steps. This recipe delivers a nostalgic, silky egg custard perfect for an intimate, easy dessert.
- Prep Time: 10 min
- Cook Time: 15 min
- Total Time: 25 min
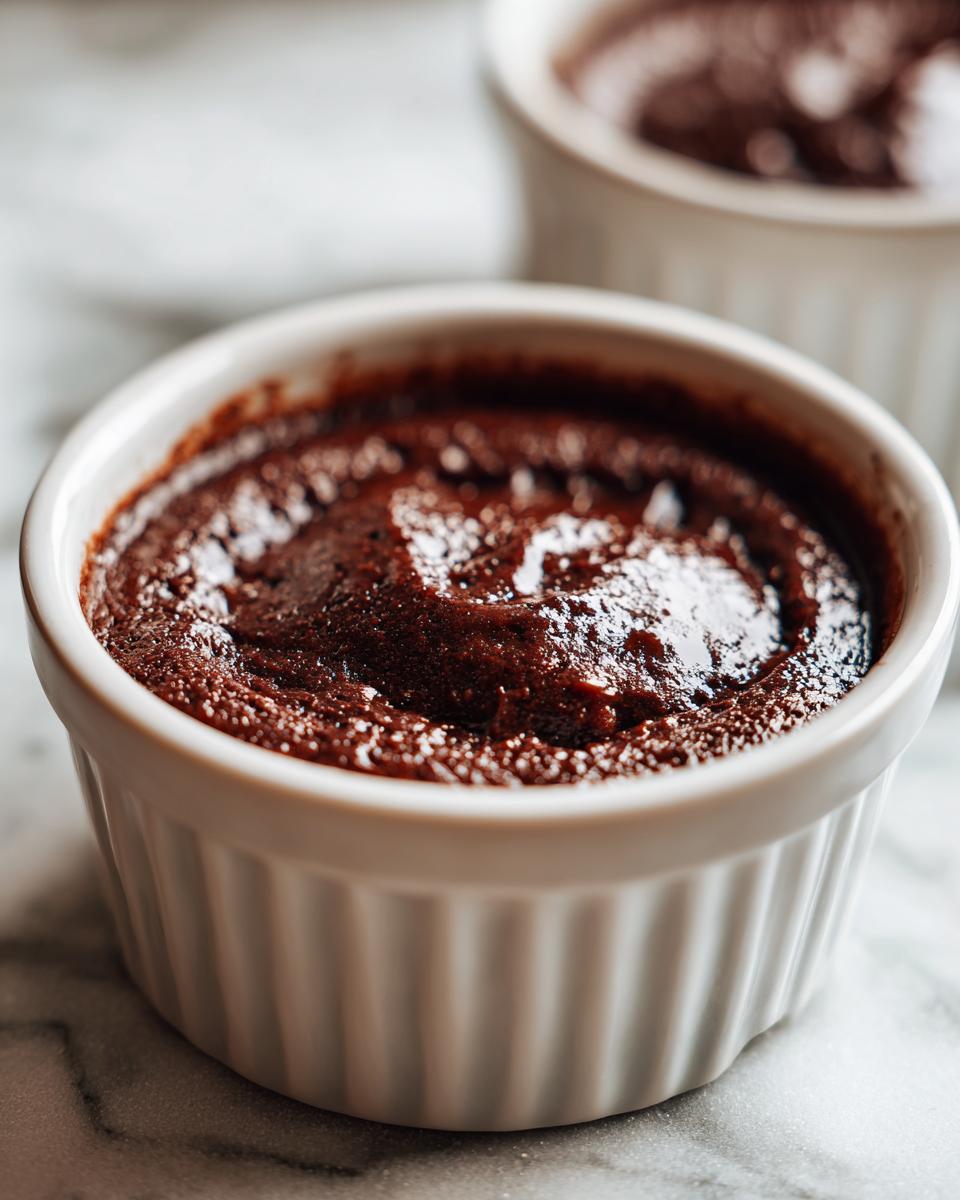
- Yield: 4 servings 1x
- Category: Dessert
- Method: Stovetop
- Cuisine: American
- Diet: Vegetarian
Ingredients
- 2 large egg yolks
- 1/4 cup granulated sugar
- 2 tablespoons cornstarch
- 1/4 teaspoon salt
- 1 1/2 cups whole milk
- 1/2 cup heavy cream
- 4 ounces dark chocolate, finely chopped
- 1 teaspoon vanilla extract
Instructions
- In a medium bowl, whisk together the egg yolks, sugar, cornstarch, and salt until smooth.
- In a small saucepan, combine the whole milk and heavy cream. Heat over medium heat until small bubbles form around the edge, but do not boil.
- Slowly temper the egg mixture by pouring about half of the hot milk mixture into the egg yolks while whisking constantly.
- Pour the tempered egg mixture back into the saucepan with the remaining milk.
- Cook over medium-low heat, stirring constantly with a rubber spatula, until the custard thickens enough to coat the back of the spoon, about 6 to 8 minutes. Do not let it boil.
- Remove the saucepan from the heat. Add the chopped dark chocolate and vanilla extract. Stir until the chocolate is completely melted and the mixture is smooth.
- Pour the hot chocolate custard through a fine-mesh sieve into a clean bowl to remove any lumps.
- Divide the custard evenly among four small ramekins.
- Cover the surface of each custard directly with plastic wrap to prevent a skin from forming. Chill in the refrigerator for at least 4 hours, or until fully set.
Notes
- For an extra smooth texture, you can gently whisk the custard over a double boiler (bain-marie) instead of directly on the stovetop.
- If you prefer a lighter custard, substitute whole milk with 2% milk, but the final texture will be slightly less rich.
Nutrition
- Serving Size: 1 ramekin
- Calories: 350
- Sugar: 28
- Sodium: 150
- Fat: 22
- Saturated Fat: 13
- Unsaturated Fat: 9
- Trans Fat: 0.5
- Carbohydrates: 30
- Fiber: 2
- Protein: 8
- Cholesterol: 110