
You know that moment when you’re scrolling through takeout menus, dreaming of that perfectly golden, sweet, and crunchy appetizer? I’ve been there—stuck between wanting restaurant quality and having zero time to mess around. That’s where Dishicious actually got its start. I realized that turning complex flavors into a simple project was the key to eating well during the week. This amazing copycat coconut shrimp recipe is proof of that philosophy. I engineered this method to cut out all the fluff; we’re focusing only on getting you that incredible, crispy texture and amazing flavor in under 30 minutes. Trust me, Leo Grant’s project management brain loves optimizing dinner, and this recipe is a total win for busy people!
- Why This Is the Best Coconut Shrimp Recipe for Quick Weeknight Meals
- Ingredients for Your Crispy Coconut Shrimp Recipe
- Step-by-Step Instructions for the Coconut Shrimp Recipe
- Tips for the Perfect Crispy Coconut Shrimp Recipe Every Time
- Healthy Coconut Shrimp Recipe Alternatives (Baked and Air Fryer)
- Serving Suggestions for Your Coconut Shrimp Recipe
- Storage and Reheating Instructions for Leftover Coconut Shrimp
- Frequently Asked Questions About This Coconut Shrimp Recipe
- Share Your Experience with This Coconut Shrimp Recipe
Why This Is the Best Coconut Shrimp Recipe for Quick Weeknight Meals
Look, I’m not looking for complexity after a long day managing projects, and I bet you aren’t either. This coconut shrimp recipe is pure efficiency; it’s one of my favorite Quick Seafood Recipes because the total time is genuinely under 30 minutes. That’s faster than waiting for the delivery driver! This isn’t just good shrimp; this is my personal Copycat Coconut Shrimp blueprint. Skip the soggy, sad frozen kind. We are focusing on maximizing flavor output while minimizing active time. When shrimp cooks fast, you get to eat sooner, which is the whole goal here, right?
Achieving the Ultimate Crunchy Coconut Coating
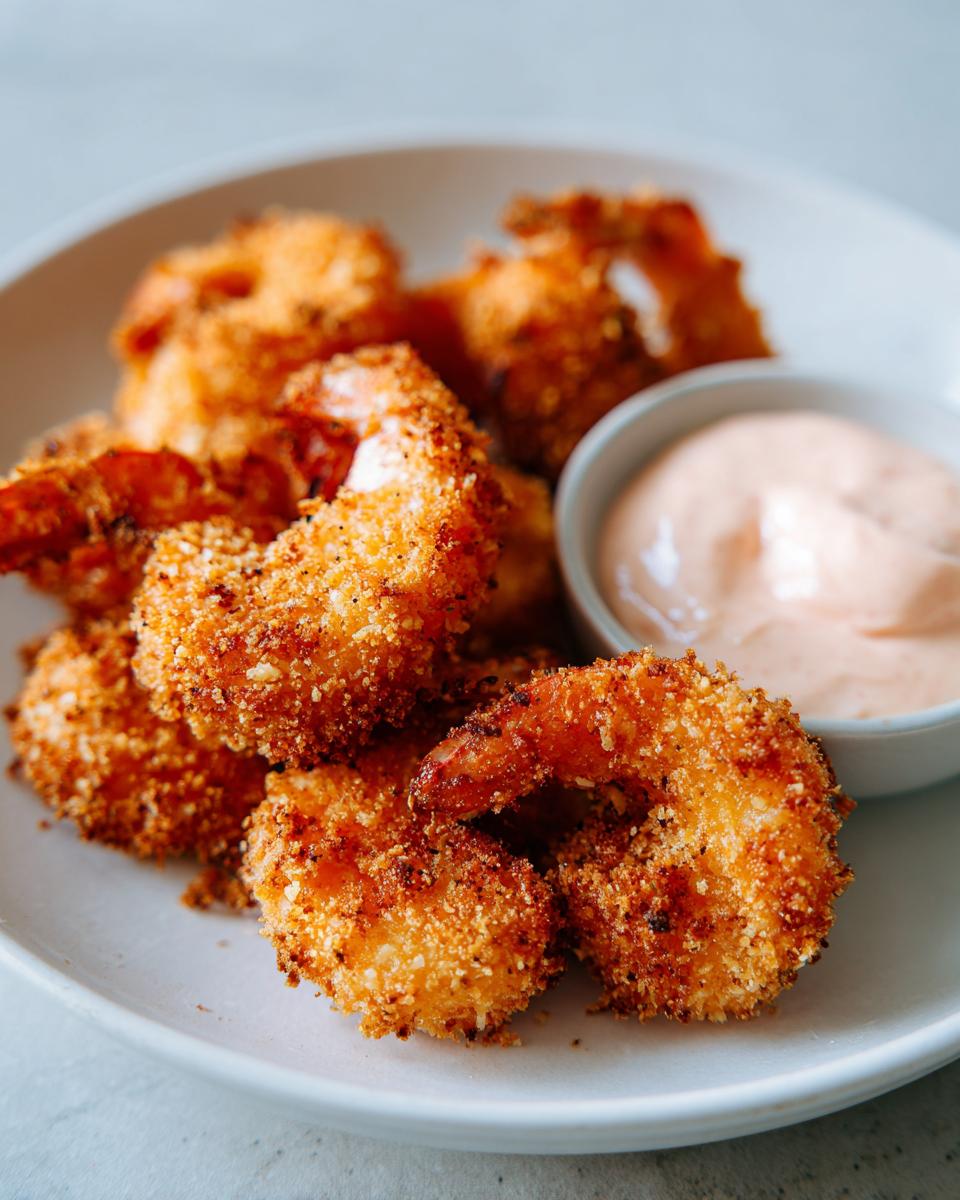
The secret to beating the takeout guys on texture? It’s all about the blend of the coating. We aren’t just using coconut flakes! I mix the sweetened shredded coconut 50/50 with Panko breadcrumbs. Panko gives you those big, sharp edges that shatter when you bite them, while the coconut brings the necessary tropical sweetness. Mixing them ensures every piece gets that deep golden color and that satisfying *crunch* you crave. That balance is what makes this taste like your favorite restaurant appetizer.
Ingredients for Your Crispy Coconut Shrimp Recipe
Okay, let’s get organized. The key to speed, since we’re aiming for that Fried Shrimp Appetizer status tonight, is setting up your stations first. We need three bowls for coating, plus the oil ready to go. Here’s exactly what you’ll need for the shrimp itself:
- 1 lb large shrimp, peeled and deveined (Pat them dry!)
- 1 cup all-purpose flour
- 2 large eggs, lightly beaten
- 1 cup sweetened shredded coconut
- 1/2 cup Panko breadcrumbs
- 1/2 teaspoon salt
- 1/4 teaspoon black pepper
- Vegetable oil, for frying (needs to be enough to cover about 1.5 inches in your pot)
Don’t worry about substitutions for the coating; this ratio is project-managed for maximum crunch! Now, for the MVP—that simple yet addictive dip.
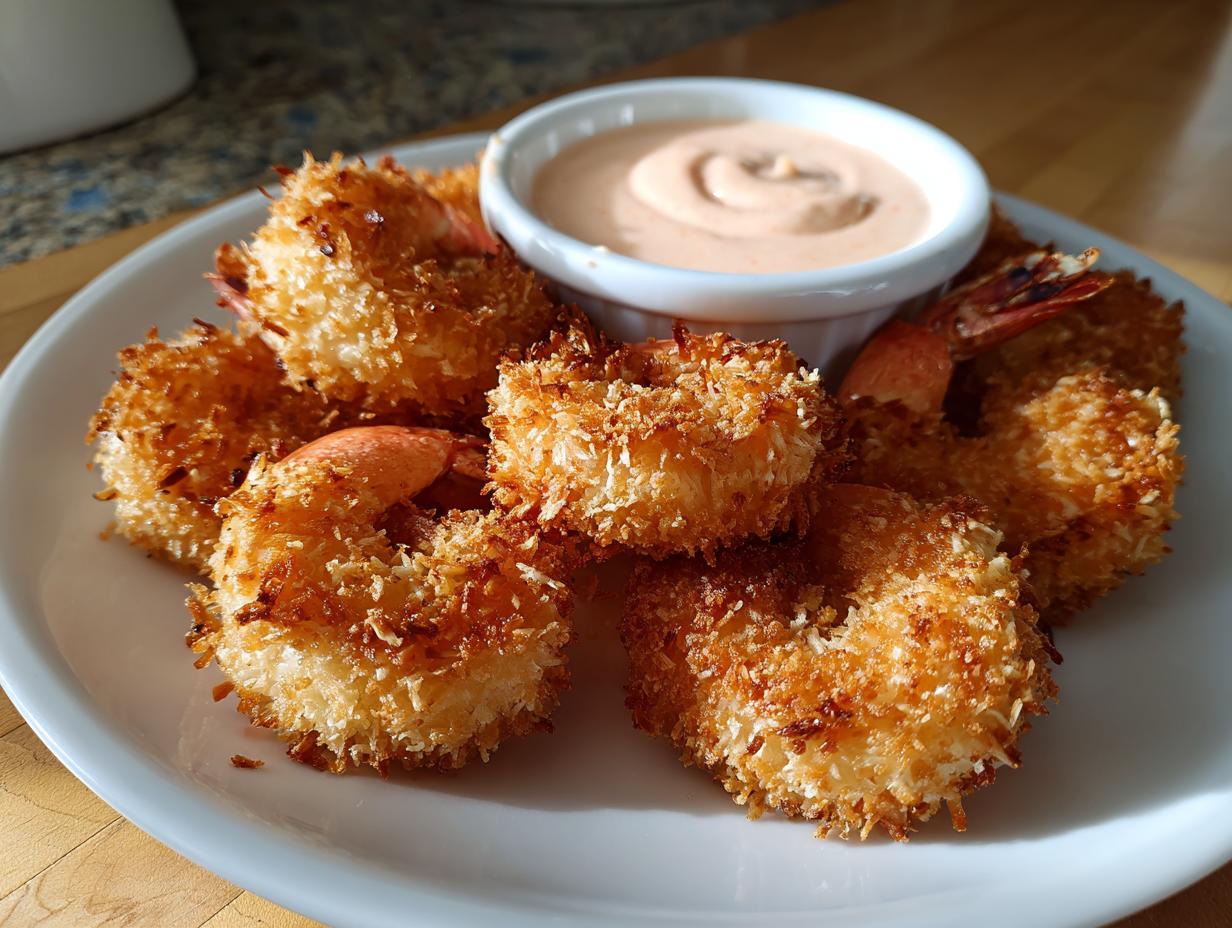
Dipping Sauce Ingredients: Sweet Chili Dipping Sauce
This Sweet Chili Dipping Sauce cuts through the richness of the fried shrimp perfectly. You only need three things, really, which keeps our total cooking time down:
- 1/2 cup sweet chili sauce (the jarred stuff is great here)
- 1/4 cup mayonnaise
- 1 teaspoon lime juice (fresh, if you have it—it brightens everything up!)
Just whisk those three together, and you have the perfect sweet and tangy counterpoint to your seafood party food!
Step-by-Step Instructions for the Coconut Shrimp Recipe
Alright, time to execute the plan. Since we’re aiming for that famous Restaurant Style Coconut Shrimp experience, precision in the frying step is non-negotiable. This is where most home cooks mess up the texture, but not us. We’ll break this down into two manageable phases: the setup and the fry. Don’t rush the coating phase, and don’t guess the oil temperature—that’s how we guarantee success with this coconut shrimp recipe.
Preparing the Shrimp and Dredging Station
The absolute first thing you must do is pat your shrimp completely dry with paper towels. I mean bone-dry. If the shrimp are damp, the flour won’t stick, and your beautiful coconut Panko crust will slide right off into the hot oil. That’s just wasted effort! Set up your three stations: one with flour, one with your beaten eggs, and the third with the Panko/coconut mix. Working one piece at a time, dredge the shrimp in the flour and shake off the excess. Next, dip it in the egg wash, letting the drips fall back into the bowl. Finally, press it *firmly* into the coconut mix so it’s totally covered. Set these ready-to-fry shrimp aside on a plate for just a minute.
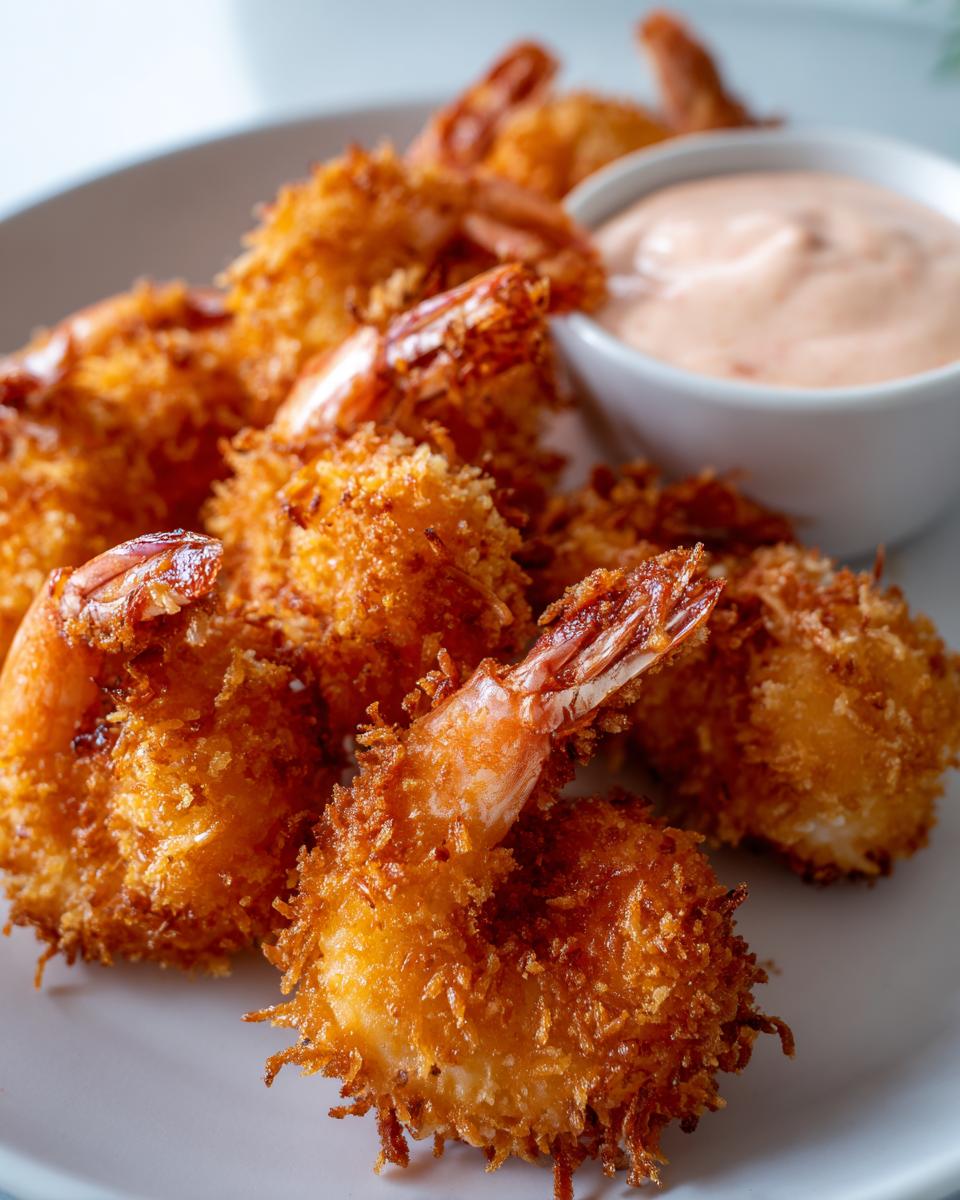
Frying Technique for Restaurant Style Coconut Shrimp
Now, for the heat! You need about an inch and a half of vegetable oil in a heavy, deep skillet. Heat it to exactly 350°F (175°C). If it’s not hot enough, the shrimp will soak up oil and get soggy—that’s the main difference between home and restaurant quality. Work in small batches, maybe 6 or 7 shrimp at a time; crowding the pan drops the oil temperature immediately. Drop them in carefully, and they should cook rapidly, turning golden brown in just 2 to 3 minutes per side. Use a slotted spoon to pull them out and put them straight onto a cooling rack. This lets air circulate, keeping the bottom side crisp instead of steaming it against a paper towel. While that’s happening, go ahead and mix up that quick Sweet Chili Dipping Sauce!
Tips for the Perfect Crispy Coconut Shrimp Recipe Every Time
I know the ingredients list looks straightforward, but success with this Fried Shrimp Appetizer really hinges on a few core execution steps. Think of these as my personal efficiency hacks to guarantee that copycat quality:
First, the oil temperature needs your full attention. If you’re frying, 350°F is the magic number. If you drop the shrimp in and nothing exciting happens immediately, the oil is too cool. This is critical because it lets the coating soak up grease instead of crisping up instantly. Too hot, and the delicate coconut burns before the shrimp even warms through. Keep that thermometer handy!
Also, once those golden beauties come out of the oil, they must go directly onto a wire rack, not paper towels. Paper towels trap steam right underneath the shrimp, and steam is the enemy of crispiness! A rack lets the excess oil drip away and lets air hit all sides. This guarantees you get that satisfying crunchiness all the way around, which is what makes this coconut shrimp recipe a keeper. Don’t skip that rack step, seriously.
Healthy Coconut Shrimp Recipe Alternatives (Baked and Air Fryer)
Not everyone wants to deal with deep frying, and that’s totally fine! I get it—sometimes we need a win-win: amazing flavor *and* less cleanup. While frying gives the absolute best restaurant texture, I’ve optimized this coconut shrimp recipe for healthier methods too. You still get that tropical crunch, just with way less oil. These alternatives are perfect if you’re looking for a lighter weeknight shrimp idea but still want that sweet, crunchy exterior.
For the Oven Baked Coconut Shrimp approach, preheat your oven to 400°F (200°C). Arrange your coated shrimp on a baking sheet lined with parchment paper, and this next part is essential: give them a generous, even spray with cooking spray. Don’t skimp here! Bake them for about 10 to 12 minutes total, flipping them over halfway through so both sides brown nicely.
If the Air Fryer Shrimp Recipe is more your speed, go ahead and preheat your basket. You’ll want to cook them at about 380°F (195°C) for maybe 8 minutes, shaking the basket halfway through. Again, light cooking spray is your best friend here to turn that dry coating into something golden. Either way, serve them immediately with that sweet chili mayo to keep the flavor profile high.
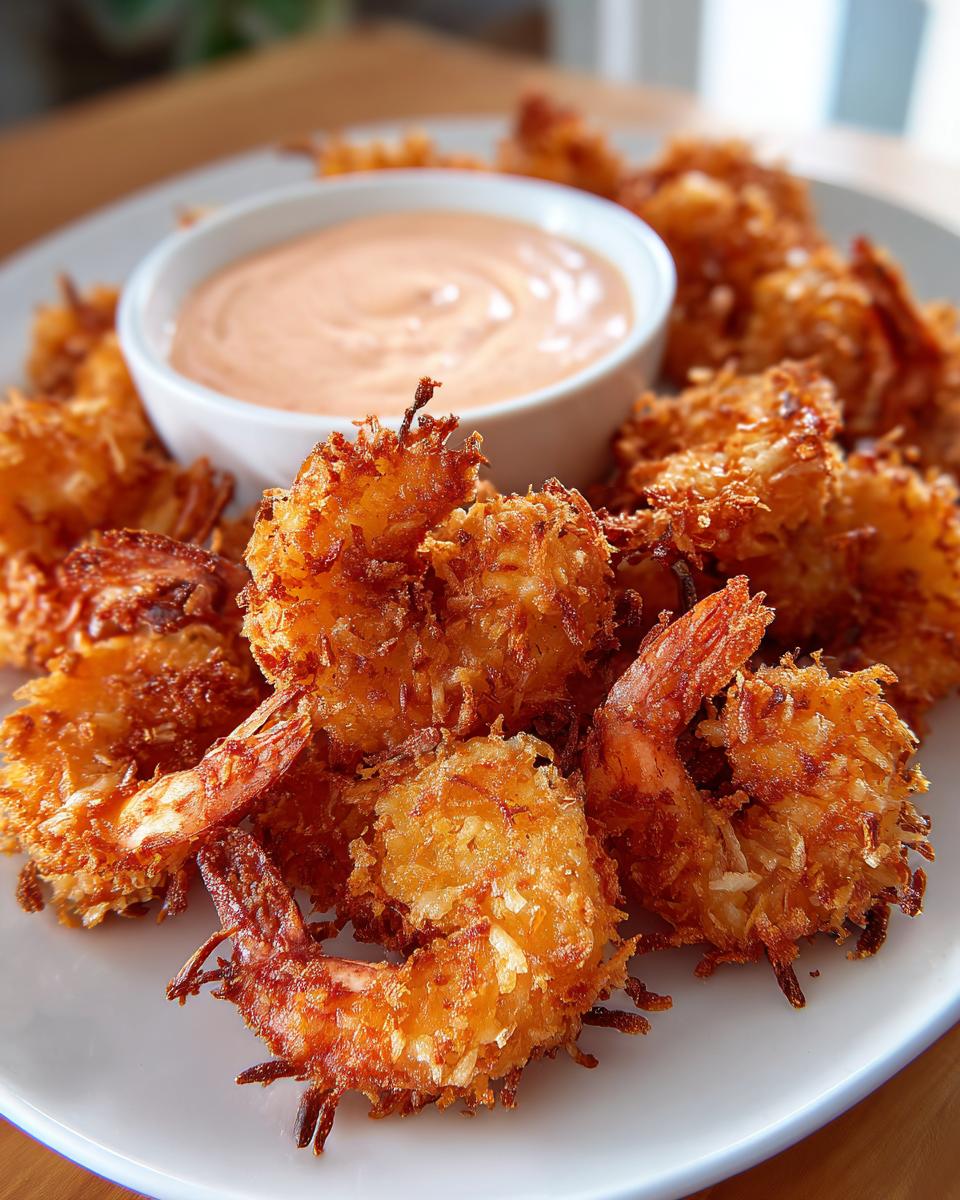
Serving Suggestions for Your Coconut Shrimp Recipe
Sure, this is the ultimate Fried Shrimp Appetizer, but don’t stop there! If you want to turn this into a full, speedy Tropical Shrimp Dinner, you need some simple sides that match the vibe without adding fuss. I’m a huge fan of throwing together a quick citrus slaw—thinly sliced cabbage mixed with a squeeze of orange and lime, salt, and maybe a little cilantro if I’m feeling fancy. It adds a bright, necessary freshness to cut through the richness.
Or, if you’re looking for something heartier, a simple side of fluffy rice pilaf is fantastic. When you plate it, arrange the shrimp around a central dipping bowl of that sweet chili mayo. The presentation alone makes it feel like you ordered this from a great spot!
Storage and Reheating Instructions for Leftover Coconut Shrimp
So, you actually had leftovers? That’s impressive with this coconut shrimp recipe, but if you do, we need a plan to restore the crunch! First thing: do not, I repeat, do not try reheating these in the microwave. Microwaving equals instant sogginess, and we worked too hard on that Panko crust for that betrayal.
The best strategy here is using dry heat. Pop the leftovers onto a wire rack set over a baking sheet—just like when they cooled! Heat your oven up to 375°F (190°C). Bake them for about 5 to 7 minutes. If you have an air fryer, even better! 375°F for 4 minutes usually zaps them back to life perfectly. That dry, direct heat pulls the moisture out of the coating and firms everything right back up. Store uneaten shrimp in an airtight container for up to two days max.
Frequently Asked Questions About This Coconut Shrimp Recipe
When I designed this project, I tried to answer every single potential roadblock upfront. But I know you home cooks always have those little tweaks you want to make! That’s fair game. Here are the most common questions I get about making sure this coconut shrimp recipe turns out absolutely perfect for you.
Can I use unsweetened coconut in this coconut shrimp recipe?
You definitely can, and I respect the move toward less sugar! If you make that switch, though, you’ll want to add about one teaspoon of regular granulated sugar to your Panko and coconut mixture. Why? Because that sweetness is what helps the coating caramelize onto the shrimp and gives you that signature tropical finish. Without it, you risk a coating that’s just… dry. We are looking for golden, not pale, right?
What is the best shrimp size to use for a crispy coating?
I always recommend aiming for Large (that’s usually specified as 21/25 count) or even Jumbo shrimp. The smaller ones, like salads shrimp, disappear way too fast during frying and you end up with mostly coating. Using a solid, substantial shrimp means it holds up to the dredging process beautifully and gives you that satisfying bite—plenty of meat to contrast against that wonderfully crispy coating we worked so hard to engineer!
Can I make the Sweet Chili Dipping Sauce ahead of time?
Absolutely, and I highly recommend it! Making the sauce ahead of time is a project manager’s dream for keeping weeknight stress low. You can whip up the blend of sweet chili sauce, mayo, and lime juice up to three days in advance. Just keep it covered tightly in the fridge. Before you serve it, give it a quick whisk again, because sometimes the liquid likes to separate a little, but the flavor will be just as vibrant.
Share Your Experience with This Coconut Shrimp Recipe
Okay, that’s the entire blueprint for restaurant-quality shrimp hit you need in under 30 minutes! I really want to know how this went for you. Did you use the deep fry or sneak in that Air Fryer Shrimp Recipe I mentioned? Jump down to the comments and give this coconut shrimp recipe a star rating. Seriously, seeing your results—and hearing about that perfectly crunchy coating—makes all my kitchen planning worth it!
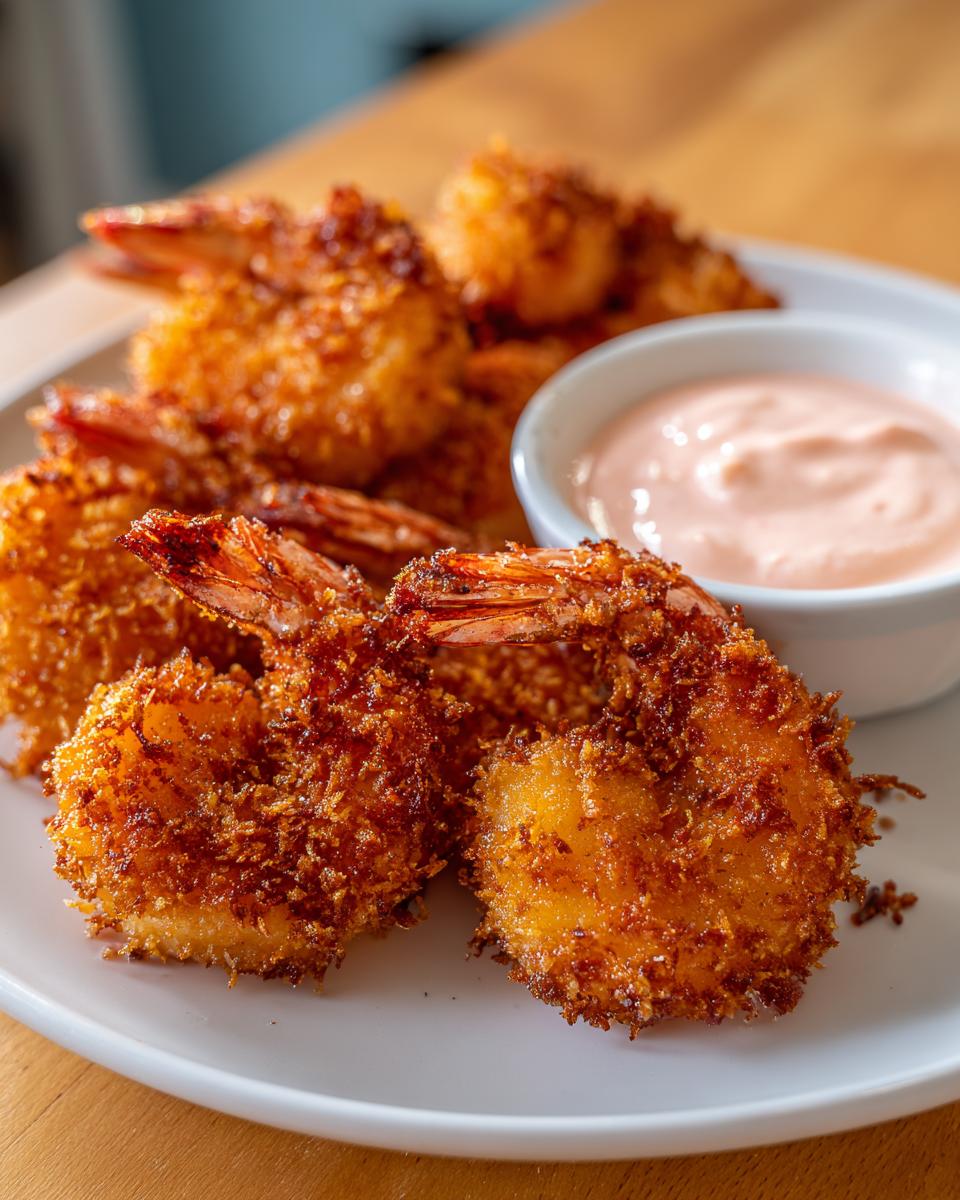
PrintCopycat Crispy Coconut Shrimp with Sweet Chili Mayo Dip

Make restaurant-style crispy coconut shrimp at home fast. This recipe delivers a perfectly crunchy panko-coconut coating and includes the simple method for the best sweet chili mayo dipping sauce.
- Prep Time: 15 min
- Cook Time: 10 min
- Total Time: 25 min
- Yield: 4 servings 1x
- Category: Appetizer
- Method: Frying
- Cuisine: American
- Diet: Vegetarian
Ingredients
- 1 lb large shrimp, peeled and deveined
- 1 cup all-purpose flour
- 2 large eggs, beaten
- 1 cup sweetened shredded coconut
- 1/2 cup Panko breadcrumbs
- 1/2 teaspoon salt
- 1/4 teaspoon black pepper
- Vegetable oil, for frying
- For the Dipping Sauce:
- 1/2 cup sweet chili sauce
- 1/4 cup mayonnaise
- 1 teaspoon lime juice
Instructions
- Prepare the shrimp: Pat the peeled and deveined shrimp completely dry with paper towels. This step is key for a crispy coating.
- Set up the dredging station: Place the flour on one plate. Whisk the eggs in a shallow bowl. On a third plate, combine the shredded coconut, Panko breadcrumbs, salt, and pepper.
- Coat the shrimp: Dredge each shrimp first in the flour, shaking off excess. Dip the floured shrimp into the egg wash, letting excess drip off. Finally, press the shrimp firmly into the coconut-Panko mixture to coat thoroughly.
- Prepare the oil: Pour about 1 to 1.5 inches of vegetable oil into a heavy-bottomed pot or deep skillet. Heat the oil over medium-high heat until it reaches 350°F (175°C). Use a thermometer to monitor the temperature.
- Fry the shrimp: Working in batches to avoid overcrowding the pot, carefully place the coated shrimp into the hot oil. Fry for 2 to 3 minutes per side, until golden brown and cooked through.
- Drain the shrimp: Remove the cooked shrimp with a slotted spoon and place them on a wire rack set over a baking sheet to drain excess oil.
- Make the dipping sauce: While the shrimp drain, whisk together the sweet chili sauce, mayonnaise, and lime juice in a small bowl until smooth.
- Serve immediately with the dipping sauce.
Notes
- For a healthier option, you can bake these shrimp at 400°F (200°C) for 10-12 minutes, flipping halfway, after spraying lightly with cooking spray.
- Ensure your oil temperature is correct; too low results in soggy shrimp, too high burns the coating before the shrimp cooks.
- If you prefer a less sweet sauce, reduce the sweet chili sauce slightly.
Nutrition
- Serving Size: 4 shrimp
- Calories: 350
- Sugar: 15
- Sodium: 450
- Fat: 18
- Saturated Fat: 7
- Unsaturated Fat: 11
- Trans Fat: 0
- Carbohydrates: 28
- Fiber: 1
- Protein: 19
- Cholesterol: 150